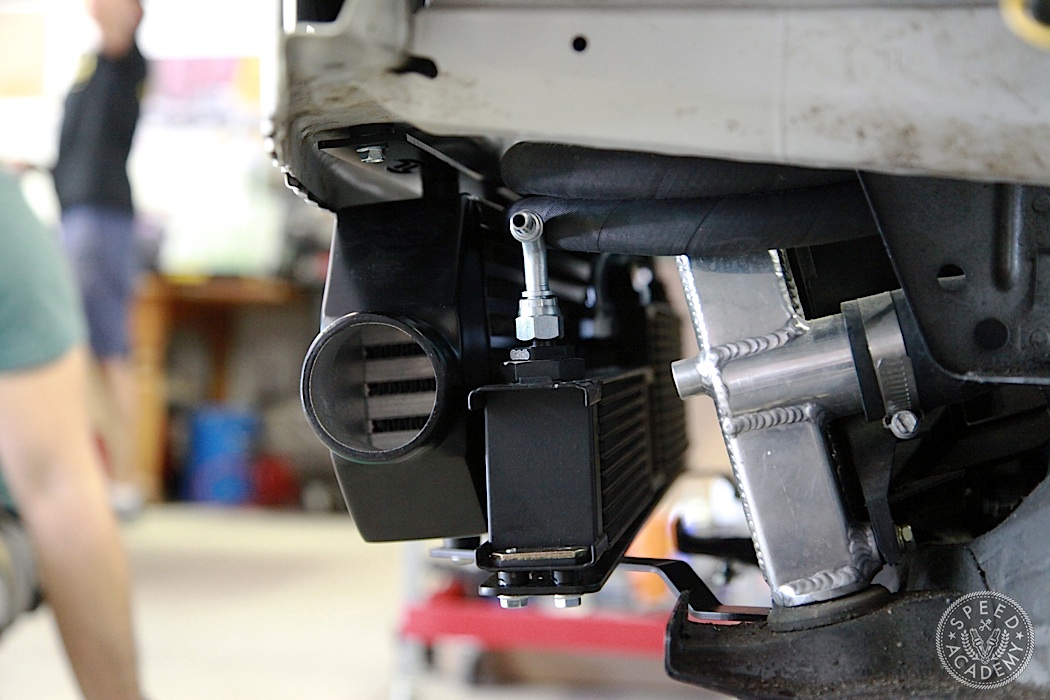
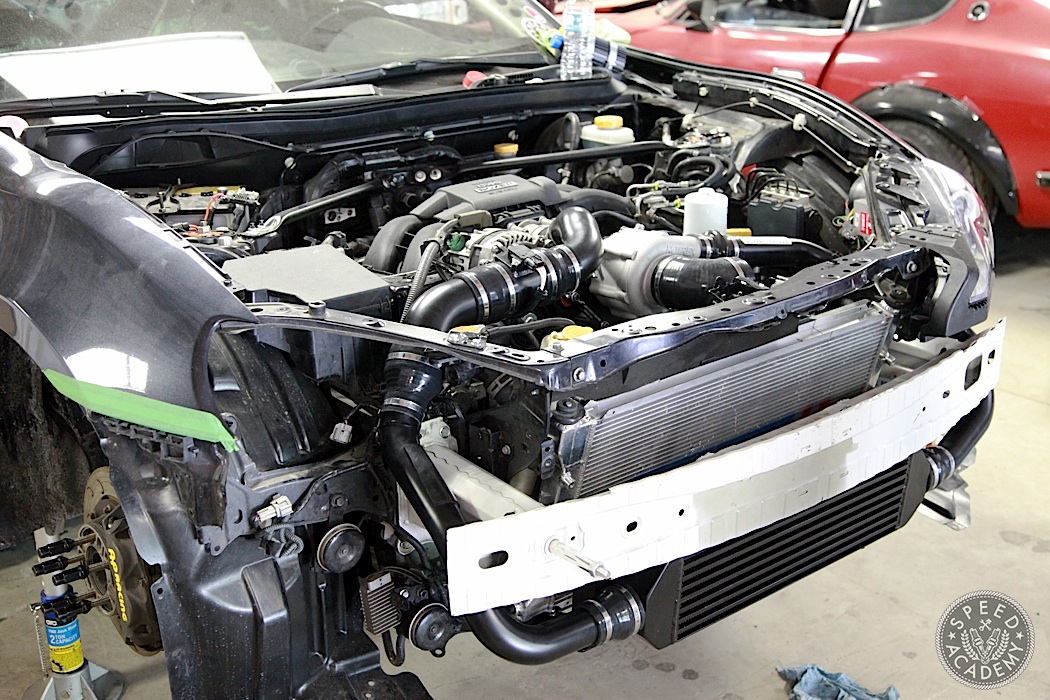
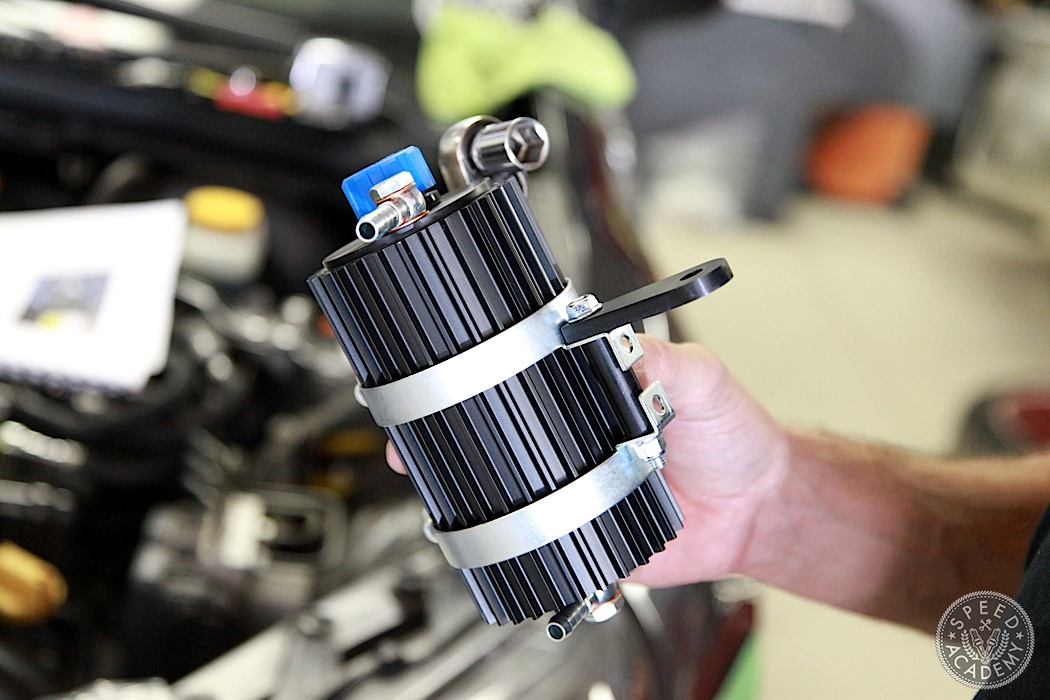
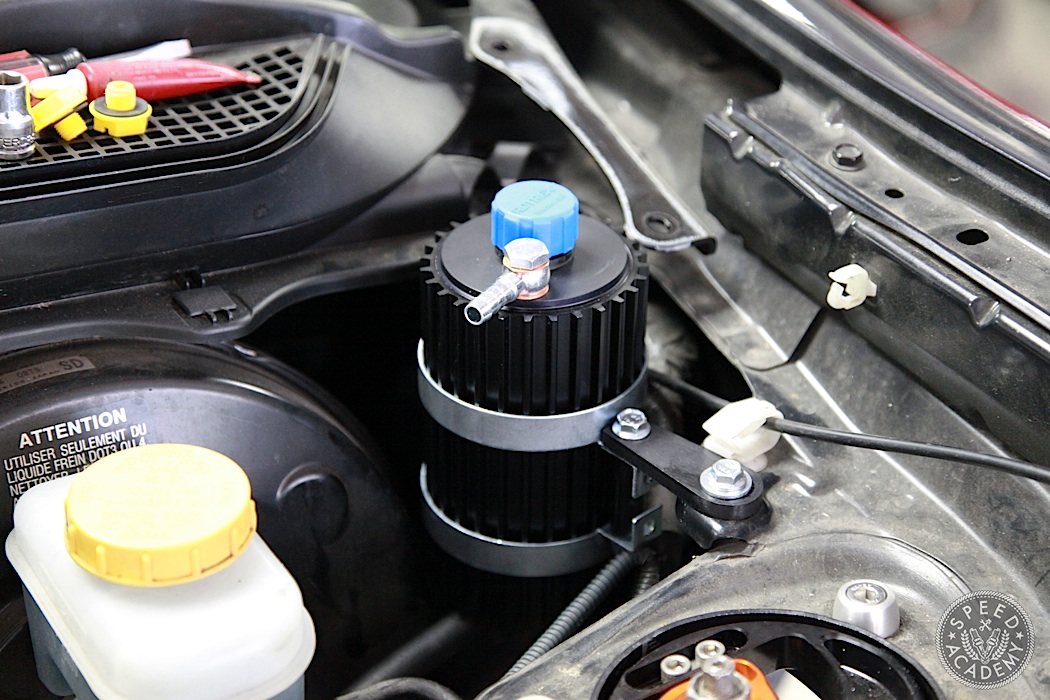
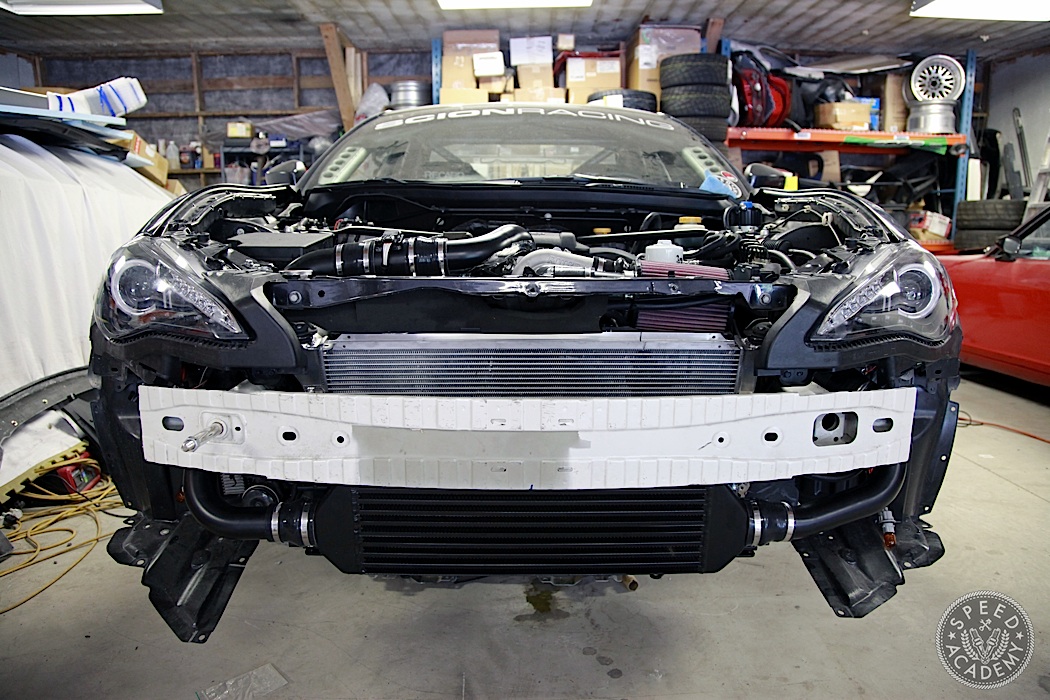
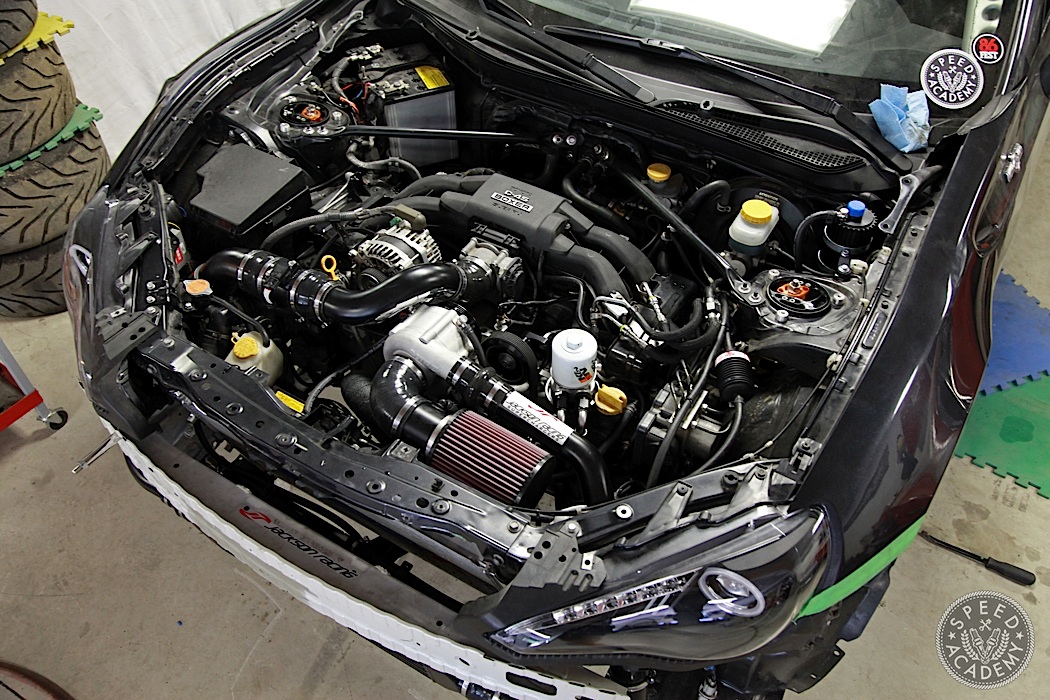
This meant we were ready to install the intercooler and oil coolers, and as you can see the result is a very neat and tidy setup.
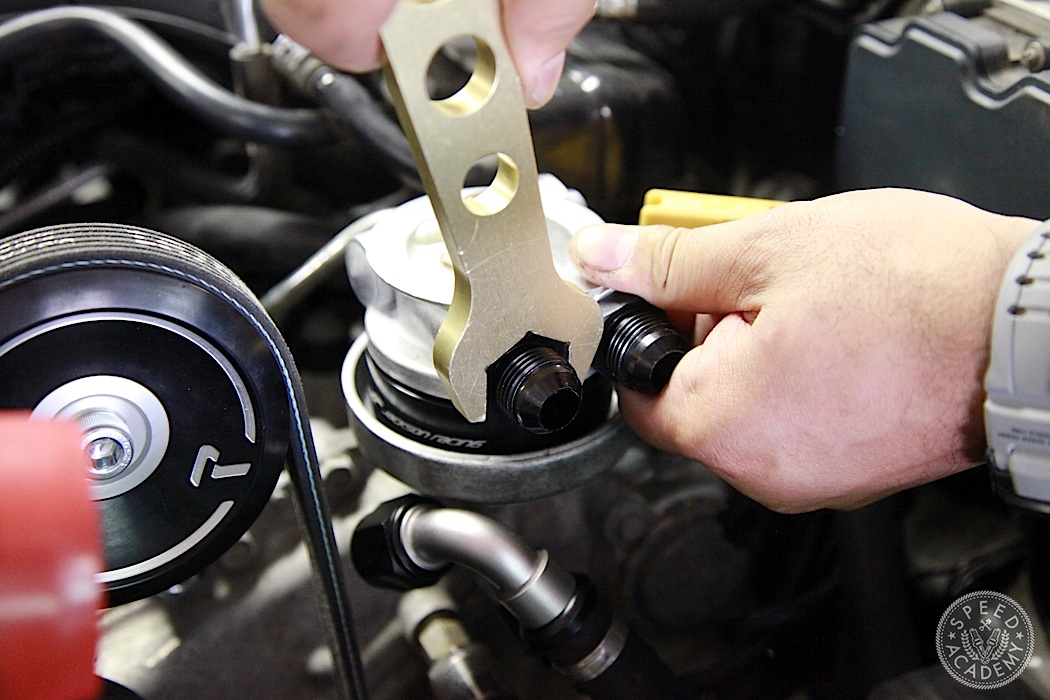
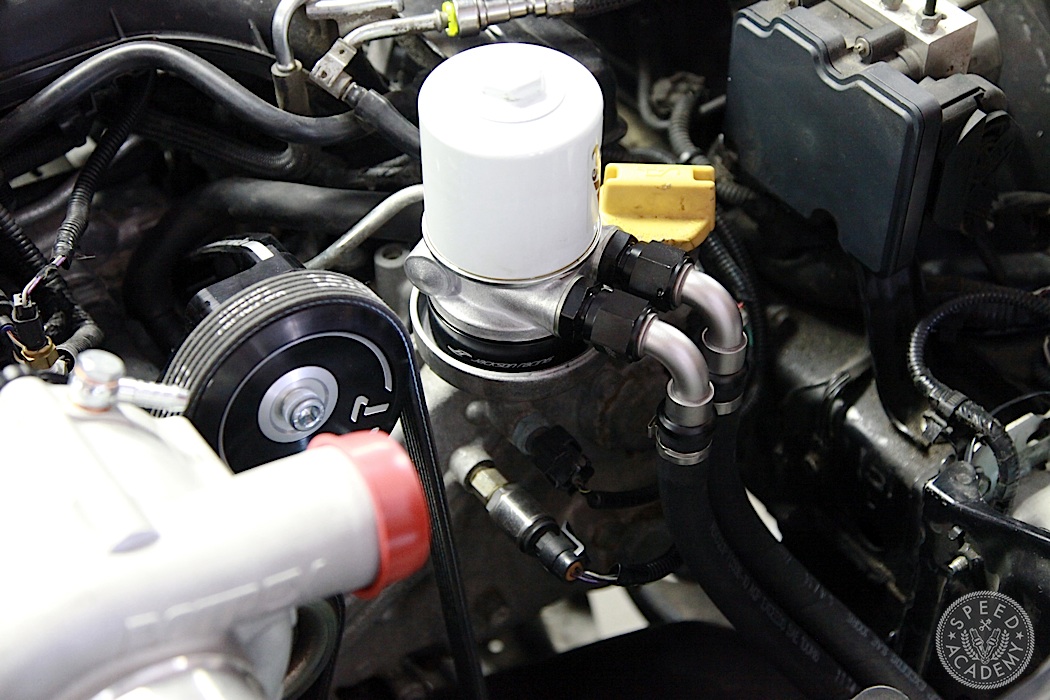
All we had to do was snug down the AN fittings on the oil cooler sandwich adapter and hook up the lines before we could move on to installing the intercooler piping.

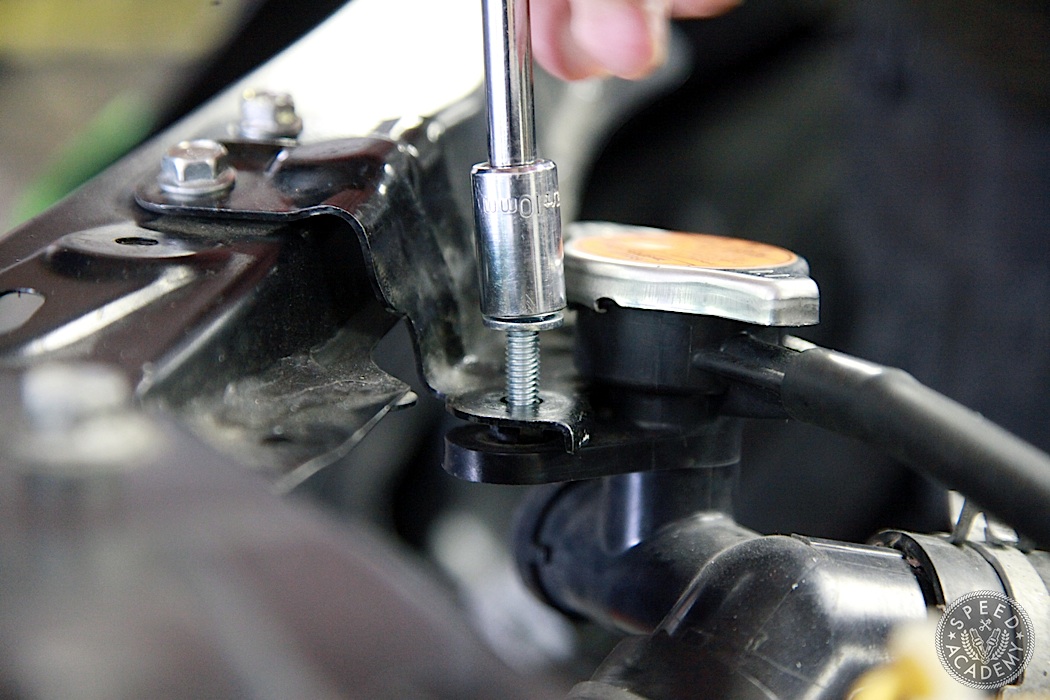
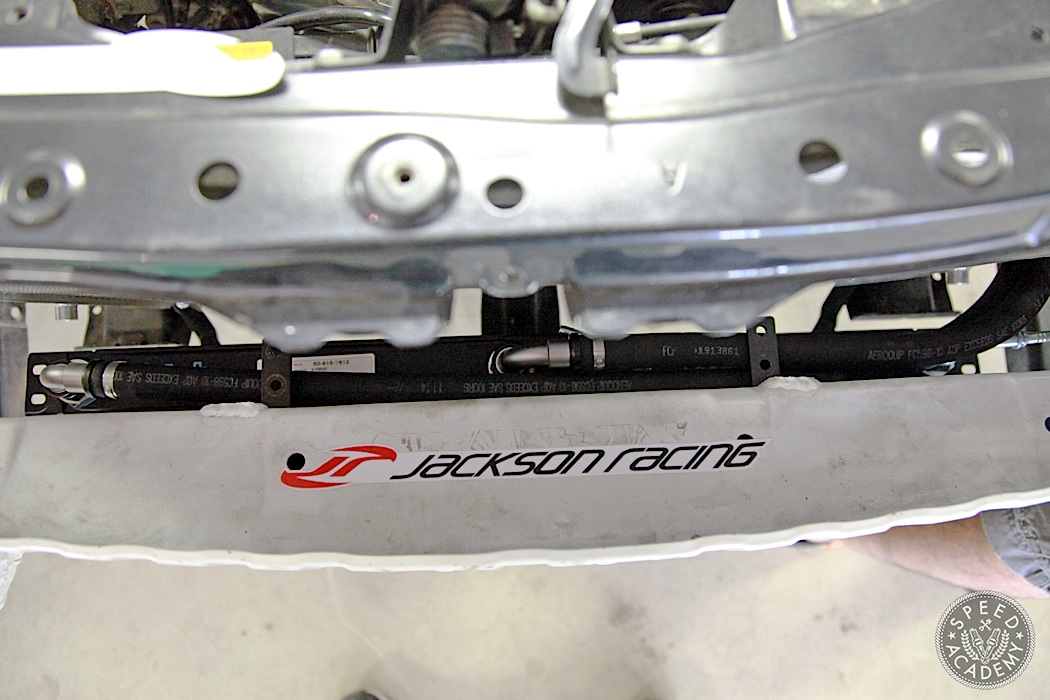
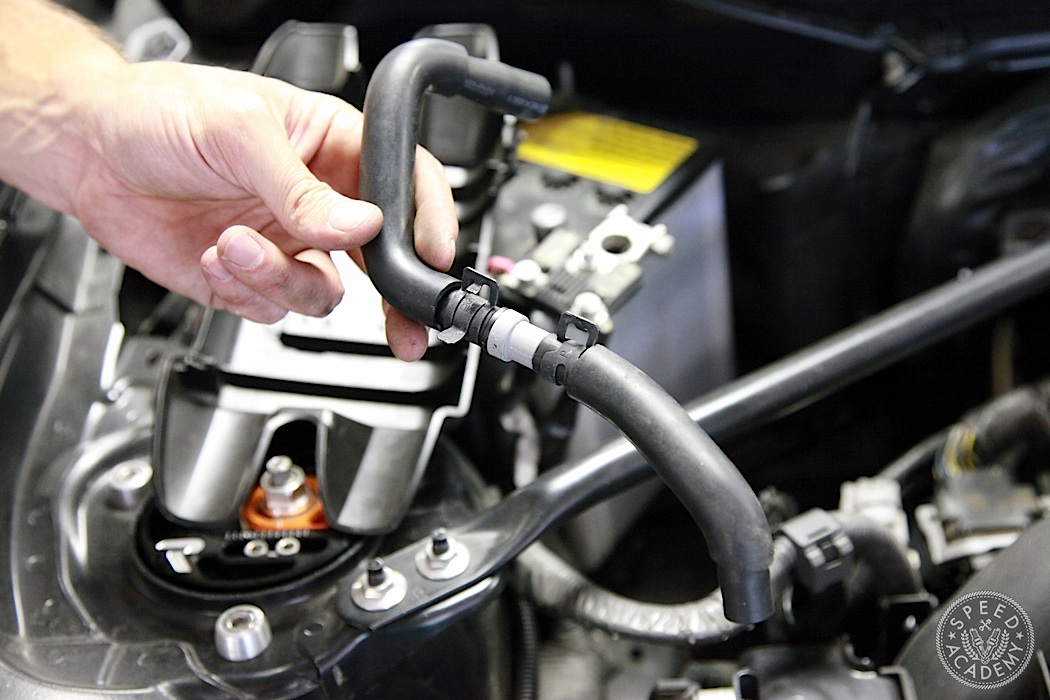
Before routing the intercooler piping the coolant filler neck needs to be lowered slightly, as explained in Step 49. You simply mount the filler neck to the bottom of the metal bracket that it normally mounts to the top of using the longer bolts supplied by JR. Step 50 requires tilting back the filler neck on the windshield washer fluid reservoir to make room for the intercooler piping on the driver’s side, but since our car doesn’t have this reservoir (it was missing when we adopted the car, presumably for weight reduction or intercooler routing by VCMC who ran this car in the Scion Tuner Challenge before we got it) we had plenty of room to work with.

Steps 51 to 53 require installing the hump hose to the Rotrex compressor outlet and then installing the supercharger exit tube by routing it down behind the driver’s side headlight into the area where the windshield washer fluid reservoir would normally be and loosely securing it with the supplied hose clamps. Please not the Jackson Racing sticker on this tube, since it’s good for a 50% increase in horsepower and a 45% increase in torque (ok, those are actually the increases in power typical with this supercharger kit).
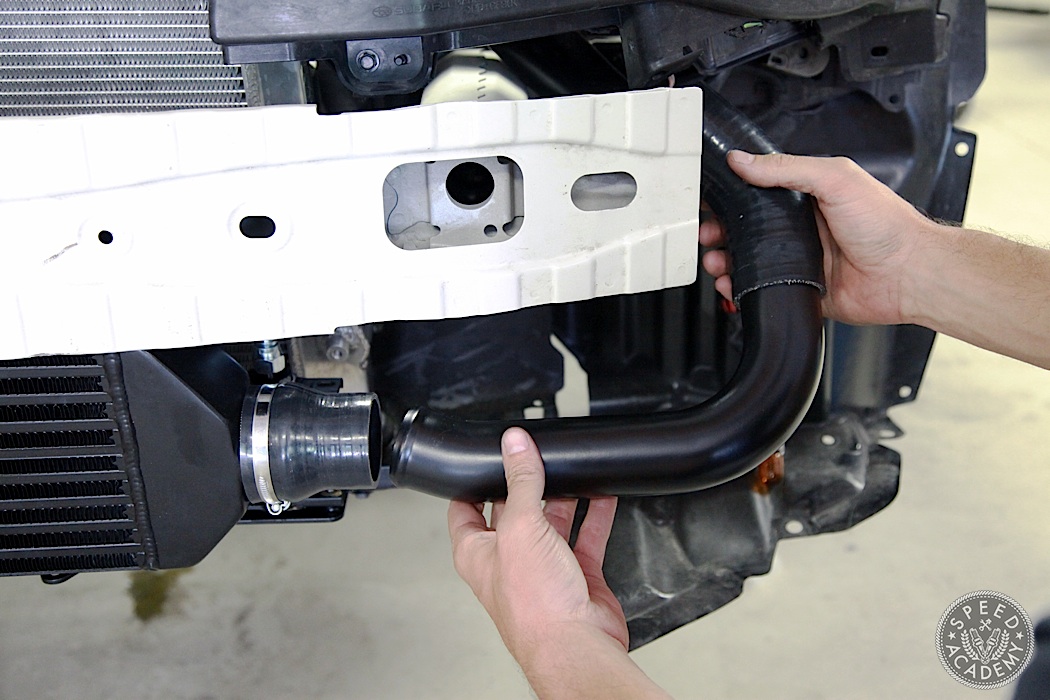
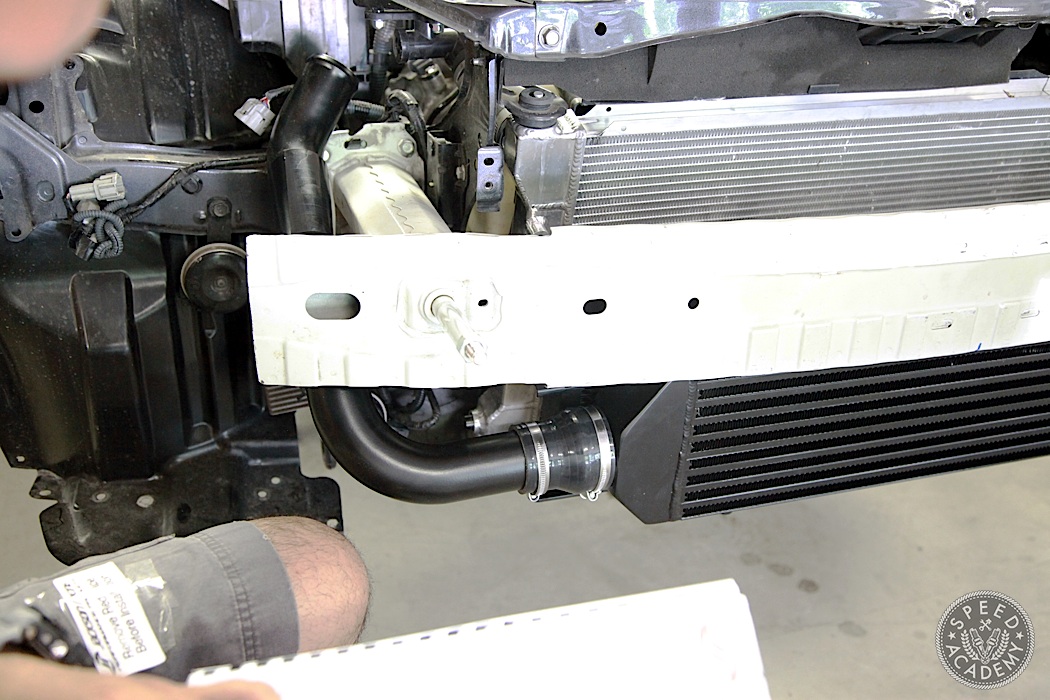
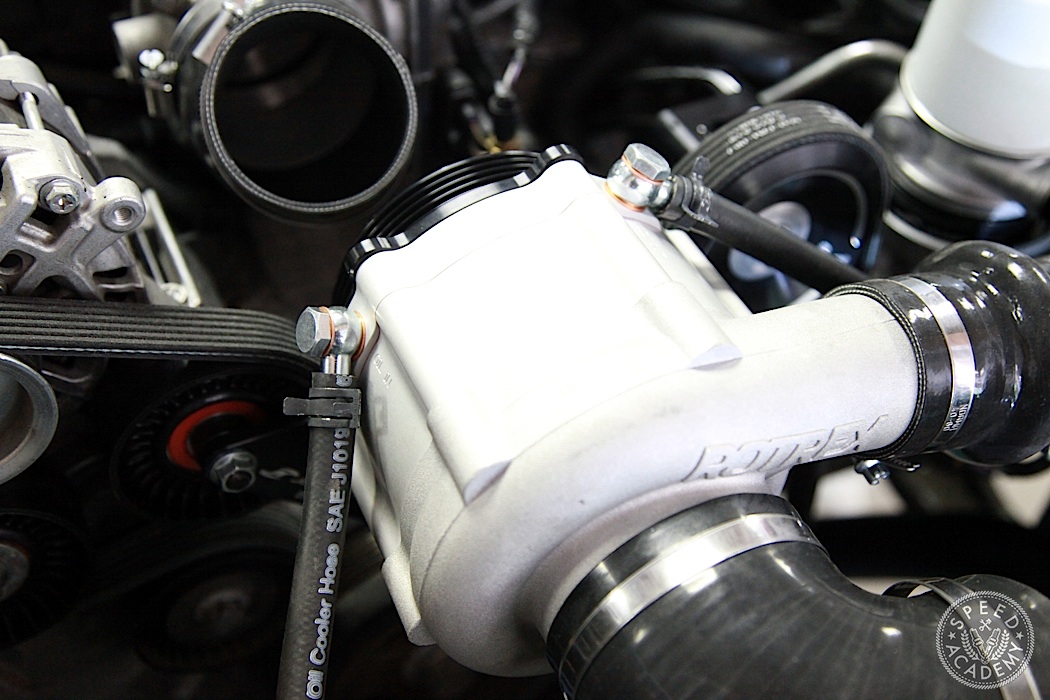
Steps 54 to 56 require installing the 2” to 2.5” silicone hoses to either end of the intercooler and then connecting the exit tubing to the intercooler with the provided 45-degree silicone coupler and the elbow tube seen here. For now the hose clamps are just loosely fitted so that we can adjust the alignment of all the tubing near the end of the process for best fitment. There’s also a NVH rubber pad with an adhesive backing that prevents the tubing here from banging against the chassis. Another great example of Jackson Racing’s commitment to designing a system with OE levels of quietness and refinement.
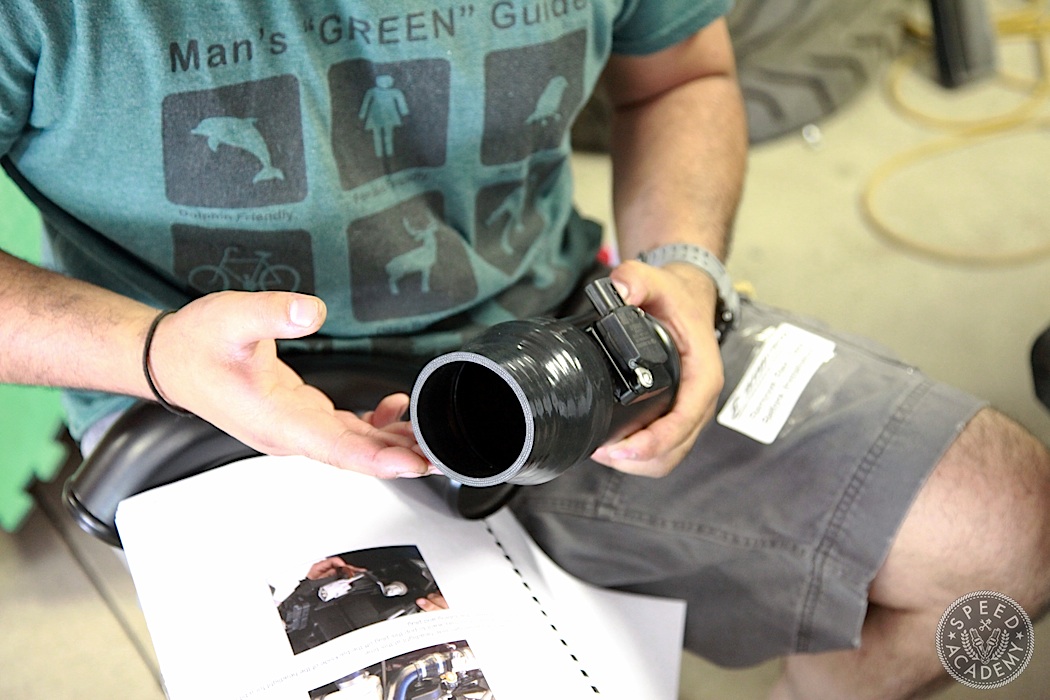
Steps 57 to 60 involve assembling and installing the intercooler exit tube, which means installing the silicone hoses and attaching the MAF inlet tube to the engine end of the exit tube with a 3” silicone coupler. Again, all the hose clamps are left a bit loose so we can adjust pipe routing as the complete system comes together. Make sure you inspect the o-ring for the MAF sensor when installing it on the MAF tube and also be sure to orient the sensor and air straightener in the tube as described in the instructions. Don’t go off script here or your MAF readings will be a mess and the ECU will get pissed off. Never piss off your ECU, people!
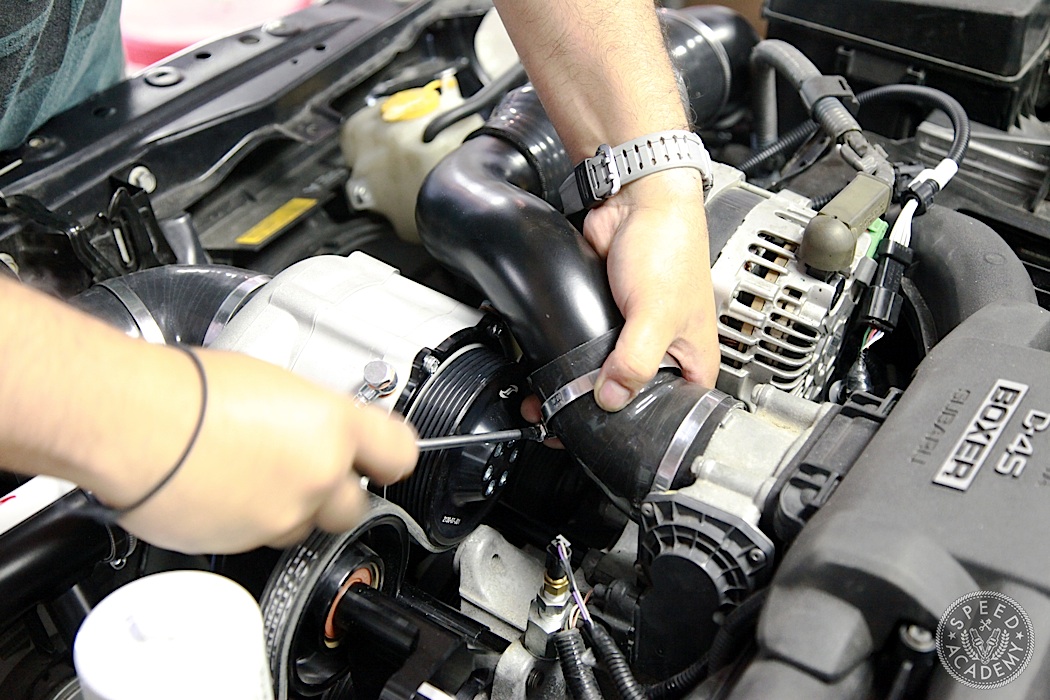
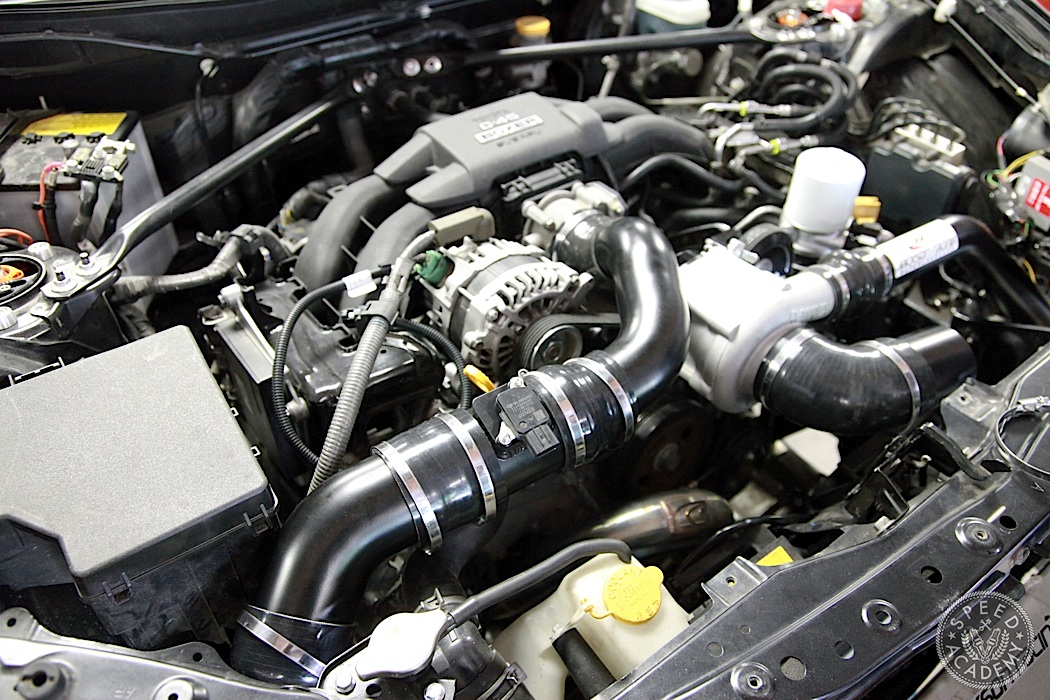
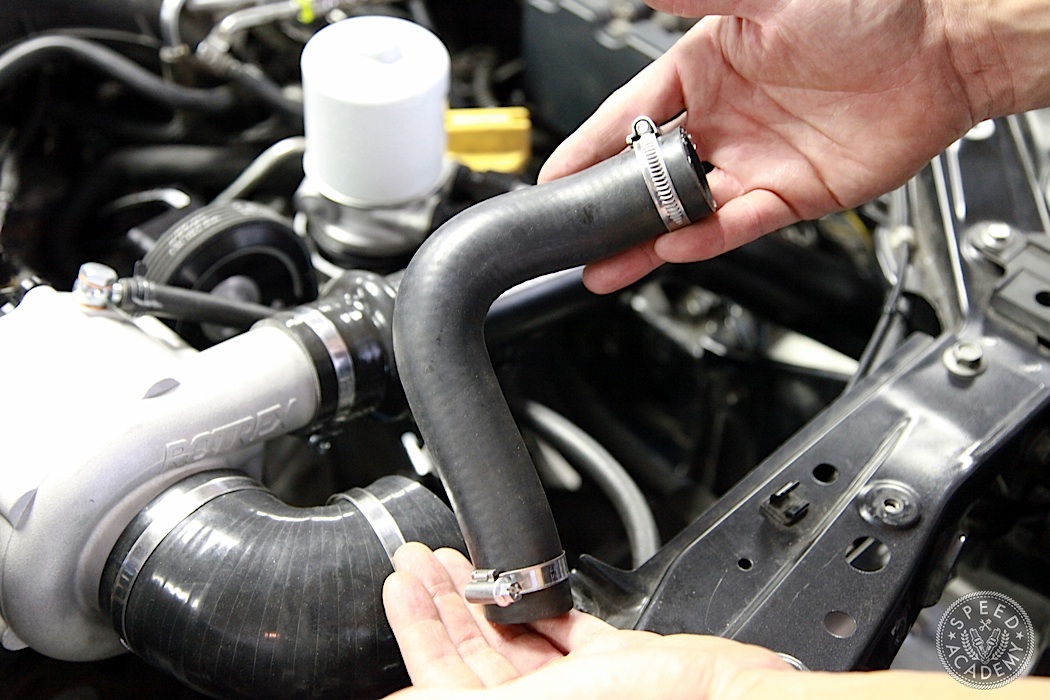
Step 61 explains how to install the throttle body tube and connect it to the MAF tube. It’s important here to play with the position of the TB tube by rotating it until you’ve got the best clearance possible from the alternator and Rotrex SC. So again, don’t tighten down the hose clamps until you’re 100% happy with the fitment of the tubes. And I should mention that the hose clamps Jackson Racing provides are really high quality stainless steel units that won’t slip once you tighten them down.
Step 62 is to reinstall the passenger side headlight and then Step 63 is installing the Rotrex oil reservoir in the back driver’s side corner of the engine bay next to the brake booster. There’s a bunch of small steps here that are quick and easy to do, including installing the banjo bolts, fittings and oil hoses. Nothing tricky here, and the clamps that hold the reservoir to the mounting bracket allow you to adjust the vertical position of the reservoir.
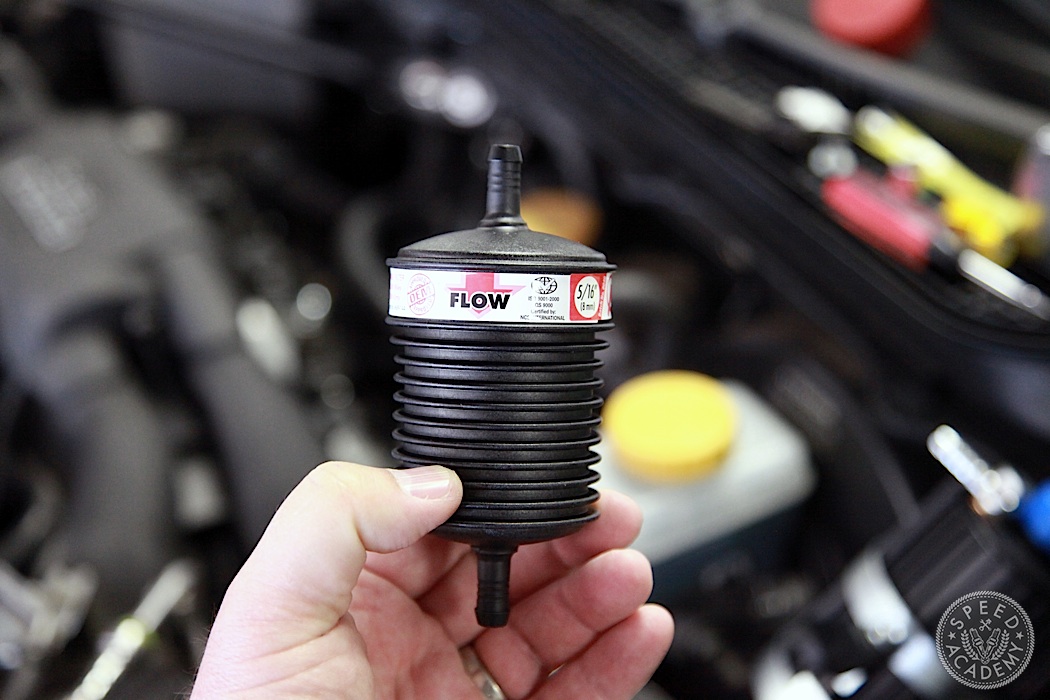
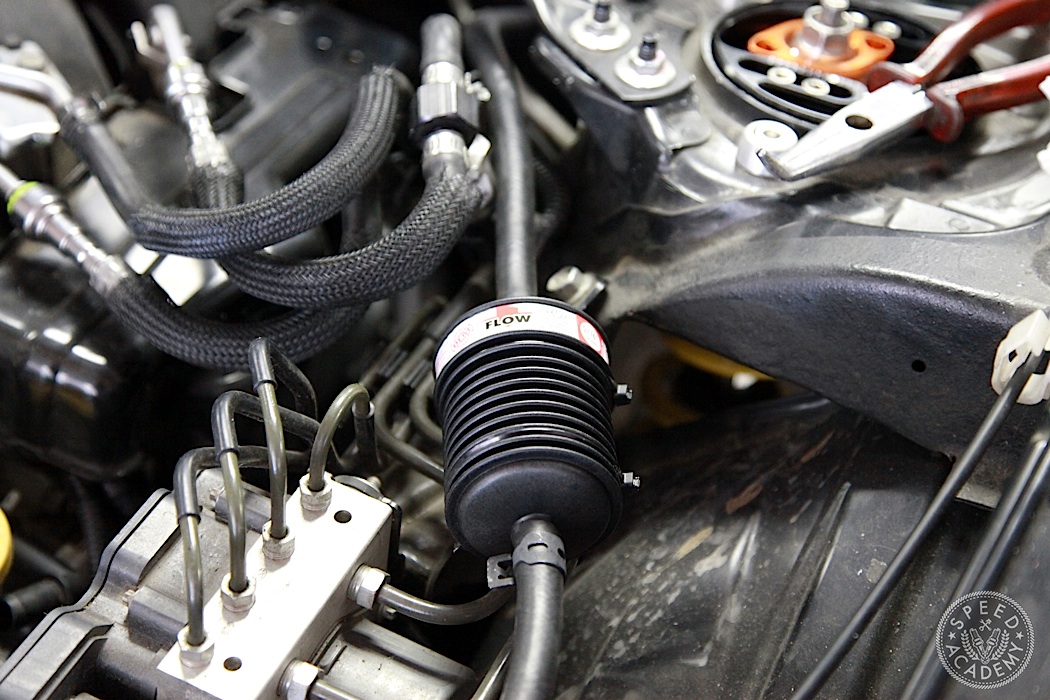
Steps 64 to 66 involve installing the filter, which ends up being ziptied in position near the ABS distributor block and then running the oil lines from the reservoir to the Rotrex.
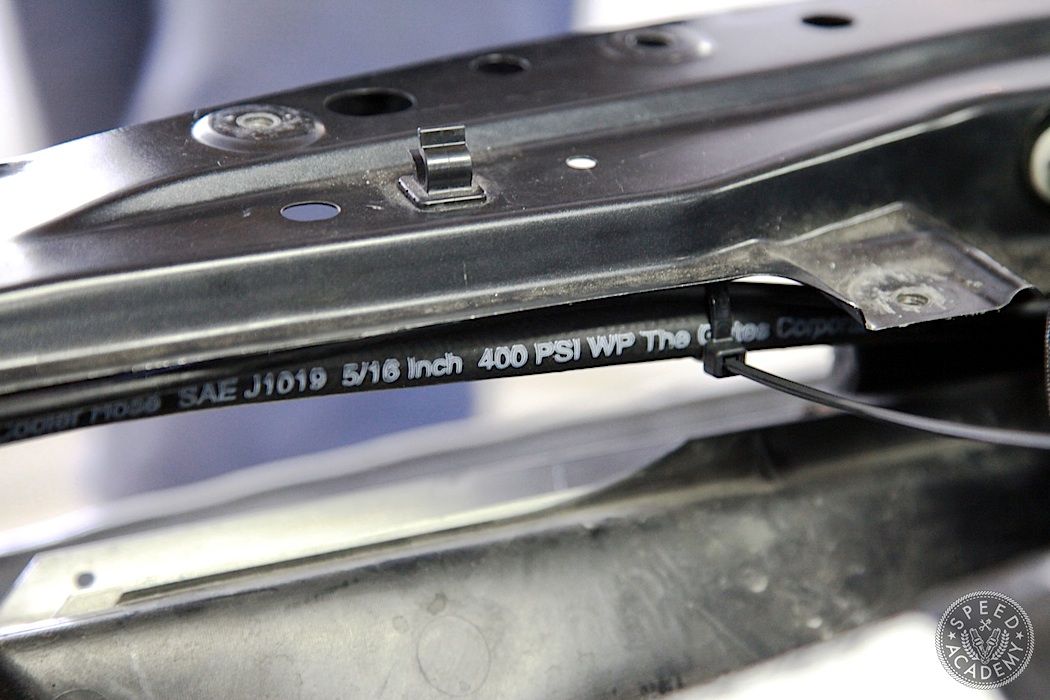
The instructions for running and routing the Rotrex oil lines are very well done, as each length of hose is different and goes in a specific location. It’s all very painless if you just take it step by step. We really like the way the lines are routed to protect them, including running them along the underside of the upper rad support. Plus the hose is again high quality stuff from Gates. Step 67 is to fill the Rotrex oil reservoir with the supplied Traction Drive oil, which as you’ll see in our video is blue and much thinner than engine oil.
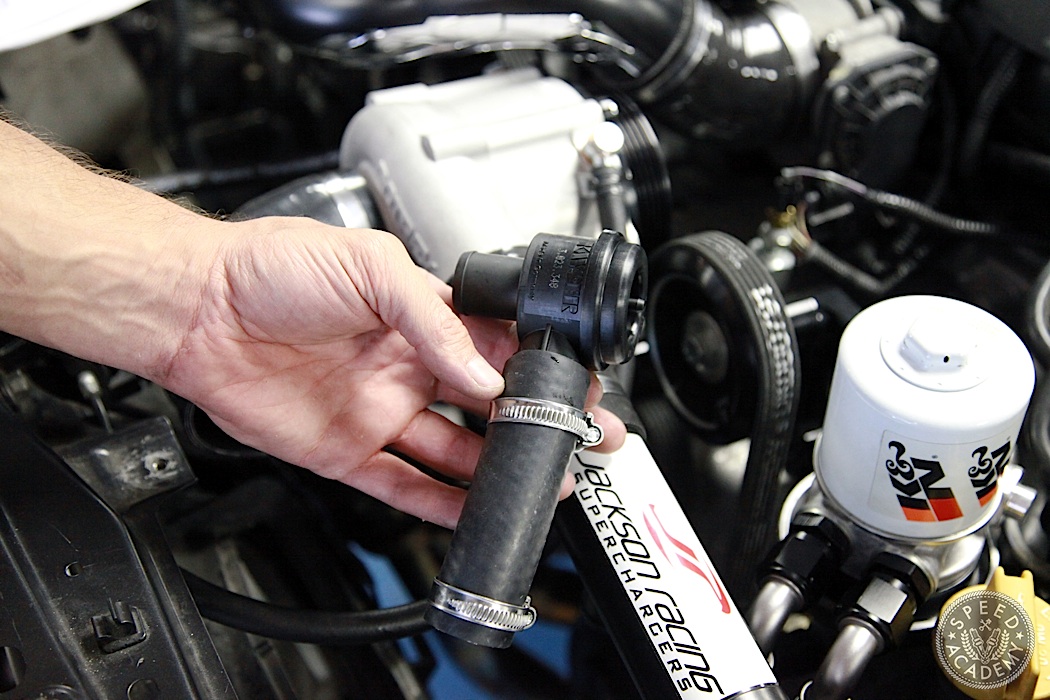
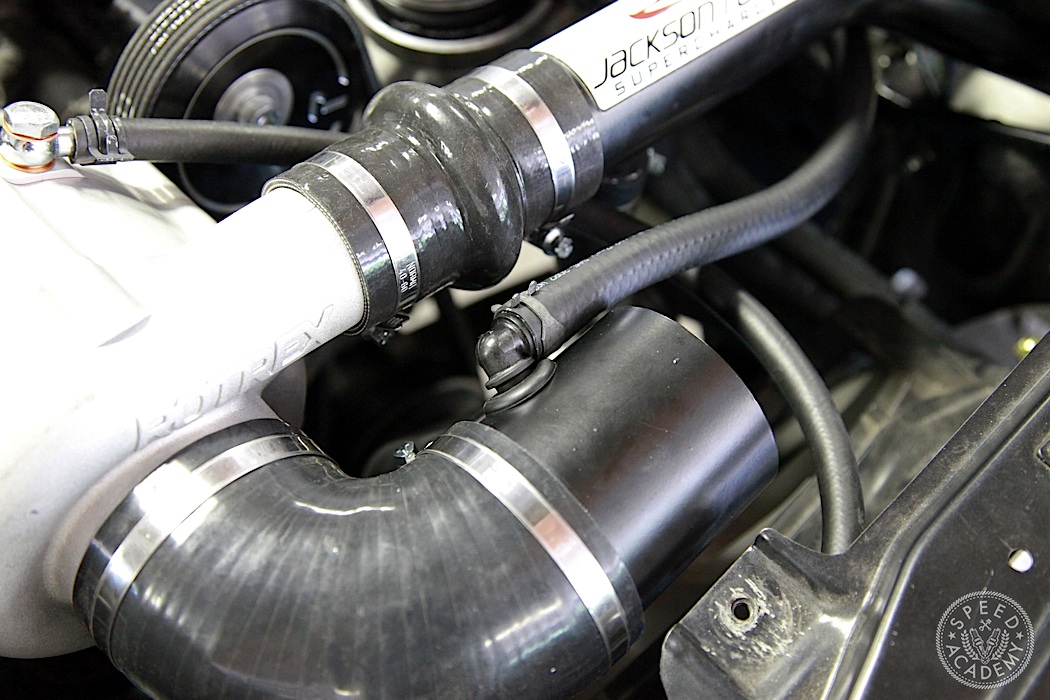
Step 68 to 72 cover installing the vacuum t-fitting and bypass valve on the compressor exit tube. As you can see, the bypass valve fits on the underside of the compressor exit tube and is recirculated back to the compressor inlet so that it’s not venting to atmosphere (which is an emissions no-no, and for you Cali dudes this kit is CARB certified so it’s completely street-legal even in the People’s Republic of California).
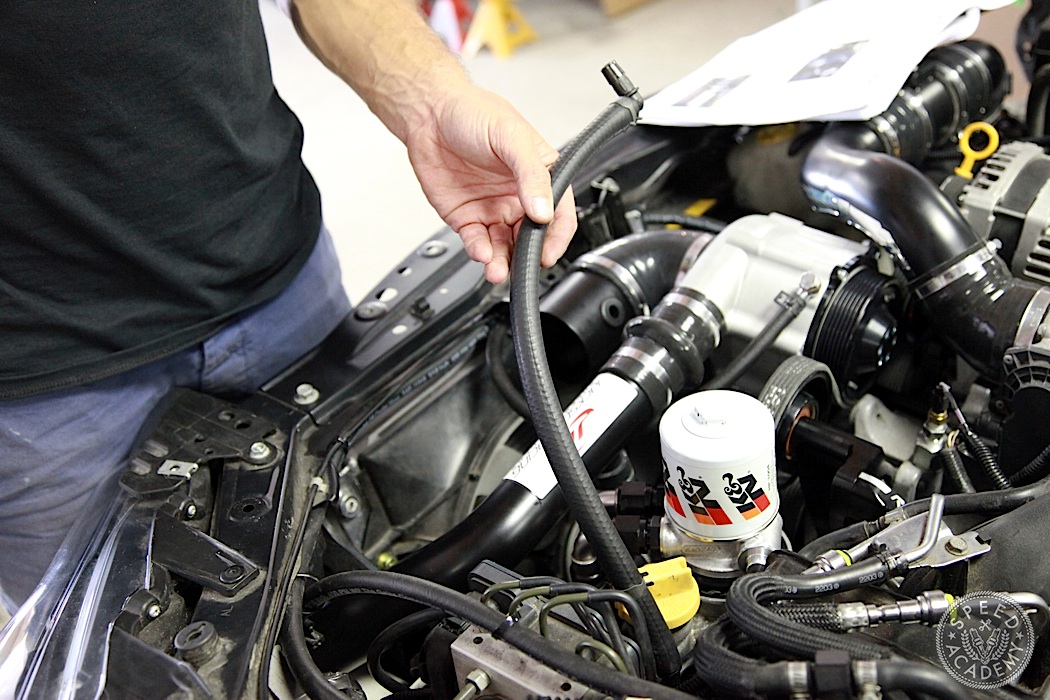
Steps 73 to 76 cover completing the intake system, including plugging the valve cover vent hose that we routed around the oil filler neck and plugging it into the rubber grommet on the inlet tube.
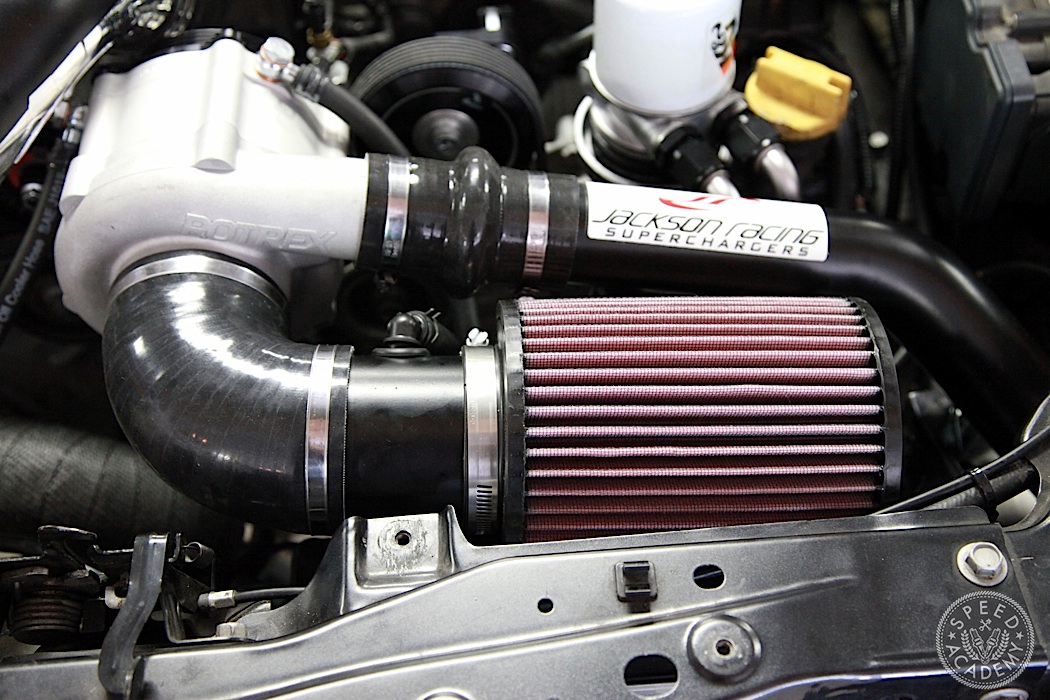
After that came the satisfying job of installing the air filter and tightening all the hose clamps once we were happy with the positioning of everything.
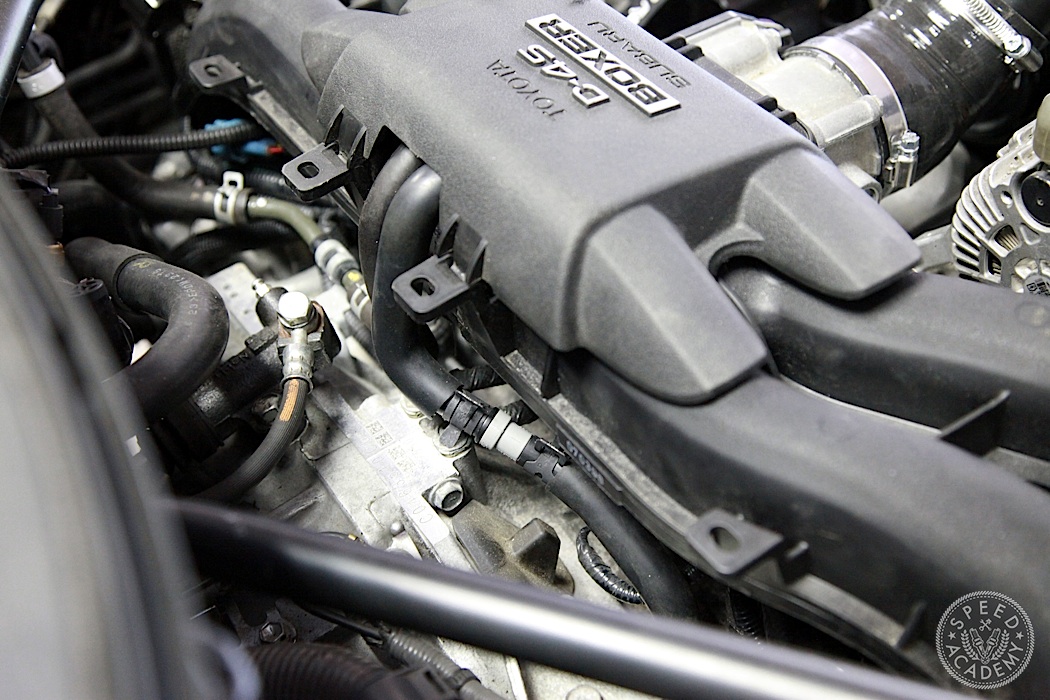
We skipped Step 77 since it involves the windshield washer fluid reservoir and moved on to installing the supplied PCV valve (Step 78). This requires removing the PCV hose on the back of the intake manifold, cutting it in half, inserting the high-performance PCV valve (a one-way check valve) into the hose and clamping it in place before reinstalling the hose. Should the intake manifold’s pressure be higher than that of the crankcase, the PCV valve closes to prevent reversal of the exhausted air back into the crankcase again, and given the higher cylinder pressures that come with forced induction a high-performance valve here is particularly important.
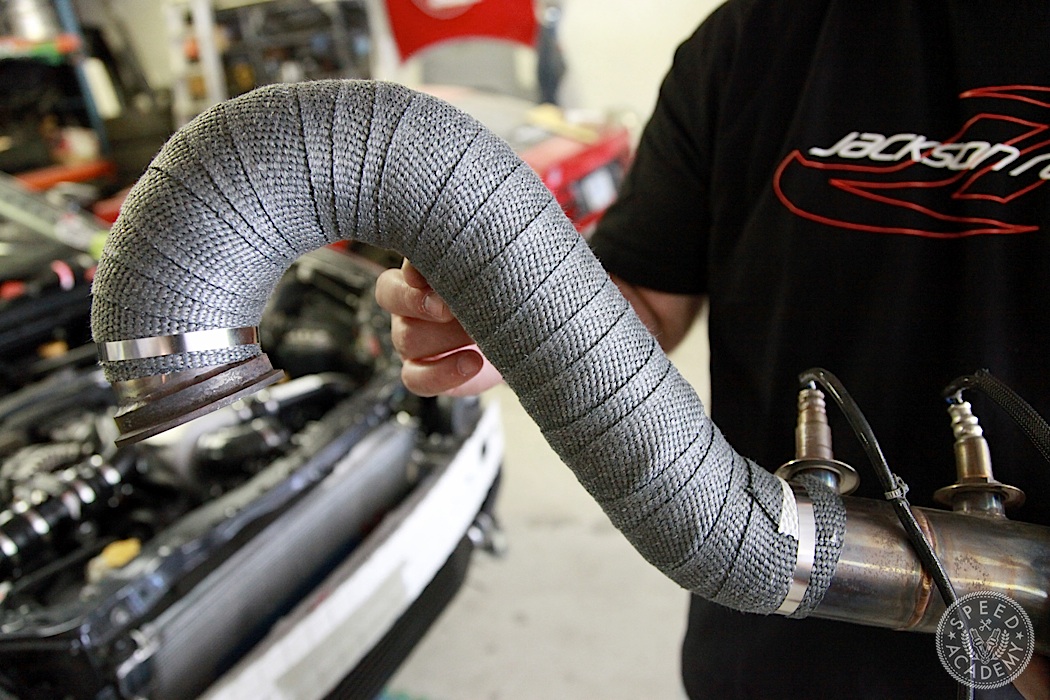
The last steps are to reinstall the front bumper (Step 79), prime the Rotrex oil system and checking for leaks (Steps 81 thru 83) at which point we’re ready to fire this sucker up! Step 80 deals with the JR ECU tune, but since we’re having Sasha from OnPoint Dyno do a custom tune for us, it didn’t apply to us. Plus we took a few extra steps to control heat by wrapping our JDL Auto Design equal length header in some heat wrap and applying some silver heat reflective tape to the underside of the throttle body tube where it passes over the supercharger.
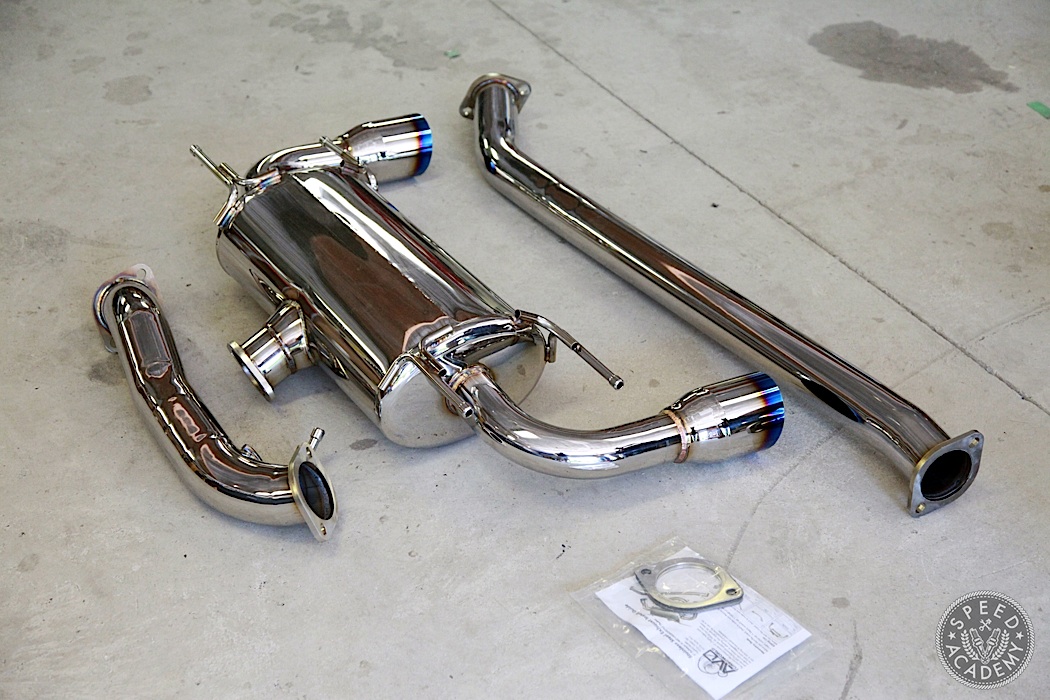
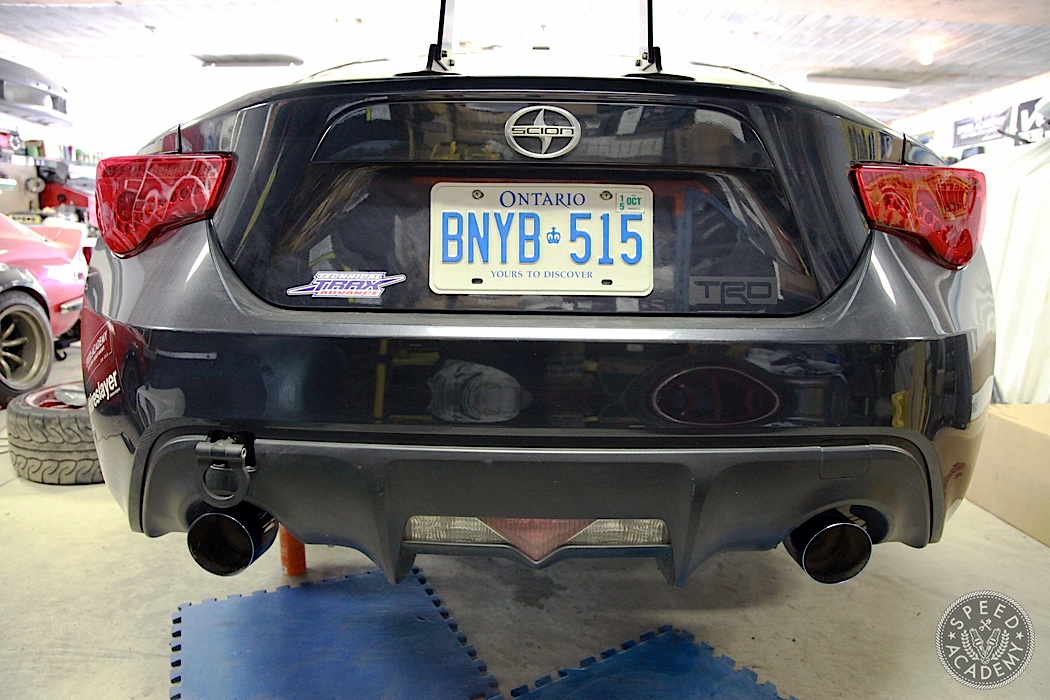
We also decided to replace the single exit HKS exhaust we ran at Targa last year (it got pancaked a bit during that event) with what we hope will be a quieter and thus street-friendlier 3” stainless cat-back system from AVO Turbo World via site sponsor Turn14 Distribution. As you’ll see in the video below it does seem relatively quiet at idle (once the engine warms up) thanks to the large double-exit muffler, so we’re hoping it’ll be a lot easier on the ears while highway cruising. We’ll report back on that once Sasha works his ECU tuning magic for us. If nothing else, we do really like the way the AVO system looks, since having two exhaust tips really does look correct with the factory rear bumper cover.
That wraps up this Jackson Racing supercharger kit and engine oil cooler kit installation guide. We hope you find it helpful should you decide to install this kit yourself, or that it inspires you to give this kit a try based on how intelligently its been engineered and how thoroughly its been integrated with the OE systems. We were extremely impressed by the completeness of the both kits, the level of detail in the installation manuals, and the overall quality of every components used, right down to the custom brackets, hose clamps, and nuts and bolts.
We’ll be hitting the dyno in a couple days, but until then here’s our installation video. Dyno results and track testing results coming soon!

This guide really helped me fill in the gaps for my install. ThankS so much for the post. Race on bros!
How may I purchase a Jackson racing kit for my FR-S