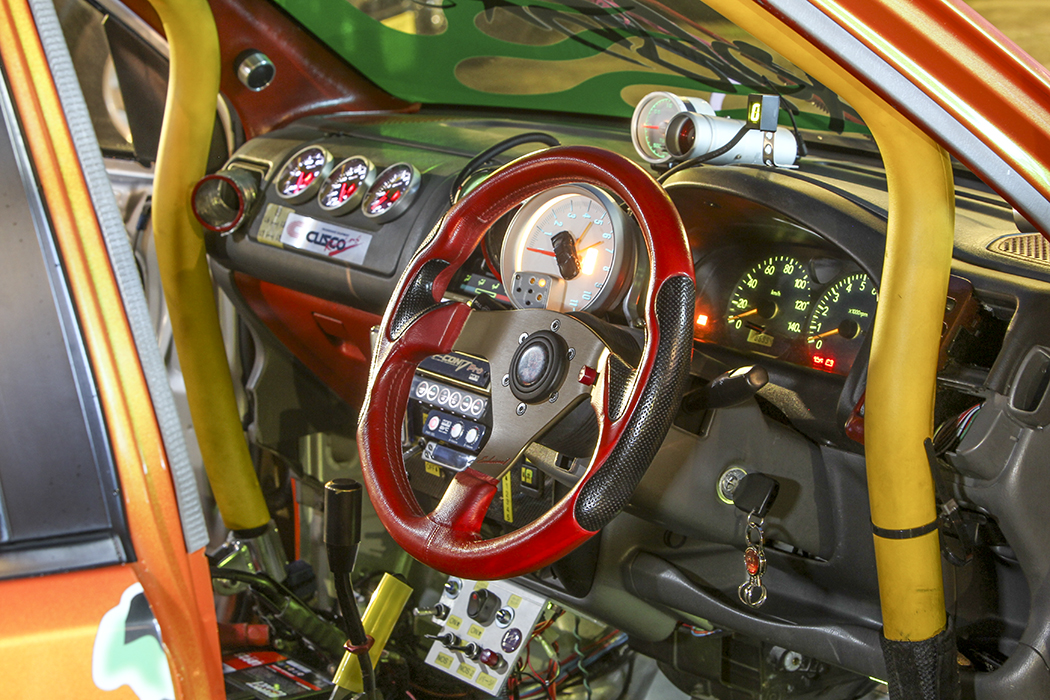
If you’re idea of a a cool street car is a vehicle that omits the gawdy body kits and high rise wings and instead is more or less a clean, stock bodied ride with a nice set of wheels and proper ride height, then I’m going to hazard a guess and say you’re not into a circus of gauges mounted onto your dash or a-pillar either.
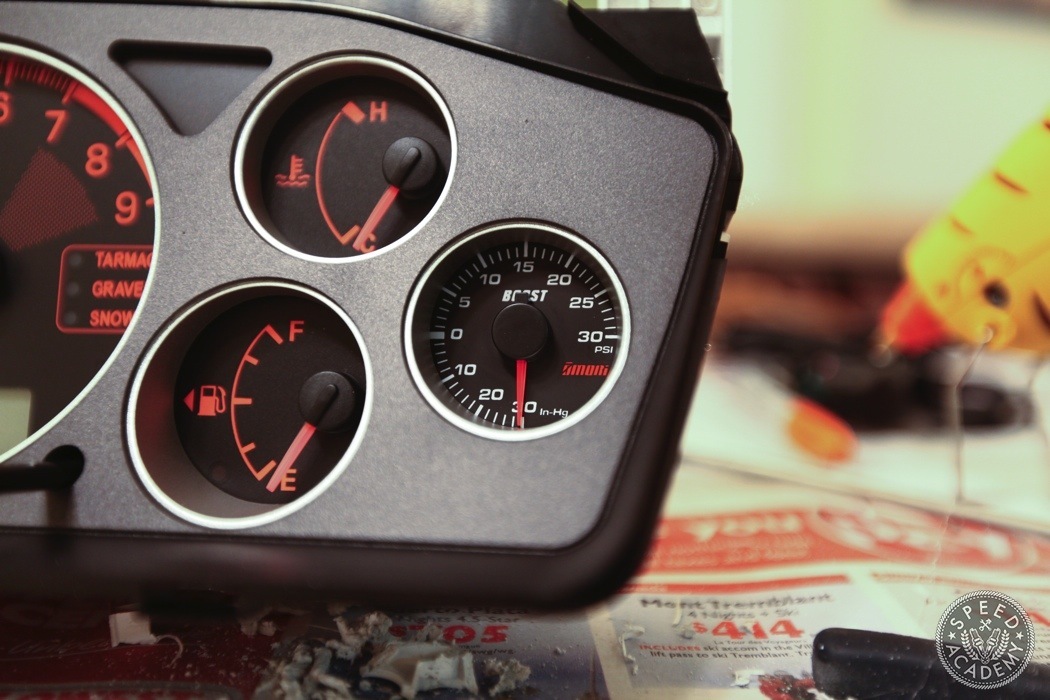
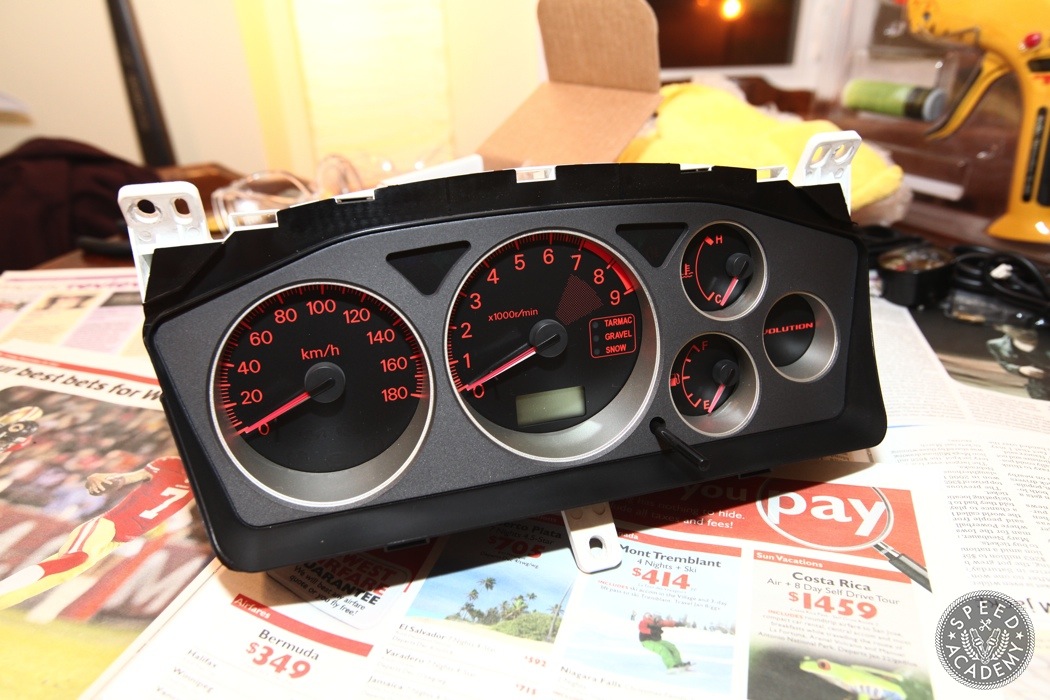
Instead, you may be looking to install a gauge or two into your car without attracting too much attention to it. If that’s the case then this article is for you. Bear in mind, every gauge cluster is different and the one I’m using here, out of a 2003 Mitsubishi Lancer Evolution is the perfect candidate for a stealth boost gauge install.
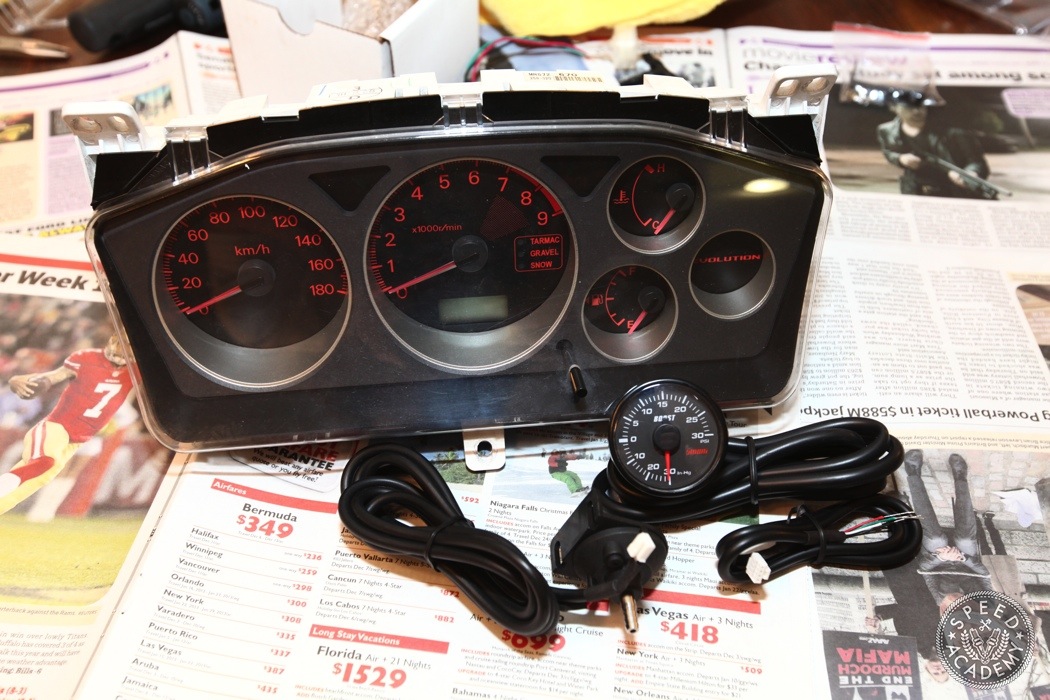
However, there are other gauge clusters that may or may not be well suited for the same type of install. The best way to figure out is to it apart, carefully of course. Then examine the cluster and determine if there’s space for a gauge.
So lets get started. Most typical sizes for gauges are 52mm and 60mm. Both of which, are too large for the Evo’s gauge cluster. Thankfully, there’s a company called Omori that makes a 45mm electronic boost gauge and it just so happens to be the perfect size for the smaller circular display in the Evo’s cluster. You can buy the gauge online at J-Spec Tuning and at $100 bucks it’s very affordable.
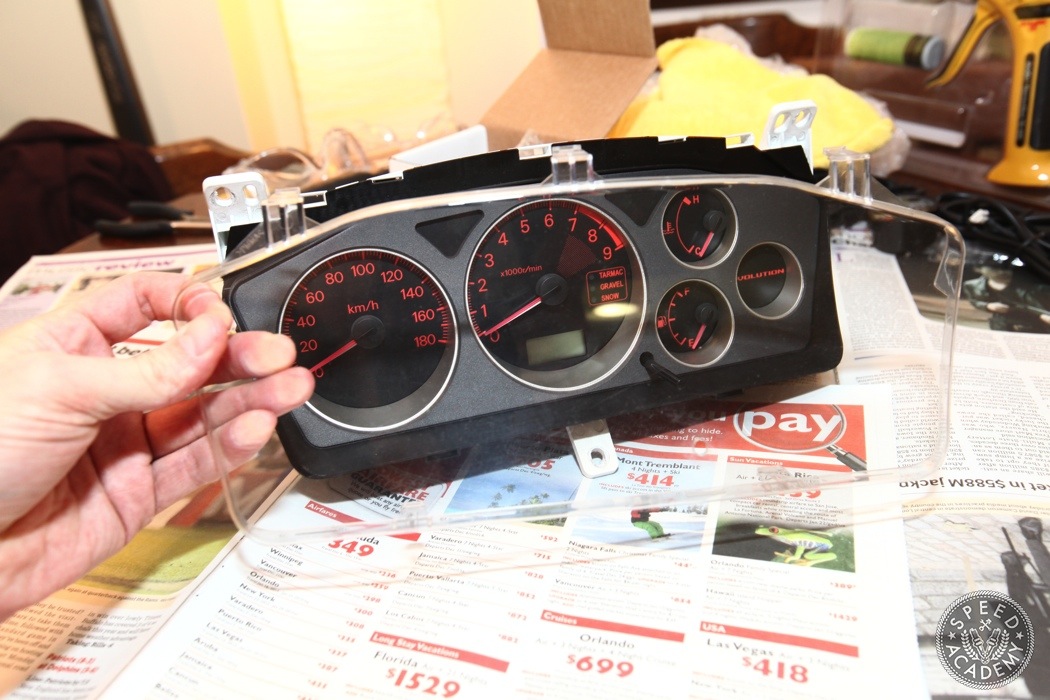
First things first. Remove the plastic clear face from the cluster. Be slow and gentle as pulling too hard on one side can crack it real quick. Don’t ask me how I know that.
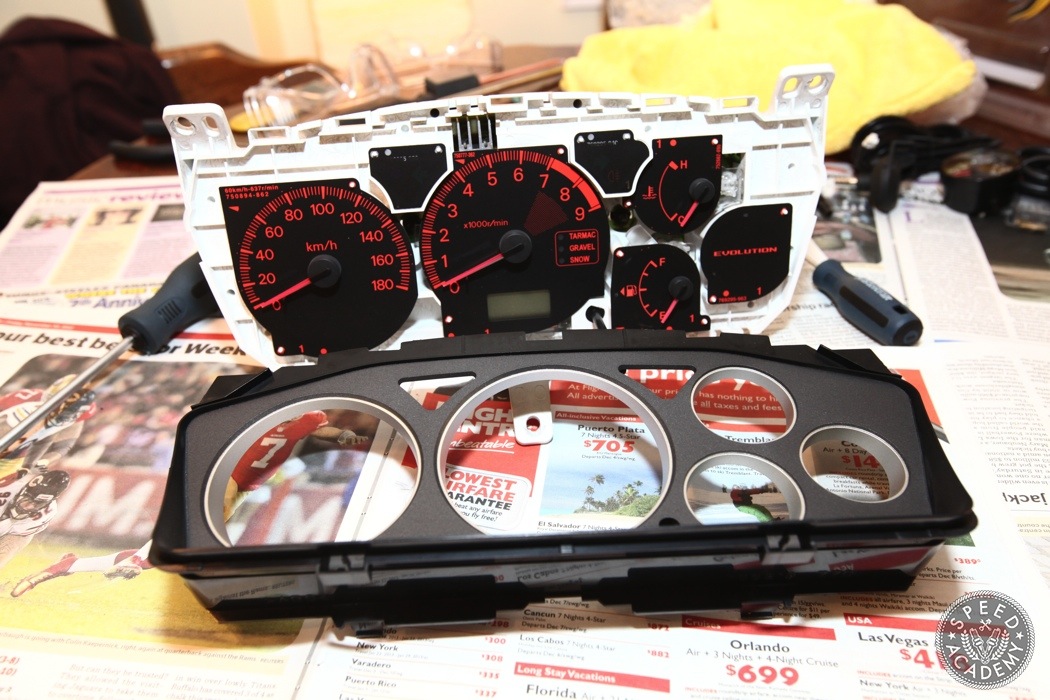
Next, remove the trim ring face to expose the gauges.
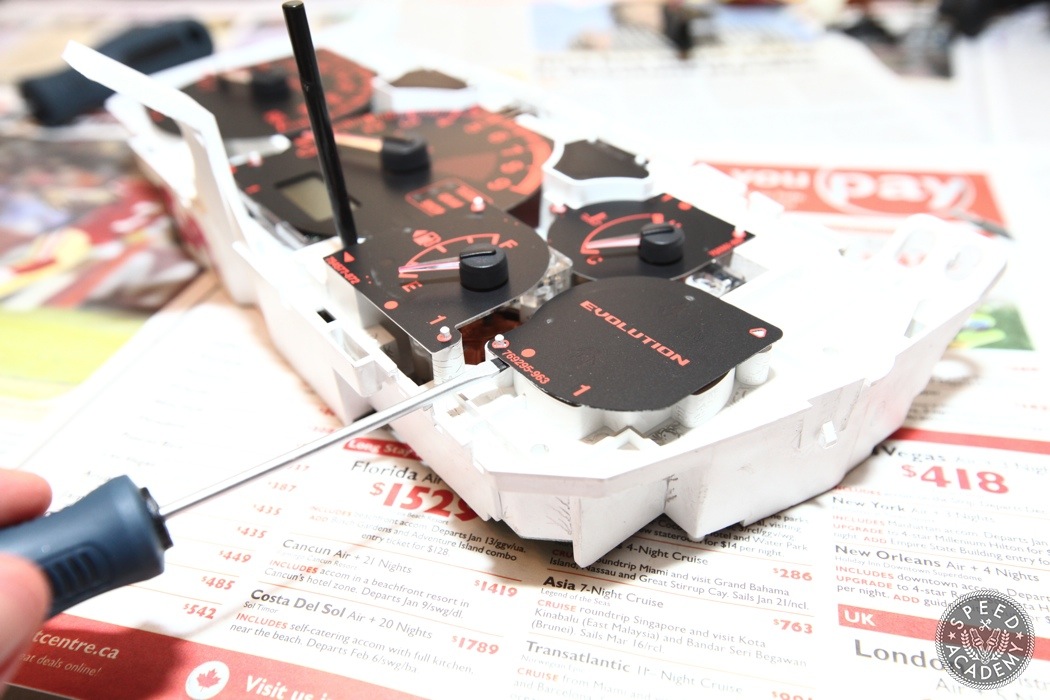
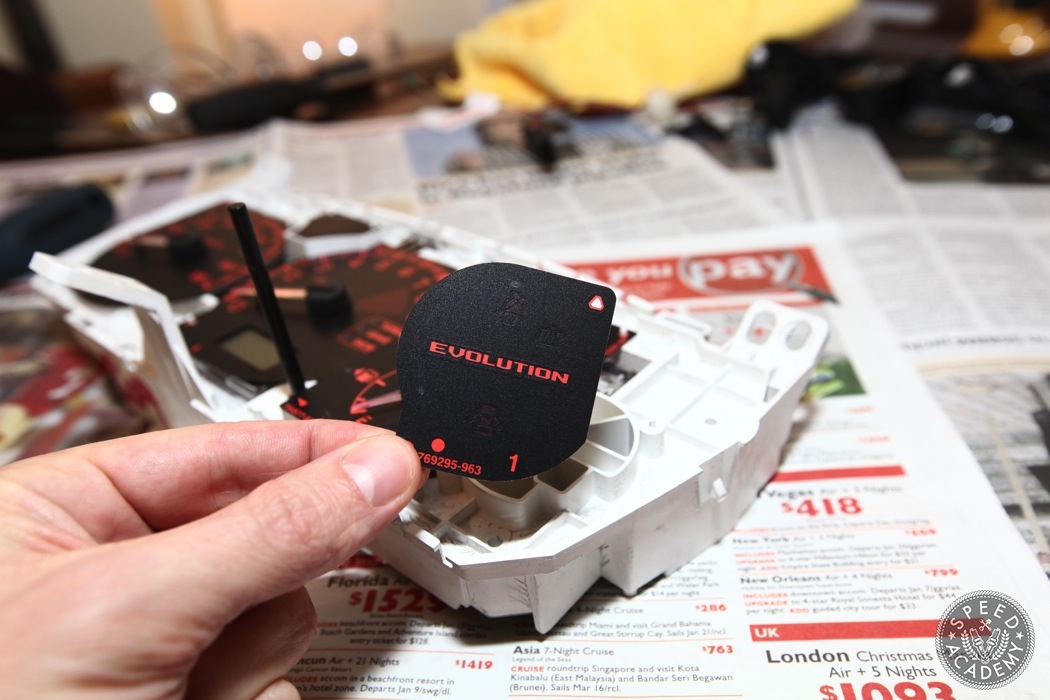
Mitsubishi made it real easy for us, the gauge faces are press fit and the one we’re replacing simply pops up with the use of small screwdriver.
We’ll be loosing the fasten seatbelt, open door(s), and intercooler sprayer illuminations but the trade off is a good one considering how important monitoring boost pressure is on a turbocharged car.
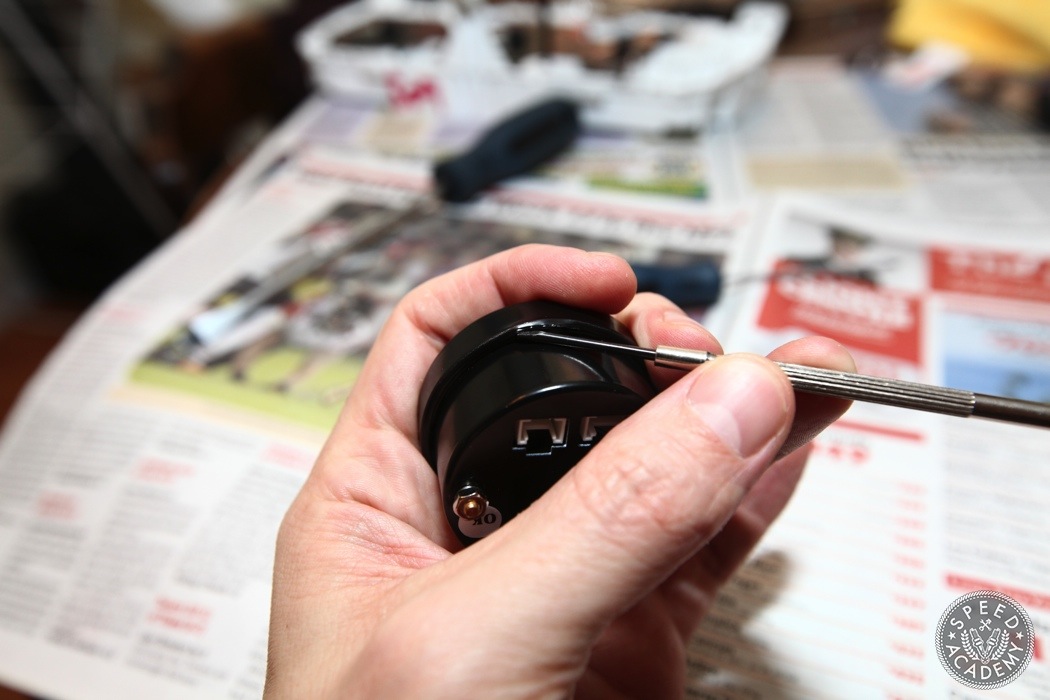
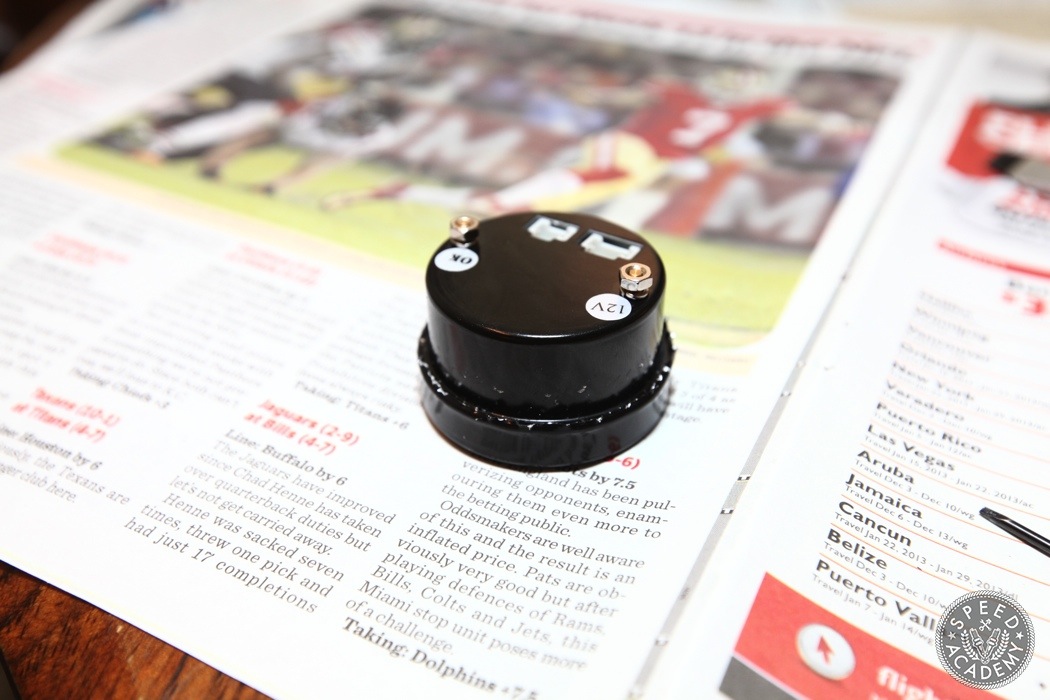
Before you go any further with the cluster, you’ll want to disassemble the Omori gauge apart because you’ll need to use it for testing fitting very shortly. Using a small screw driver, pry the bezel away from the side of the gauge.
Go all the way around until the bezel is loose.
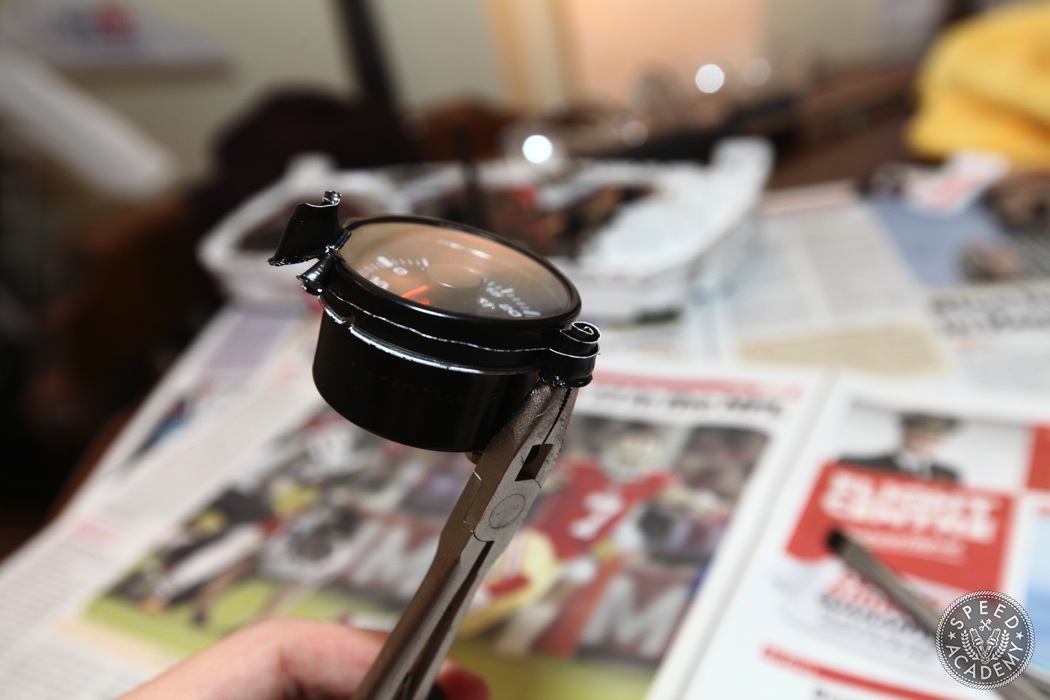
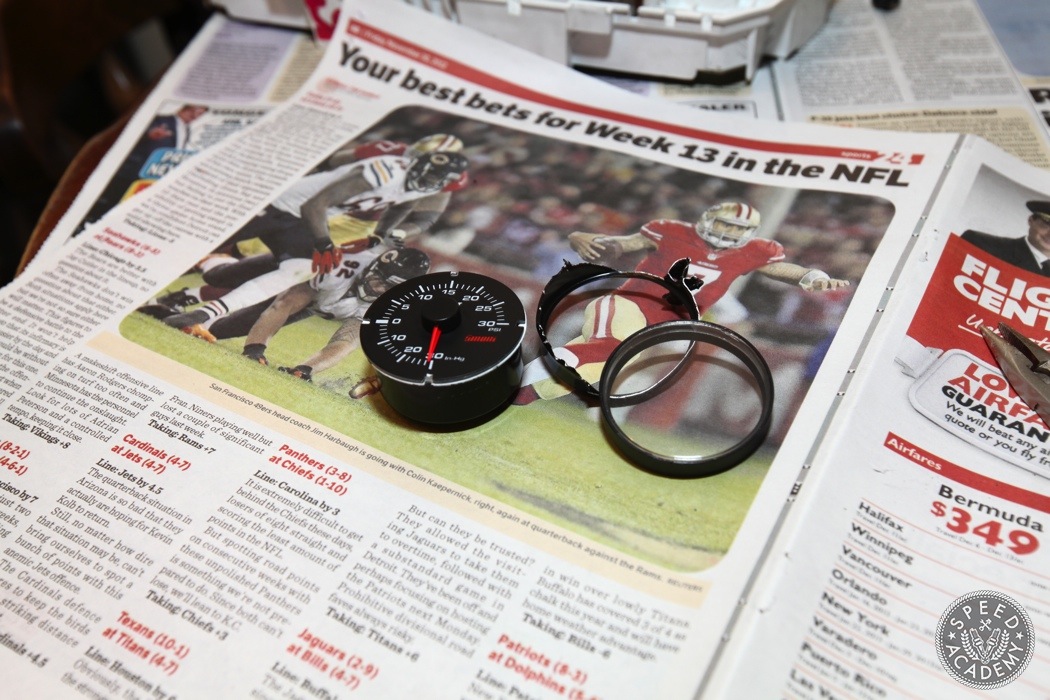
Using a set of small needle nose pliers, pry and grab hold of the thin sheet metal and start twisting it like you’d do opening up a can of Spam.
This is the end result. An exposed gauge face that can now sit flush with the Evo’s gauge cluster.
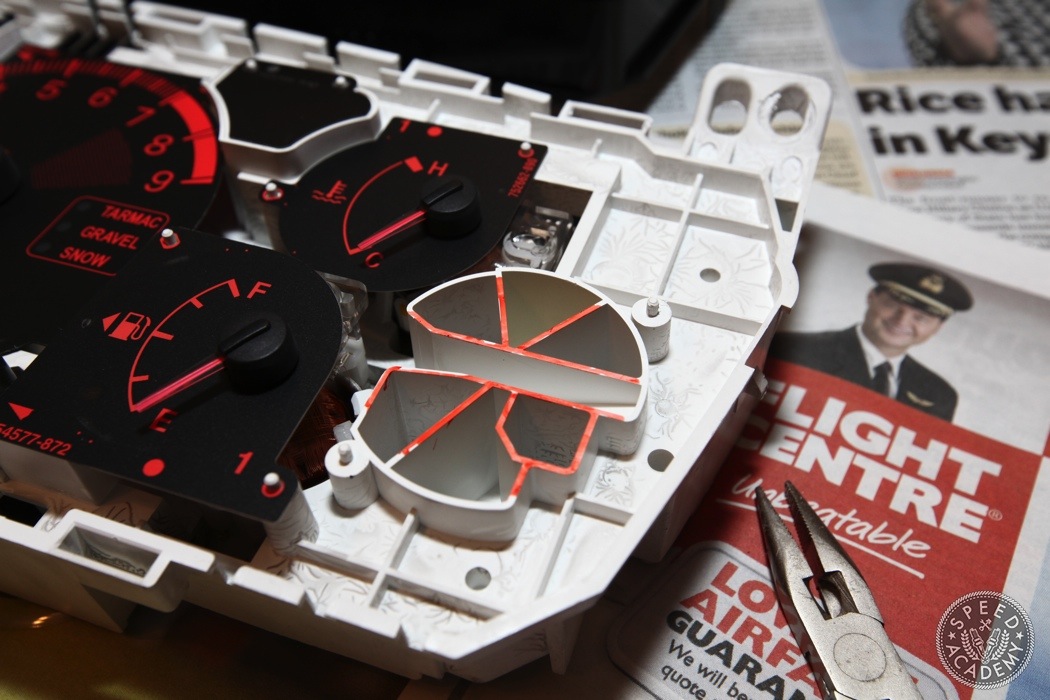
Speaking of, measure the size of the hole you’ll need to cut into the plastic and highlight the area. you’ll want to be conservative here because we can never add material back on but we can certainly remove it.
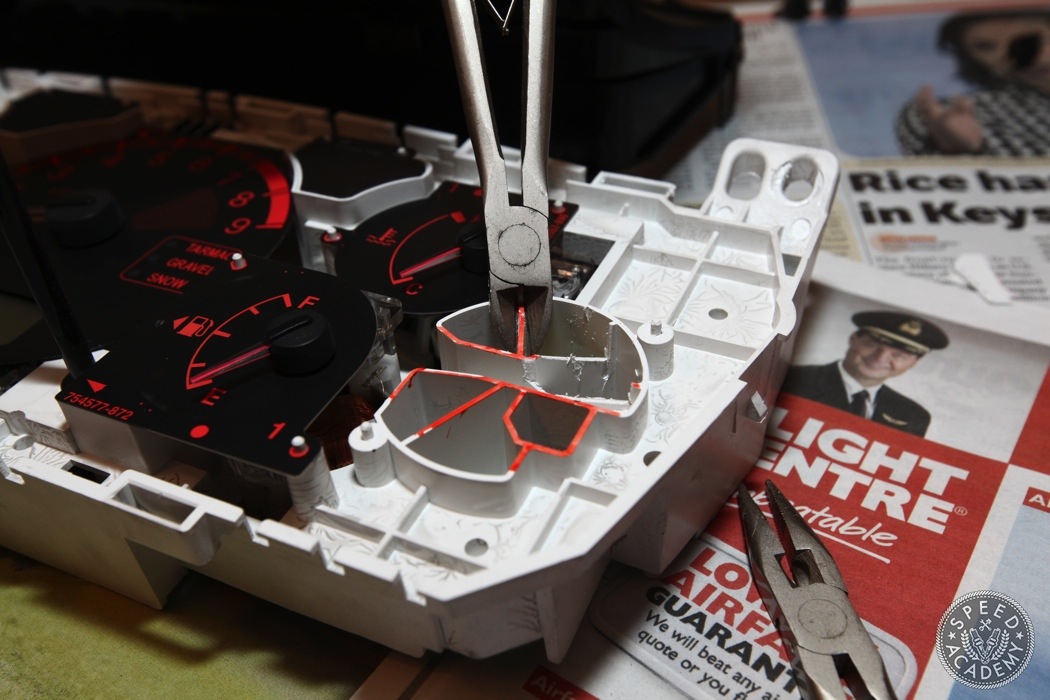
I started off with a simple set of wire cutters and cut the thin plastic walls first.
Nice work PT!, lucky that Mitusubishi had that spot that you could install that in without affecting the rest of the gauges.
KenWagan Yes man! I was wondering how many other gauge clusters are similar but the Evo is pretty much the perfect candidate for this type of install.
Do you have to leave any
ridges when you cut away the plastic. I want to try this this weekend,
but I am afraid of not being able to get it centered enough for the
needle to move. It looks like all of the ridges were gone on the inside
of the circular plastic where the gauge goes.
I’m done thanks for the tutorial. I did not have to cut the circuit board at all, because i plugged the wires in first. I did shorten the gauge needle by .5 mm to insure proper function for years to come.