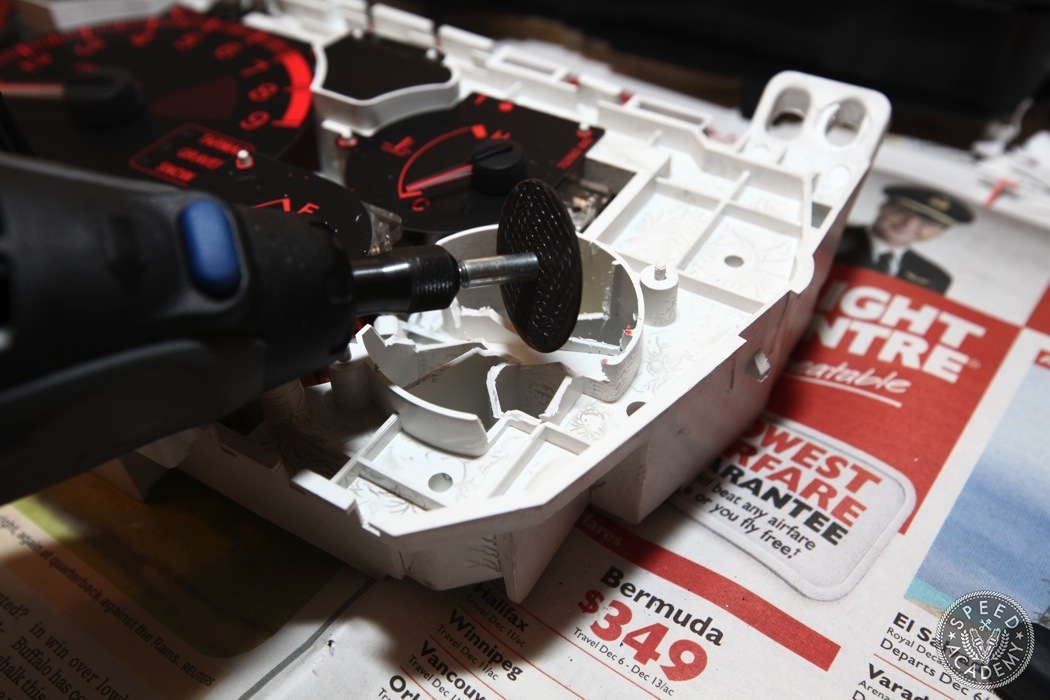
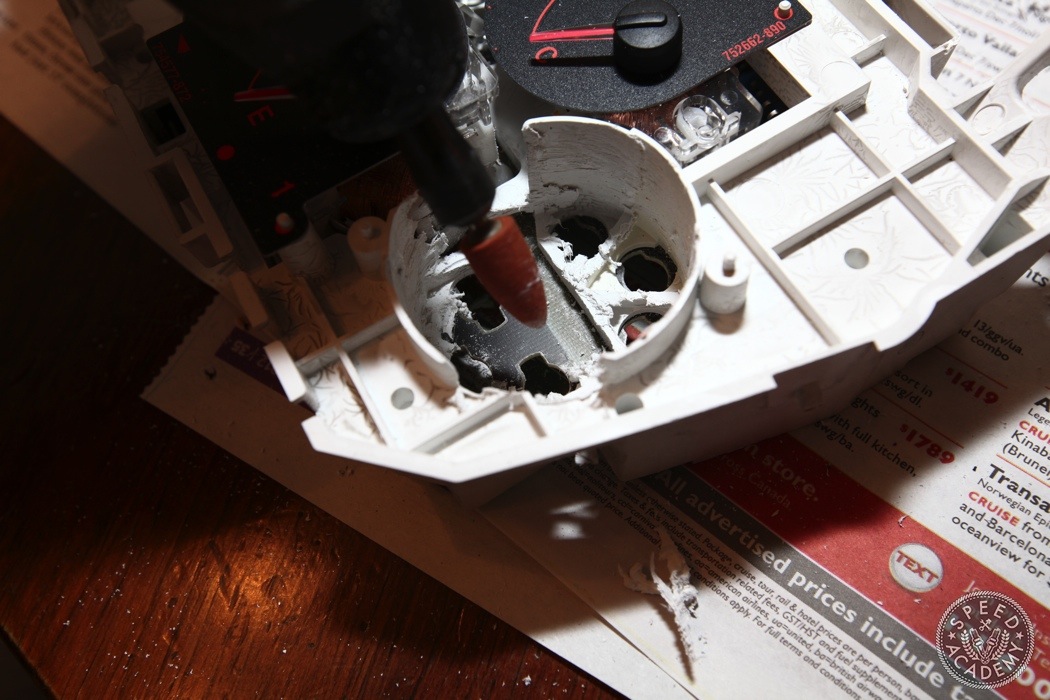
When I couldn’t use the cutting pliers anymore, I resorted to the ultimate small-job, DIY-tool, the glorious Dremel.
Drop your gauge into the opening often to check your progress and ensure that you’re not cutting too much material out.
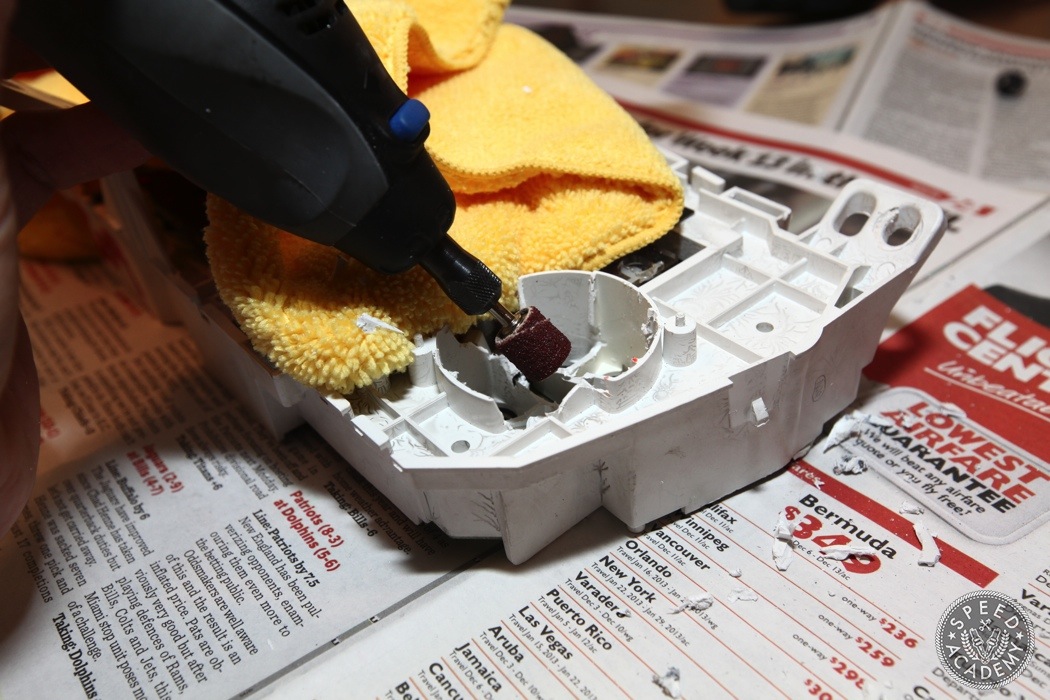
For the final stages of plastic removal, a sanding bit comes in very handy and makes great work of the ridges left on the inside walls of the housing.
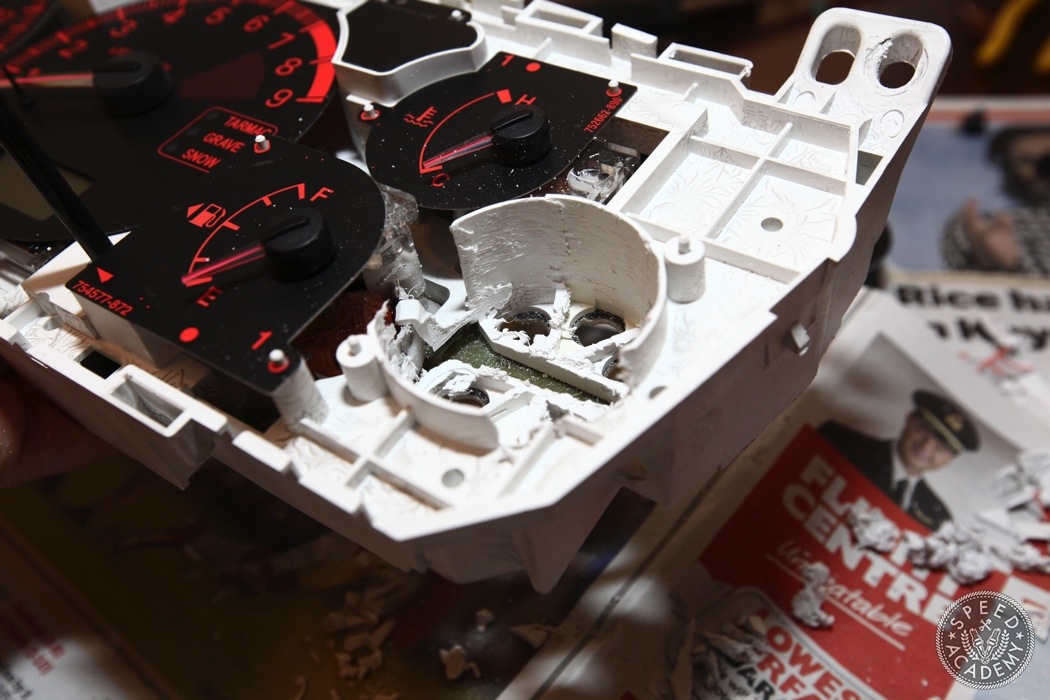
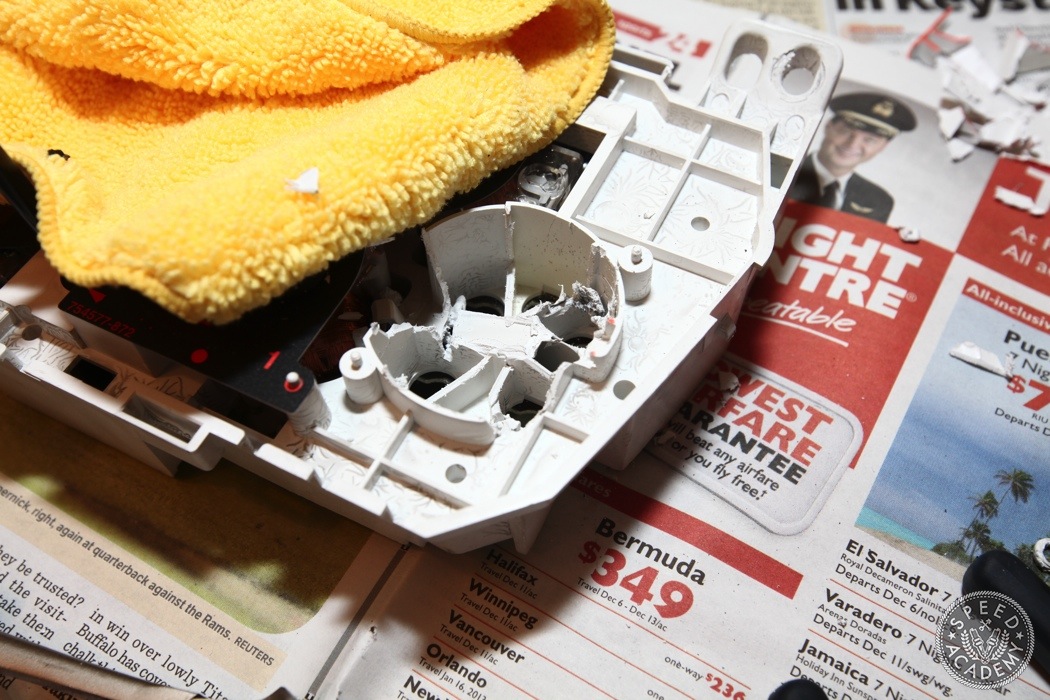
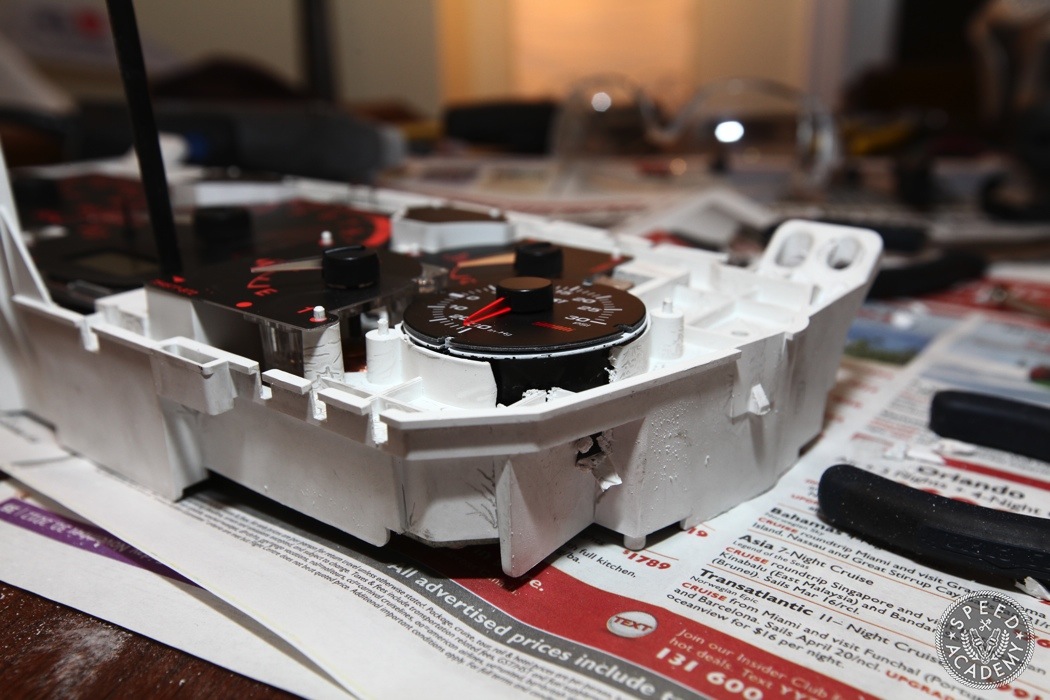
This is what the near final gutted gauge housing looks like. As you can see a lot of material needs to be removed and it’s dangerously close to the electronics for the gas gauge so be careful!
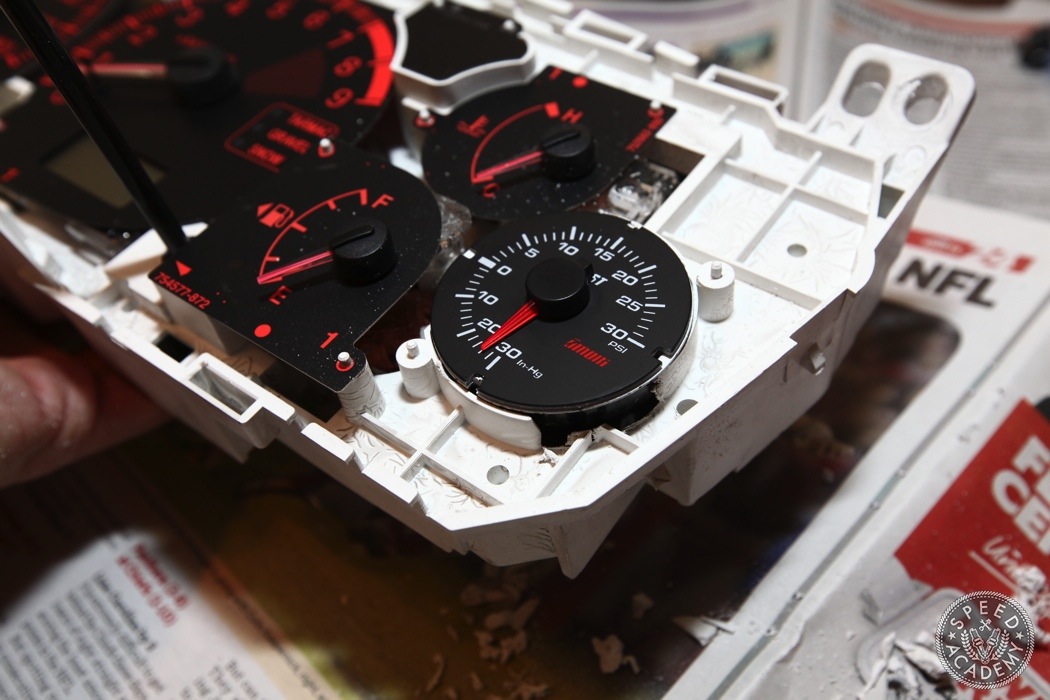
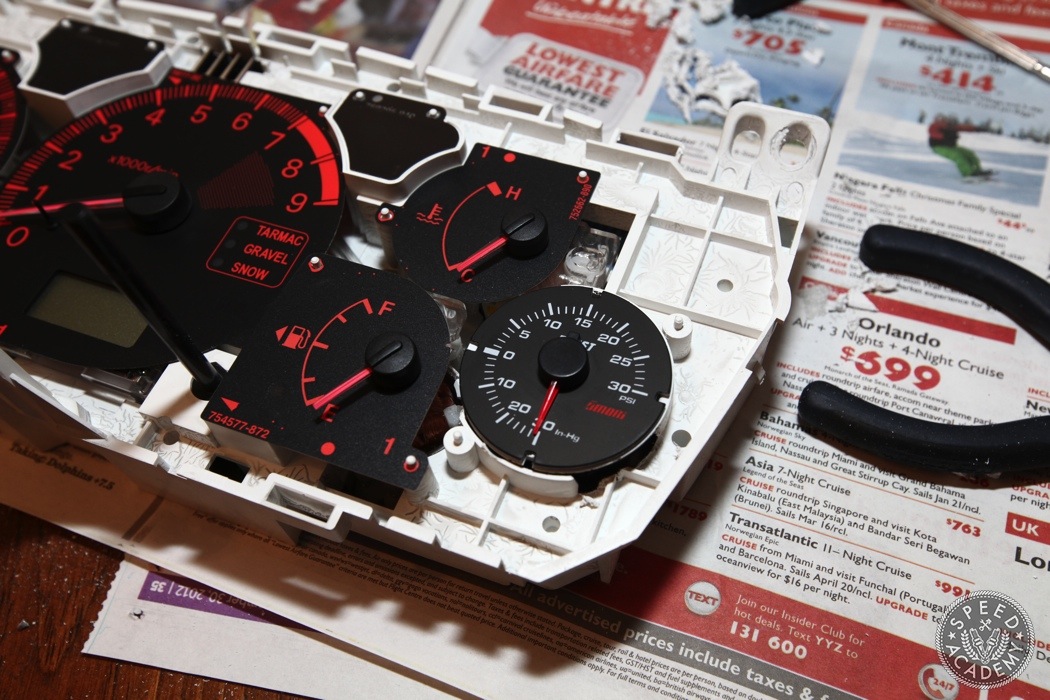
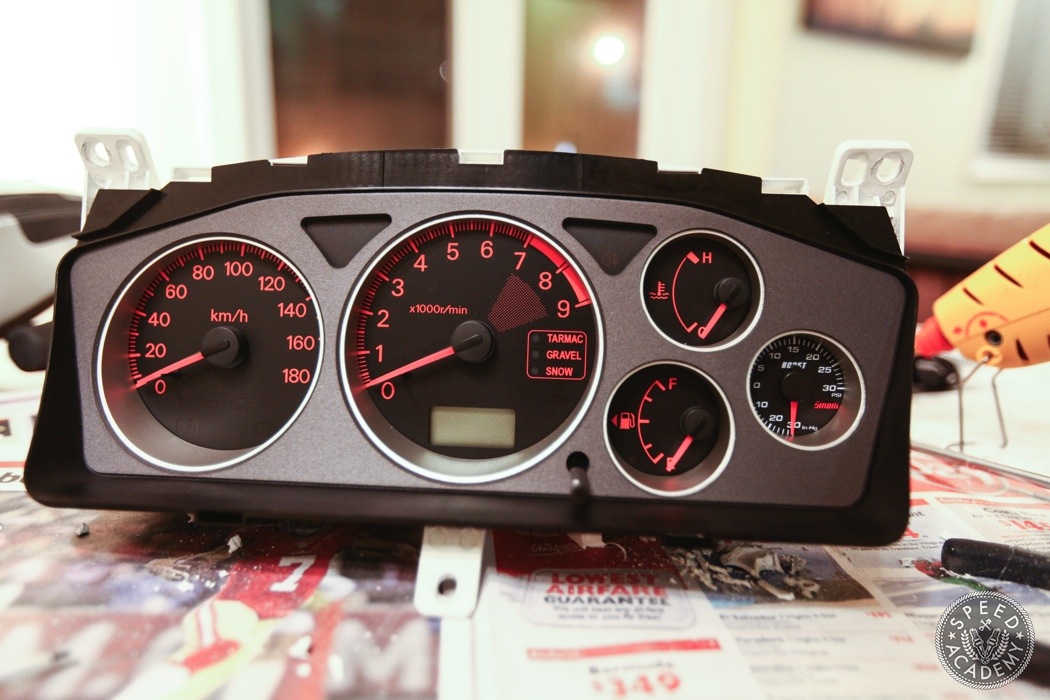
Just look how well the Omori gauge fits in there. It’s a shame the gauge can’t be purchased with a red numerical face then it would completely match the Evo cluster.
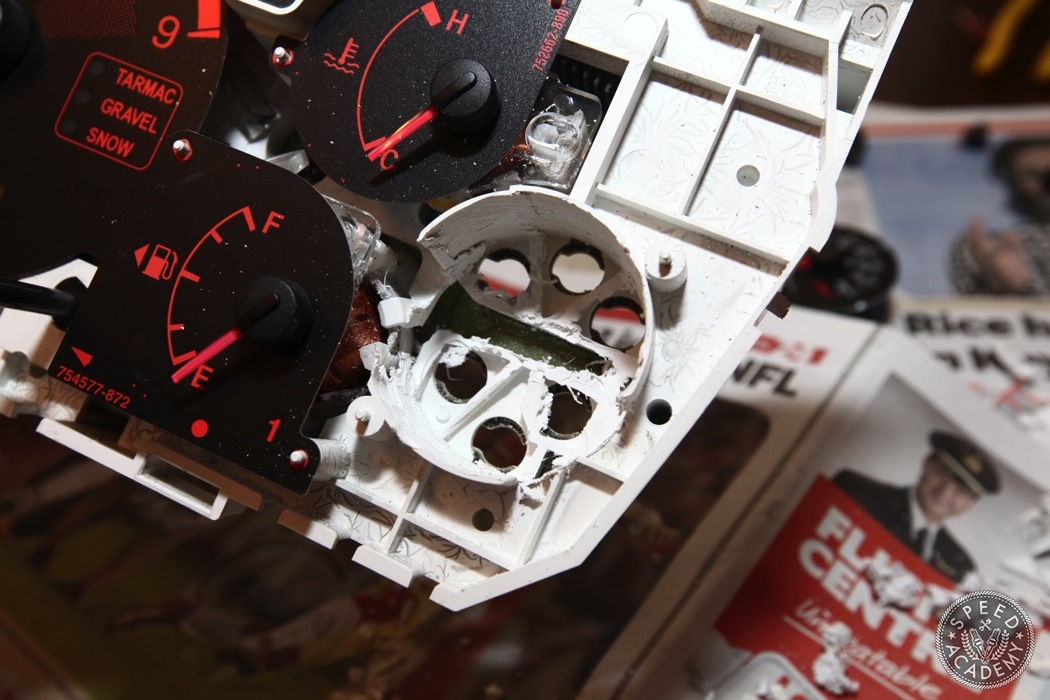
The next order of business is to cut a little deeper and through the electrical main board because we need to be able to plug the Omori gauge into its connectors.
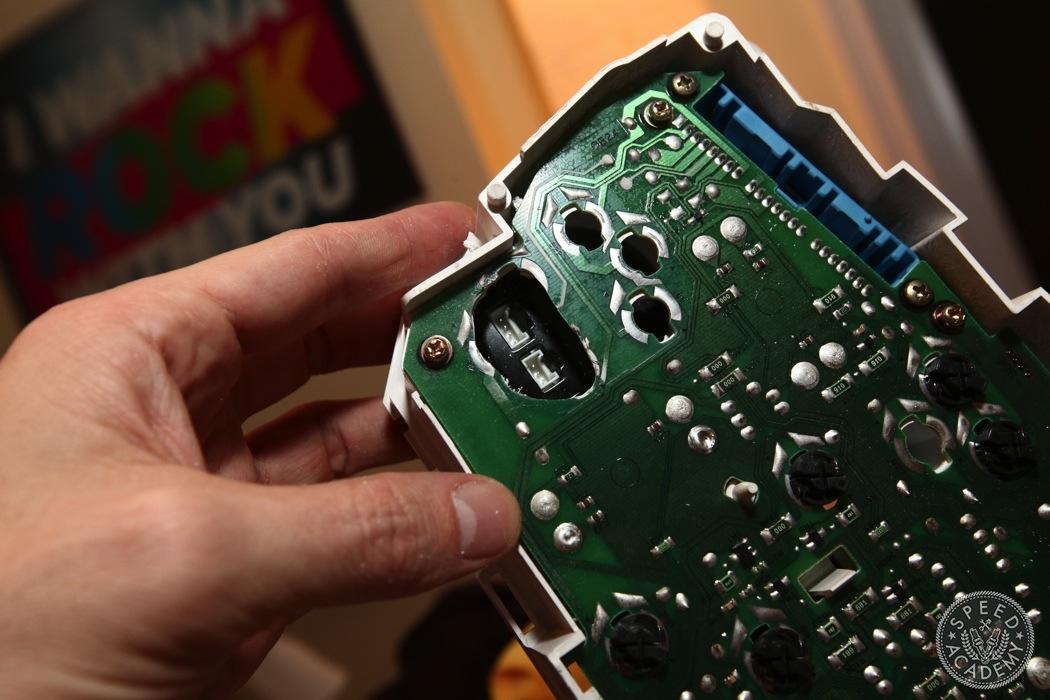
Here’s a good view of how much I cut out. Thankfully, the only leads that got hacked out were for bulb lighting so everything else on the gauge still functions 100% correctly.
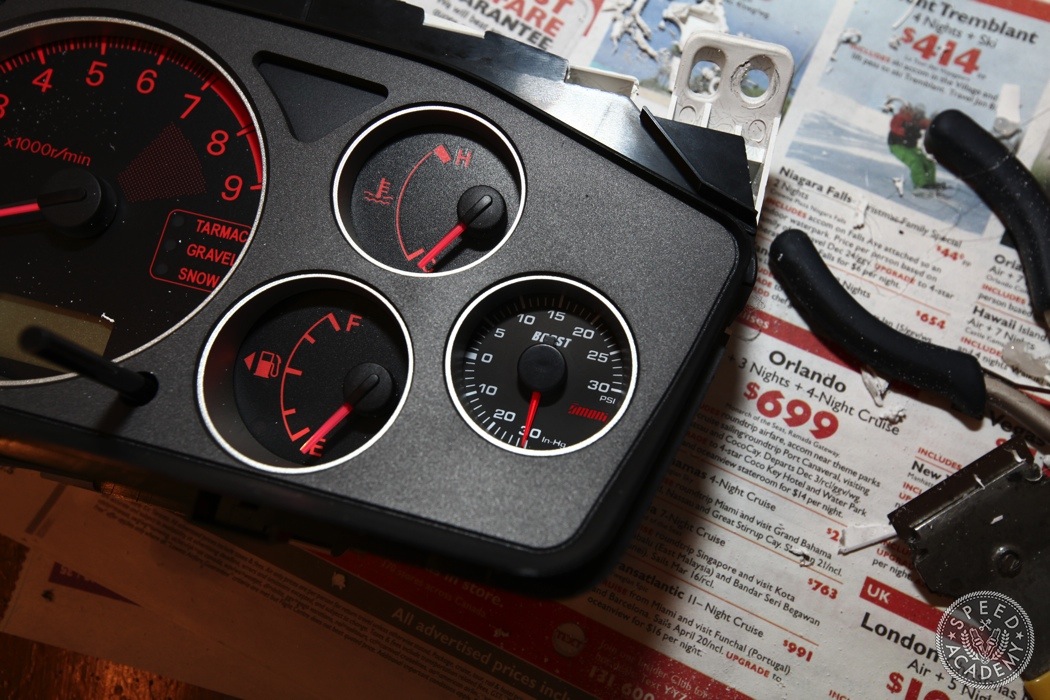
Before you go glueing the boost gauge into it’s final spot. Test fit the trim ring face and make sure your alignment is spot on. The needle is extremely close to the edge of the ring so if you mis-align the gauge, the needle may hit. Use your finger and slide it through its full motion to ensure no contact.
Then carefully remove the cover and pump some hot glue between the exposed areas of the gauge and housing.
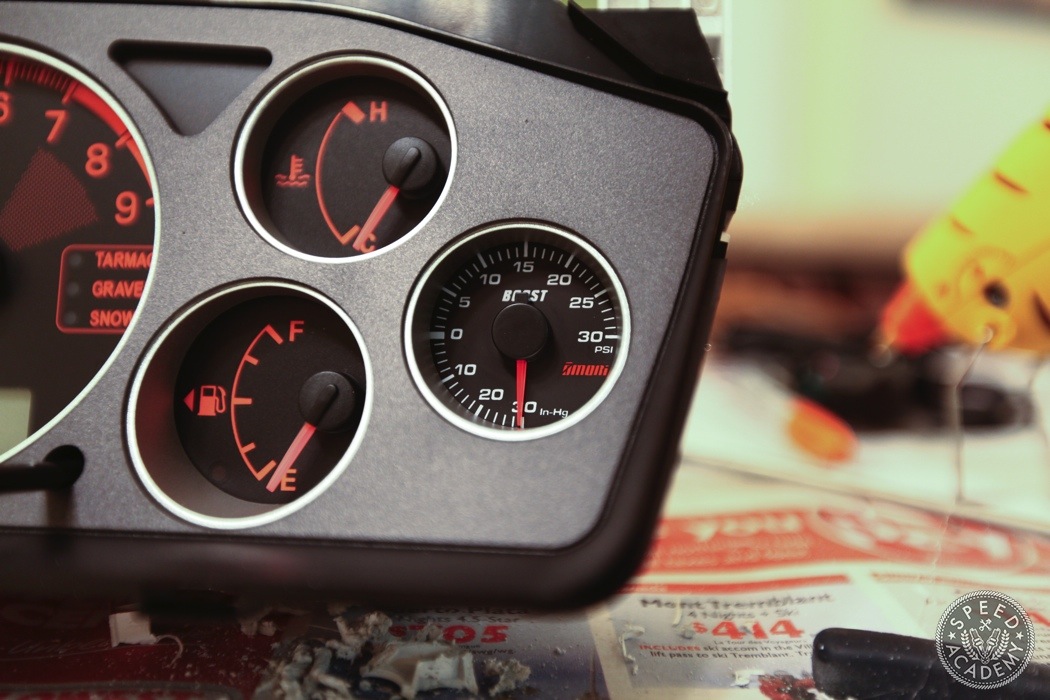
Double check your fitment and if the gauge is spot on then you’ve just completed the install. It’s time for a high five!
Now that’s what I call a stealth boost gauge install! I’m not going to cover wiring the gauge up because I hope you don’t need coaching how to wire power, ground, and lighting. As for installing the boost gauge pressure sensor in the engine. There are a million how-to’s that explain it in great detail.
I hope this install give you some ideas to try out on your own gauge cluster.

Nice work PT!, lucky that Mitusubishi had that spot that you could install that in without affecting the rest of the gauges.
KenWagan Yes man! I was wondering how many other gauge clusters are similar but the Evo is pretty much the perfect candidate for this type of install.
Do you have to leave any
ridges when you cut away the plastic. I want to try this this weekend,
but I am afraid of not being able to get it centered enough for the
needle to move. It looks like all of the ridges were gone on the inside
of the circular plastic where the gauge goes.
I’m done thanks for the tutorial. I did not have to cut the circuit board at all, because i plugged the wires in first. I did shorten the gauge needle by .5 mm to insure proper function for years to come.