starlet
EP82 Toyota Starlet Racecar Build Part 6:
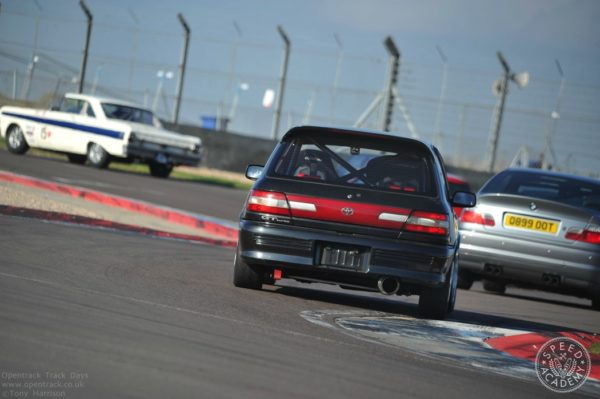
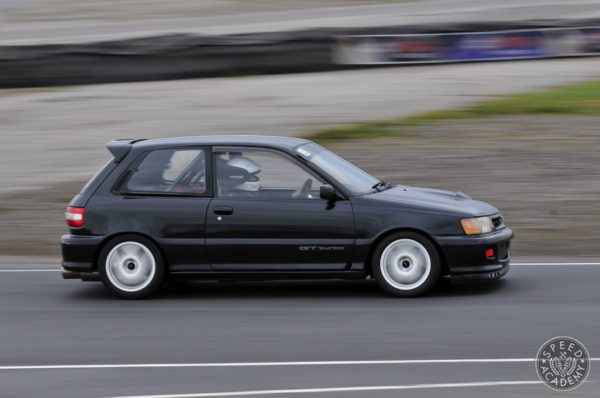
Toyota Starlet Racecar Build Part 5:
First Track Test + Video!
Toyota Starlet Racecar Build Part 4:
ECU Mapping & Big Brake Upgrade
Toyota Starlet Racecar Build Part 3:
Fuel & Oil System Upgrades
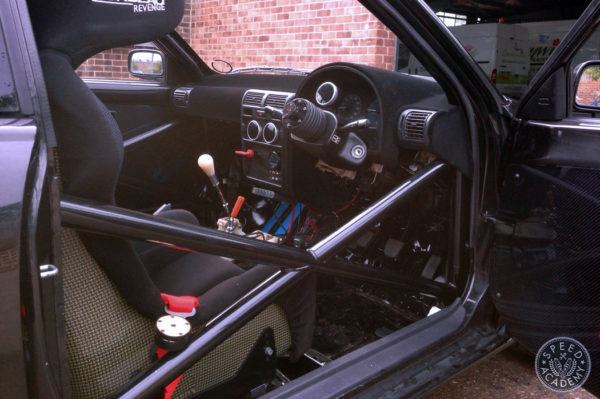
Toyota Starlet Race Car Build Part 2:
Adding Lightness & Safety
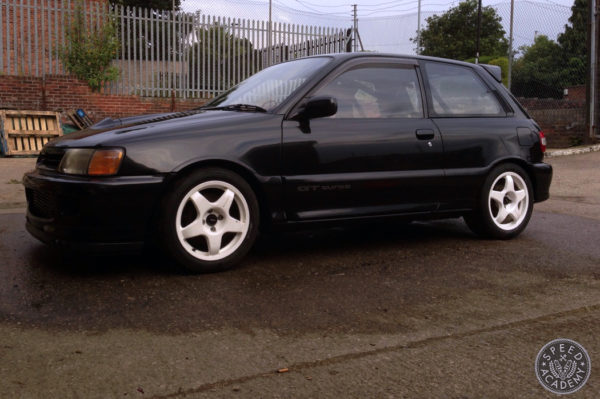
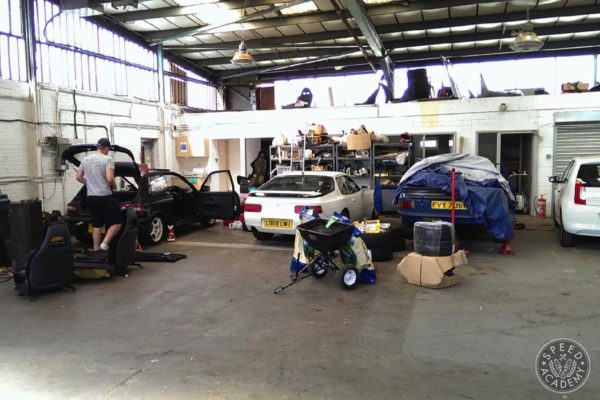
Introducing Tim Darracott’s
Toyota Starlet Race Car Build