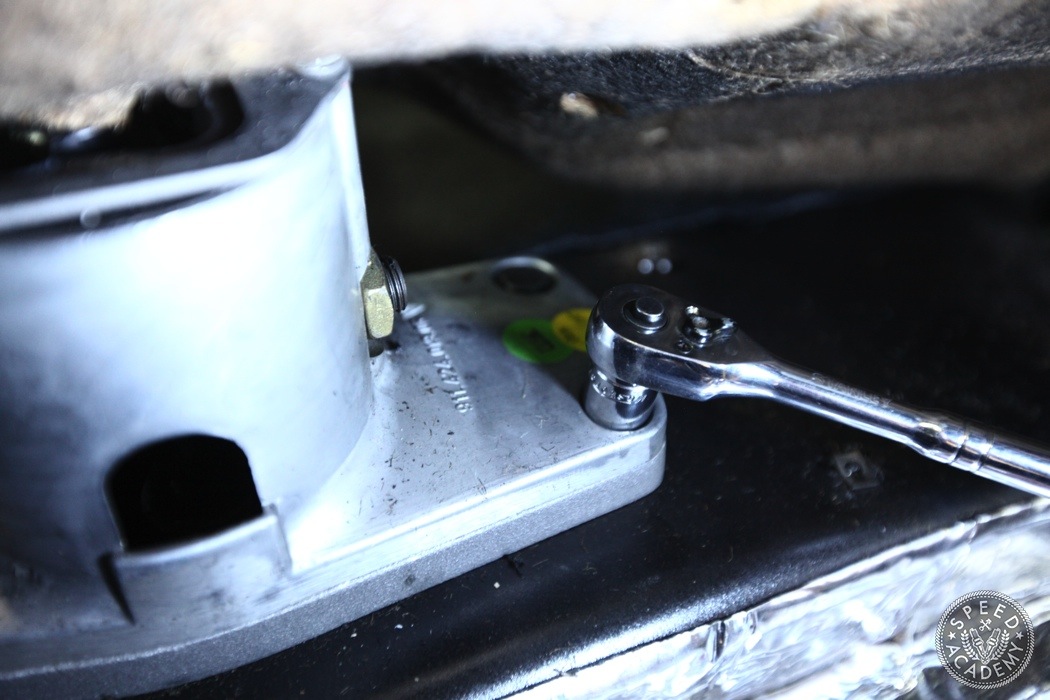
There are three large bolts and two smaller ones holding it in place. Remove all of them.
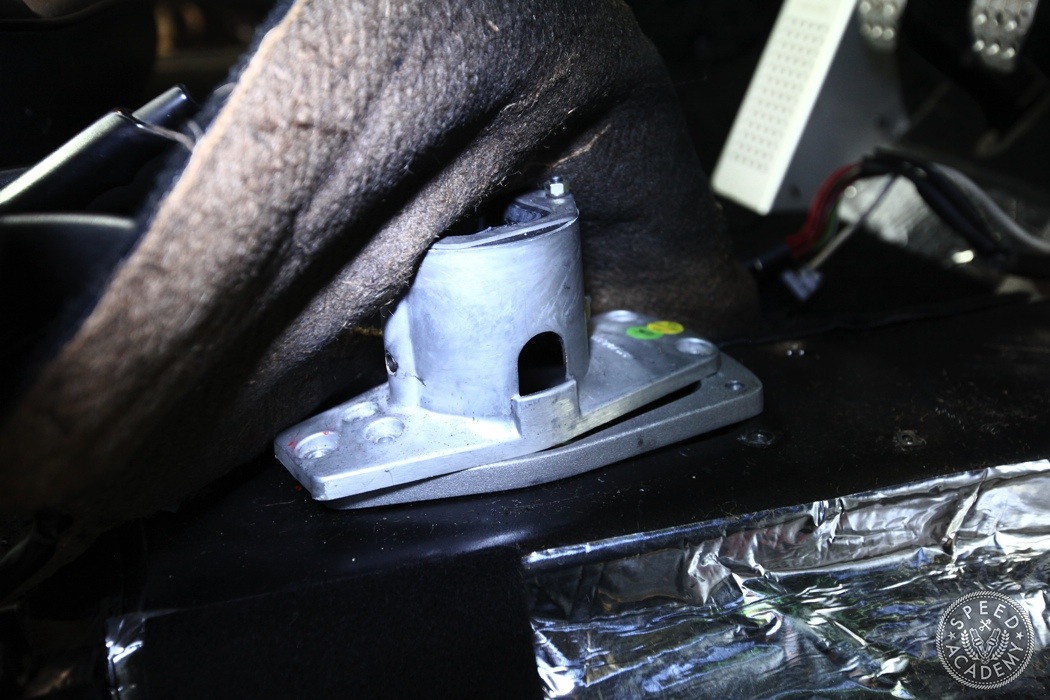
The housing should now be loose and can be removed.
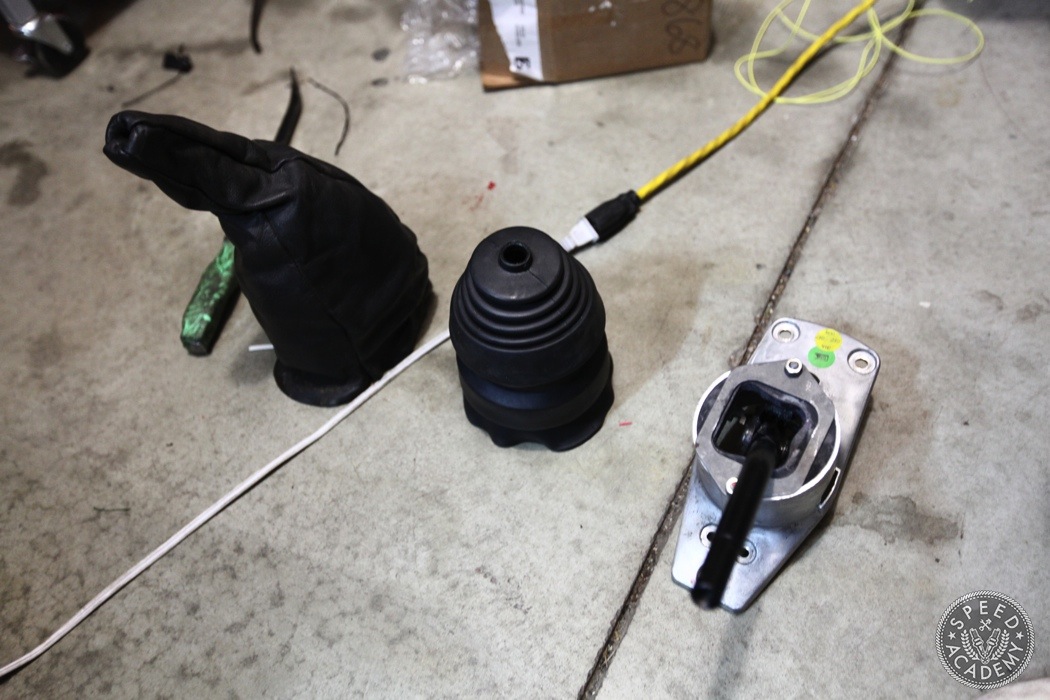
Here’s what the entire assembly looks like out of the car. Don’t go throwing anything away either, this stuff is worthwhile to hold onto as its always in demand if you decide to sell it. I mention that because I won’t be re-using the boot or the leather cover since I like the exposed look of the Wevo shifter.
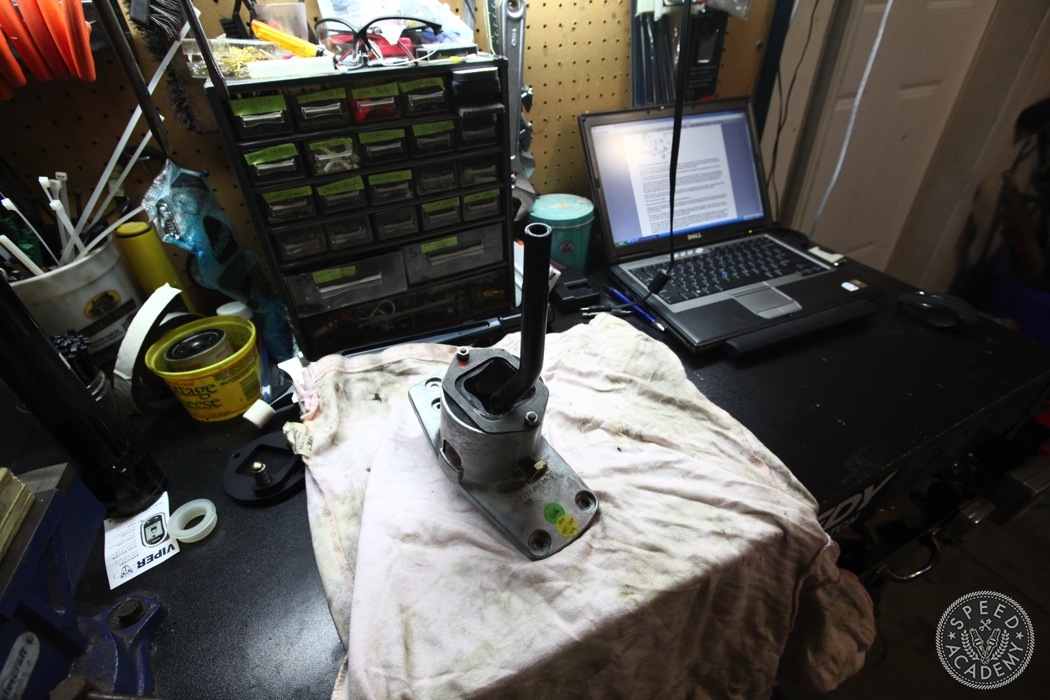
Let’s move the shifter assembly to a more work friendly place. A table or bench will be perfect.
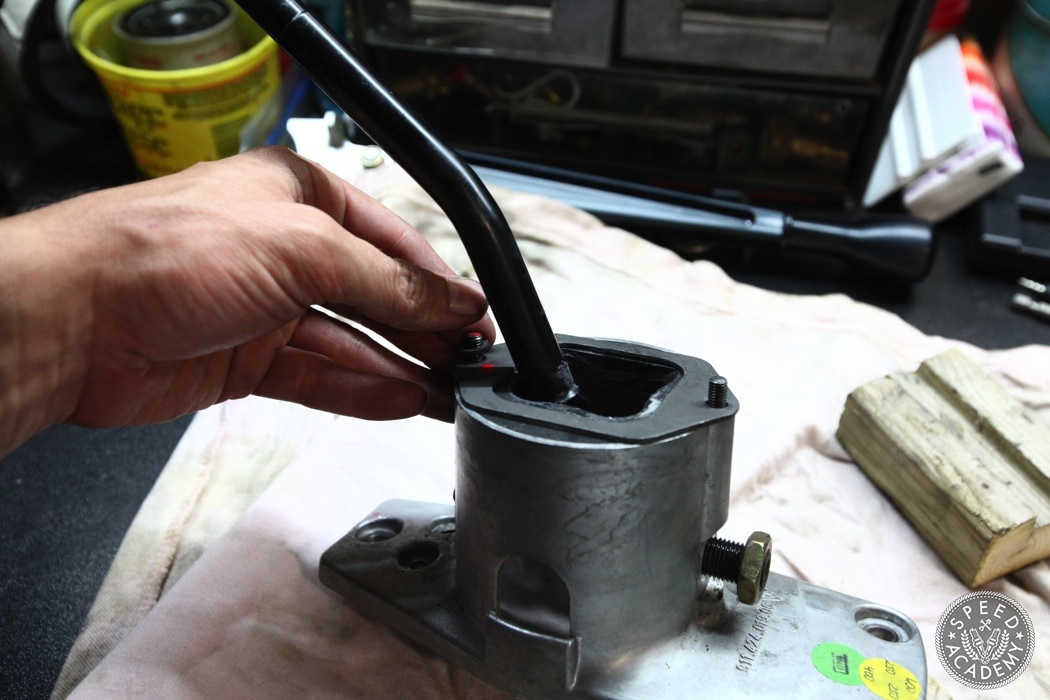
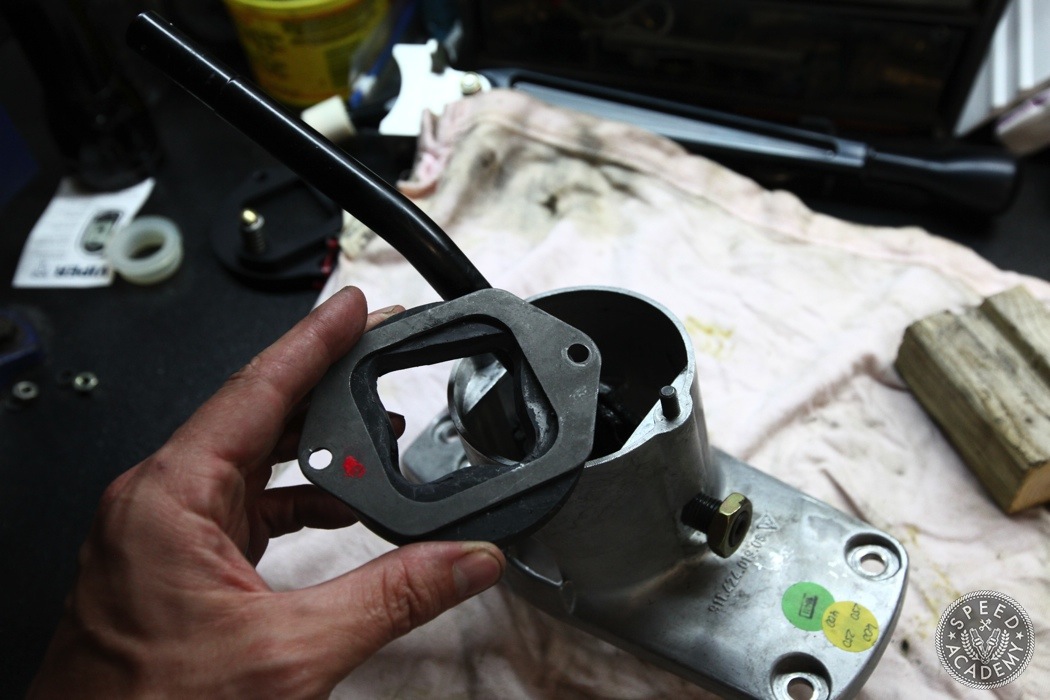
Start by removing the shift lever cover. We won’t be re-using this so you can put it away in storage.
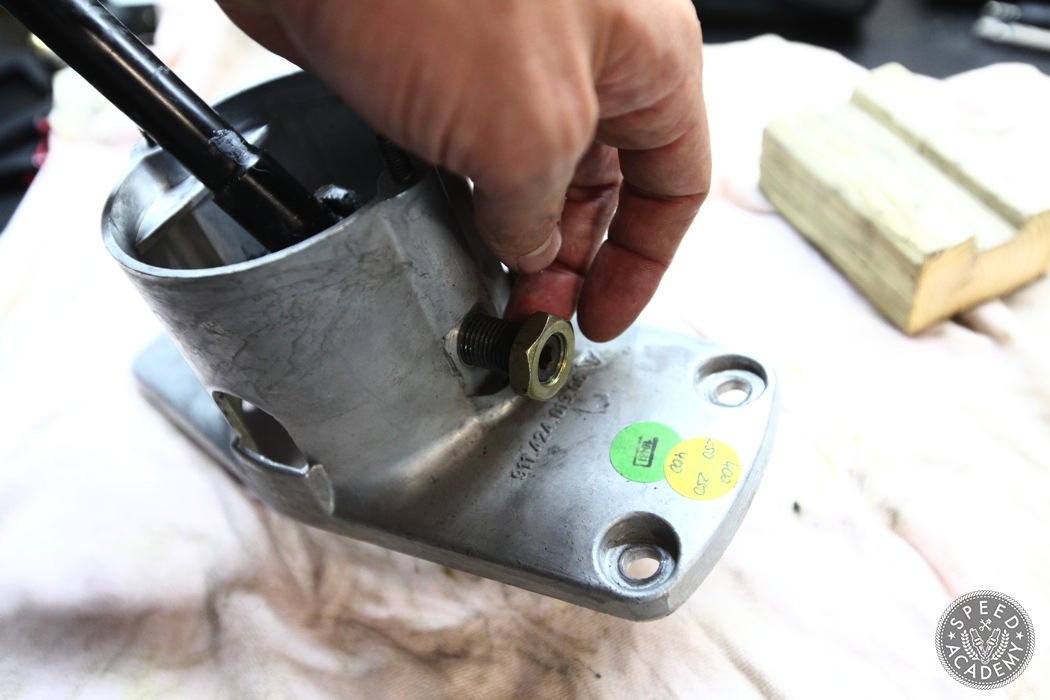
Unscrew the large retaining nut on that holds the shift lever in place.
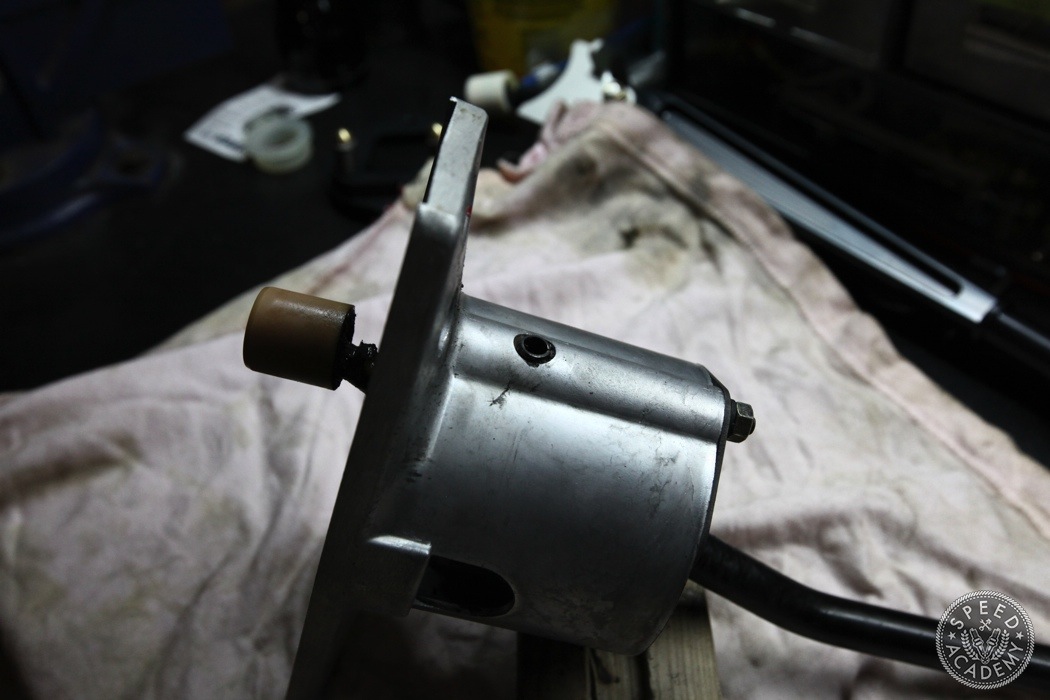
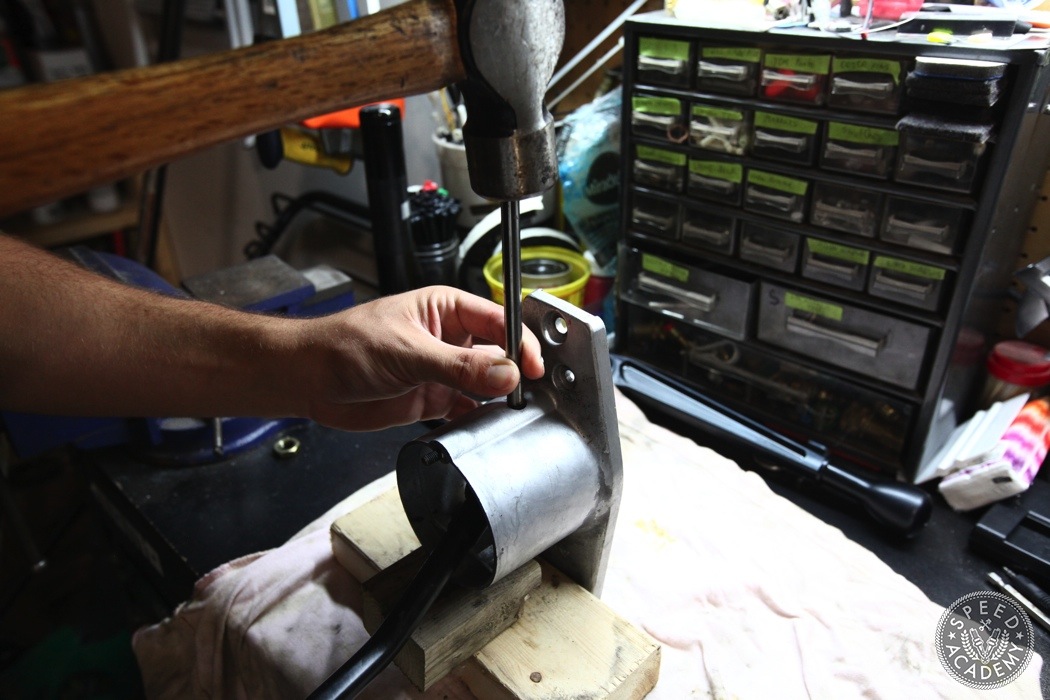
Find an adequately sized punch (8mm will do) and hammer out the roll pin.
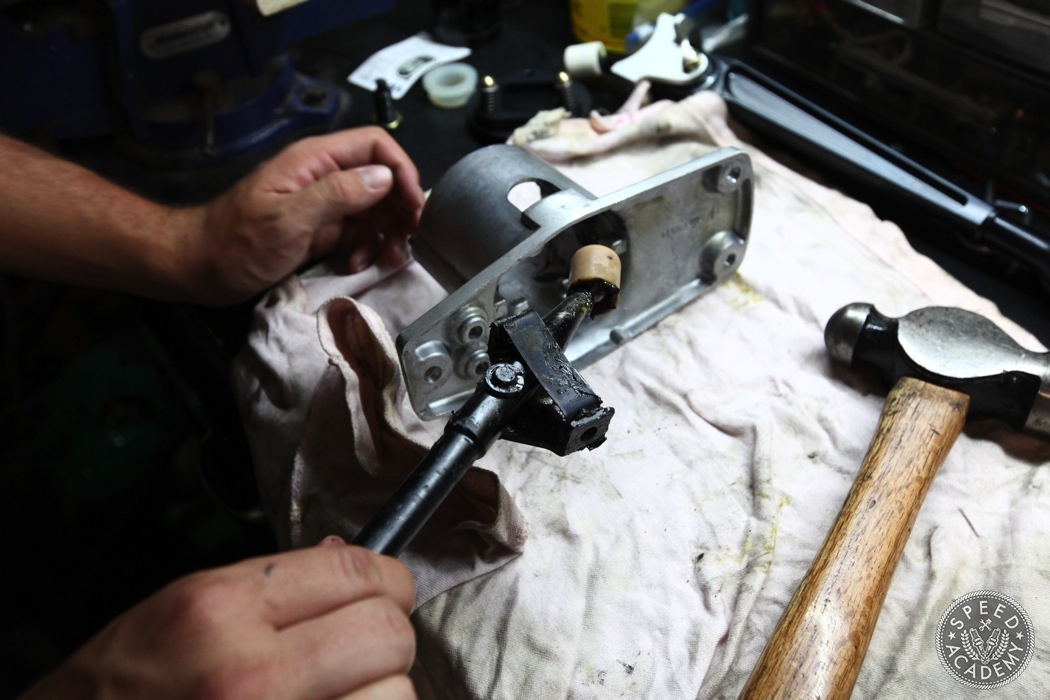
With it free the shift lever will come right out.
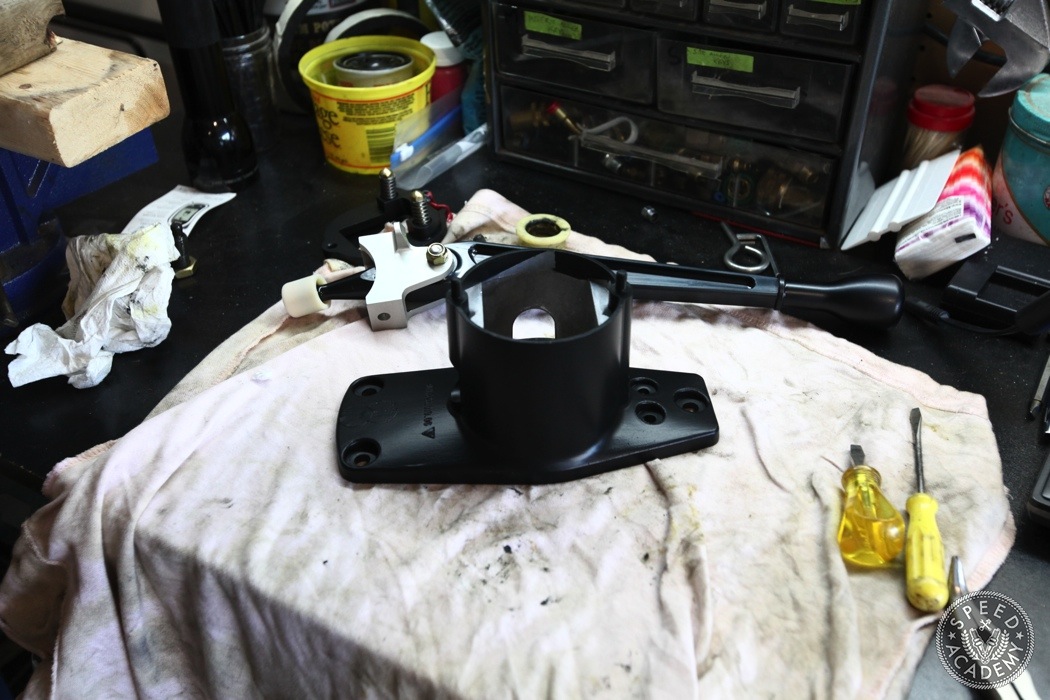
After cleaning the base, I sprayed painted it black since I’d be going for the exposed look and leaving it silver wouldn’t exactly match.
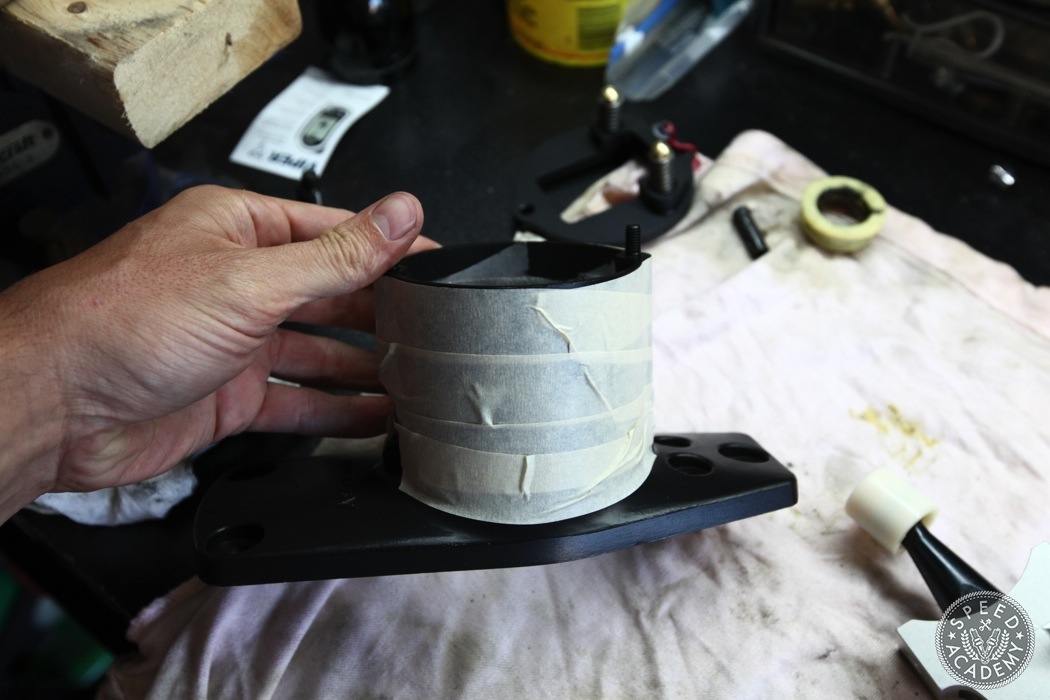
Some tape is always a good idea to protect the fresh paint from getting nicked up during installation.
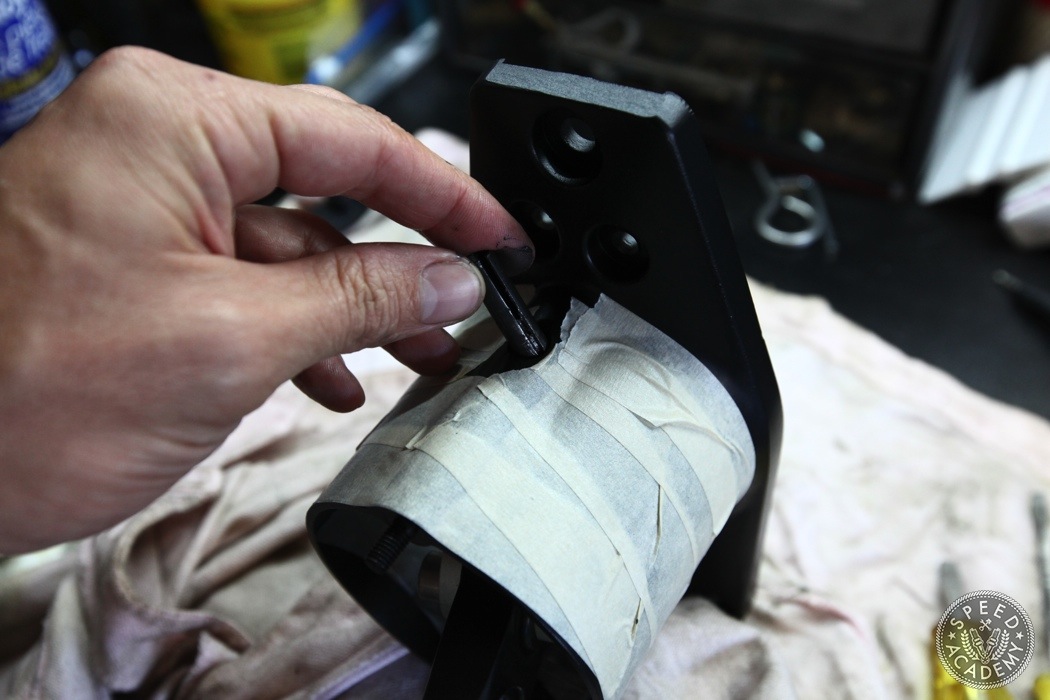
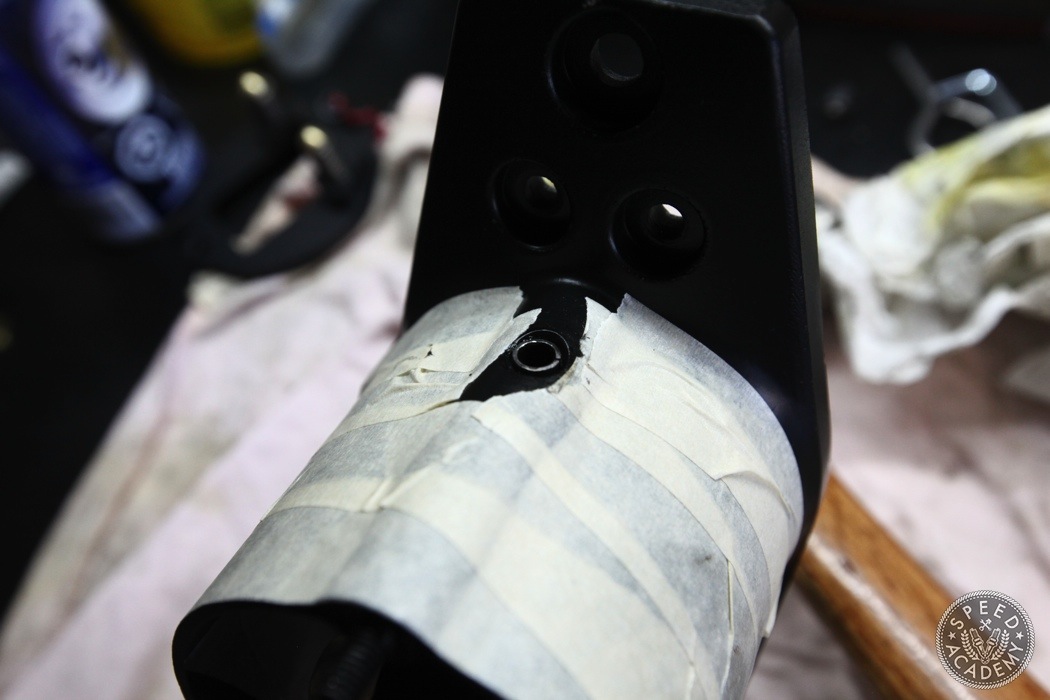
I reversed the removal process and started by inserting the Wevo shift lever into the base then putting the roll pin back in place.
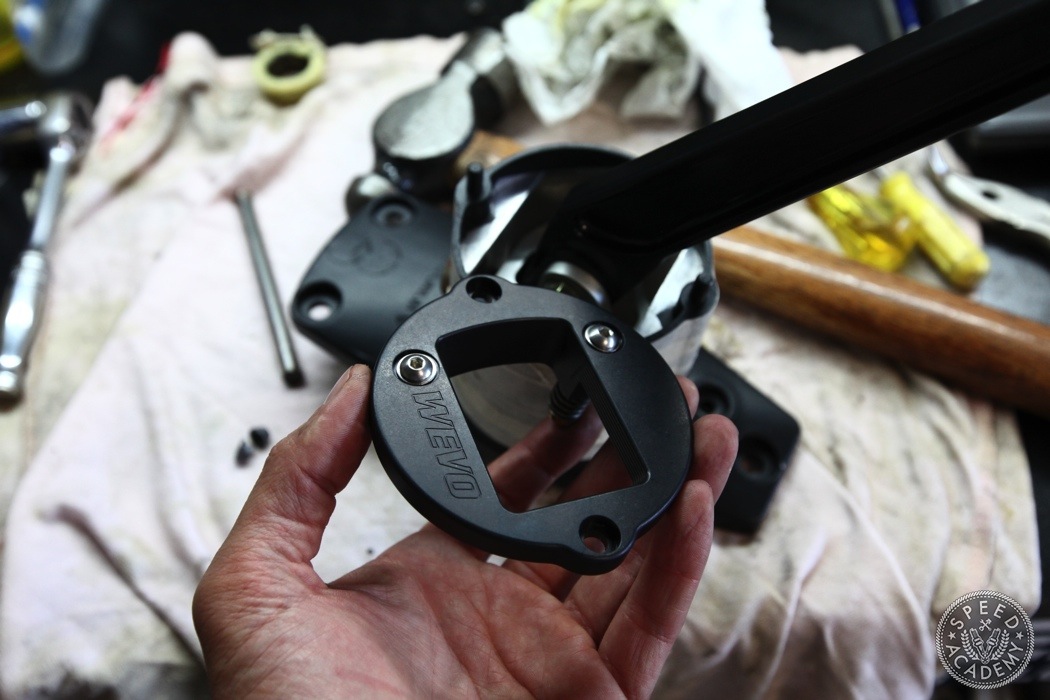
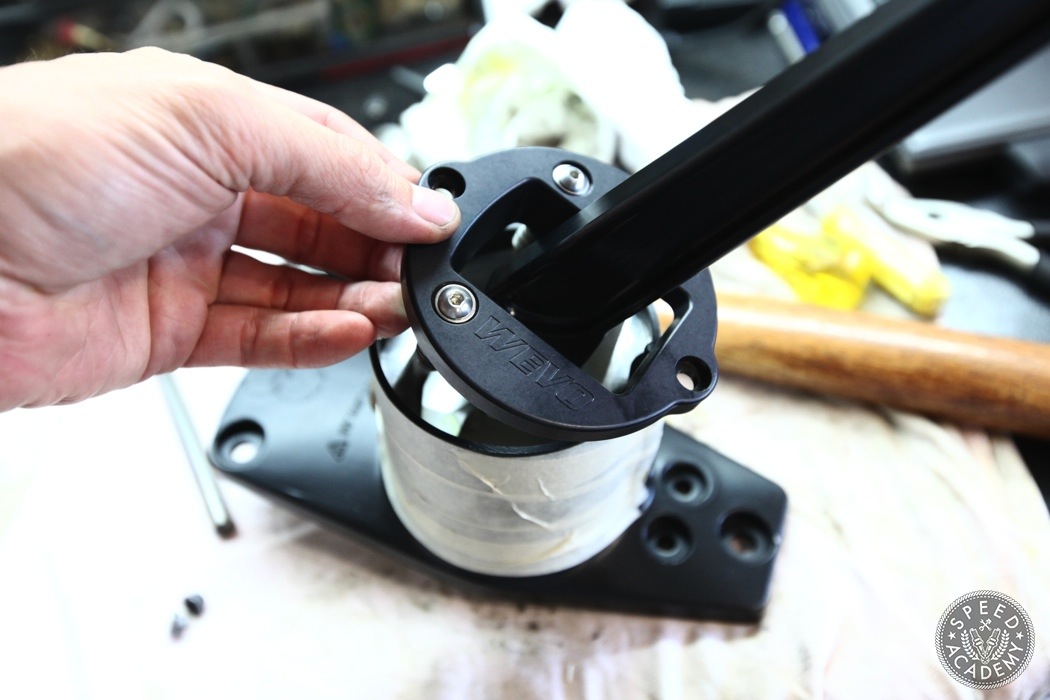
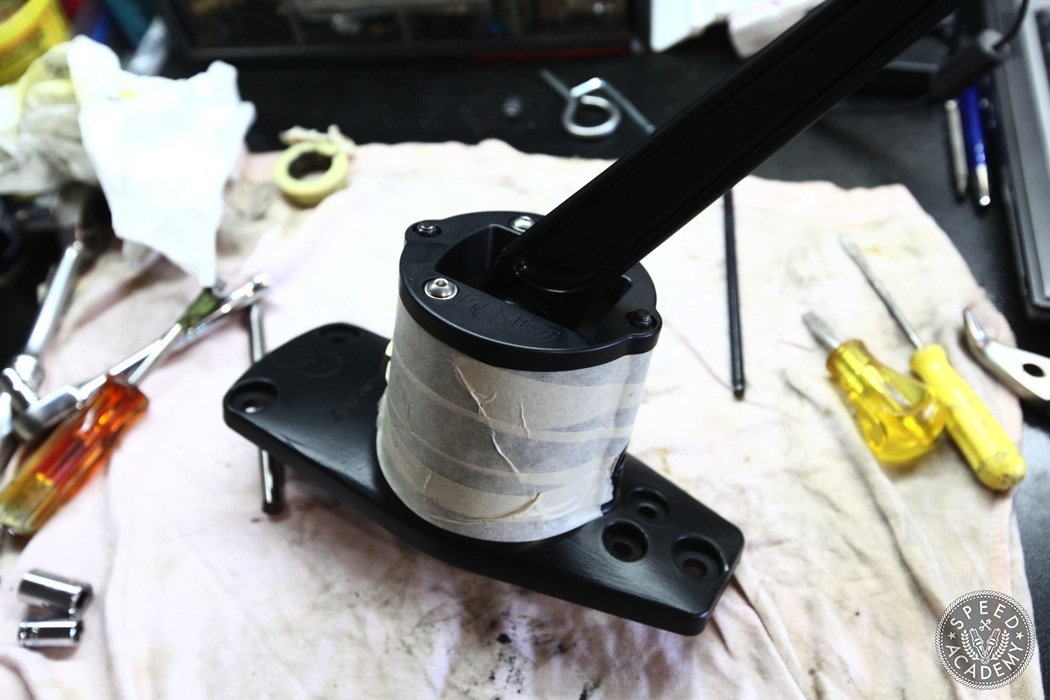
Then on went the Wevo base plate cover. It’s already starting to look a million times better than the stock piece!
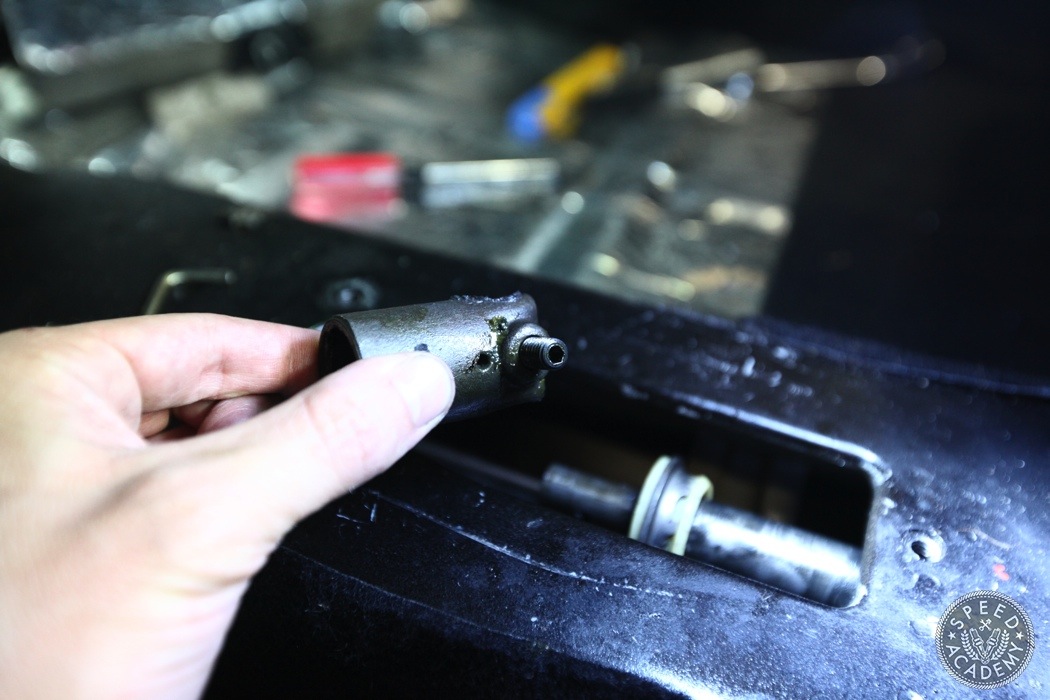
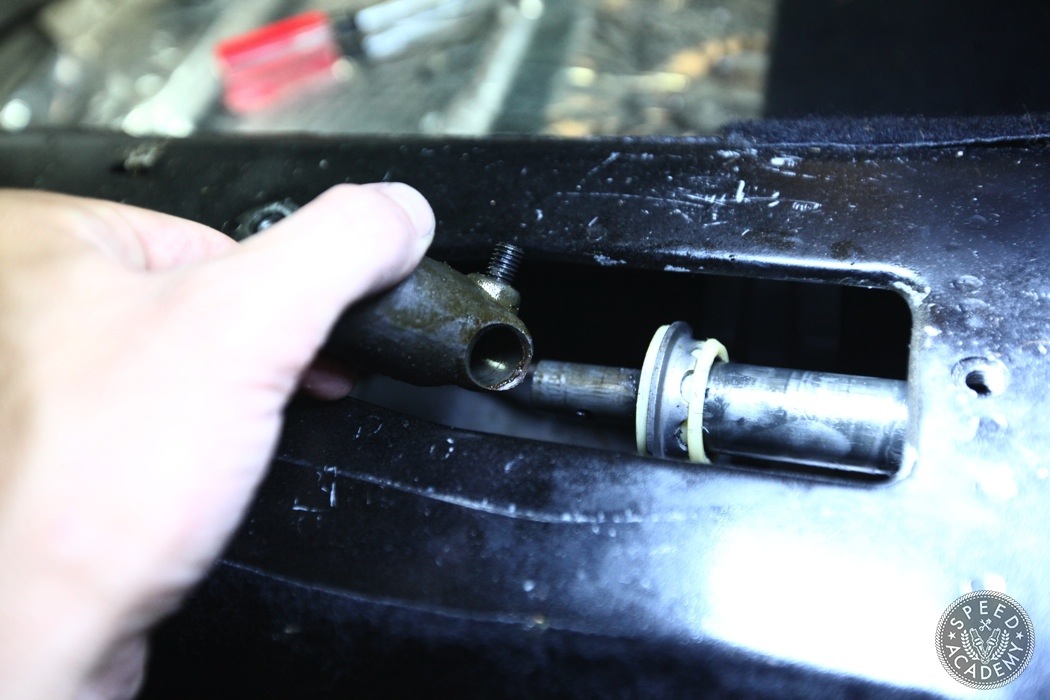
Before we go installing the shifter we need to change the plastic bushing out on the L bracket which resides on the shift rod. To do this, remove the shifter ball socket by backing out the set screw and sliding it off.
