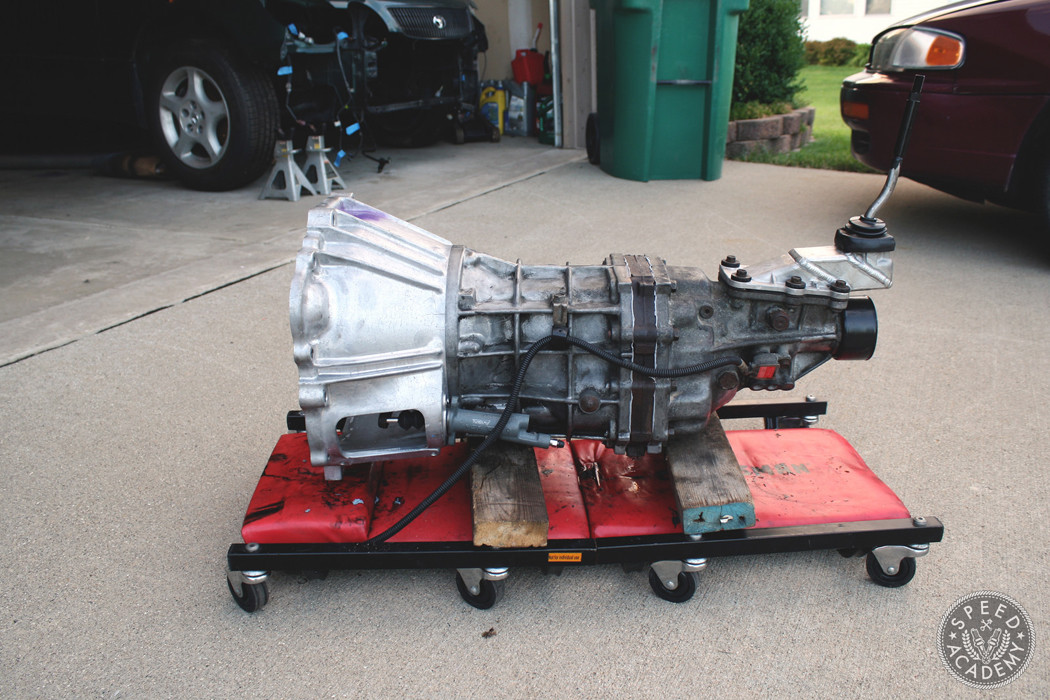
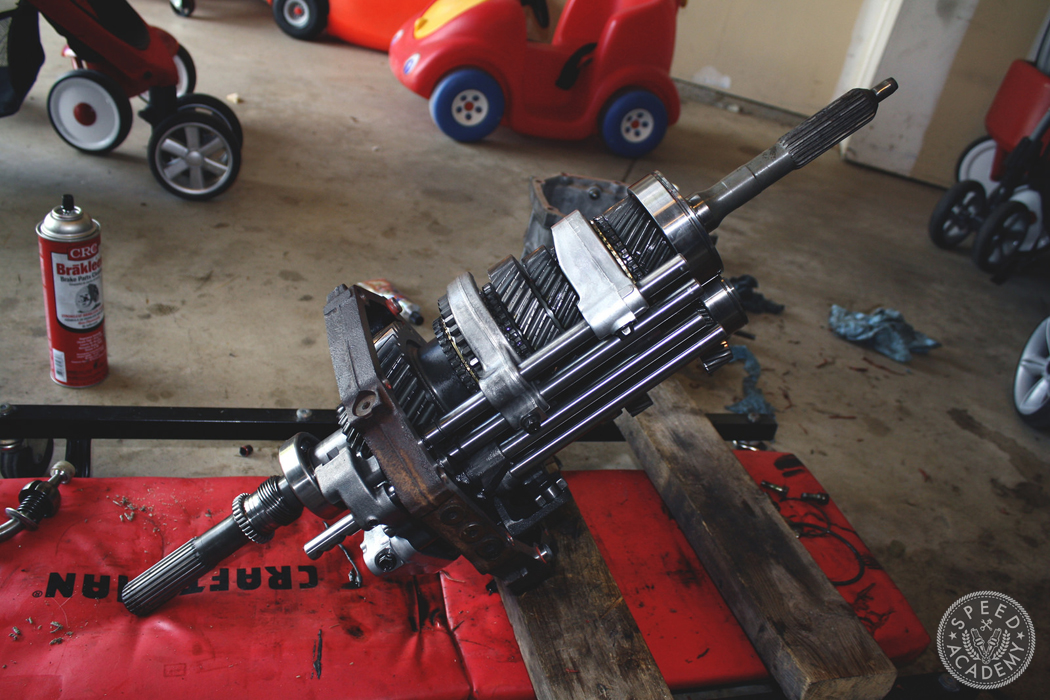
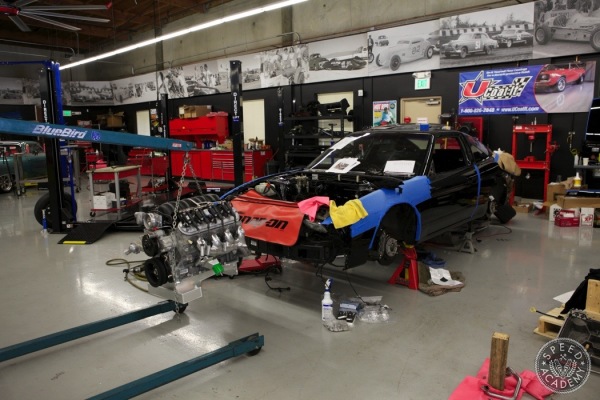
With various 2JZ engine components littered across my garage, it was time to get focused and work on the transmission. As I mentioned in the build intro, I was able to secure an R154 five speed transmission as a part of the purchasing price of my GS. My particular R154 came from an 89 Toyota Supra, so it definitely needed a little attention. Fortunately for me, my cousin is an engineer for the company responsible for designing this transmission for Toyota. I enlisted his help to tear into the gearbox and give it a once over just to make sure it would be ready to handle the power from the 2JZ.
Fortunately, the internals of my specific transmission appeared to be in great condition, especially considering its age. The synchros and individual gears all looked good, and the bearings rotated freely. We reassembled the transmission with fresh OEM input and output shaft seals as well as RTV on the cases where necessary.
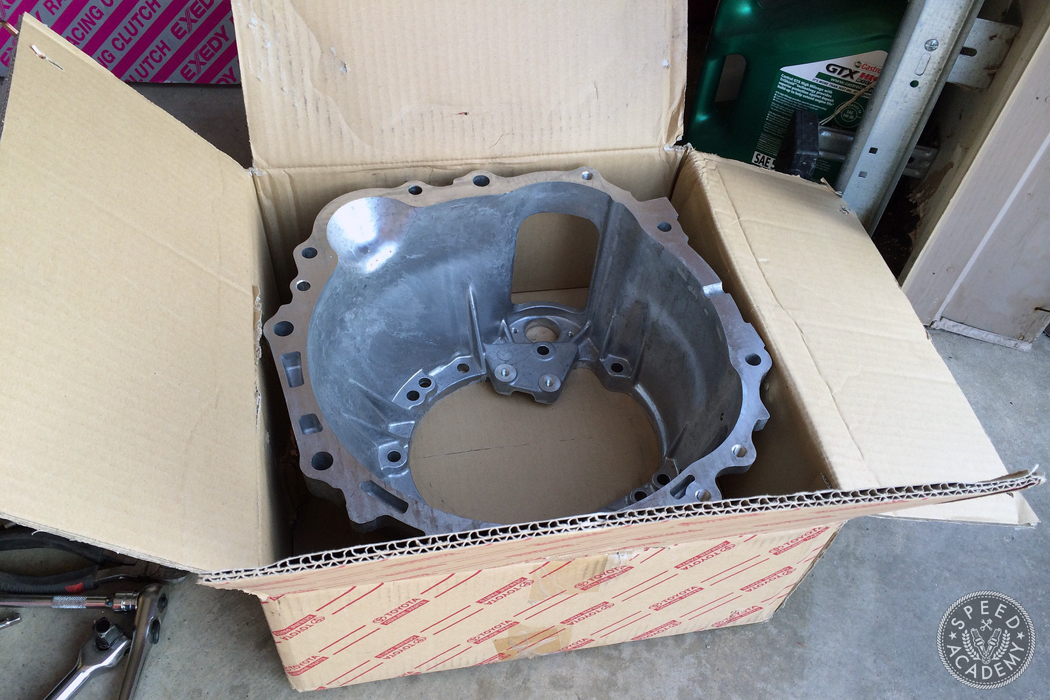
This is the main component needed when mating an R154 with a 2JZ is the bellhousing. Since the USDM Toyota Supra was sold with a V160 six speed transmission, the R154 five speed isn’t a bolt-on affair. The solution? A Toyota 1JZ bellhousing from Japan allows you to successfully mate the five speed box with the big inline six. I was able to find a new in box OEM Toyota bellhousing on eBay and quickly snatched it up.
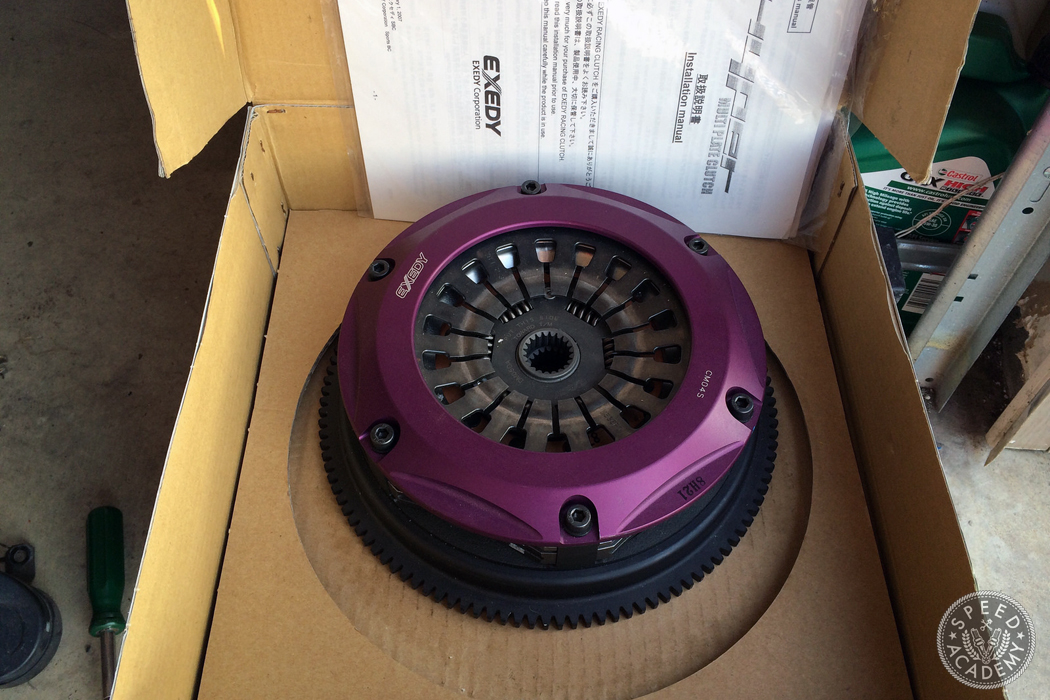
With OEM bellhousing in hand, I ordered a set of bellhousing to transmission and transmission to engine block bolts from Drift Motion. While not really necessary, it is always nice to have brand new hardware. The next major component to arrive was an Exedy twin disc clutch. If you’re attempting to source a clutch and flywheel setup for your R154 2JZ swap, you’ll need a 1JZ compatible flywheel with an R154 clutch. My specific clutch and flywheel combo were designed for use with the Japan only JZX chassis, so it should work perfectly for this application. A fortified set of ARP 1JZ flywheel bolts, new OEM clutch hub assembly, and release bearing will be used to ensure that there are no surprises down the road.
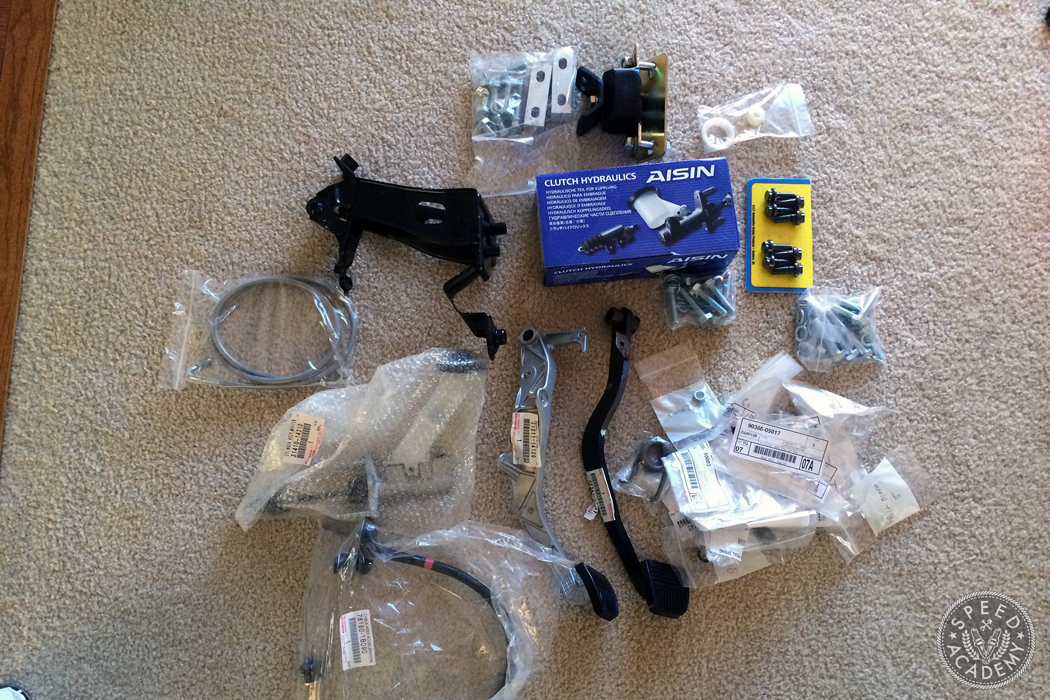
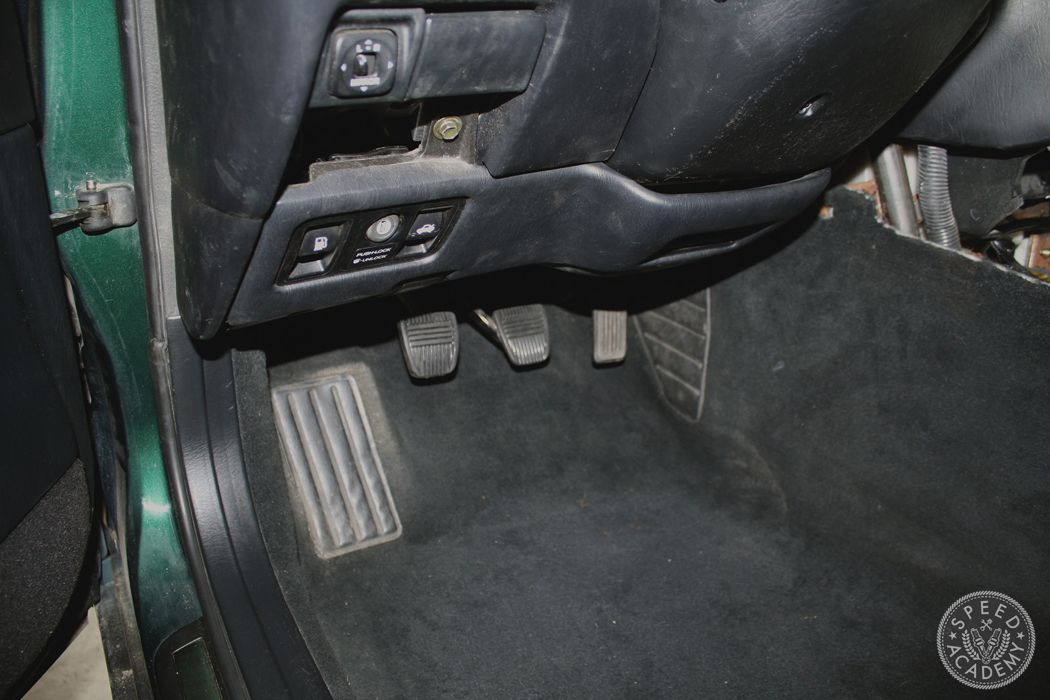
Obviously the biggest issue with converting a JZS161 to utilize a manual transmission is the lack of a third pedal. There’s a lot of debate about which pedal setup is the easiest to install, but from my experience they’re all going to require a decent amount of work. I sourced a brand new OEM clutch pedal assembly and clutch master cylinder from a JZA80 Toyota Supra and set out with the daunting task of installing a clutch setup where it was never intended to be.
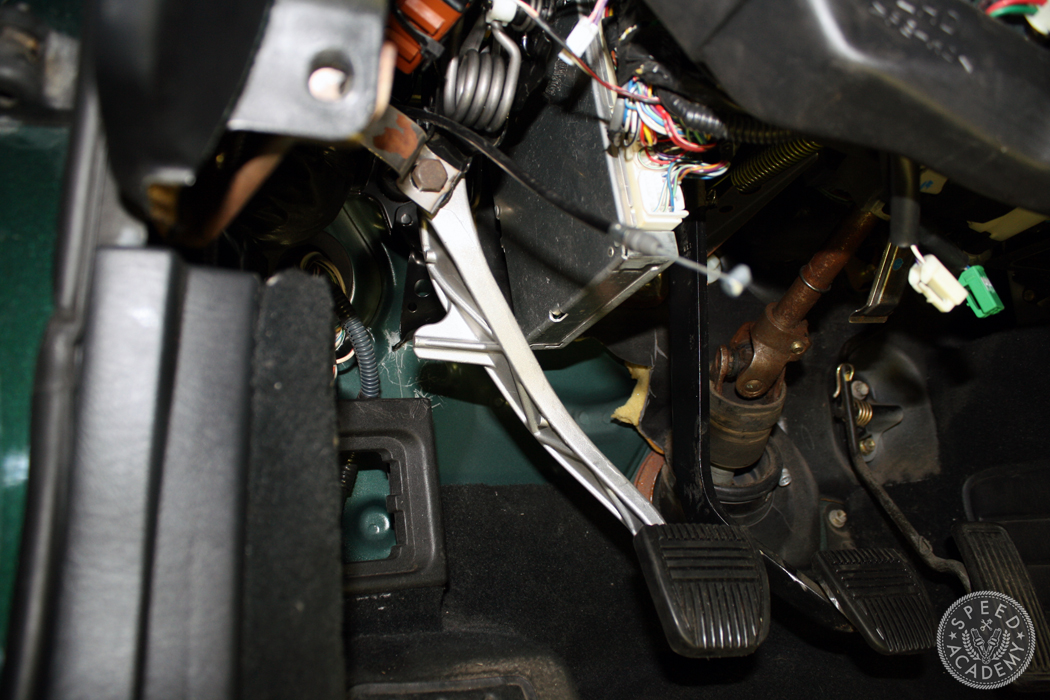
After ripping the entire dashboard out (hey, I was converting to a black interior anyway, right?) I had enough room to work with. There’s a lot of wiring and other components under the dash in the Lexus which didn’t make things easy on me.
After hacking up the clutch assembly a considerable amount to allow it to even come close to fitting, I ultimately removed the factory foot pedal-style emergency brake and utilized its mounting points for some custom steel bracing to get the clutch pedal to sit in the correct location. I’ll have to retrofit a hand-style emergency brake handle from a different car at some point.
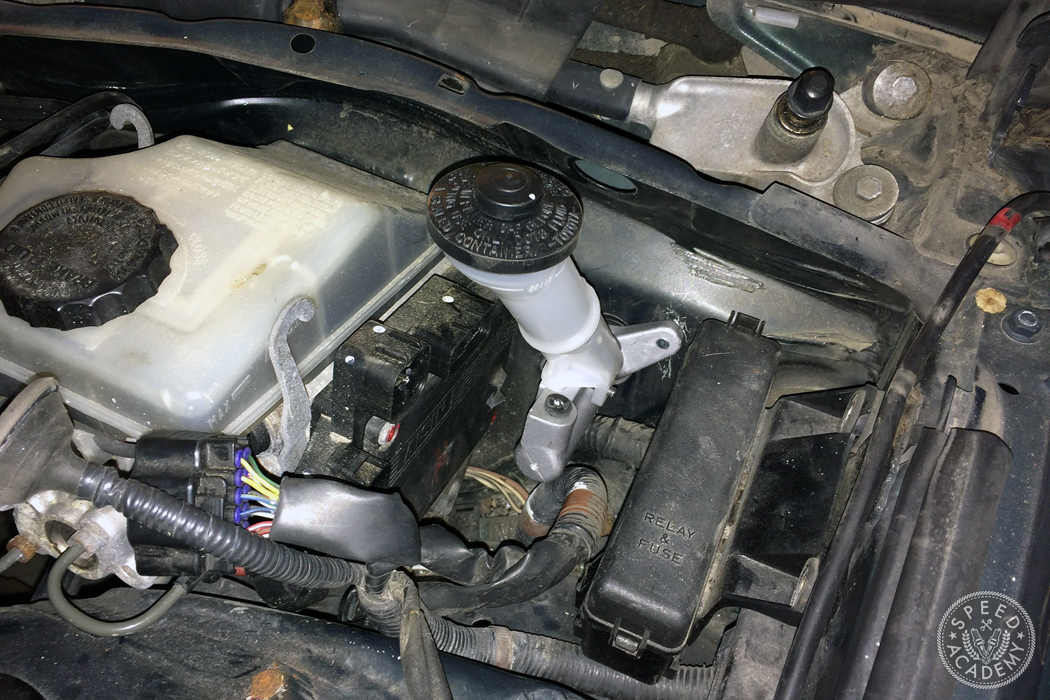
A hole saw made quick work of the firewall, allowing the clutch master cylinder to be mated to the pedal. Finally, the factory brake pedal was cut down to make room for its new neighbor. A Drift Motion braided clutch line connects the clutch master to the OEM MK3 Supra slave cylinder.
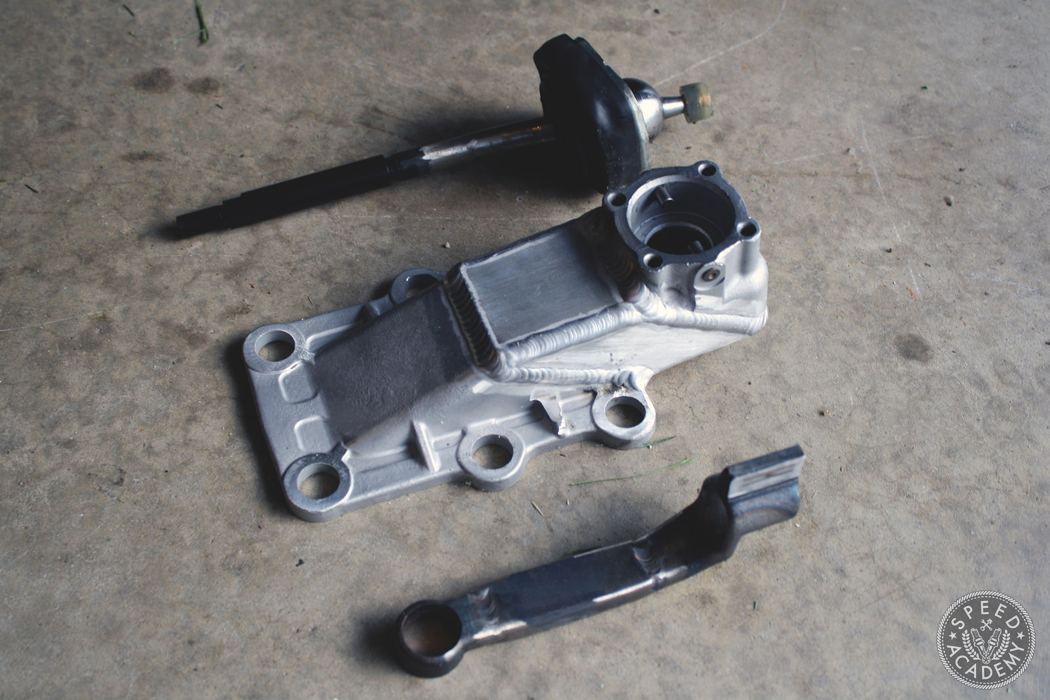
Another unique issue with this transmission swap is the shifter housing. The R154 is much shorter than the factory automatic transmission, meaning the shifter would essentially be located inside of the stereo if it were to enter the car without modification. I sent my factory shifter housing and linkage out to Ben at Freed Engineering to extend them 2.5″. I had both pieces back in less than a week and the welds are top notch.
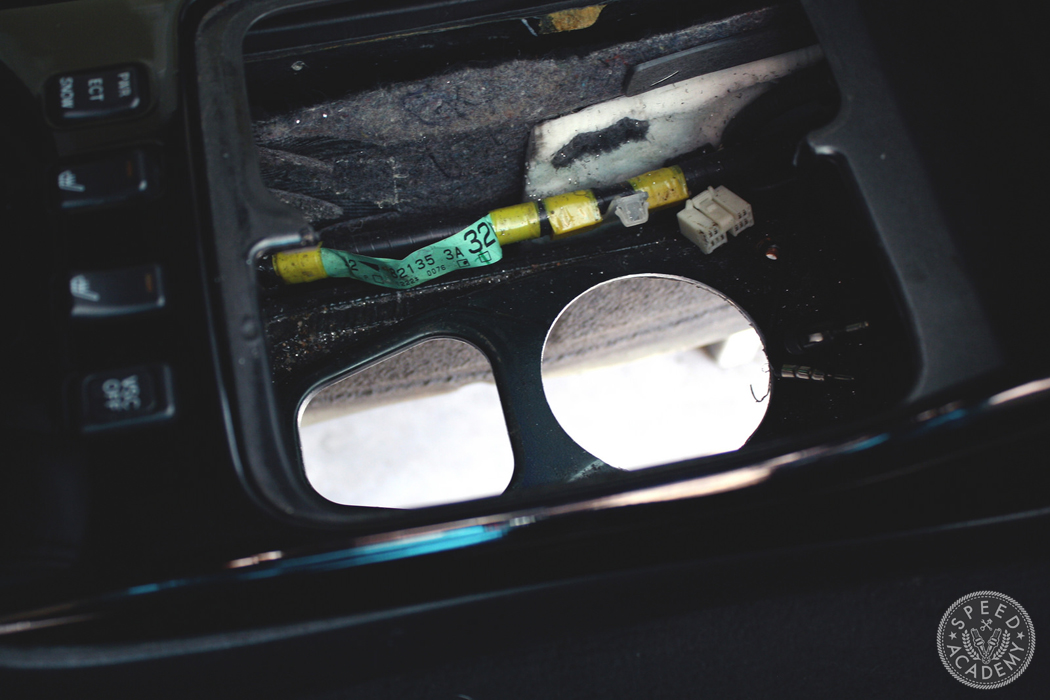
With the extended housing and linkage installed, the shifter now enters the cabin in a much more driver- friendly location. There’s only one problem: that location doesn’t line up with the hole in the transmission tunnel for the automatic shift linkage. I once again turned to my trusty hole saw to drill a new hole for the shifter to pass through to enter the car. I topped off the shifter refresh with a pair of Marlin Crawler heavy duty shifter bushings to remove the slop from the 25 year old shifter.
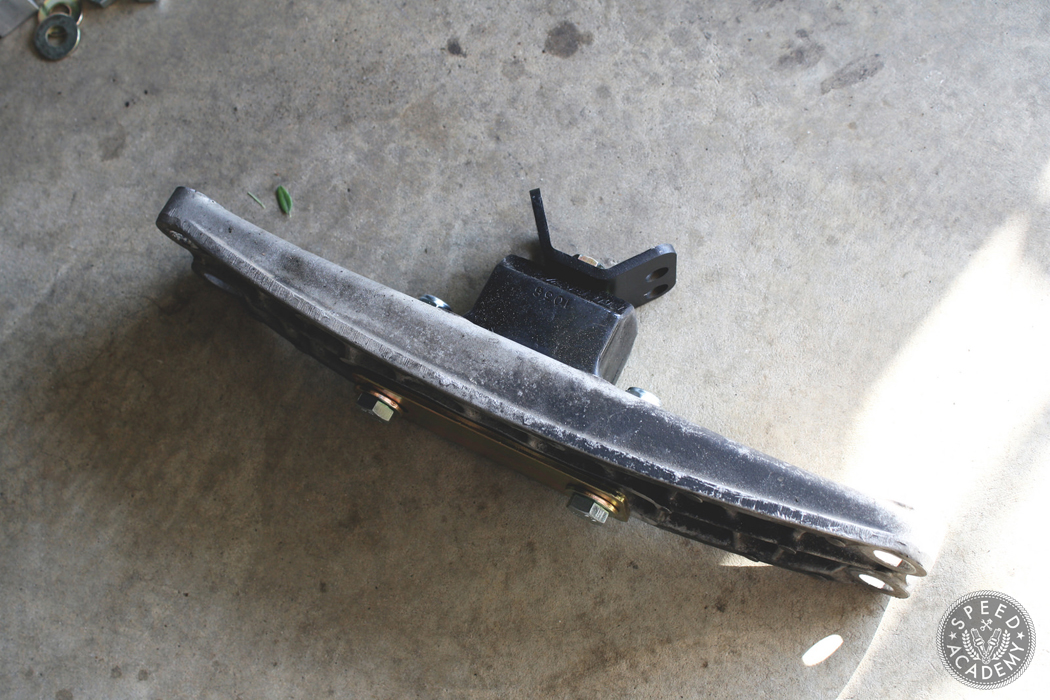
OK, so surely with a parts list that long we should finally be ready to bang some gears at this point, right? We aren’t out of the woods yet sadly. The OEM Lexus GS transmission crossmember can be used, but the transmission mount itself won’t line up with the new transmission. I once again turned to the guys at Drift Motion to source their Lexus GS/SC transmission mount. A few holes had to be drilled and the crossmember was ground down a bit for clearance, but the mount kit lines up great with a bit of work.
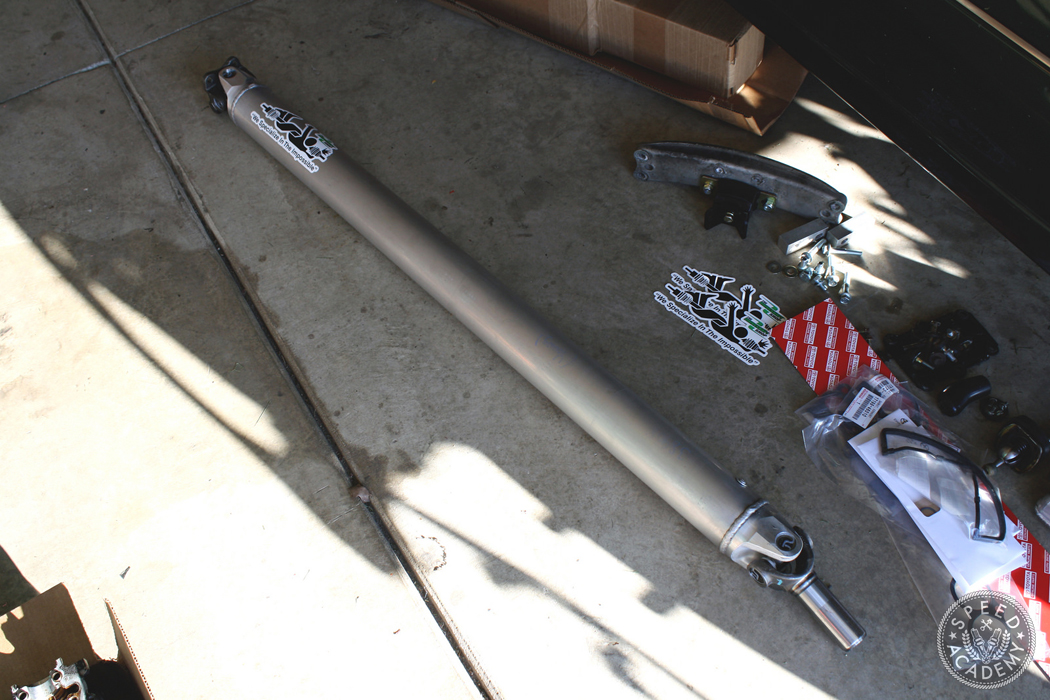
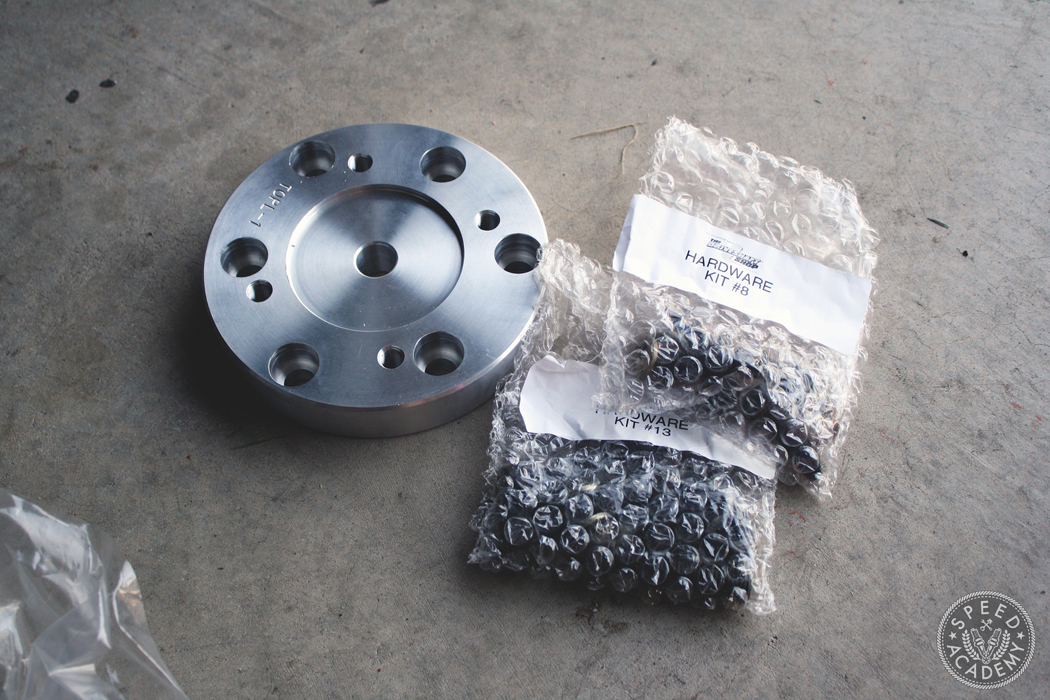
The last piece to this complicated puzzle is the driveshaft. Clearly the OEM driveshaft was not designed to be mated with an R154, so a custom piece is needed to not only connect the transmission to the differential, but it also needs to be able to withstand the increased power levels from the new turbocharged powerplant. I got in touch with the folks at The Driveshaft Shop and ordered a custom one piece 3.5″ aluminum driveshaft designed based on my measurements and power goals.They also include a trick aluminum differential adapter that allows you to convert your differential output shaft to accept their common four bolt driveshaft flange.
So there you have it- a comprehensive list of the components and labor you can expect to encounter when manual swapping your own Lexus GS. While there are many ways to go about this and it can probably be done a lot cheaper with a bit of creativity, this is merely the path I chose to take. There’s no denying that the GS is an awesome car to drive in factory automatic trim, but the addition of a third pedal should really unleash this luxury cruiser’s true potential. The next order of business is to slap a turbo on the 2JZ and mate the engine and transmission before dropping everything into the engine bay. Plenty of action to come- stay tuned!
Previous stories: Project 2JZGTE GS: Engine Rebuild Part I
SOURCES
Drift Motion: driftmotion.com
Exedy: exedyusa.com
Freed Engineering: freedengineering.com
Marlin Crawler & Fasteners: marlincrawler.com
The Driveshaft Shop: driveshaftshop.com
UPDATE: Damon had to abort this project and sell off the chassis for reasons that are explained here: http://speed.academy/damons-s13-240sx-re-birth-the-prologue/ On the bright side, you can now follow along his Nissan S13 240SX build which is proving to be pretty awesome already!
Hi mate, about to do the same conversion on a 147 aristo. with the handbrake what did you do to it after installing the clutch?
Would you entertain the idea of making the clutch pedal?