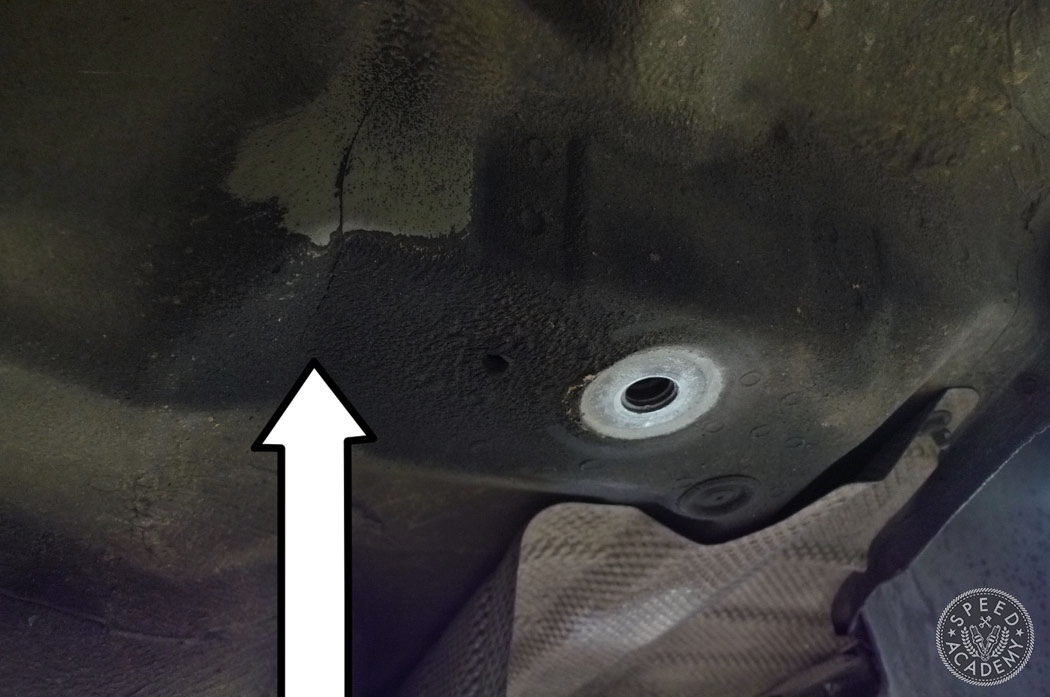
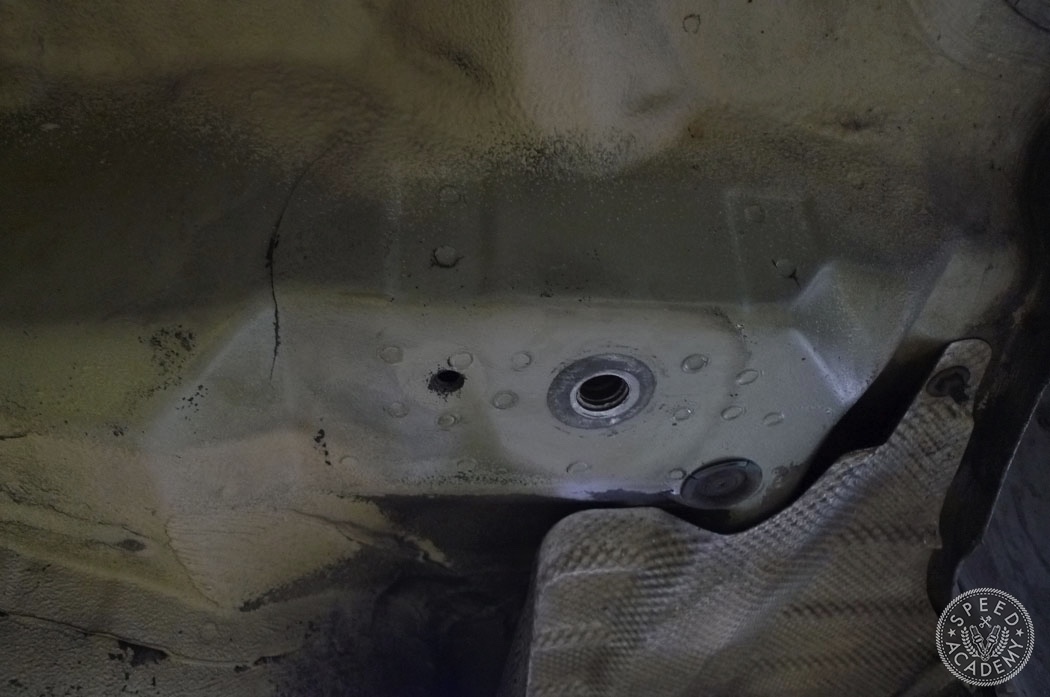
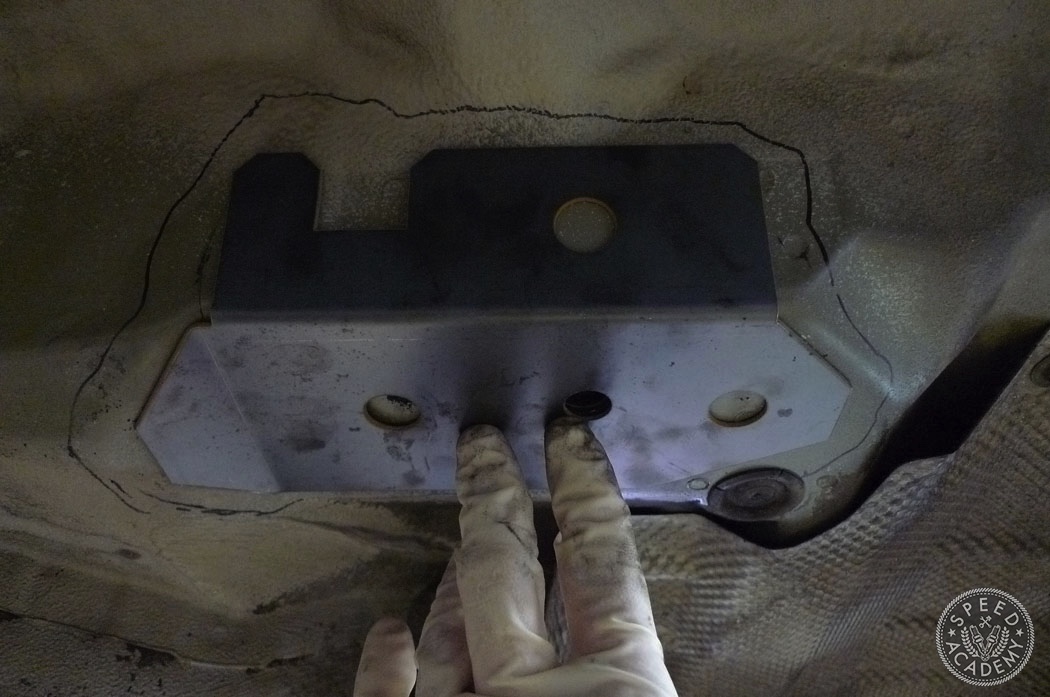
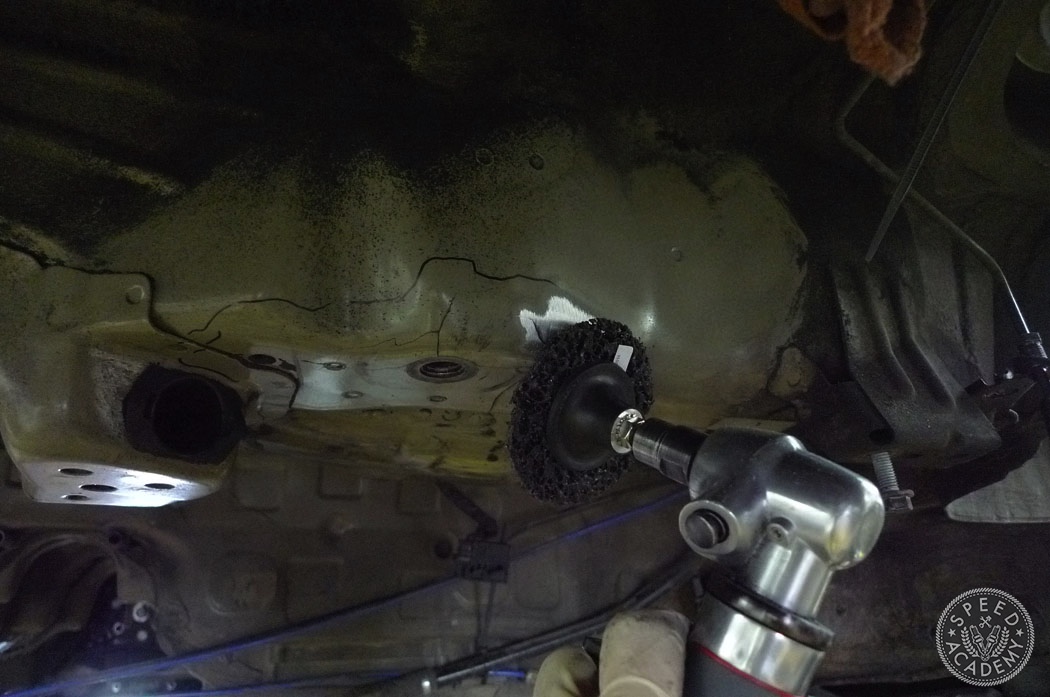
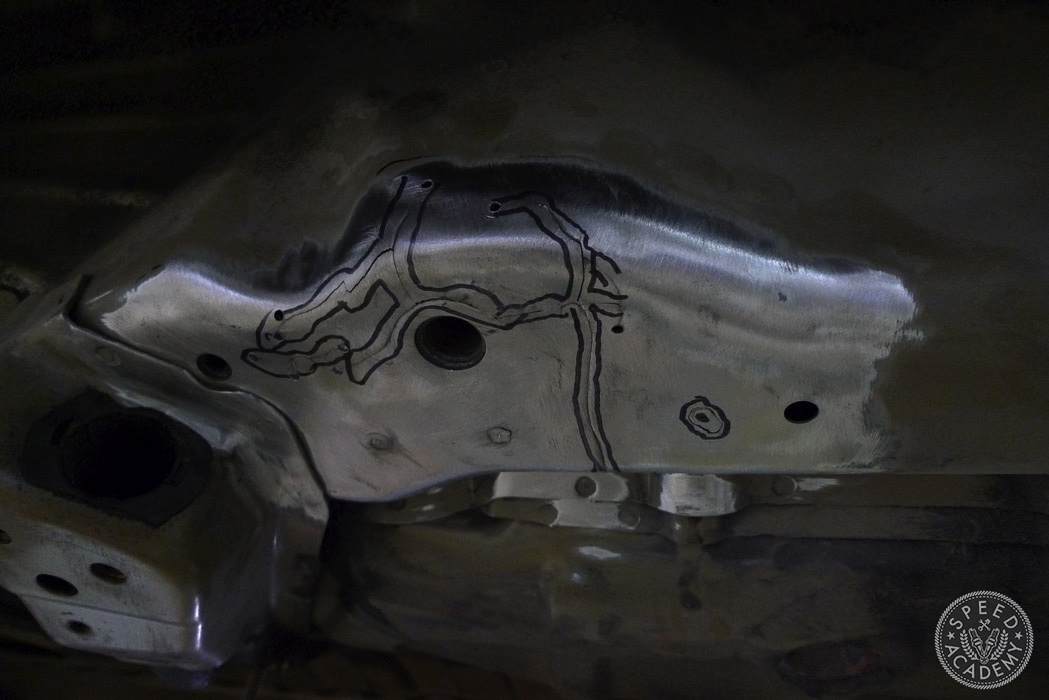
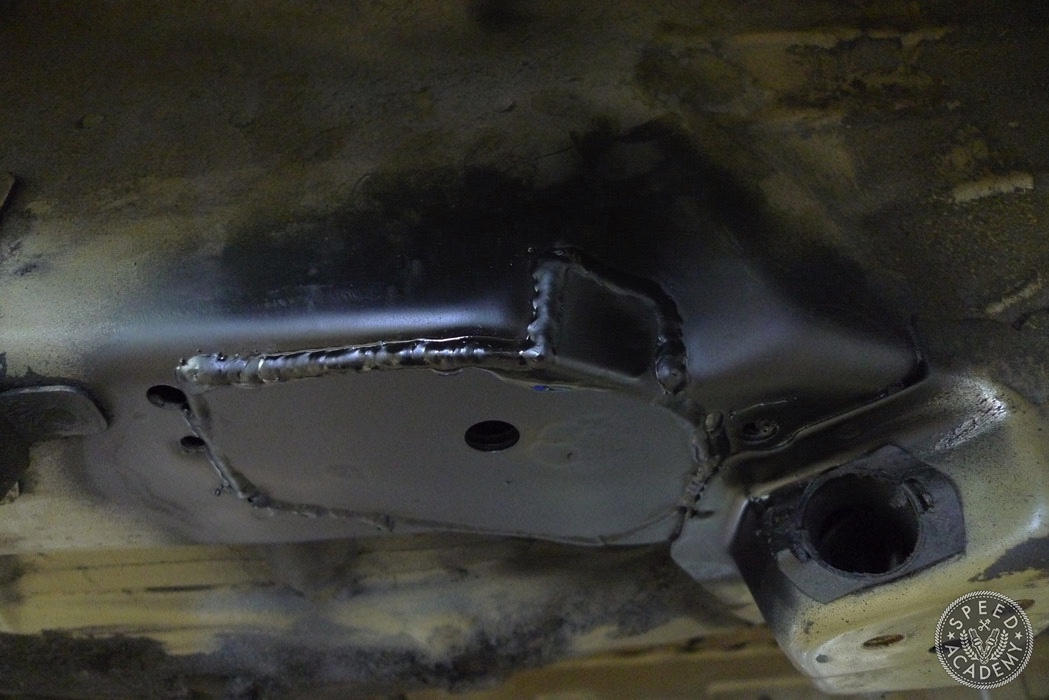
Now for the serious work. First, clean off all the dirt around the subframe mounting points. Then prep the metal for welding by sanding down the area completely down to the bare metal. Once the paint and undercoating is removed, you can see the damage clearly.
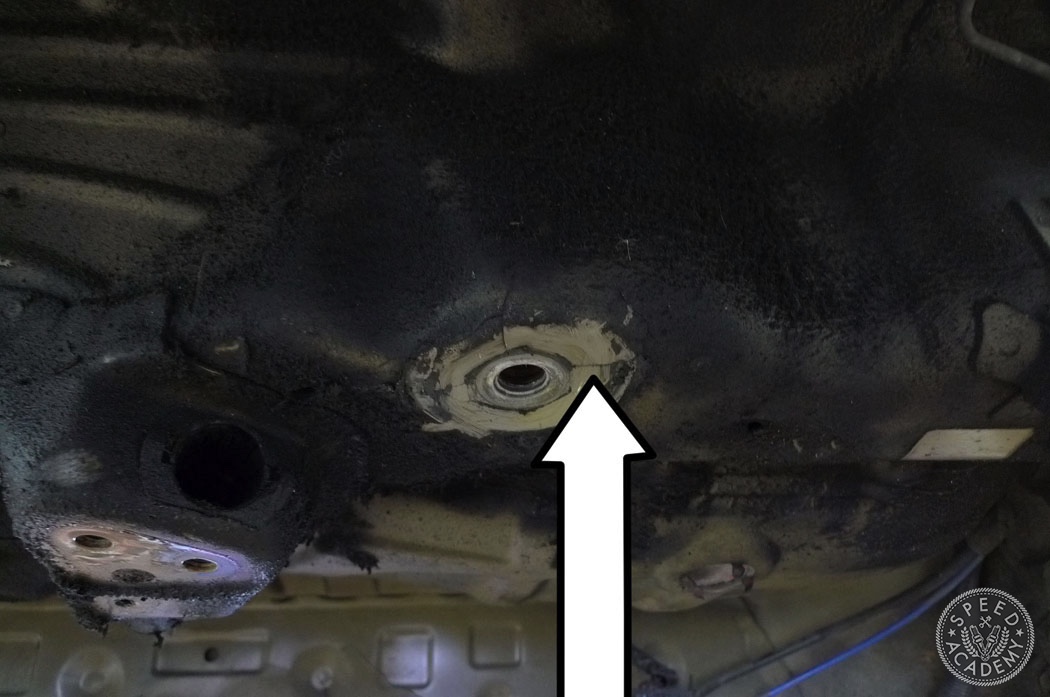
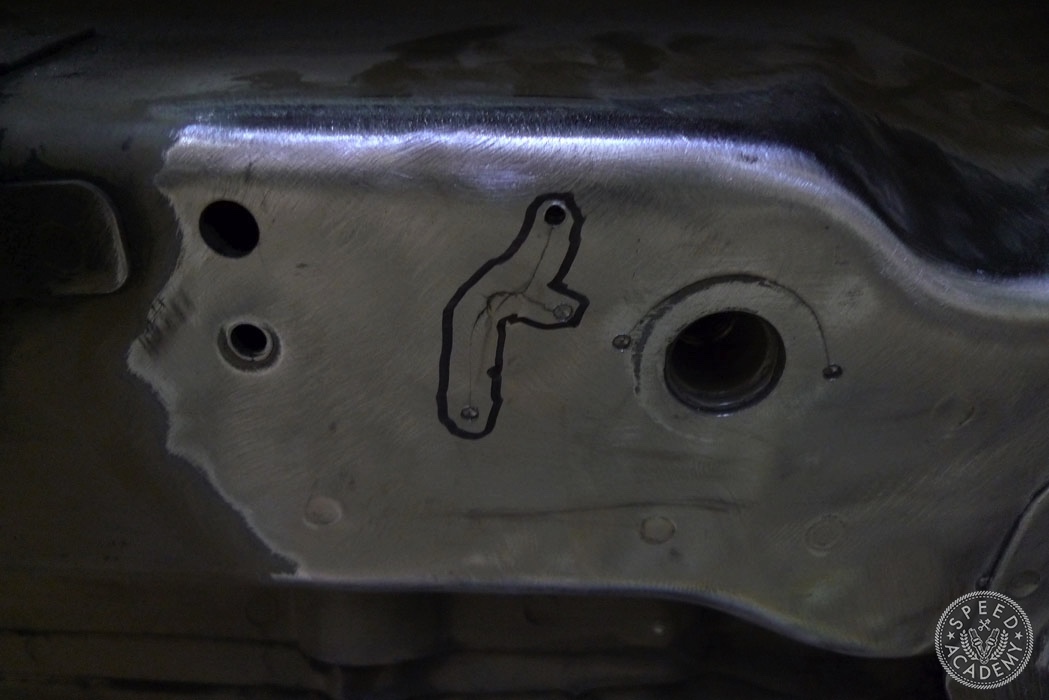
 Before welding up the cracks, Precision German Performance recommends drilling tiny holes at the ends of every crack. These stop-holes will keep the crack from continuing on in the event that the welds don’t hold. Think of it like an anchor for the welds.
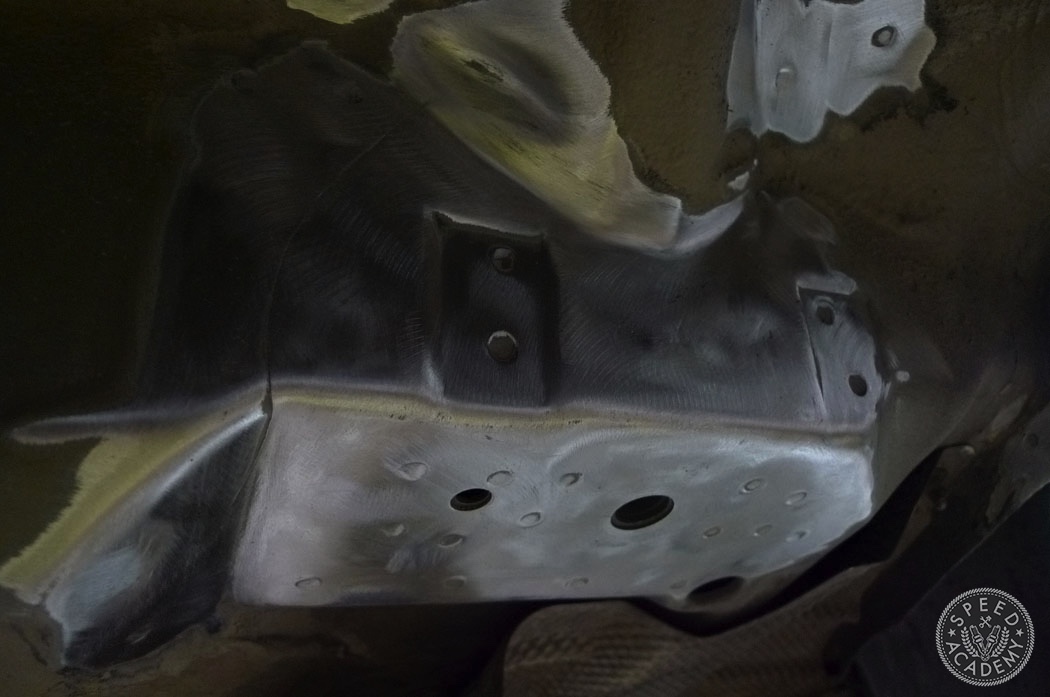
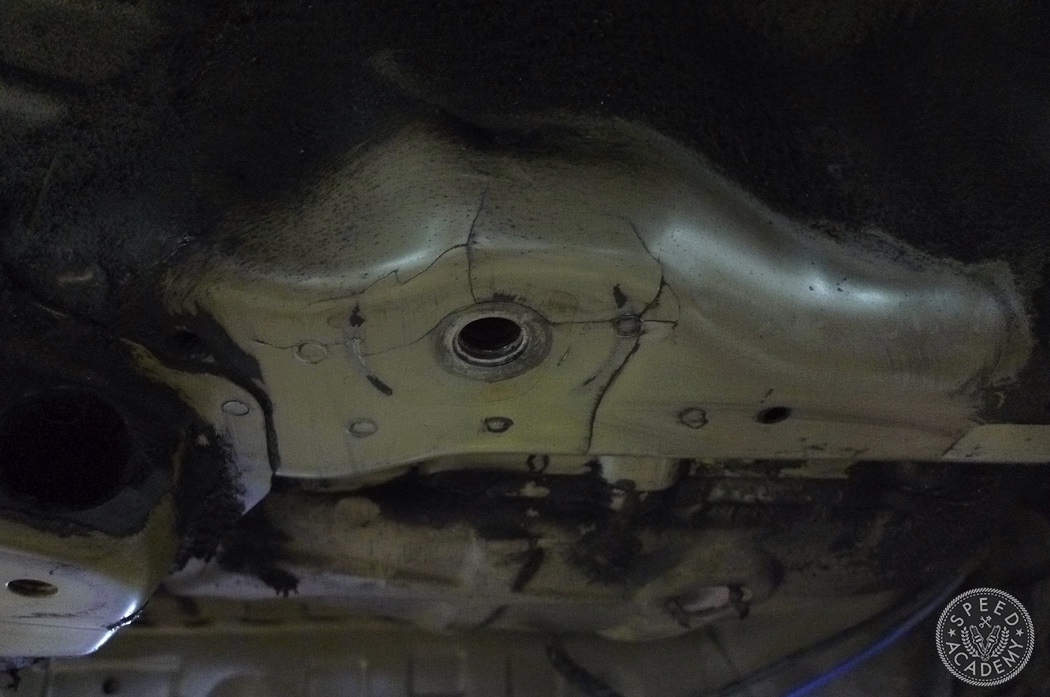
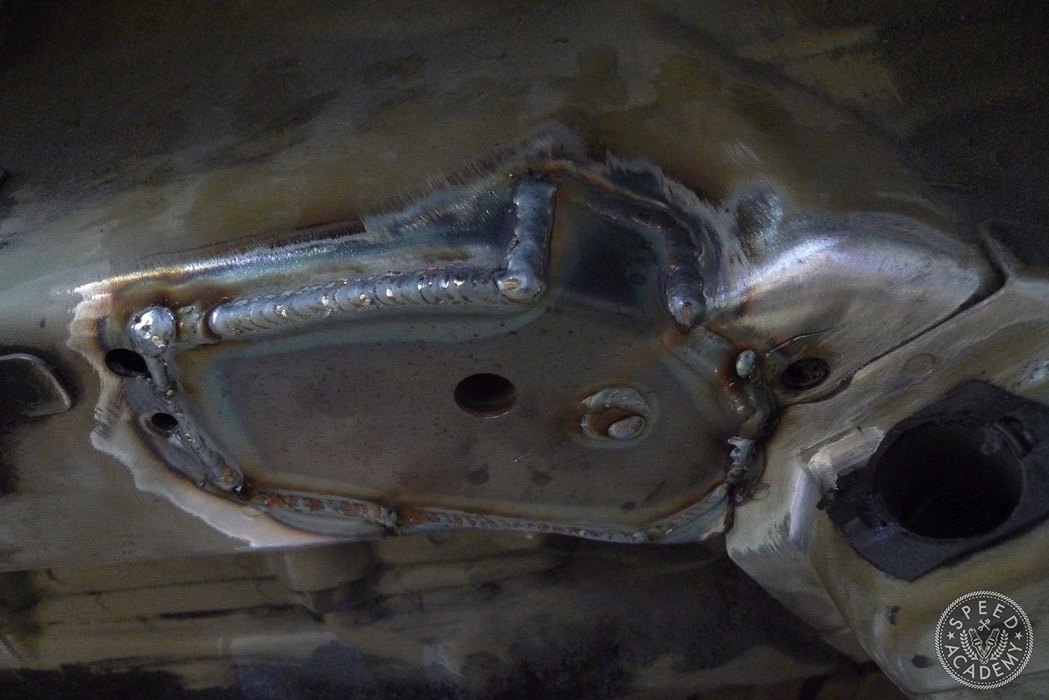
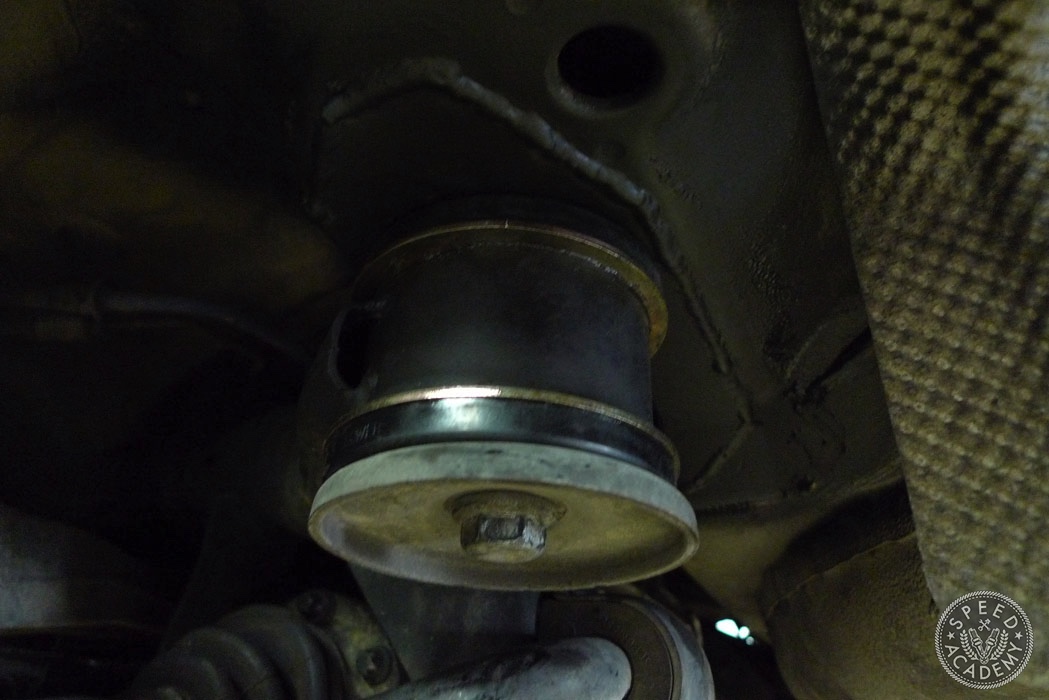
 This is a good time to inspect the factory spot welds on the entire rear floor. The rear floorboard is made up of several sheets of metal all spot welded together. If you look closely you might even find that some of your spot welds have popped loose. We spotted some behind the driver’s rear wheel that had popped loose. We went ahead and drilled those holes out before welding.
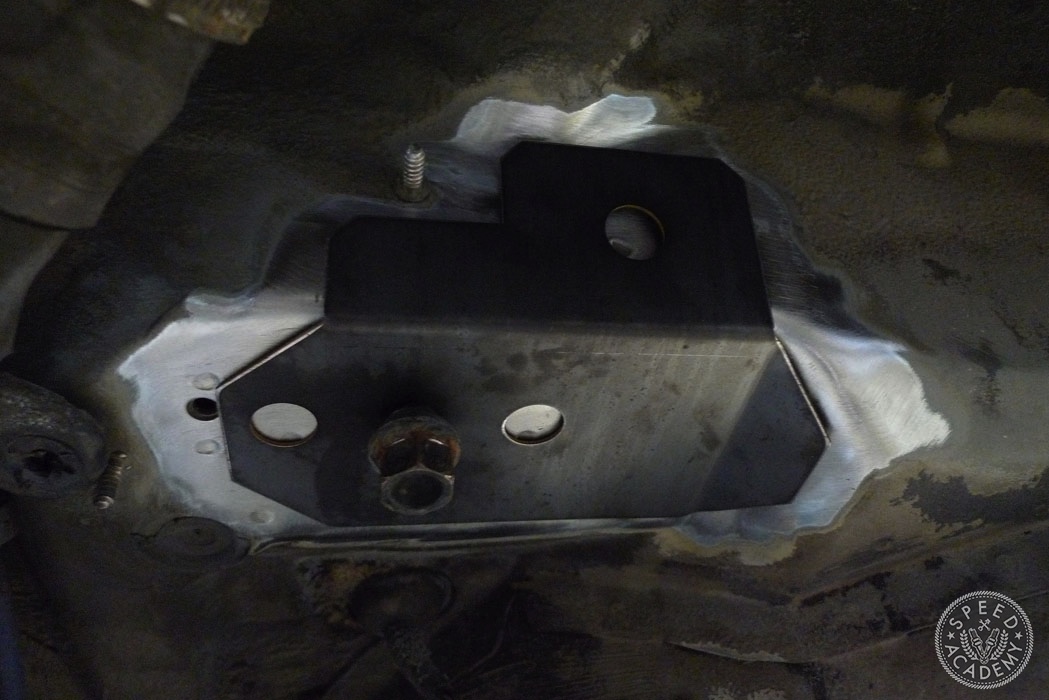
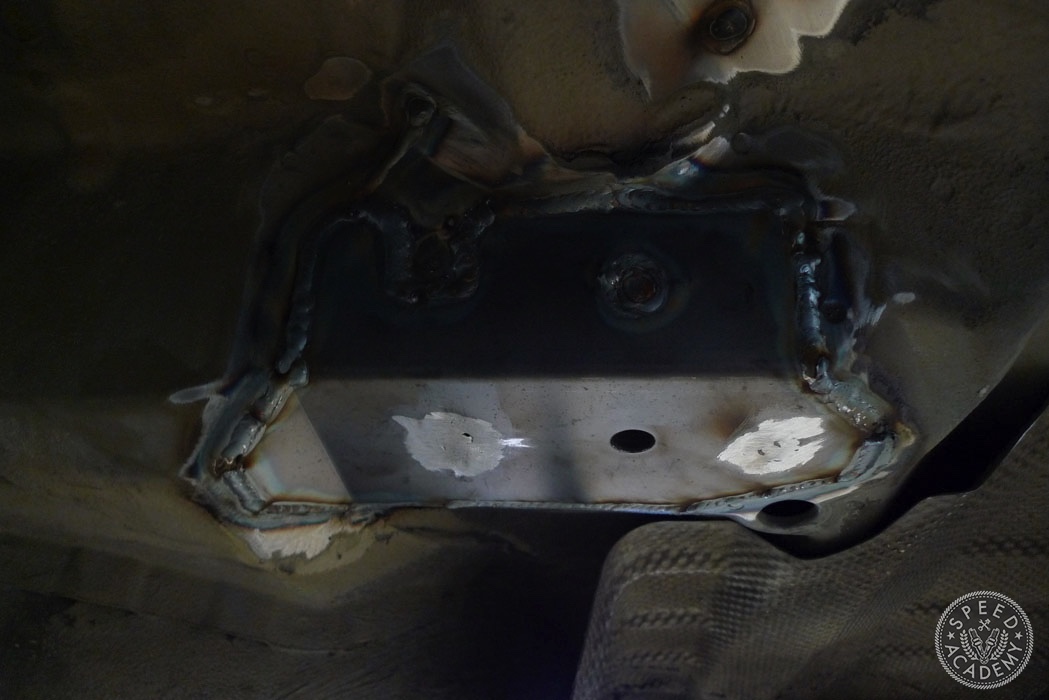
 Once the cracks and holes are all welded up you must grind down the welds in order for the reinforcement plates to lay flat against the car. Next, tack weld the BimmerWorld plates on to the undercarriage. You may need to hammer the plates to contour to the body first. Next, fully weld all the way around the plate so no moisture will get in. Also fully weld up the rosette holes in the plates to strengthen the plate. Then grind down any rosette welds that may keep the subframe from lying flat against the chassis. Lastly, spray paint everything to keep welds from rusting.
For badly cracked floorboards, you will have to go thru the cabin of the car, cut into the top side of the floorboard and then weld up more cracking. The kit comes with two rectangular plates for you to plug up the access holes you cut into the top. My car wasn’t that bad so we were able to avoid this.
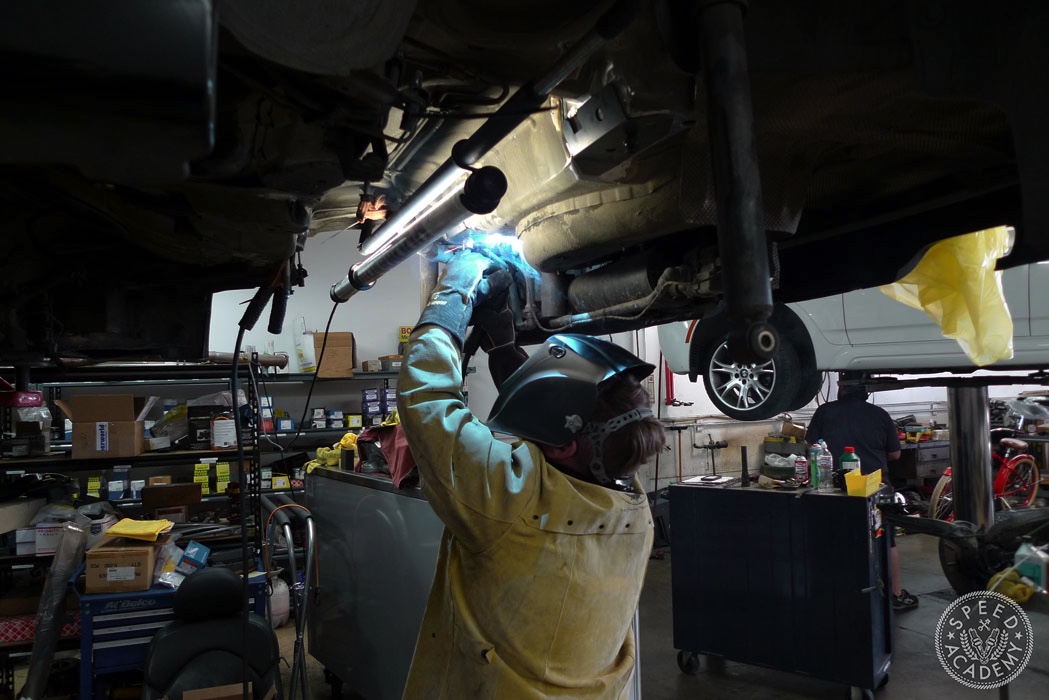
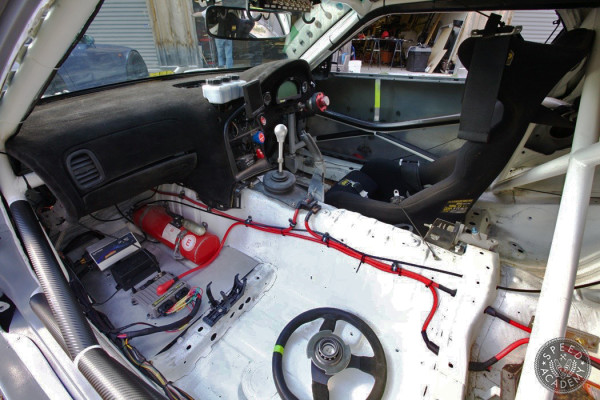
Reinstall everything in the opposite order of removal; gas tank, subframe, driveshaft, then exhaust.
CONCLUSION
This feels like a different car. There’s no unwanted rear steering and no more thud noise when shifting and accelerating hard. Best of all, I now feel very confident launching the car and shifting in turns. It’s a horrible job. Probably the worst type of repair I’ve ever had to have done on any of my cars, ever. But it is an absolute must on any E46, whether you have the thud symptoms or not.
For those of you who prefer video, here’s a recent episode we shot doing this except job on our ’01 E46 M3 Cabriolet drift car project. Enjoy!
I’ve done this job in the driveway before. It was horrific. The car did feel brand new after. Before buying any e46 you should crawl under and look up behind the exhaust to check the mounts for cracks. I’ve found a few that were bad. It’s the only way to really tell. Sometimes the thud you hear and feel when changing through the gears is the diff hitting the body from a worn differential bushing. I’ve also found the exhaust side mount to crack first, I’m guessing the exhaust heat has something to do with it. BMW recalled this way… Read more »
Thanks for the great info! We’ve looked at a few and you can certainly see the cracks.
What should this repair typically set you back $$?
$1k-1500 reinforcement kit & shop labor.
Is this all stainless tig weld?