
Every cool project starts with suspension [or at least a lot of ours do, along with wheels and tires]. Whether you’re doing it for a quicker lap time or just to look cooler cruising down the street, you’ll want to buy a fully adjustable coilover kit. Getting just bits and pieces like lowering springs or a sleeve kit doesn’t give you the adjustability or tune-ability that a true coilover suspension does.
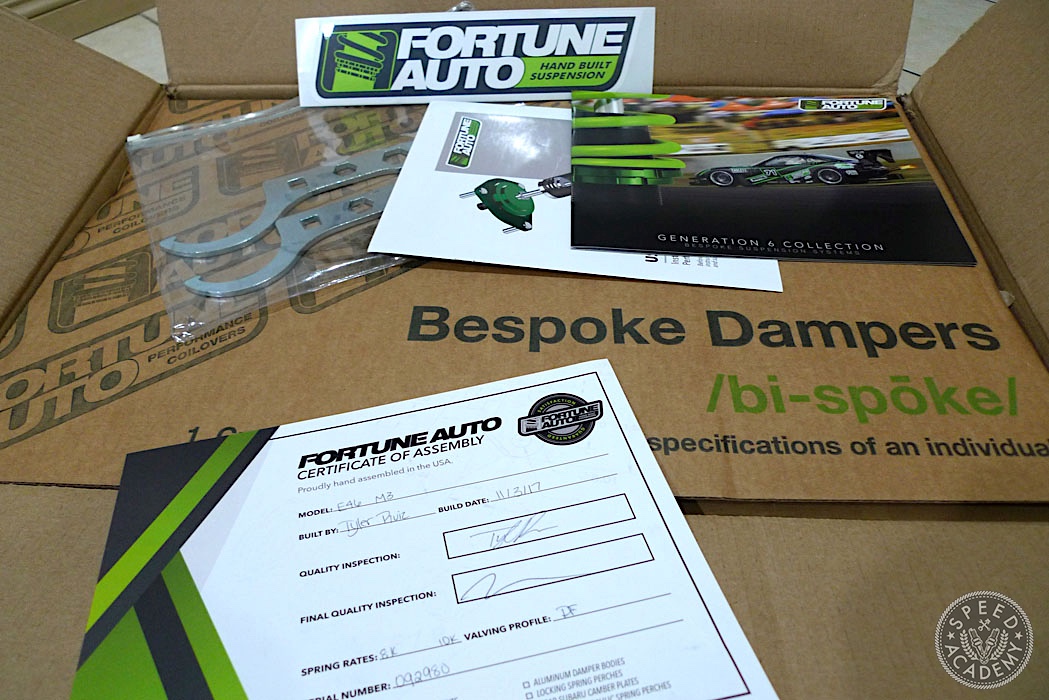
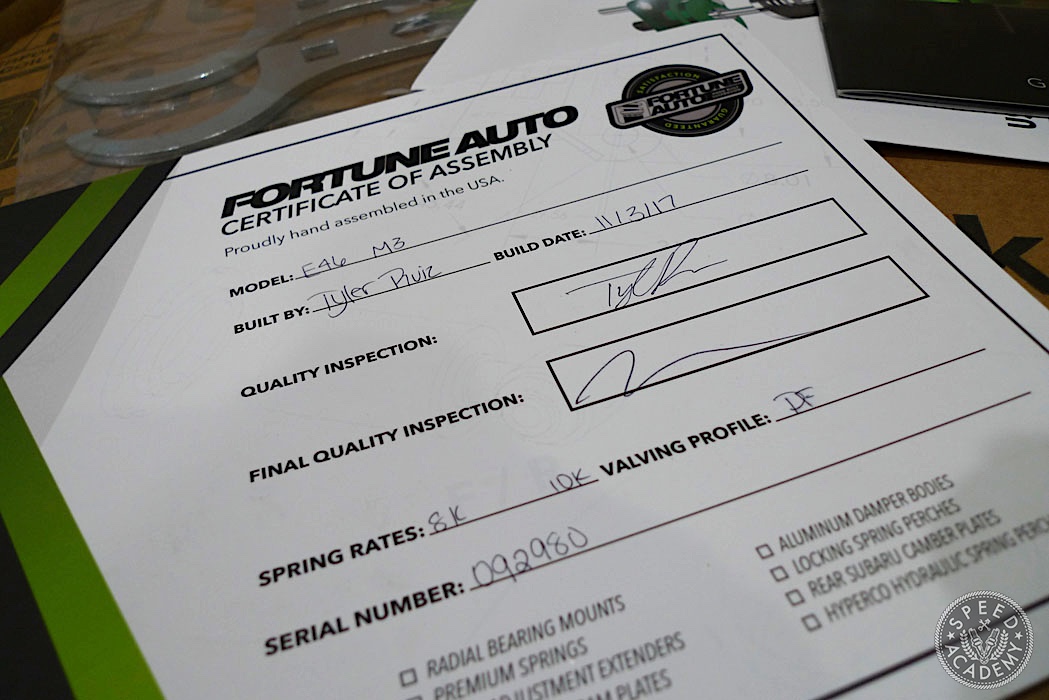
All Fortune Auto coilovers are hand assembled in the USA to custom specifications. Imagine a bespoke tailored suspension for your car. You tell them what your intentions are and they’ll help you pick out a model, spring rates, and valving to suit your needs with your car.
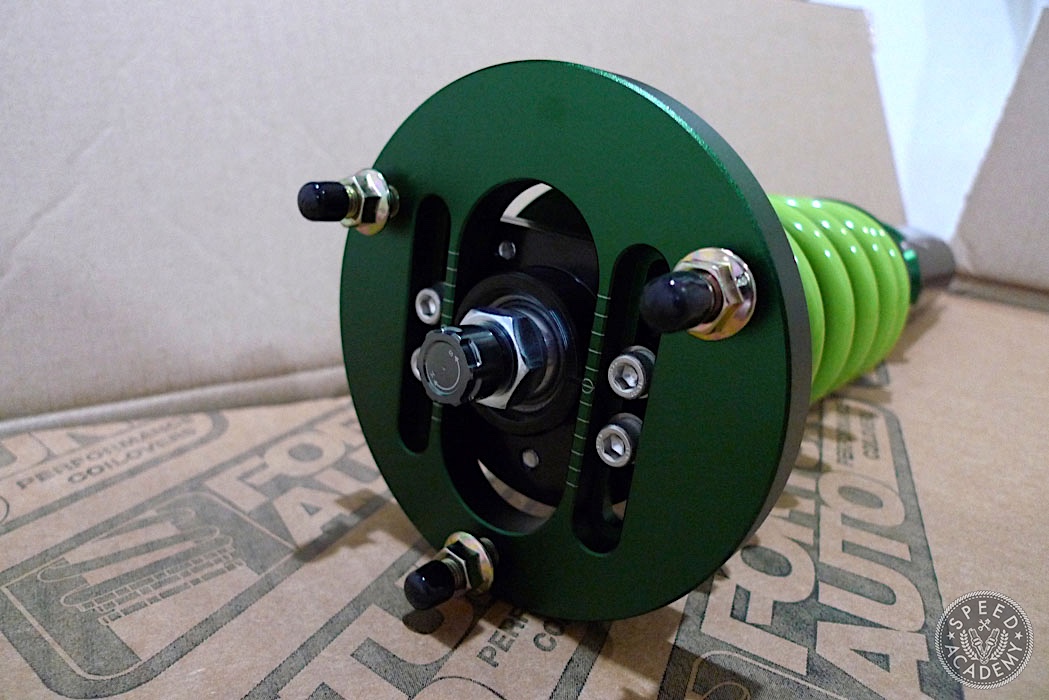
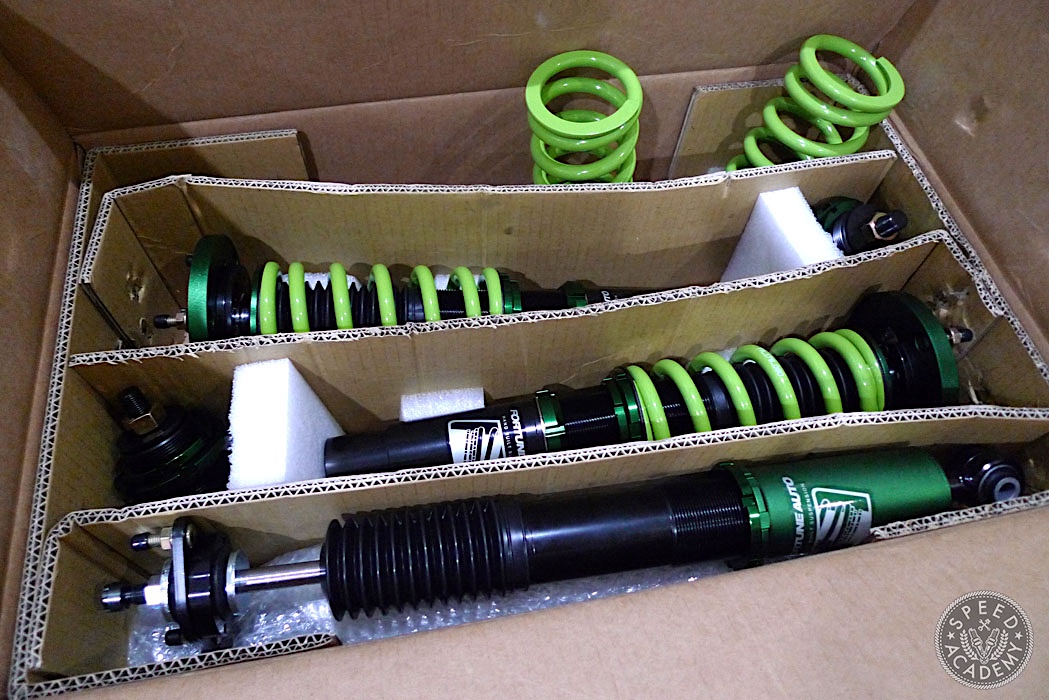
Here’e the front coilover with 24-way adjustment knob. For the E46 M3, the Fortune Auto 500-Series comes with front camber plates.
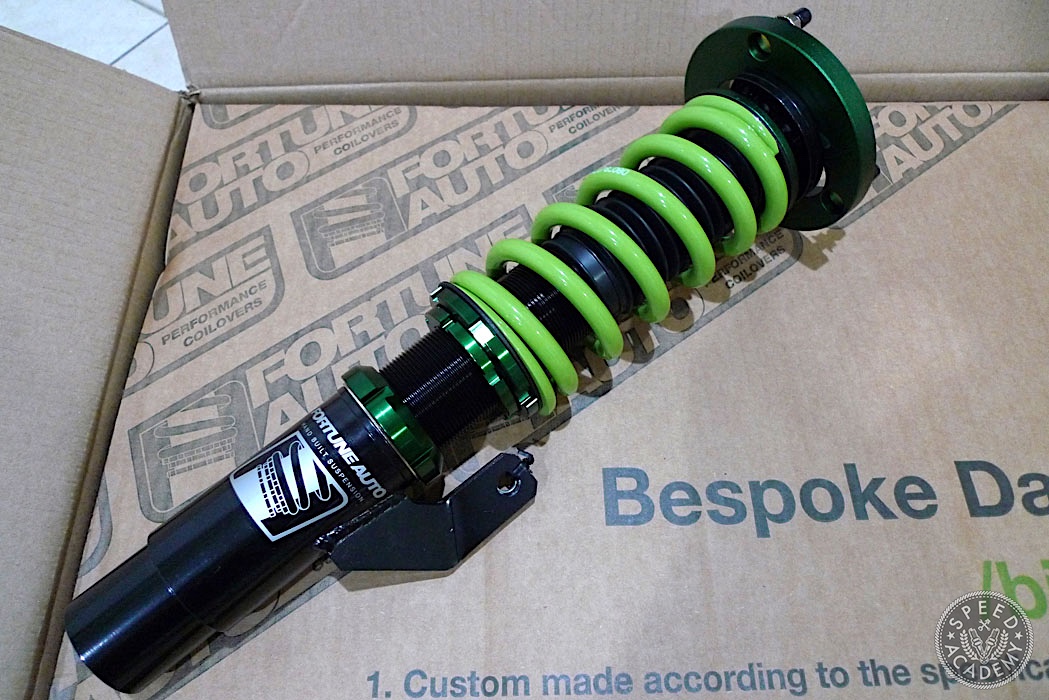
 Note how the they take the time to assemble these with washers between the spring and collar, as well as the lower collar and lower housing.
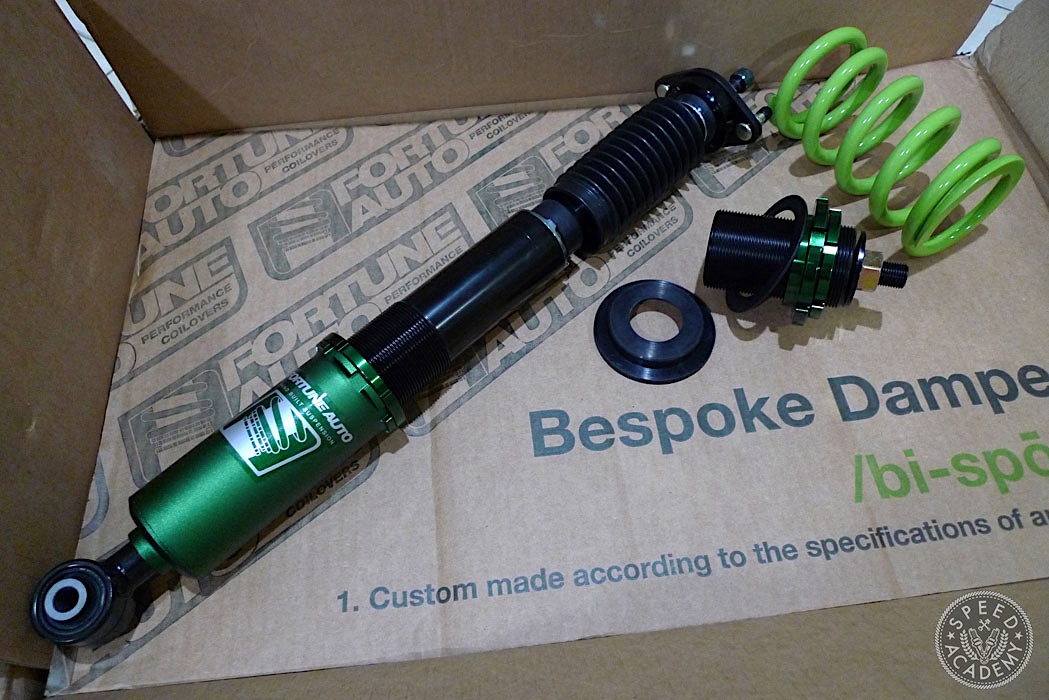
The rear of the E46 doesn’t use a coilover strut setup, but instead coil separate from strut. Fortune Auto keeps the OEM design the same but adds adjustable height and dampening.
FRONT INSTALL:
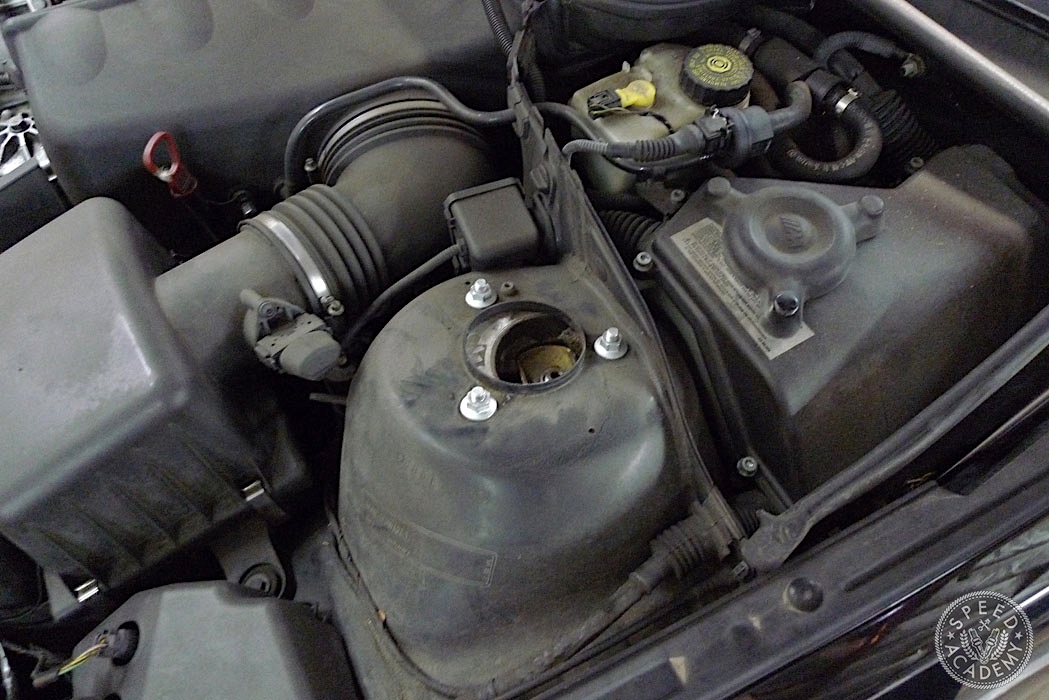
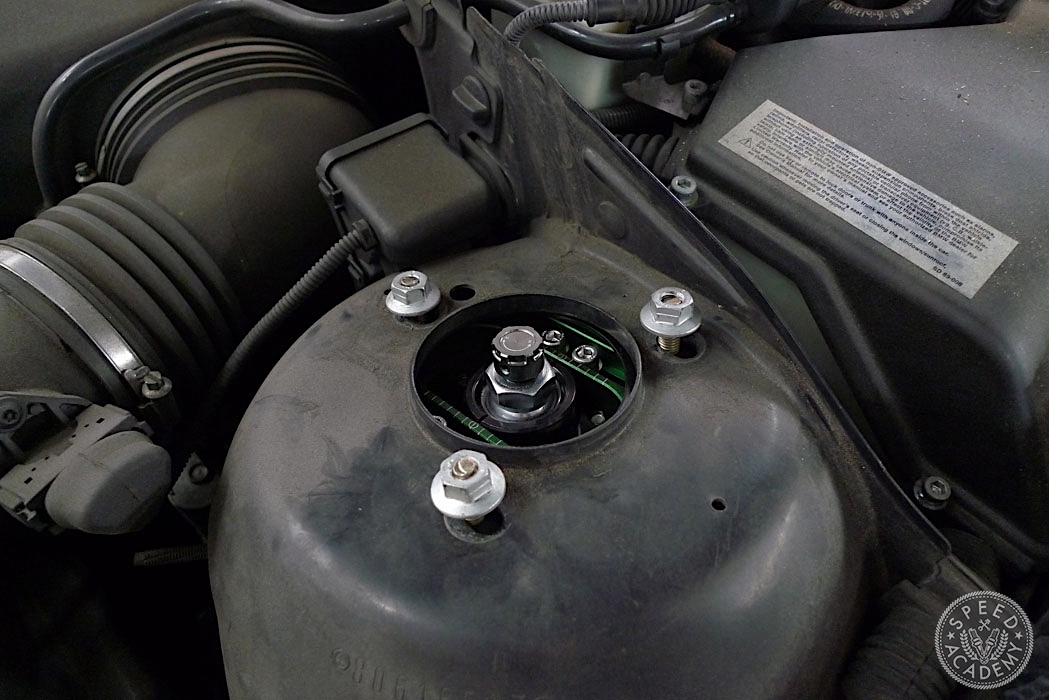
Starting with the front, remove the three 13mm nuts on the shock tower.
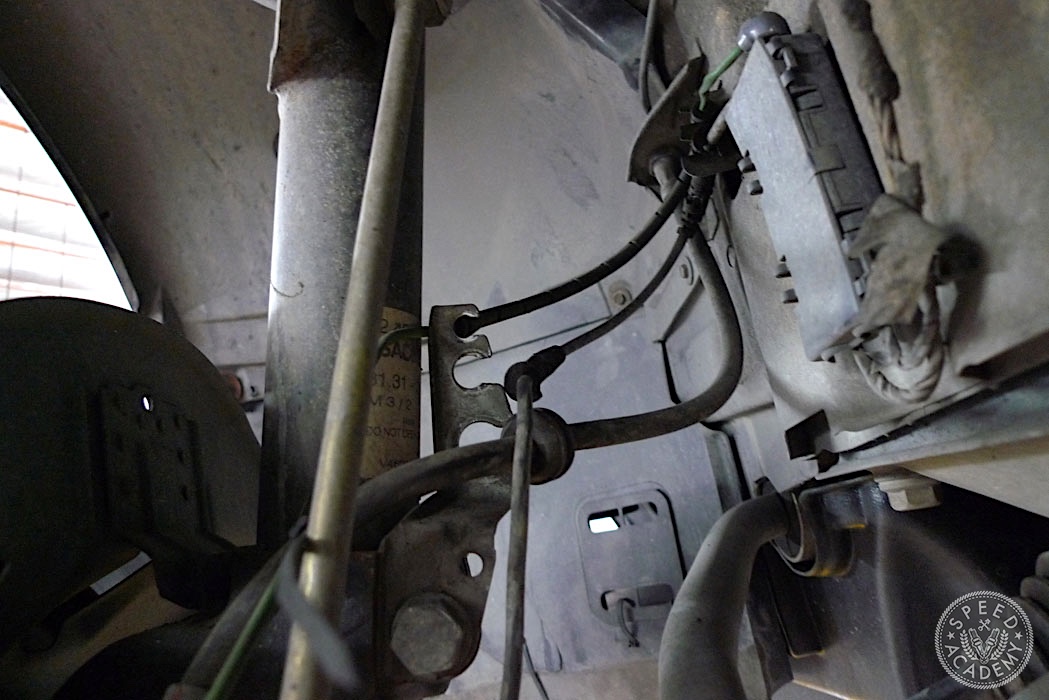
Next remove the brake line, ABS wire, and brake sensor wire off of the lower strut carrier.
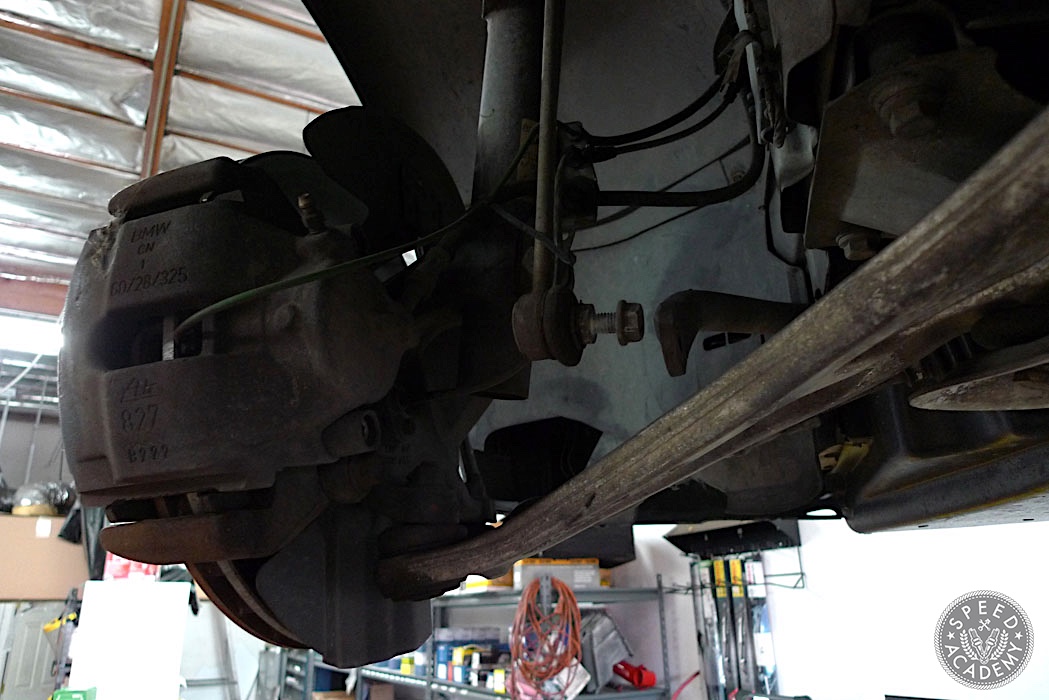
Detach the sway bar endlink from the strut body with a thin 16mm open-end wrench and 16mm socket combo.
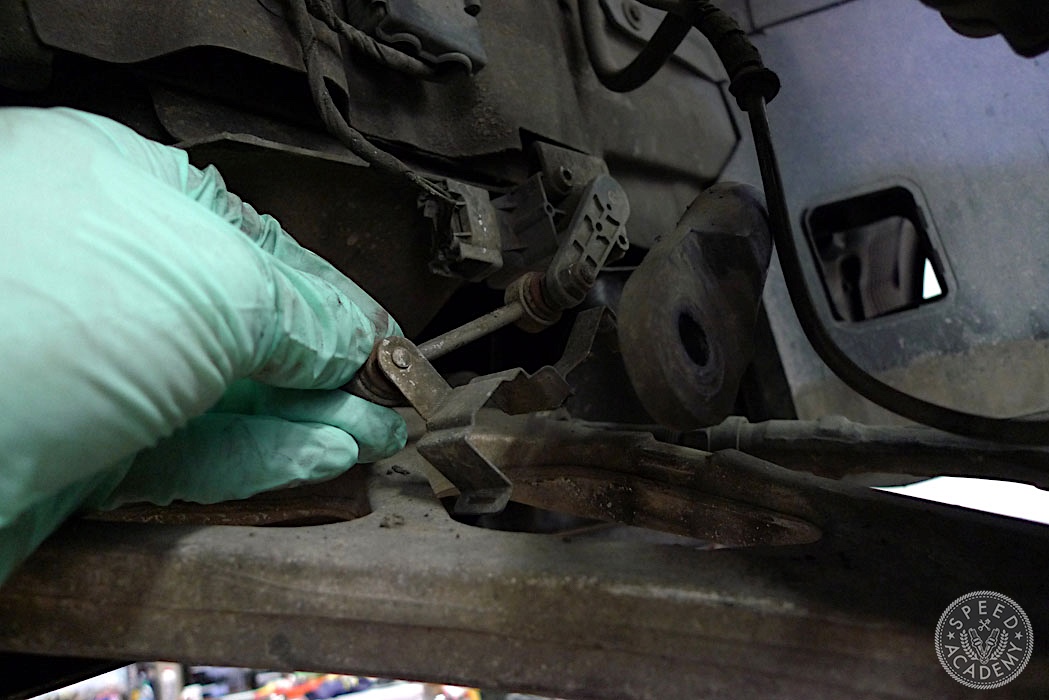
On cars with self-leveling headlights, use a pair of pliers to remove the sensor located on the lower a-arm of the left side of the vehicle.
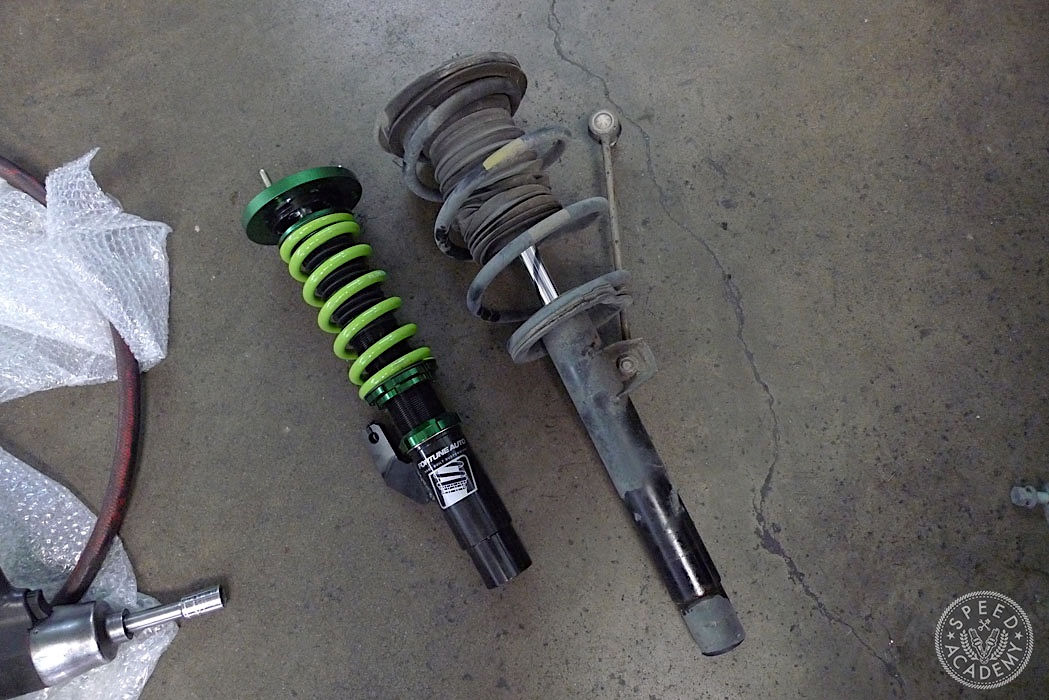
Fortune Auto 500 Series coilover vs OEM coil and strut (these really Sachs).
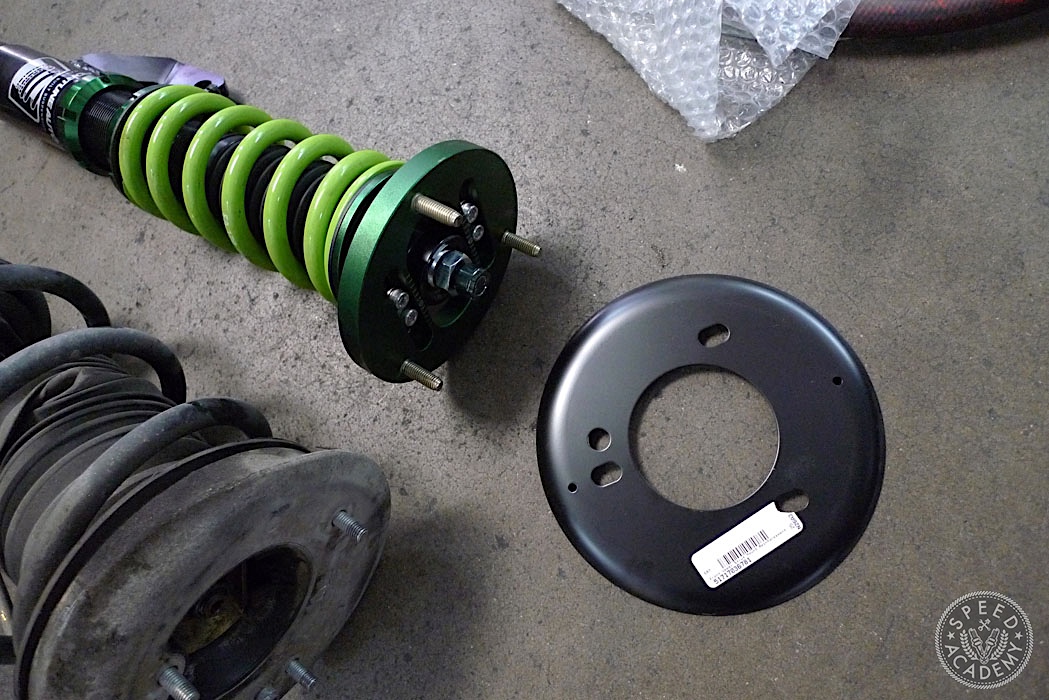
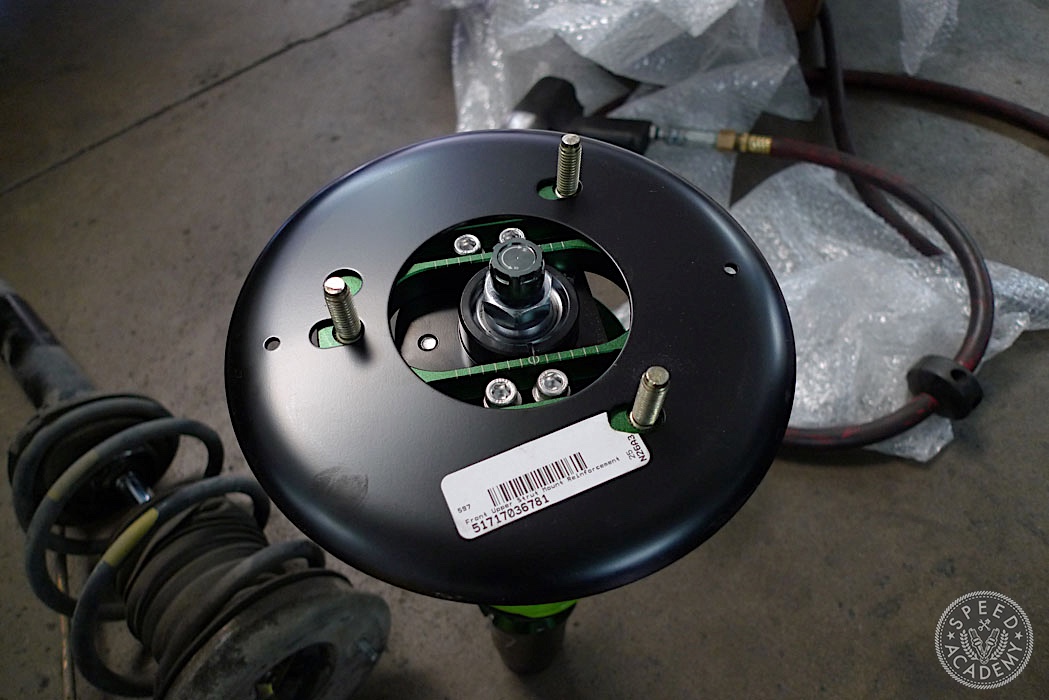
We decide to add these OEM strut tower reinforcement plates that we got from the dealer. If your E46 M3 already came with an optional factory strut bar, chances are you’ll already have these. They go between the coilover camber plate and the underside of the strut tower.
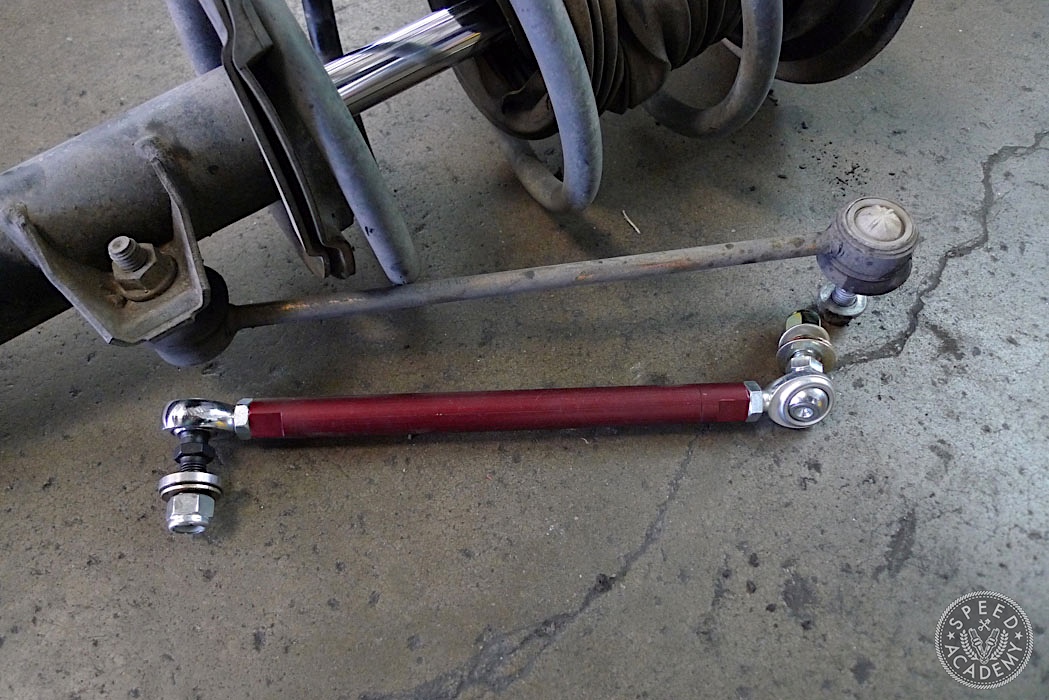 It’s not necessary, but we went ahead and got some shortened sway bar end links. Here they are compared to the OEM ones.
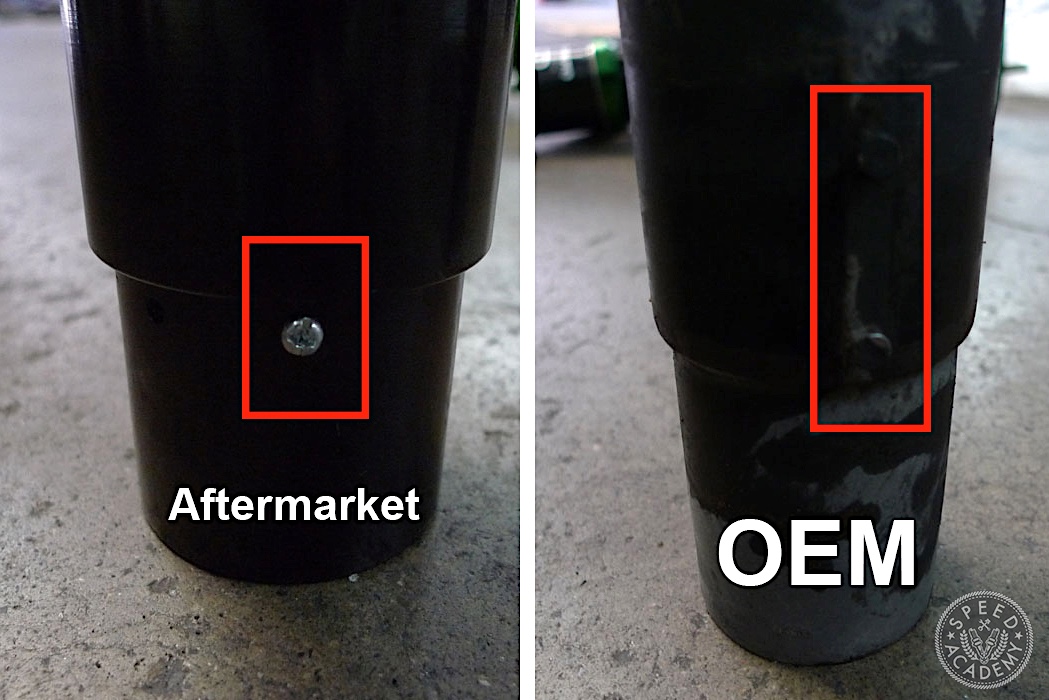
Now when you drop the front coilover into the strut carrier, making sure it goes all the way down flush and that the rear index screw falls into the slotted area on the backside of the carrier housing. Here’s a picture of the aftermarket index screw versus the OEM Sachs’ index knobs. Tighten the carrier with the 16mm bolt.
Once the strut is back in tighten up the three 13mm nuts. The front is now done. Lets move on to the rear.
