If you have a BMW E46 or are in the market for a used one, you might have heard of the rear subframe issue. The E46 might be the most popular M3 chassis to mod by enthusiasts, but like all cars, they have their common problems. Rod bearings, VANOS, or SMG pumps are not uncommon and not cheap or easy repairs. But the rear subframe issue is the real Achilles heel of the E46. And it has nothing to do with how modified the car is. I’ve seen it on unmodified cars, early models, late models, low mileage, and high mileage. Every E46 I’ve seen has this problem. And the shitty thing is to fully check a car, you have to remove everything in the rear, so you might as well repair it while you have the subframe and all out. Which means if your car hasn’t had this done, you will be doing it.
THE SYMPTOMS
Is your car knocking when you shift hard or accelerate abruptly? If it sounds like a light thud coming from the rear of the car it could be your rear subframe coming loose behind you. You’ll want address this problem because if it continues to get worse it will become very costly to fix. Possibly even not worth the value of the car. Literally, every one of my friends with an E46 has had this repair (6 out of 6 cars).
THE PROBLEM
First off it’s not the subframe itself that cracks or goes bad. So when people say that the subframe is cracked or reinforced they are inaccurate.
The subframe is just the tubular frame that cradles the rear differential. The entire rear suspension, rear brakes, and arms all attach to the rear subframe as well. Like most FR cars, the rear subframe bolts to the chassis via four mounting points. So there’s quite a lot of load that transfers from the drivetrain and suspension to subframe and then to the sheet metal underside of the unibody. The trunk floorboard is where the subframe bolts to the chassis and this is where the metal will start cracking.
The tiny cracks start to form where the subframe bolts to the car. Large cracks might be visible if you had put the car up on a lift, use a lot of light, and scrape away all the dirt. But small cracks will be under the subframe bushing and will not be visible until you remove the subframe. And small cracks won’t give much of any symptoms. So you really have to disassemble the entire thing and clean it to know. At which point you might as well fix it. Tough shit right?!
How does this happen? Basically, it starts when the subframe bushings go bad. After that, the floorboard can’t really take all the movement and the load so it starts cracking.
A second problem I was having was the car would feel like the rear was getting bump steer. Every time the rear wheels hit a pothole or bump I could feel the rear end wanting to slide around.
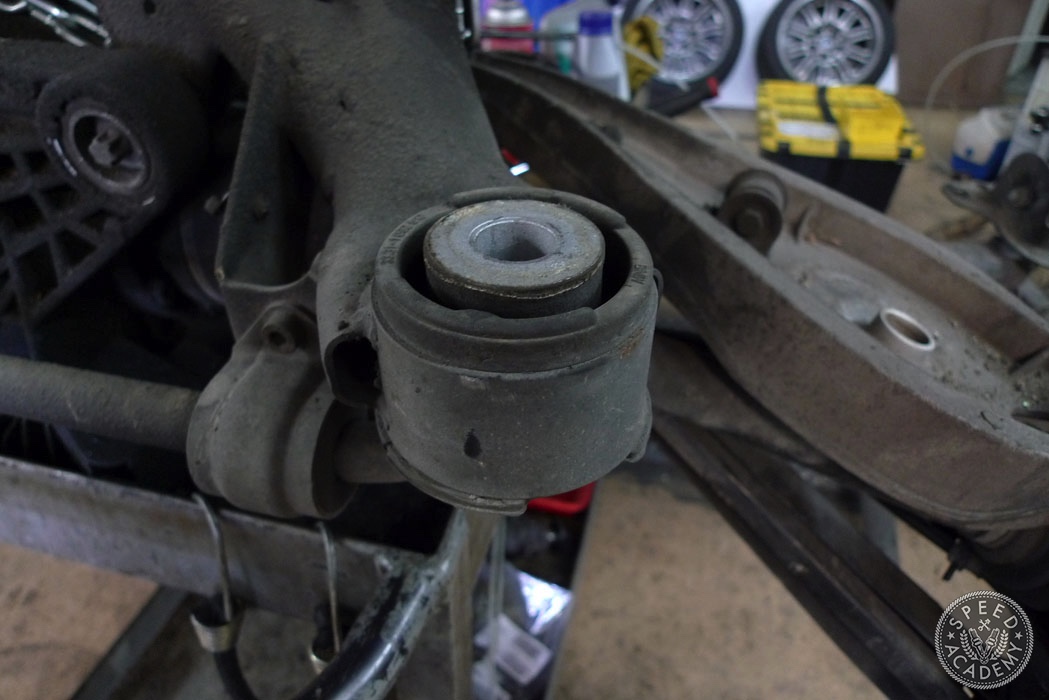
Bad rear trailing arm bushings will cause the rear wheels to toe in or out on their own too, steering the rear of the car all over the road. This is classic bad rear trailing arm bushings (RTAB) in action.
THE SOLUTION
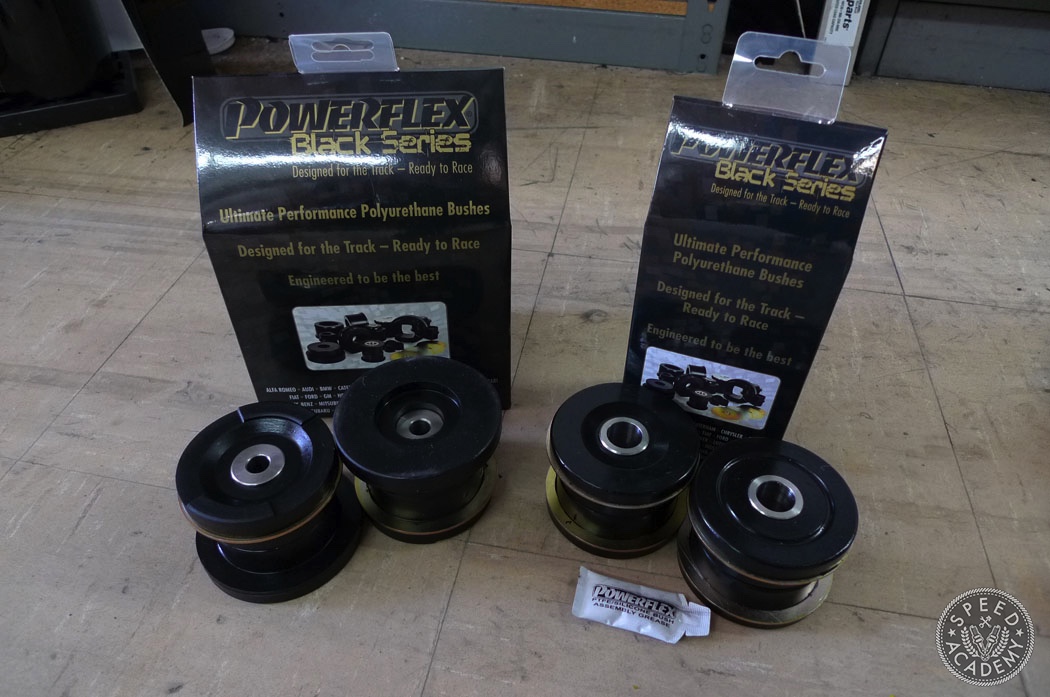
First let’s address the easier of the two problems, the RTAB. If your factory ones aren’t cracked yet or you’re on a budget then you might be able to get away with installing RTAB limiters. These are urethane spacers that keep the factory rubber RTAB in place from moving too much. But the proper way to fix this is to press out the RTAB and replace them. Instead of getting new OE rubber bushings, I decided to go with urethane aftermarket ones. Powerflex offers Black Series urethane RTABs for the E46. This will replace the factory bushing and they are made with a flange so they work like having limiters on.
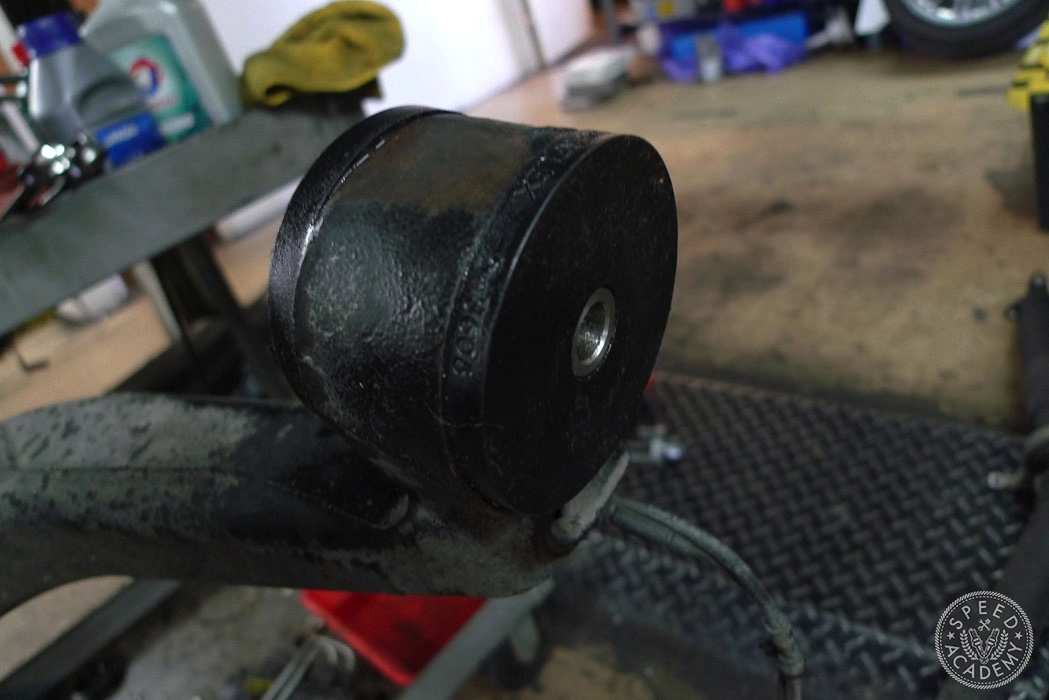
For the subframe bushings, you also have two options. If your bushings are not yet cracked you can get the Powerflex inserts made for OE bushings. The Powerflex inserts will keep the OEM bushing from flexing and causing damage to the chassis. Factory BMW bushings are black in color making it very difficult to see tiny cracks without a flashlight. You will have to remove the subframe bolts and washers to really see if/how cracked yours are.
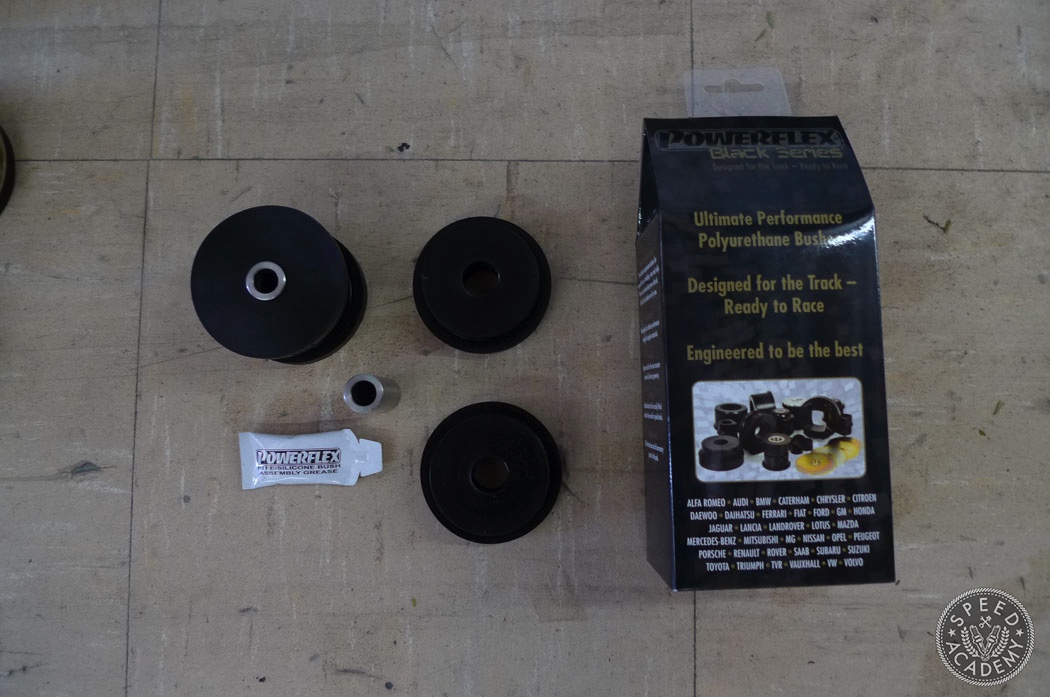
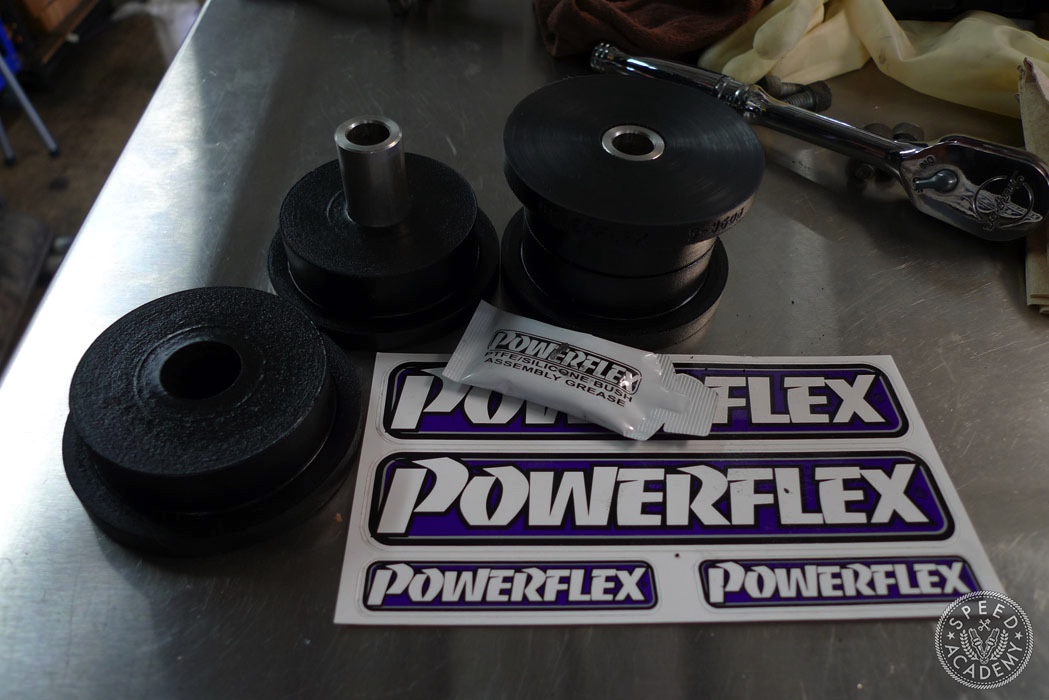
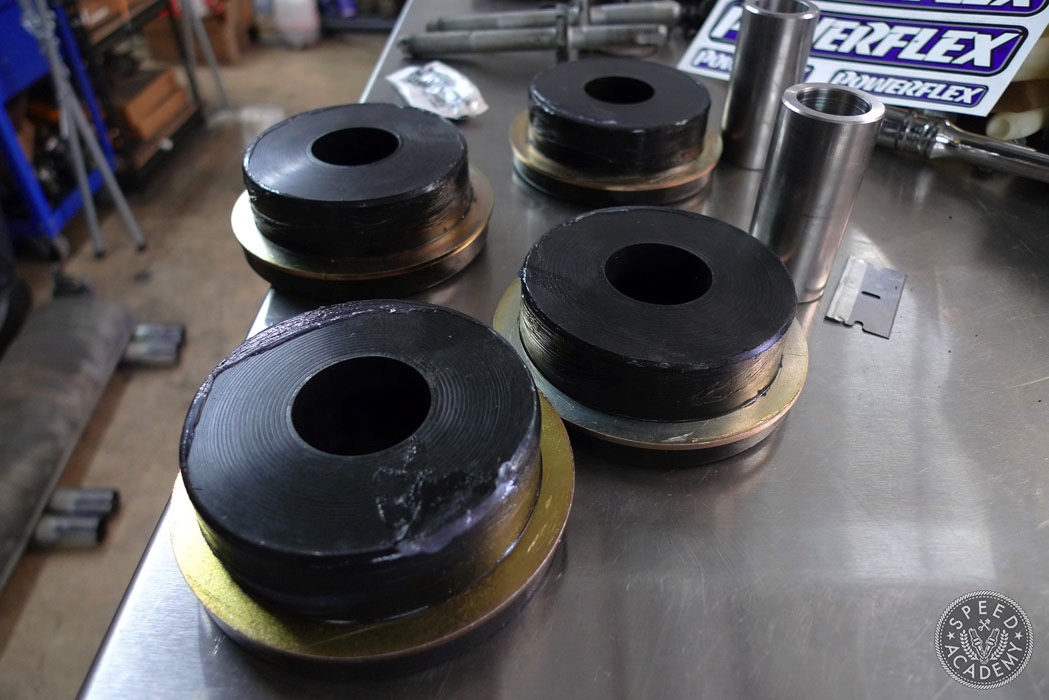
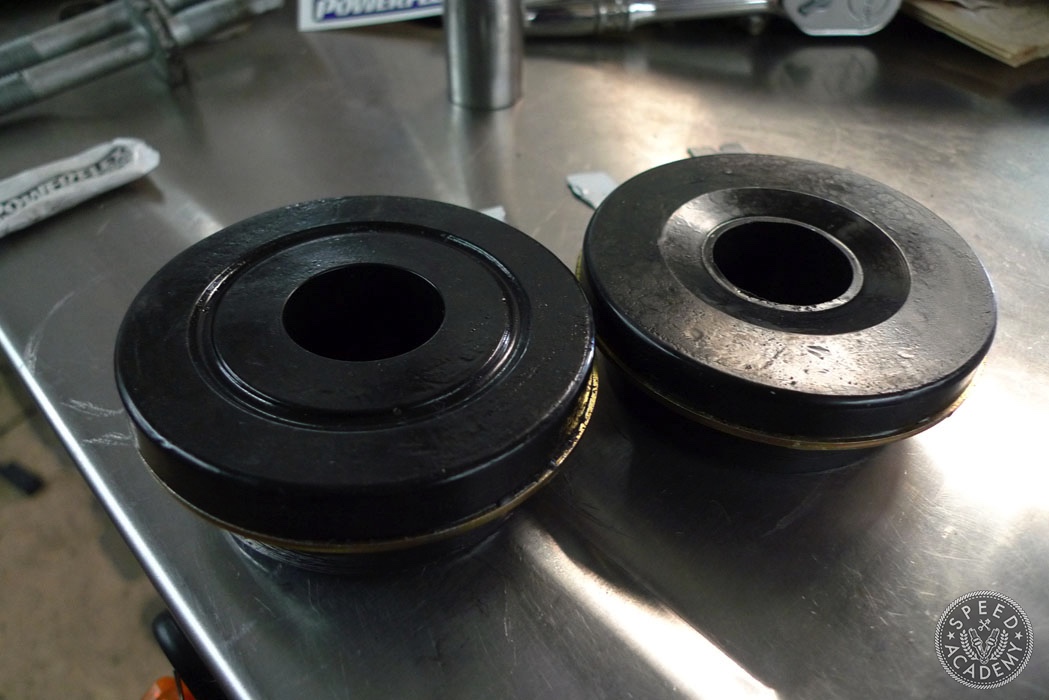
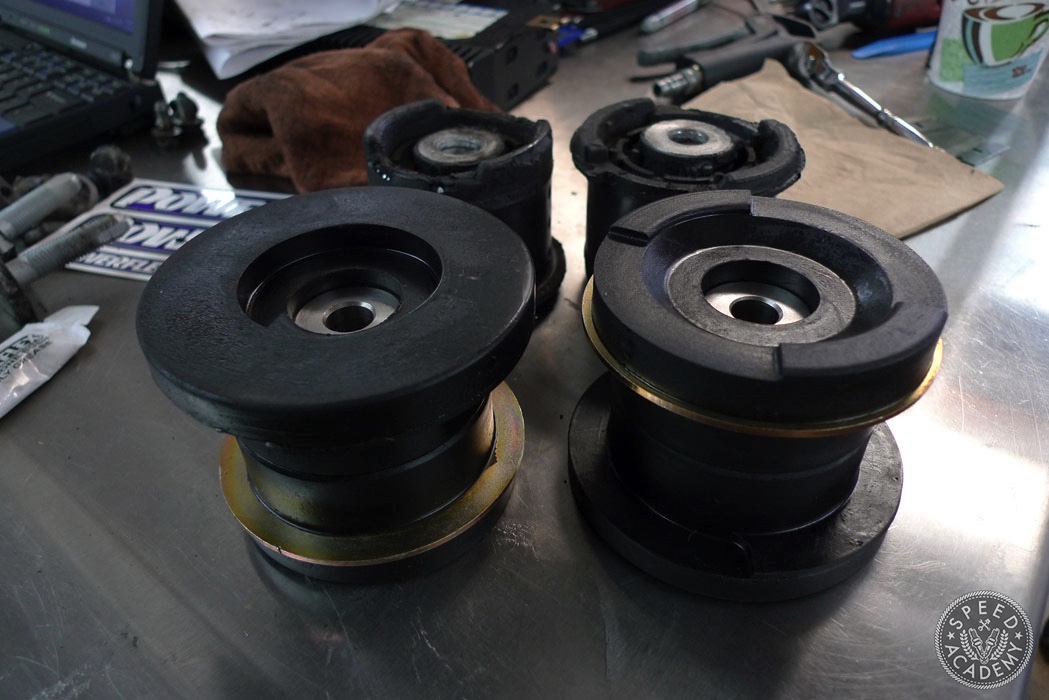
I chose to completely replace the OEM subframe bushings with Powerflex Black Series bushings . The Black Series line is Powerflex’s harder 95A durometer bushings, but don’t fret, these will not cause vibration. Urethane diff bushings are the ones that usually cause vibration and so I am keeping the ones I have.
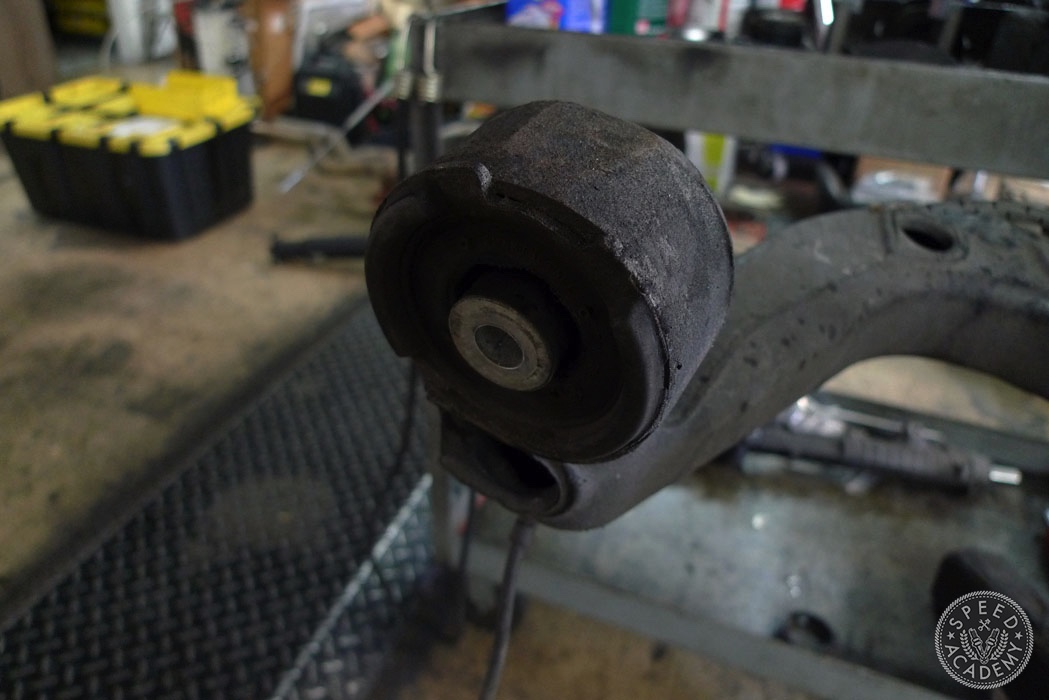
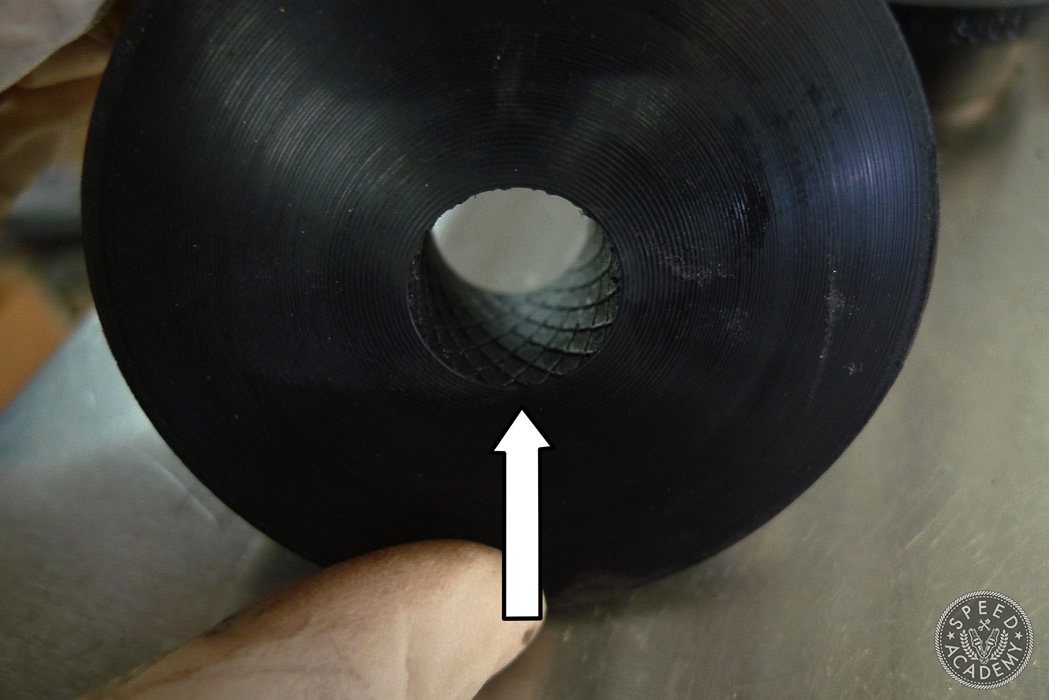
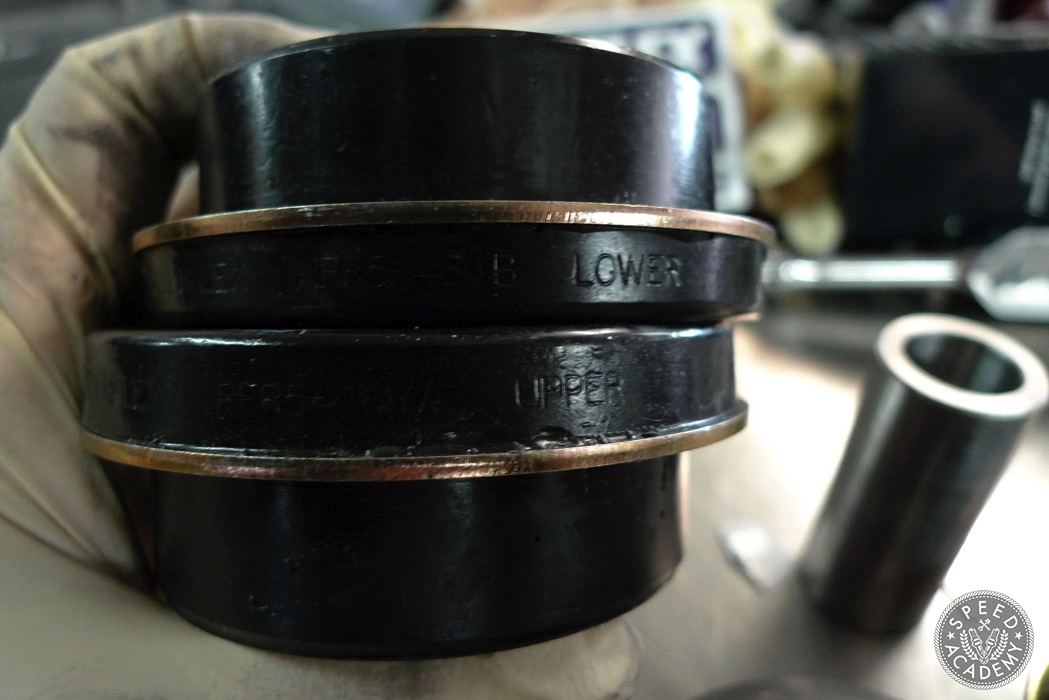
If you look at the Powerflex subframe bushings you’ll see they are notched and indexed so they fit just like factory ones. There are top pieces and bottom pieces, all labeled from Powerflex. Make sure you lube this area. These bushings also come with flat washers. This will put pressure on the bushing evenly and not smash them against the chassis when tightened down. Looking at the RTAB you’ll see a knurling texture inside. This is to hold the lube in and prevent squeaking while the trailing arm is rotating inside the bushing.

With the bushings purchased, we still needed to fix the rear floorboard sheet metal. The plan is to weld up the cracks and then reinforce the undercarriage with the BimmerWorld reinforcement kit. BimmerWorld’s kit is made of thick high strength steel and cut extra larger to surround the most severe cracking. Another nice touch is the larger holes on the plates. This will allow rosette welding for extra durability.
THE REPAIR
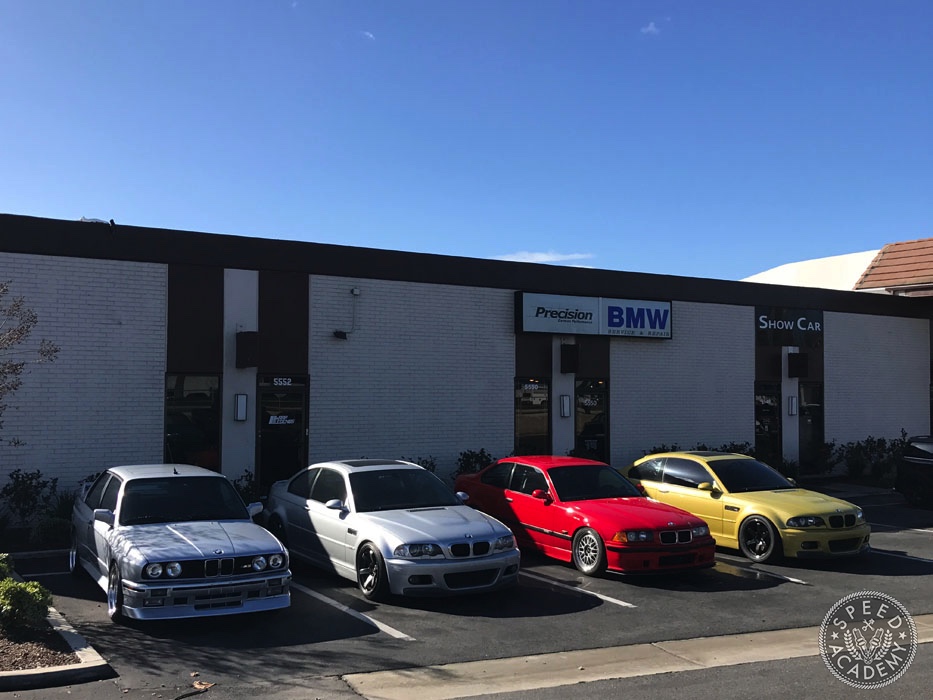
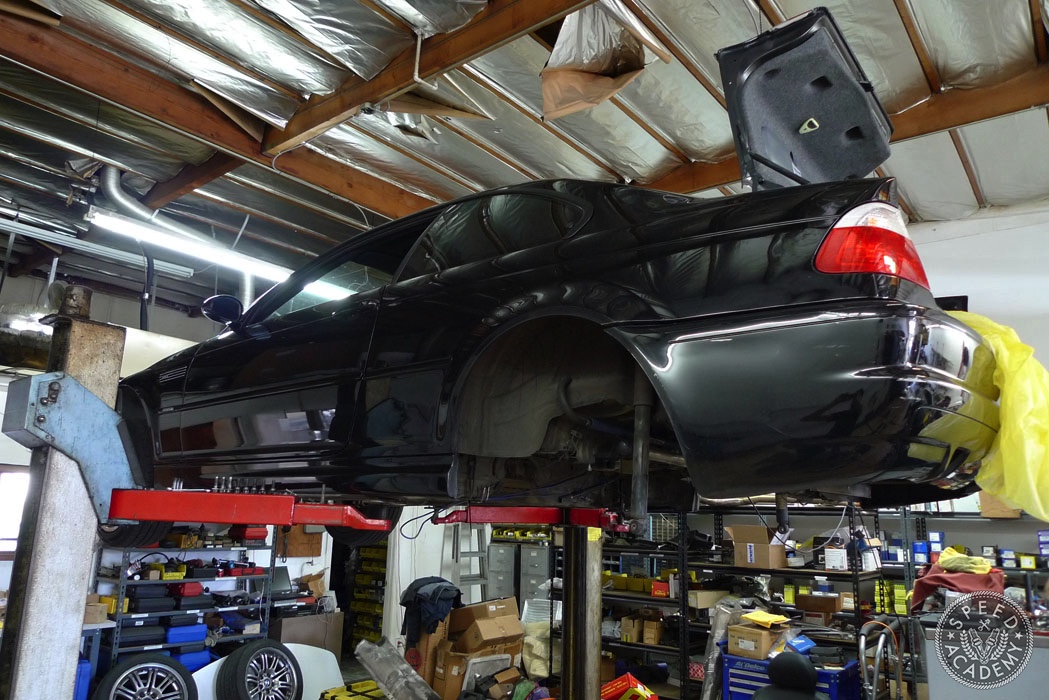
This is not a job you want to attempt at home, unless you’ve got a serious welder and some equally serious welding skills. Many mechanics are not setup to do this type of repair either, as it requires advanced welding skill and enough knowledge of the performance aftermarket to source the right parts like I did from Bimmerworld. At the other end of the spectrum, most professional welders and fabricators don’t have a whole lot of BMW knowledge to disassemble the entire rear suspension of the car. So the best thing to do is go to a BMW specialist that has spent the money on specific BMW tools and have experience doing this repair. I chose to bring my E46 to Precision German Performance in Anaheim Hills, California where they not only have done this before but also where their staff are not just BMW techs but also track enthusiasts.
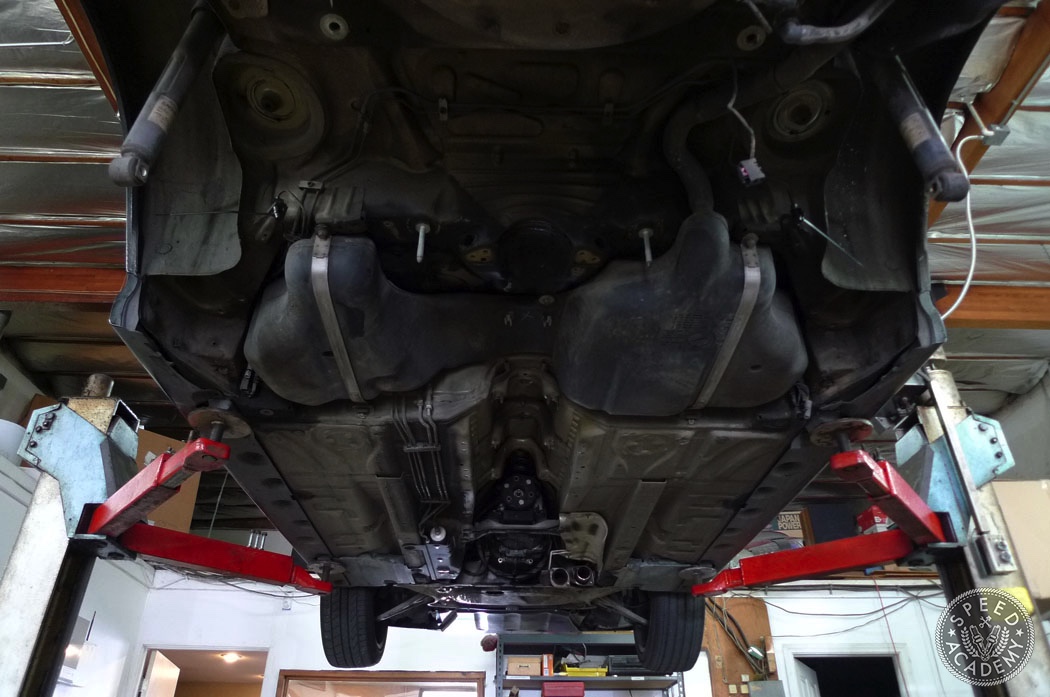

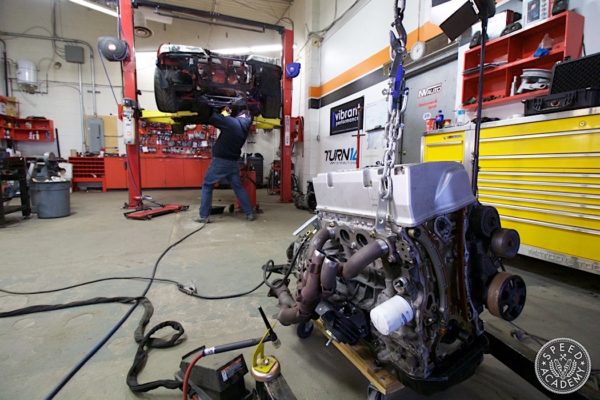
 In terms of process, first, you need to remove the exhaust. If you have a second set of hands it will be easiest to unbolt it from the header and then just drop section one, section two, and the muffler section all at once. Next, remove the driveshaft followed by the subframe with all the suspension parts, differential, and axles all intact. Lastly, remove the gas tank (helpful hint: make sure the gas tank is less than ¼ full before starting).
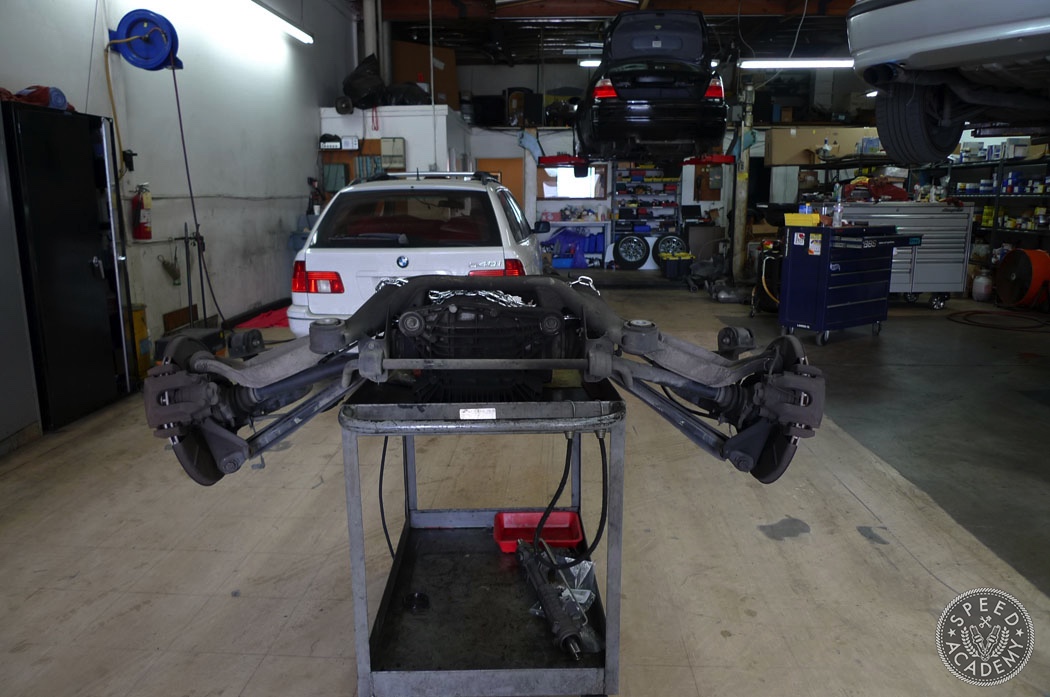
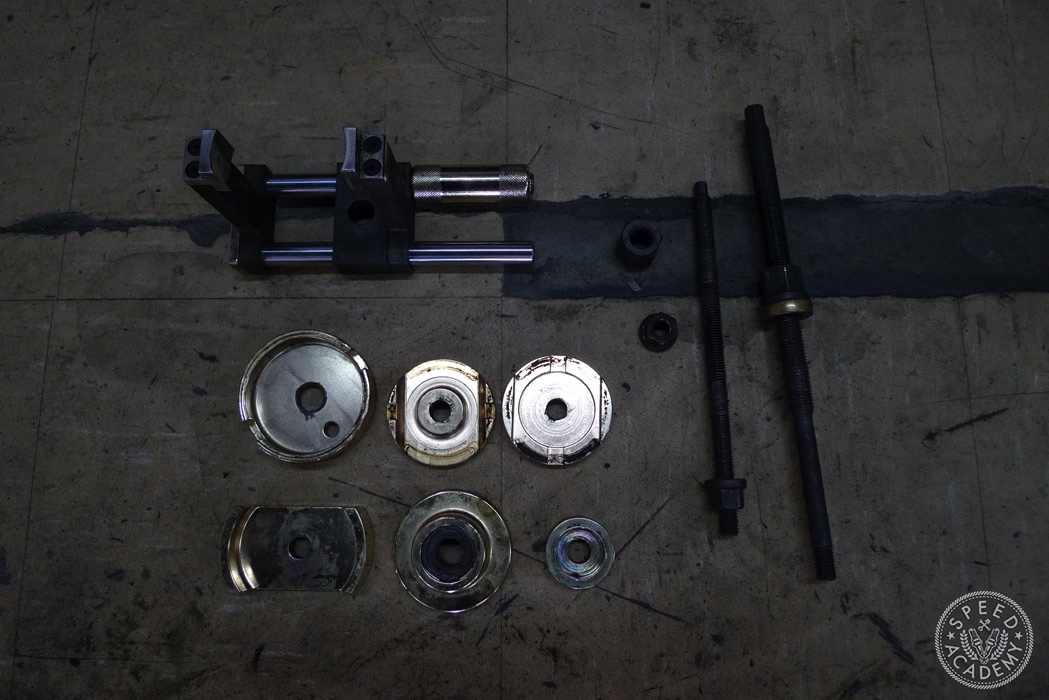
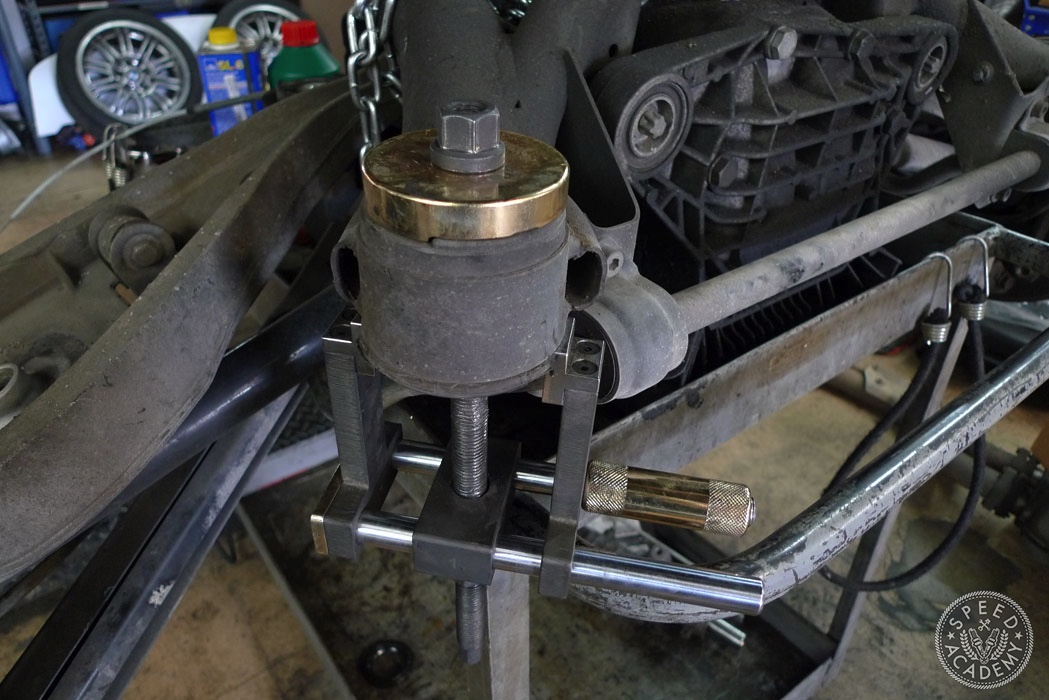
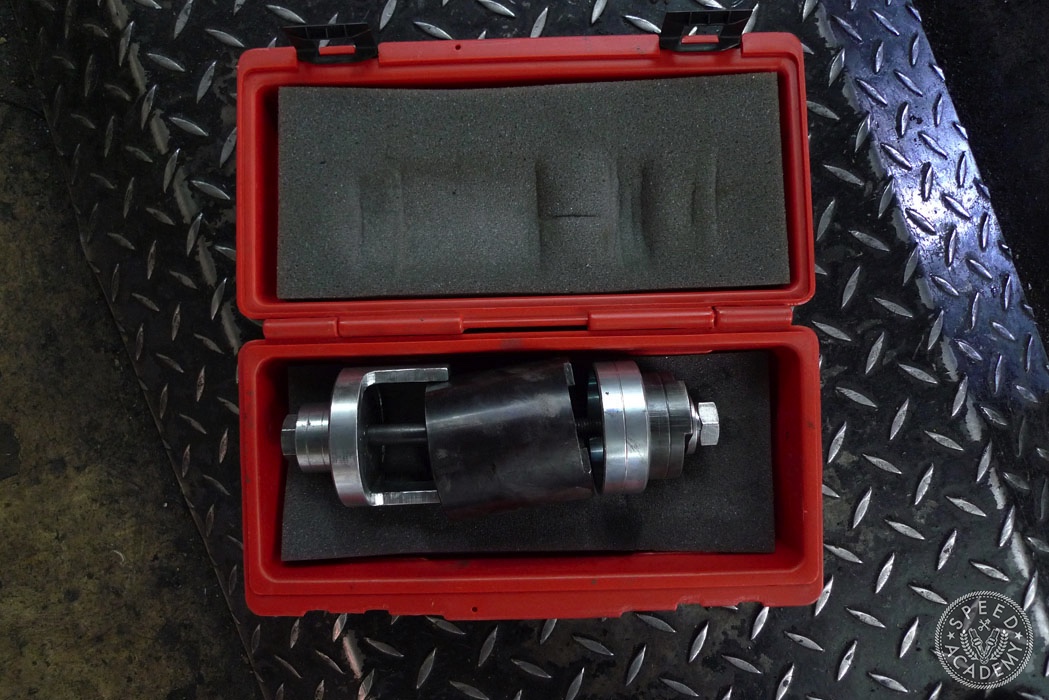 While the subframe is out you can start with the RTAB and subframe bushings. Each set of bushings will require a different BMW specific tool designed to remove that exact bushing. These tools would have cost me hundreds for a one-time use. This is where going to a BMW specialist like Precision German Performance helps. Having the correct tools allowed them to pop out all the bushings in just minutes. No fire, no filing, or cutting. Just a couple minutes on each bushing and they’re out.
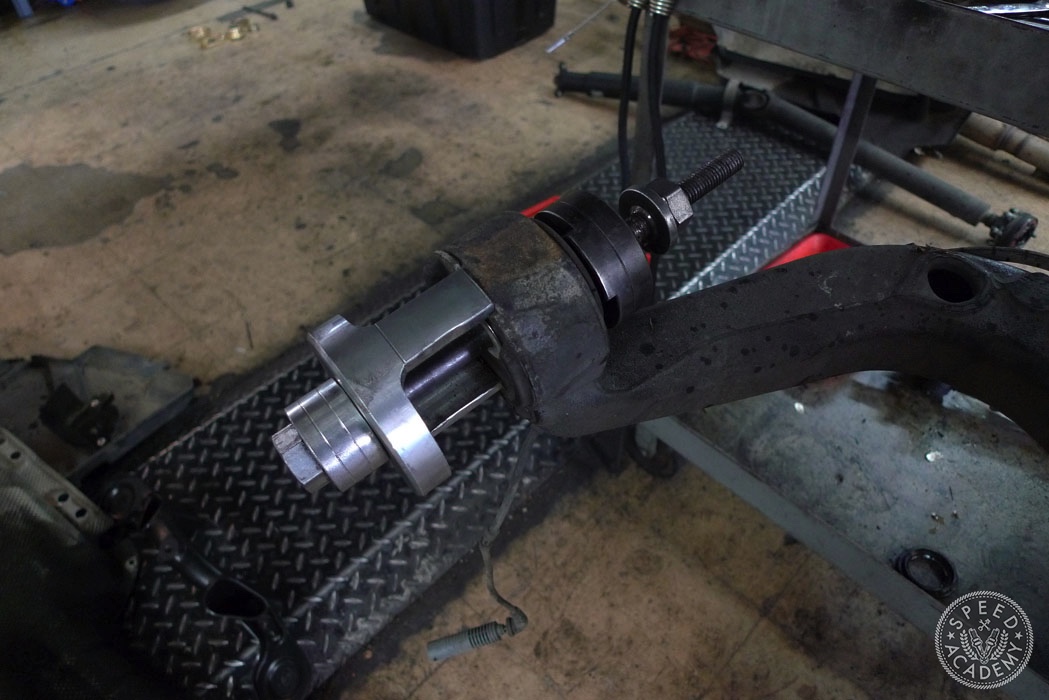
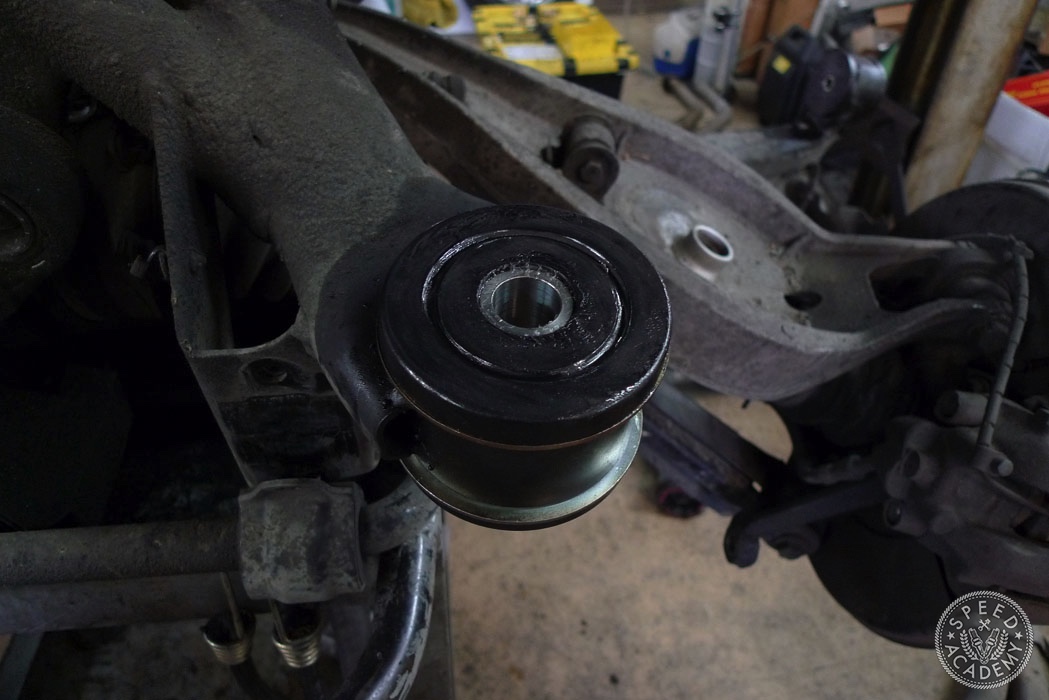
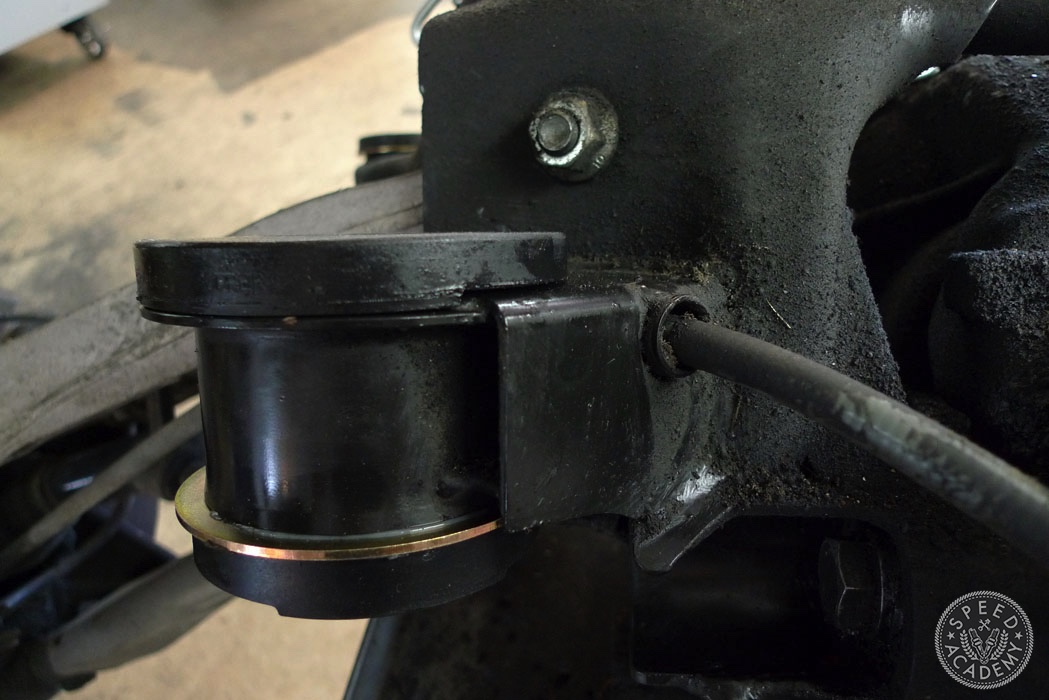
 To install the new Powerflex bushing, simply use a large C-clamp. Make sure you use the lube to make things easier and keep the RTAB from making noise.


I’ve done this job in the driveway before. It was horrific. The car did feel brand new after. Before buying any e46 you should crawl under and look up behind the exhaust to check the mounts for cracks. I’ve found a few that were bad. It’s the only way to really tell. Sometimes the thud you hear and feel when changing through the gears is the diff hitting the body from a worn differential bushing. I’ve also found the exhaust side mount to crack first, I’m guessing the exhaust heat has something to do with it. BMW recalled this way… Read more »
Thanks for the great info! We’ve looked at a few and you can certainly see the cracks.
What should this repair typically set you back $$?
$1k-1500 reinforcement kit & shop labor.
Is this all stainless tig weld?