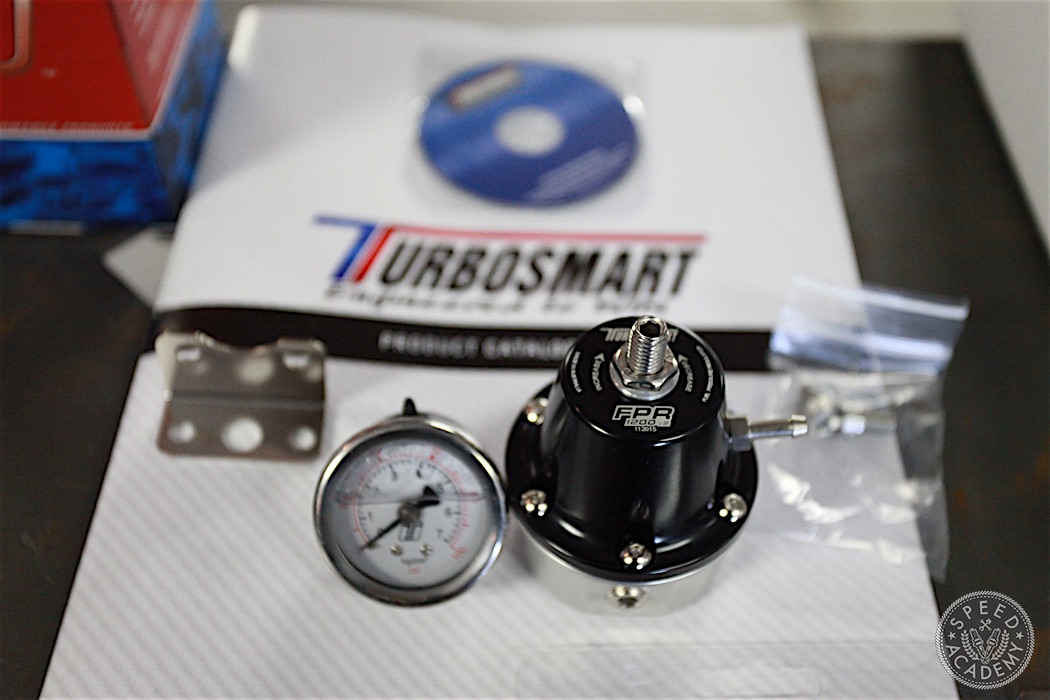
Speaking of which, we opted for a Turbosmart 1200 FPR, which you shop owners can source from Turn14 Distribution and which comes with AN -6 inlet ports and can be ordered in black (like ours) or their signature blue. As the name implies, it’s good on race cars up to 1200-hp, so we have a bit of room to grow. Hah. But it’s also a perfect fit for a more moderately powerful engine like our F20C, since it can be adjusted for base fuel pressure between 30 and 70 PSI, which covers the operating range of the F20C perfectly (47-54 psi).
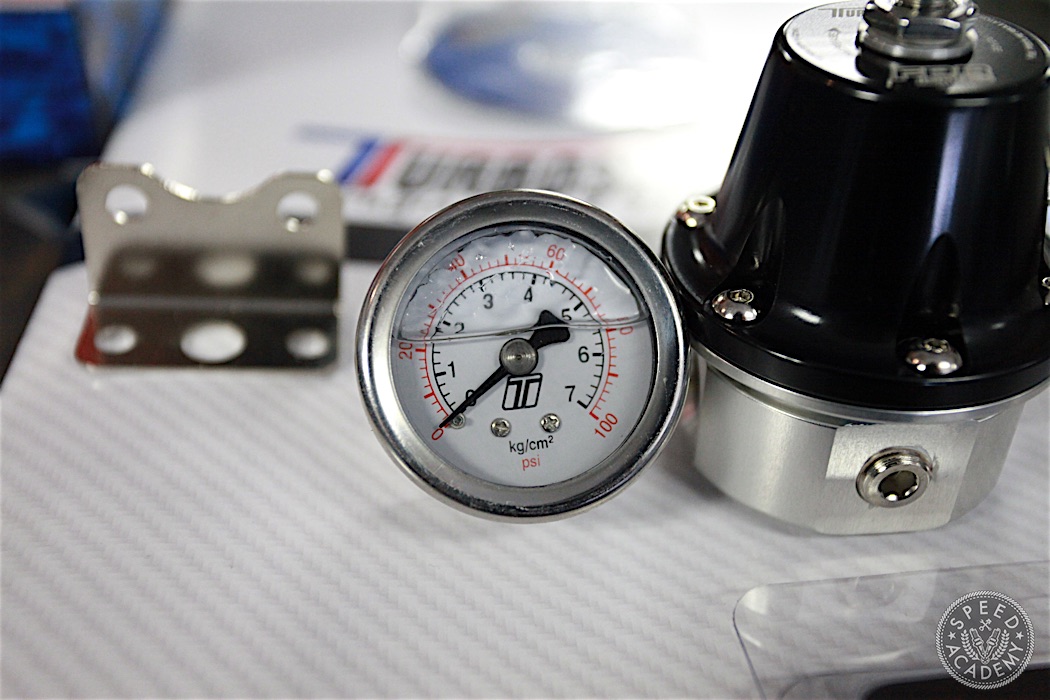
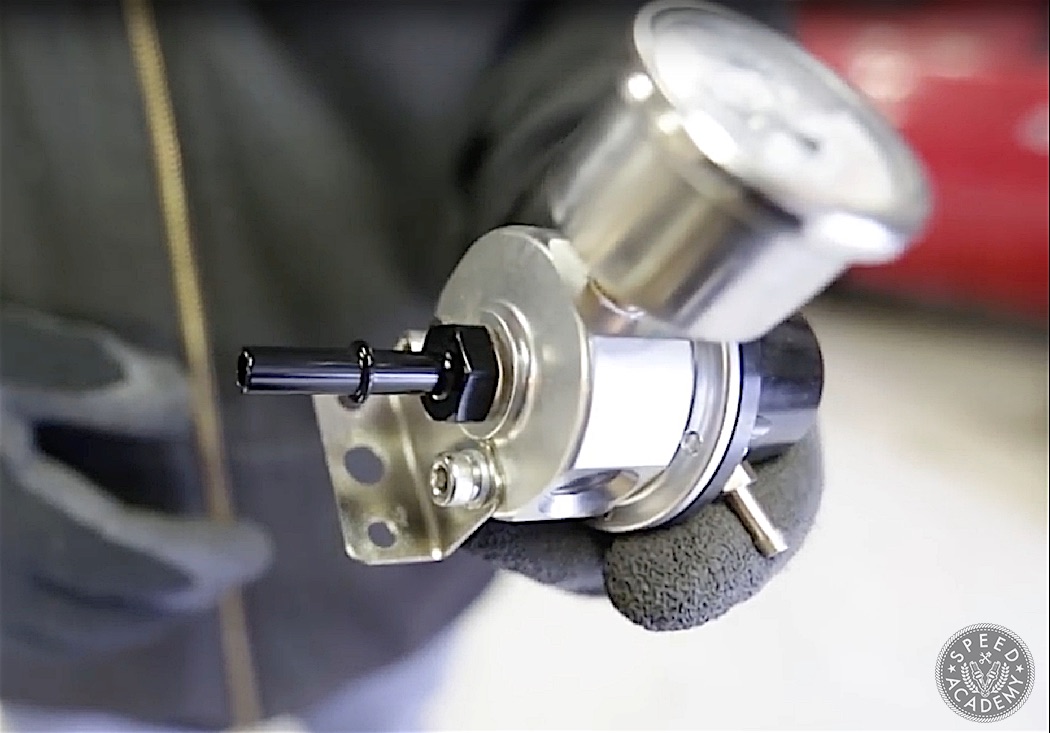
Manufactured from billet aluminium and hand-assembled in Turbosmart’s facility in Australia, our 1200 FPR will ensure smooth and stable fuel pressure delivery under all conditions from idle to full throttle, and thanks to the easy screw and lock adjustment on top we can painlessly adjust base pressure as needed. And as you can see, this FPR comes complete with a mounting bracket and bolts, vacuum fitting, plus we added a Turbosmart fluid filled fuel pressure gauge so we can keep an eye on pressure on the dyno or when troubleshooting a fuel delivery problem.
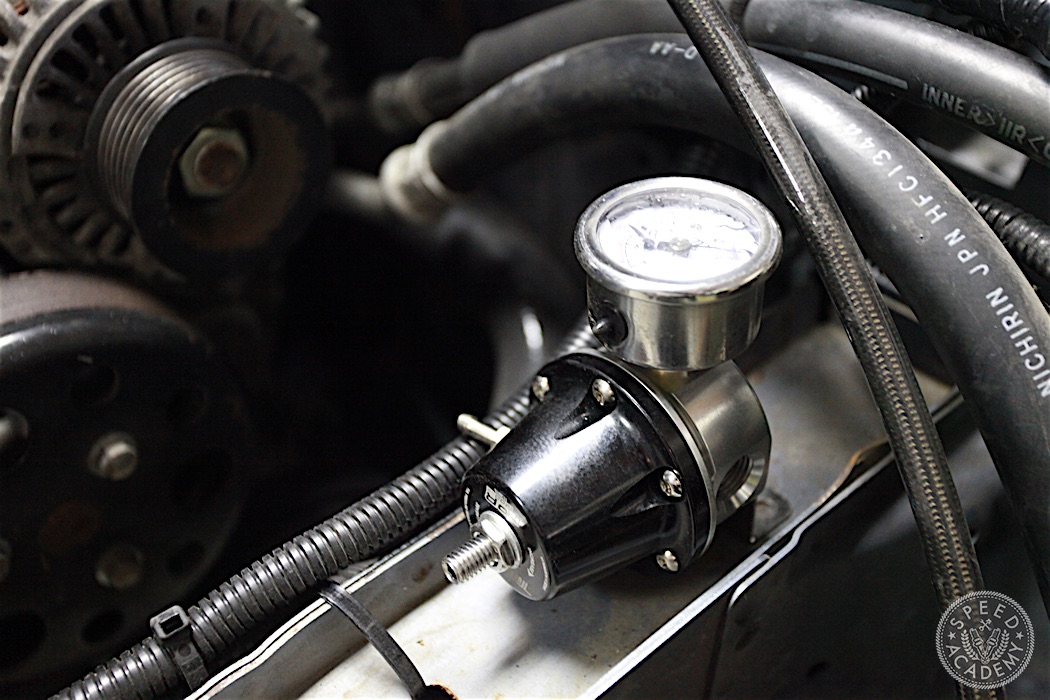
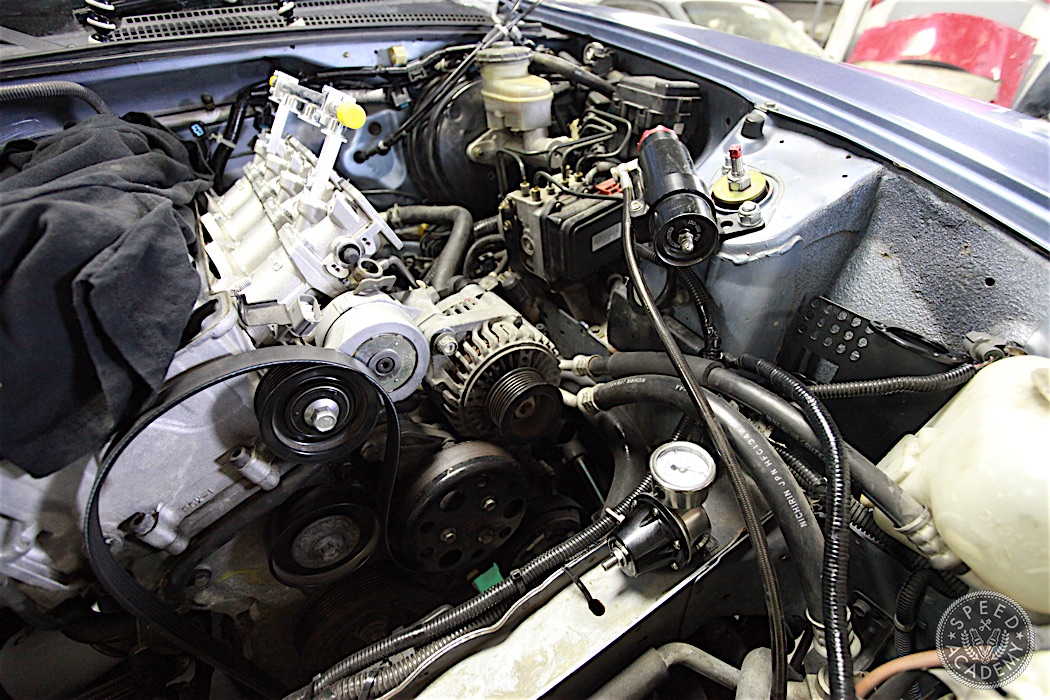
We looked for a convenient place to mount the FPR and eventually settled on the front crossmember, which has a nice threaded bolt hole on top that we secured it to using the supplied mounting bracket and an OE 10mm bolt.
Typically we would have mounted it on the shock tower, but those big, sexy Eibach Multi-Pro R2 remote reservoirs were using up that real estate, so we felt the crossmember location was the best remaining option.
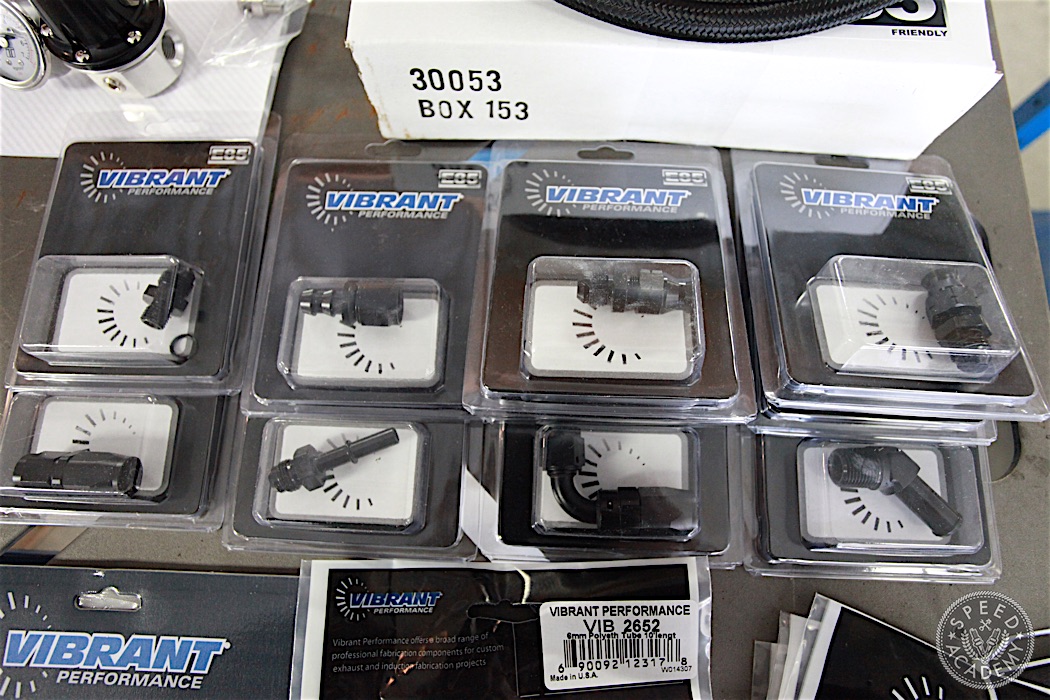
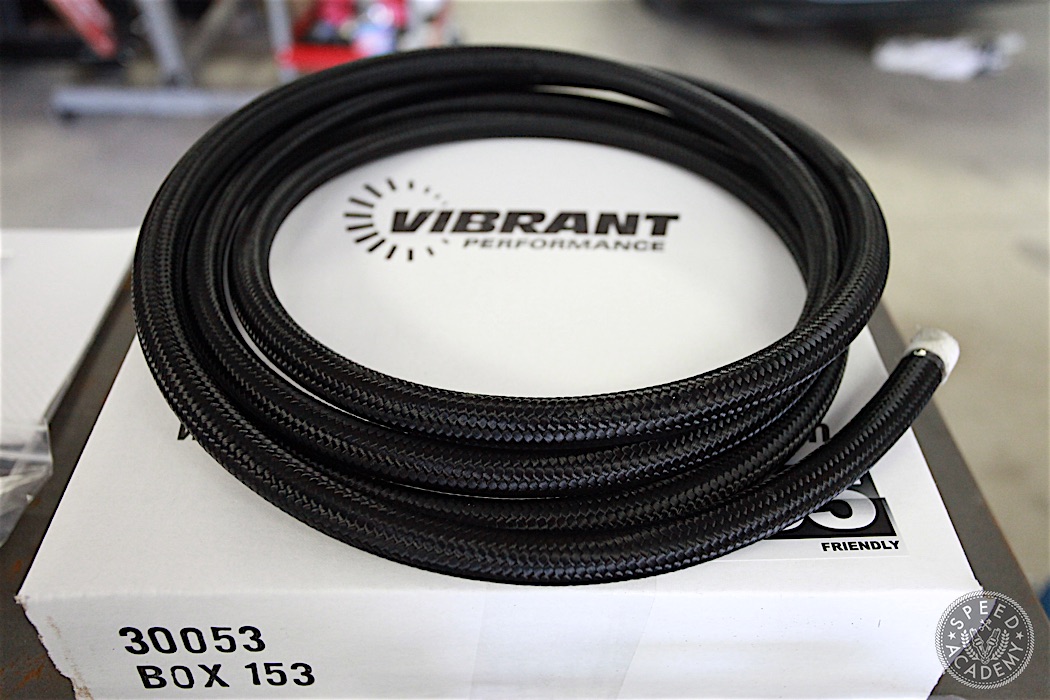
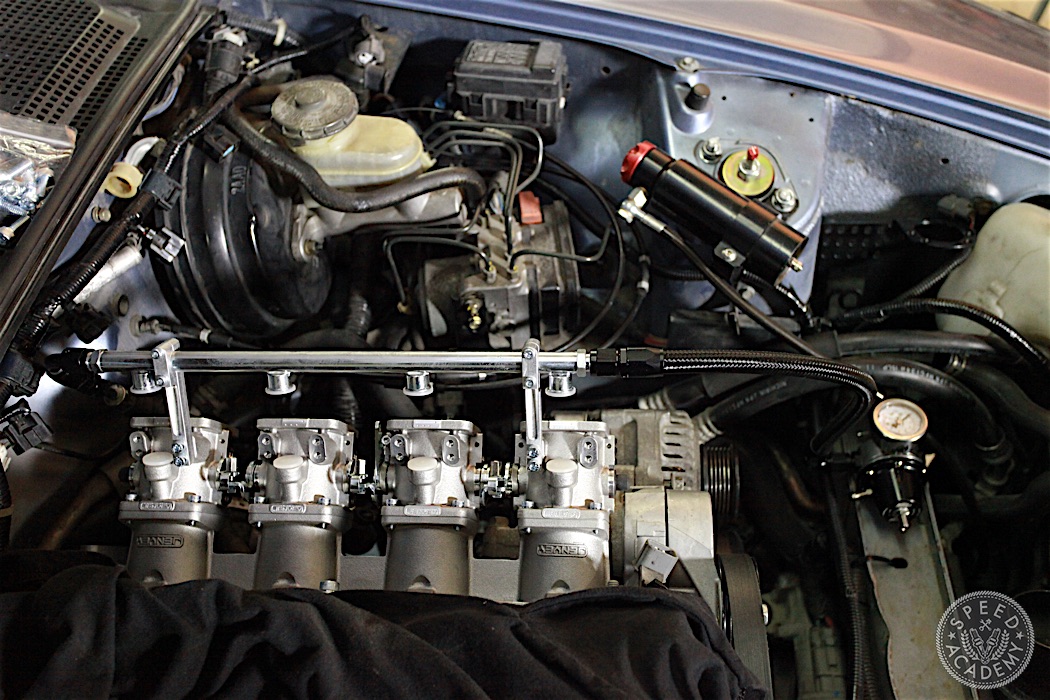
With the location of the FPR settled, we could move on to assembling fuel lines from the chassis feed line to the Jenvey fuel rail and then onto the FPR and back to the tank via the return line. For this we turned to our friends at Vibrant Performance, who provided all of the aluminum hose end fittings and black nylon wrapped flex hose required for the job. For all you shop owners or anyone with a business who’d like wholesale pricing on Vibrant parts and a massive lineup of other go-fast goodies, Turn14 Distribution is the answer. These guys kill it on pricing, speed of delivery, ease of ordering, customer service, the whole nine yards.
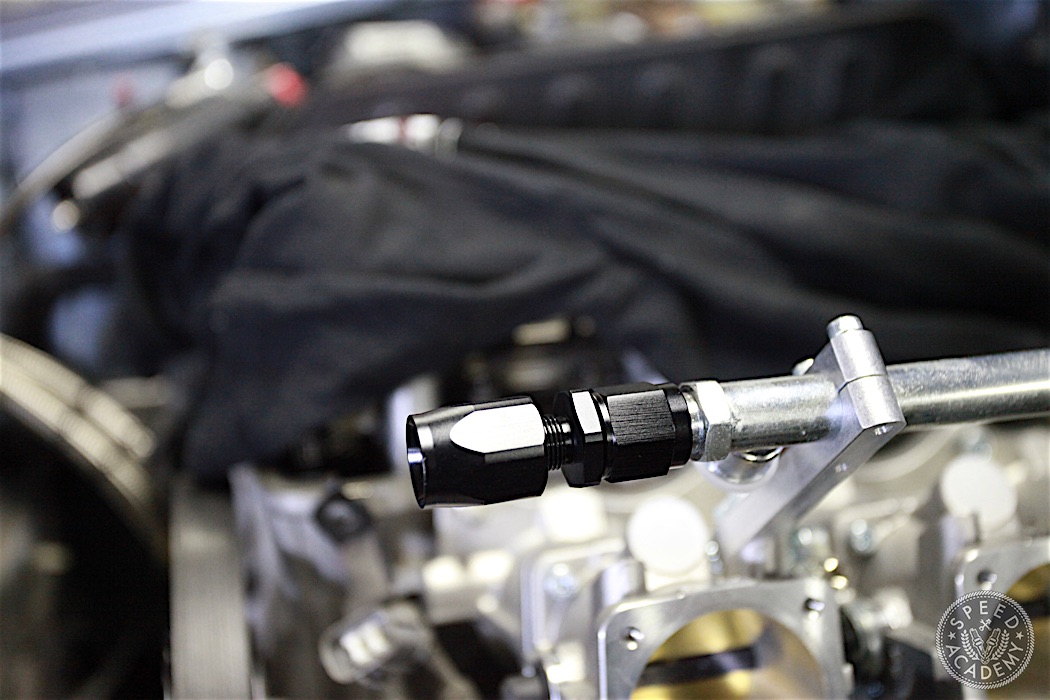
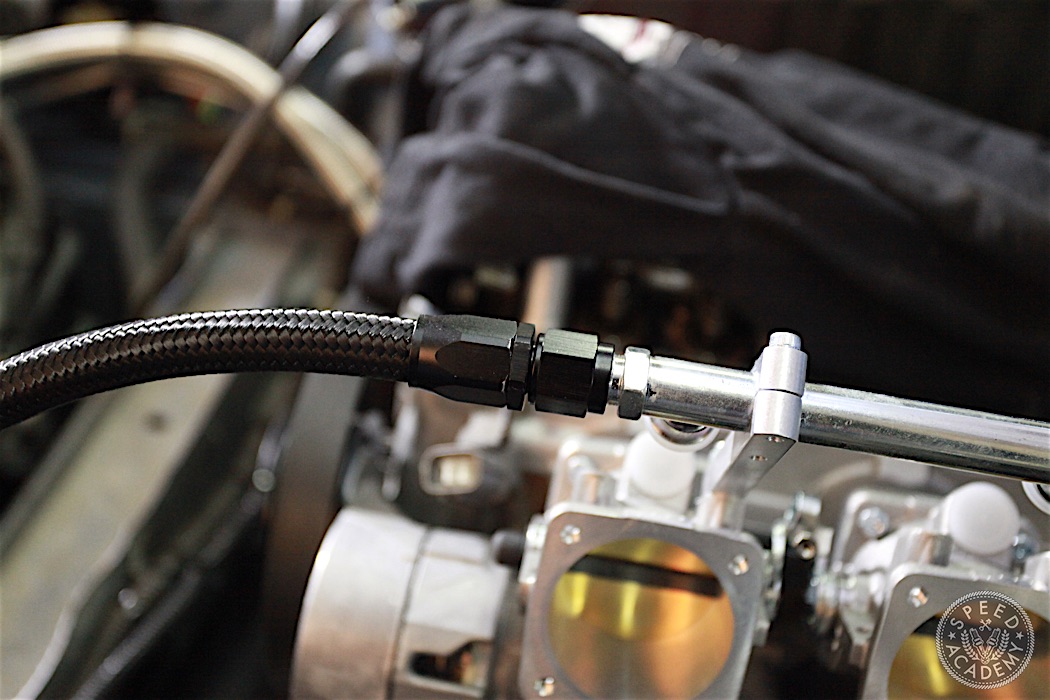
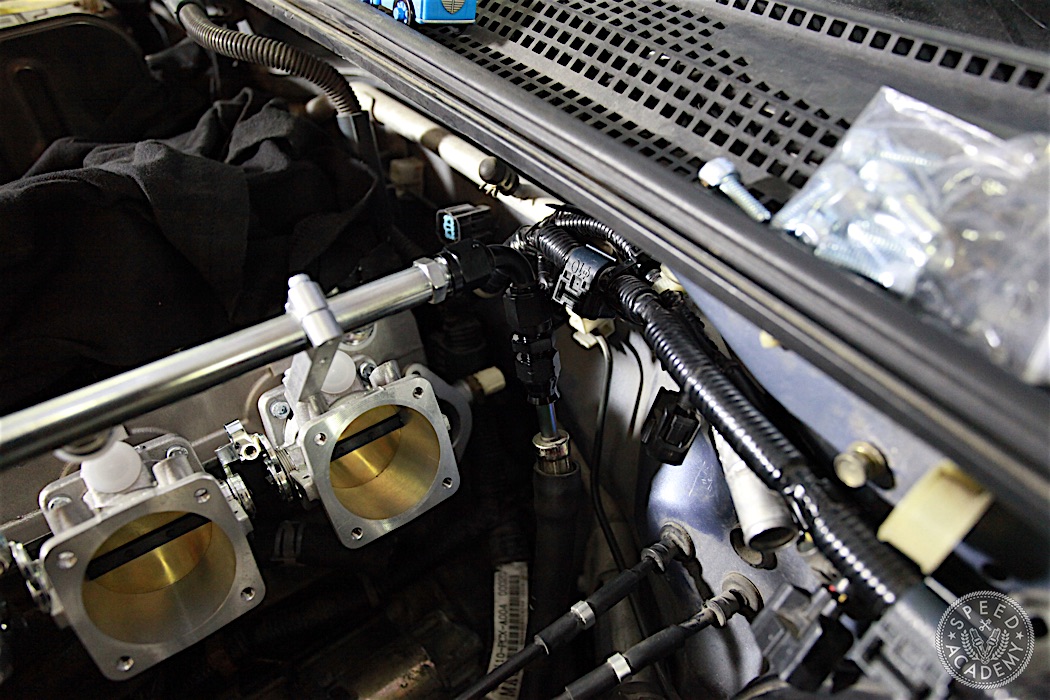
We started by equipping the return end of the fuel rail with a Vibrant straight swivel AN -6 hose end fittings so we could measure how long the hose would need to be to connect to the FPR.
We simply eyeballed the required hose length and cut it cleanly using a die grinder equipped with a cutting disc. That said, Vibrant sells hose cutting sheers for cleanly cutting flex hose to length, so pick one of those up if you don’t have something in your toolkit that’s appropriate for the job.
After that we installed the hose into the fittings on both ends using our Koul Tools kit and threaded them onto the male end of the fittings at the rail and regulator. These are push-on fittings, so you can install the hose into them by hand, but we find the Kool Tools kit does make it faster and less painful, especially if you’re working with braided stainless wrapped hose.
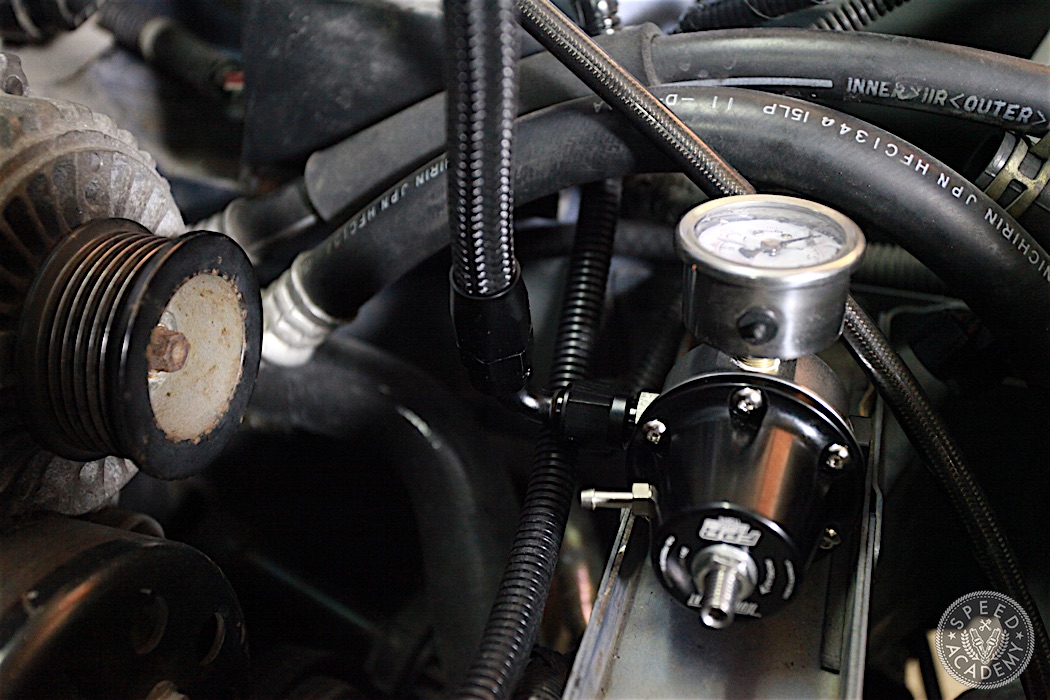
On the FPR end, you can see we used a 90-degree swivel hose end fitting to connect to the fuel line and a -6 to -6 union adapter from the FPR port to the 90-degree fitting.
For the return line from the FPR back to the fuel tank, we used this Vibrant -6 AN to 5/16” hose push-on EFI adapter fitting on the bottom port on the FPR. As you can see, this fitting lets us push on some 5/16” rubber OE fuel hose which runs to the chassis hard line by the firewall and pushes on and clamps down in that location. Simple yet effective, just like us.
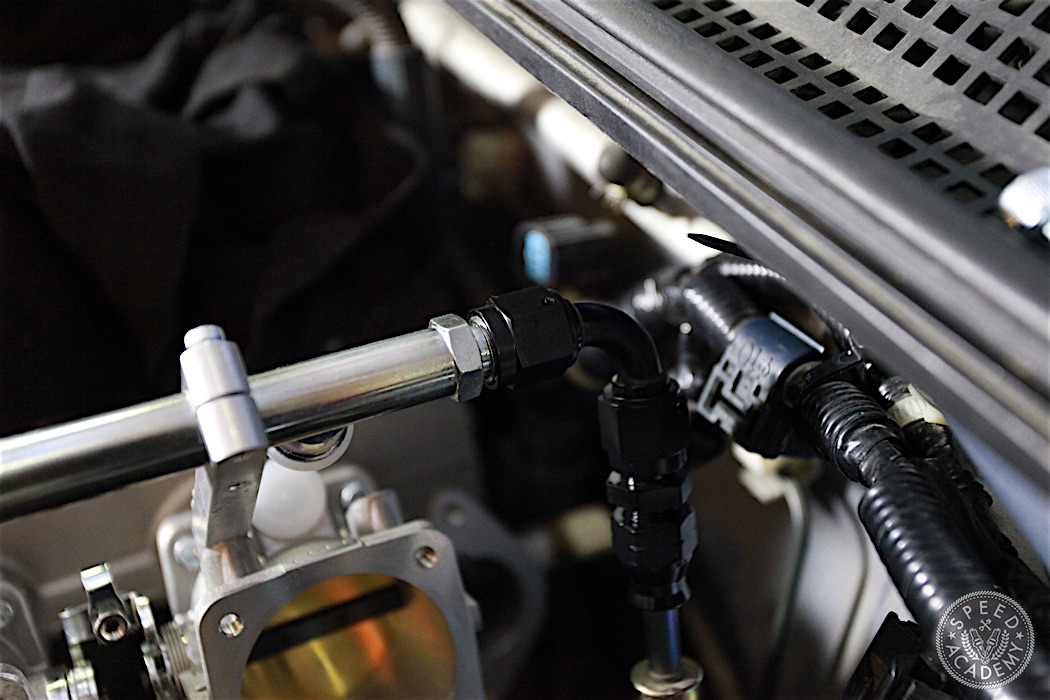
After that we turned our attention to the feed side. For this we cut off the OE banjo bolt fitting on the 5/16” OE feed line and installed a Vibrant tube to male AN adapter in its place. As you can see above, we then attached the male AN fitting on the end of the chassis feed line to the fuel rail via a Vibrant 90-degree AN -6 female union adapter and our feed side hookup is complete.
If you jump to the 2:30 mark of Part 2 in the video series, you’ll see the fuel line cutting and tube to male AN adapter installation process in detail. It’s a pretty amazing little adapter with an olive shape brass insert that seals it all up nicely.
FUEL SYSTEM PARTS LIST:
One (1) Vibrant Performance Part No: 11966 – 10-ft roll of Black Nylon Braided Flex Hose; AN Size: -6; Hose ID: 0.34²
One (1) Vibrant Performance Part No: 21906 – Swivel Hose End Fitting, 90 Degree; Size: -6AN
One (1) Vibrant Performance Part No: 21006 – Straight Swivel Hose End Fitting; Size: -6AN
One (1) Vibrant Performance Part No: 16455 – Tube to Male AN Adapter; Size: -6AN; Tube Size: 5/16″; With Brass Olive Insert
One (1) Vibrant Performance Part No: 16880 – Push-On EFI Adapter Fitting; Size: -6AN; Hose Size: 5/16″
One (1) Vibrant Performance Part No. 10732 – Female Union Adapter, 90 Degree; Size: -6AN
One (1) Vibrant Performance Part No. 10232 – Union Adapter Fitting; Size -6AN x -6AN

I’m curious about the juxtaposition of all this _hard_ custom work for the ITBs, and keeping the A/C?
Wouldn’t the “easy” A/C delete (using the S2000 CR belt) drop a bunch more weight & simplify the engine bay?
(I wondered since I saw the a/c lines squeezed up against your FPR on the crossmember).
I’m looking to do an install on a different car, but was advised against pulling vacuum for the brake booster from the block since all the itbs are going there and that they only create vac, one at a time and the others bleed it away… but rather to tee from one of the itbs before it enters the box… Not sure what to do now..