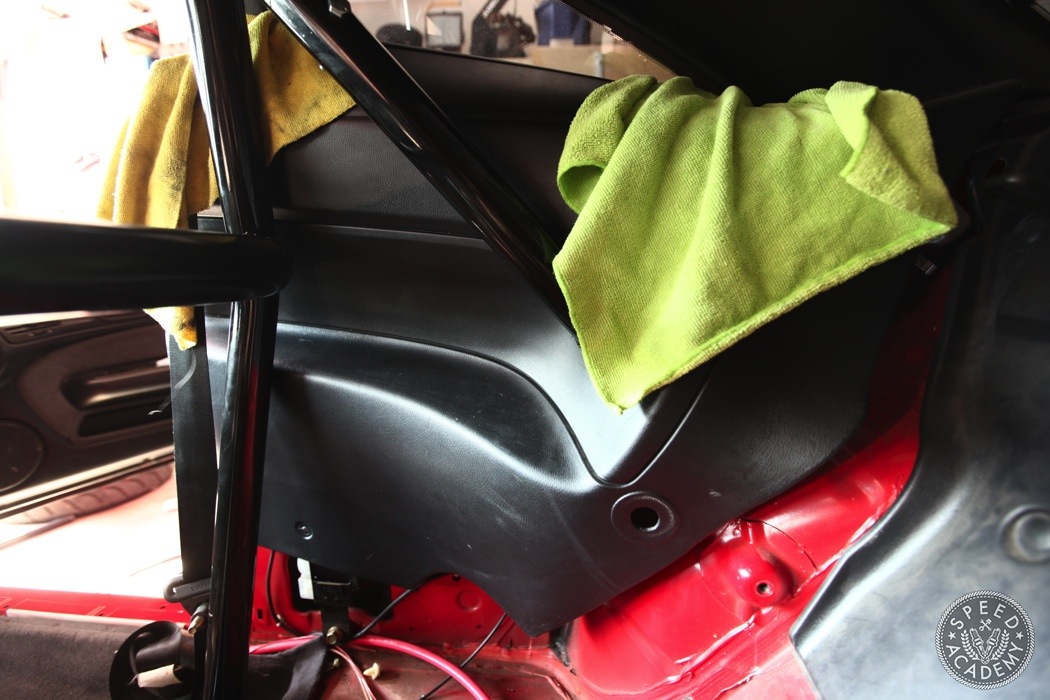
The next part can be tricky. You’ll have to install the rear tube with the plastic trim on it as one piece. Loosening the bolts on the main hoop can help here.
As you can see I used microfiber towels to protect the window tint from being scratched by the plastic clips on the backside of the trim.
Before you go setting the trim in place, you’ll have pop it up and squeeze your finger underneath to get some nuts on the bolts and tighten everything up.
You can probably tell that this isn’t a job you can do alone as you’ll need a buddy to hold the other side of the bolt (or nut) in place while you tighten or vice versa.
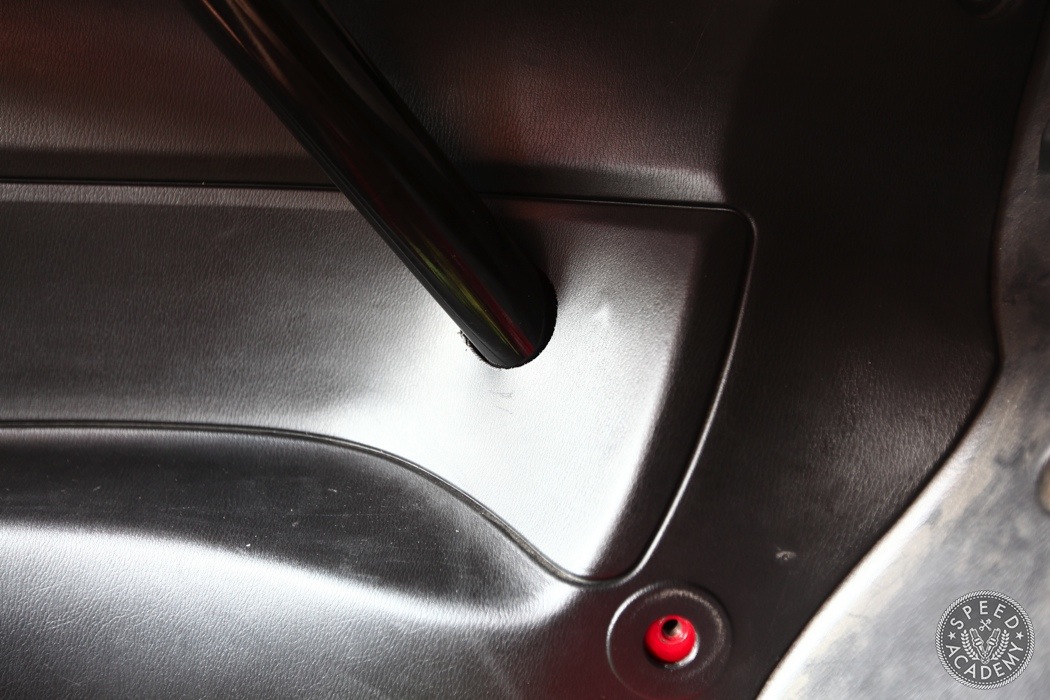
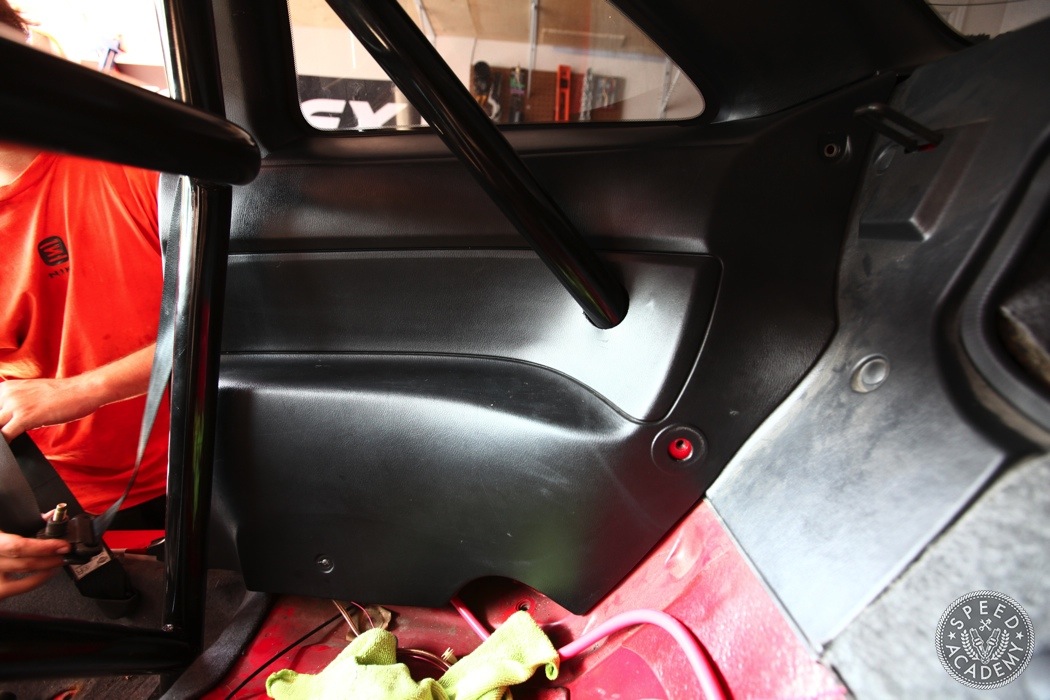
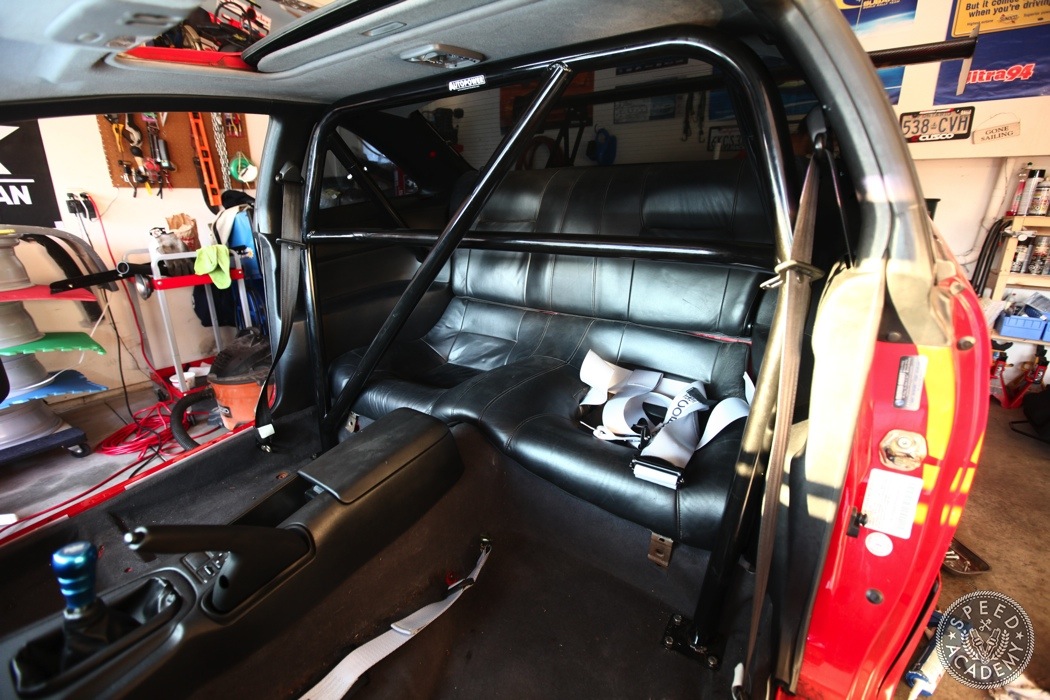
Once it’s all fastened, the plastic trim can be pressed down into place. Looks like the measurements and fitment of the rearward bar is spot on.
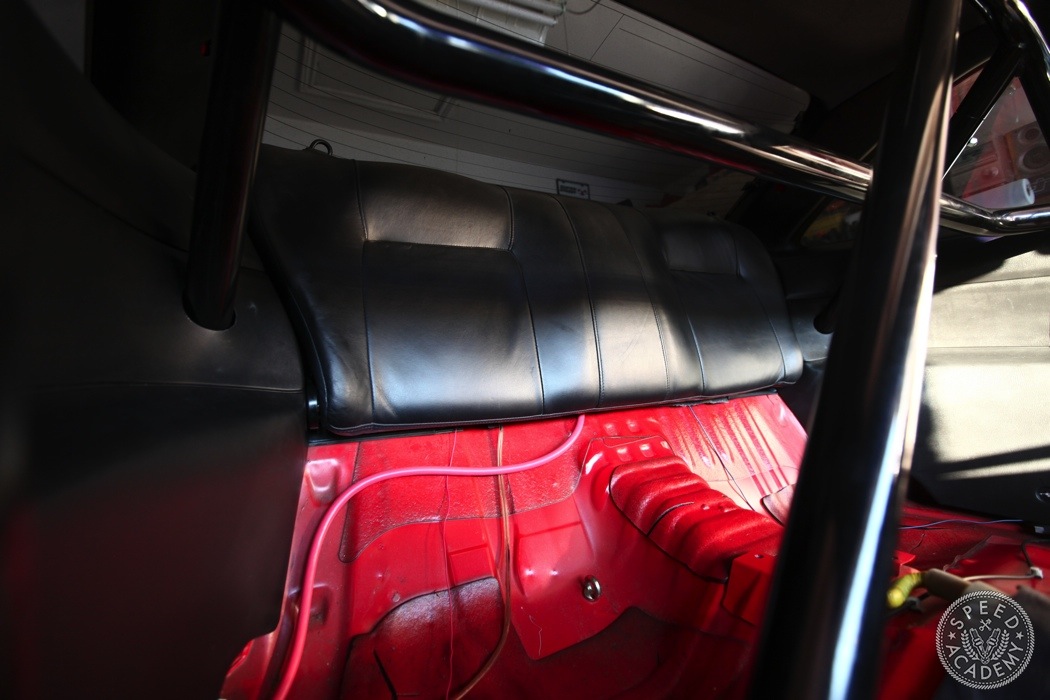
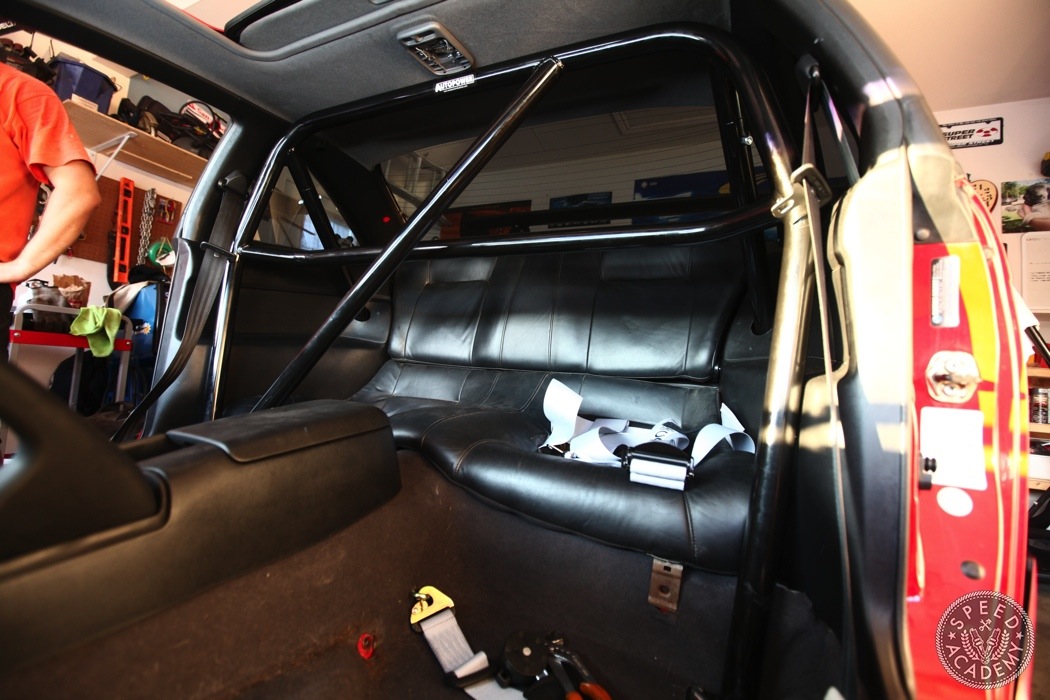
As for the rear seats, thankfully there’s nothing to trim, the install requires zero modification to fit with the roll bar.
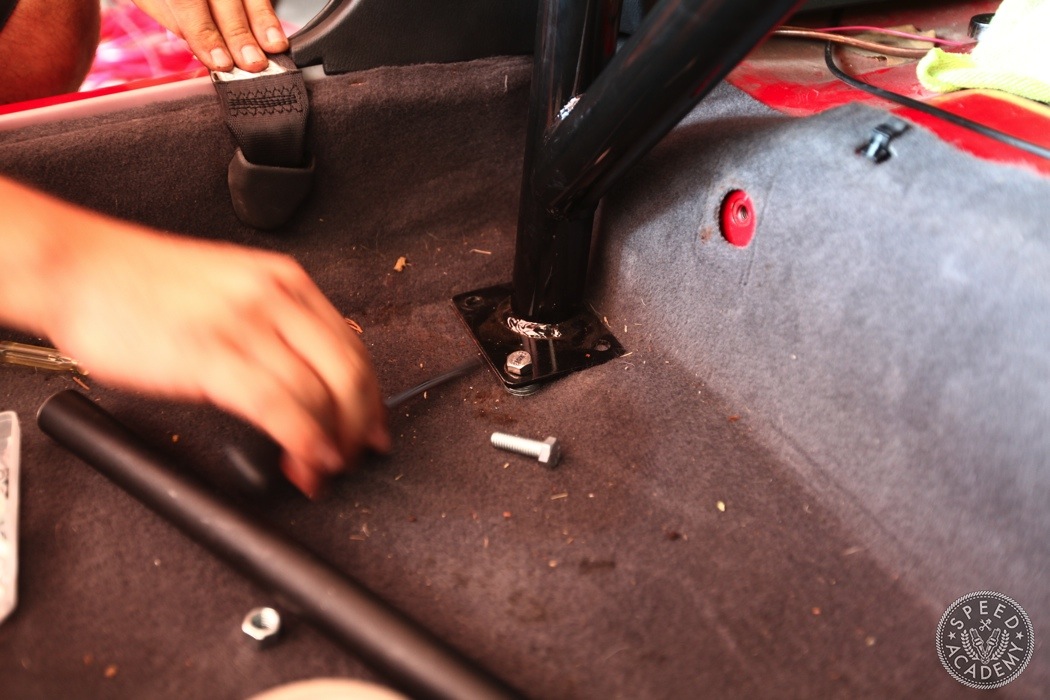
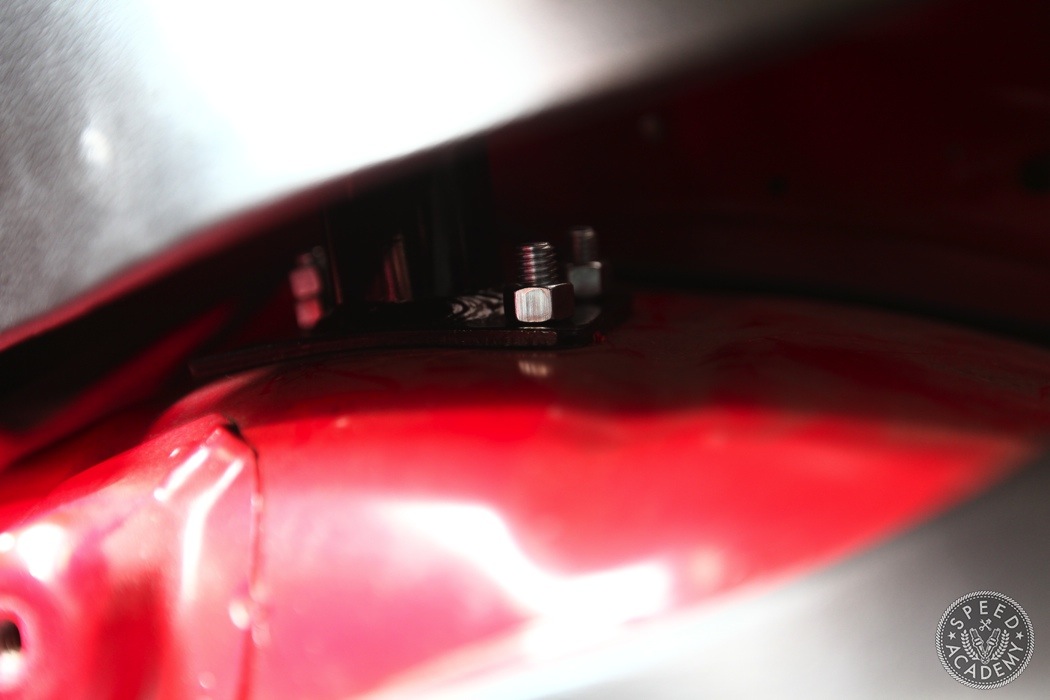
Right about now is when all the nuts and bolts on the bottom chassis mount can be tightened (if you haven’t done so already). I had to add a bunch of washers on the passenger side of the floor because the floor was offset directly under one of the mounting points.
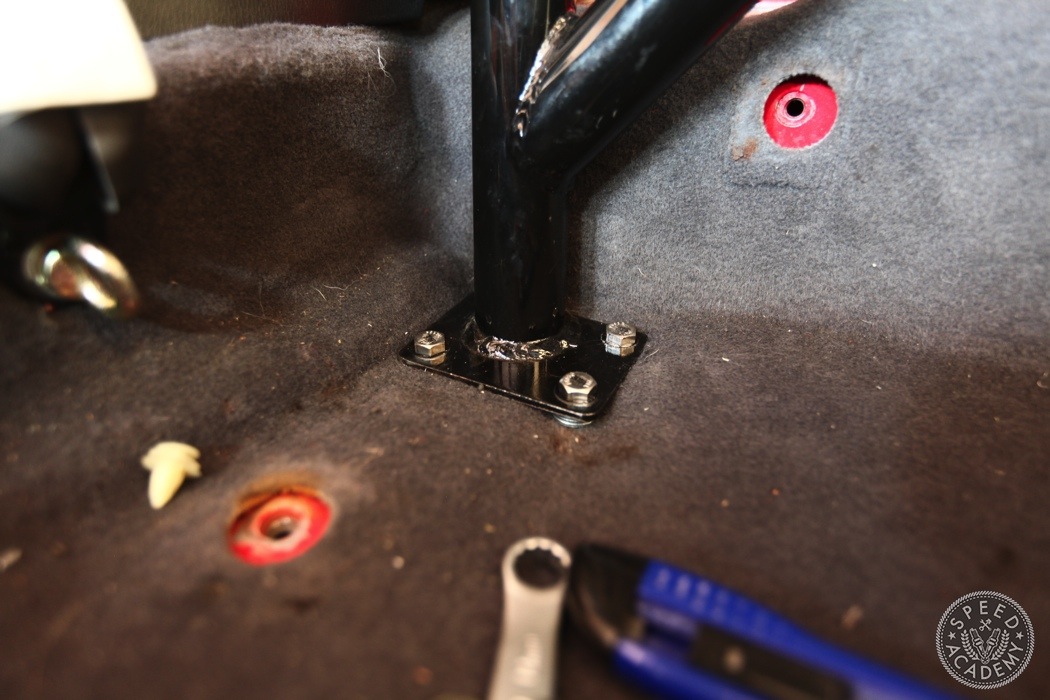
You’ll also notice that I tucked the carpet under the mounting bracket of the cage which was my preferred installation method. You can always cut the carpet around the pipe to hide the bracket, there’s no wrong method of doing this.
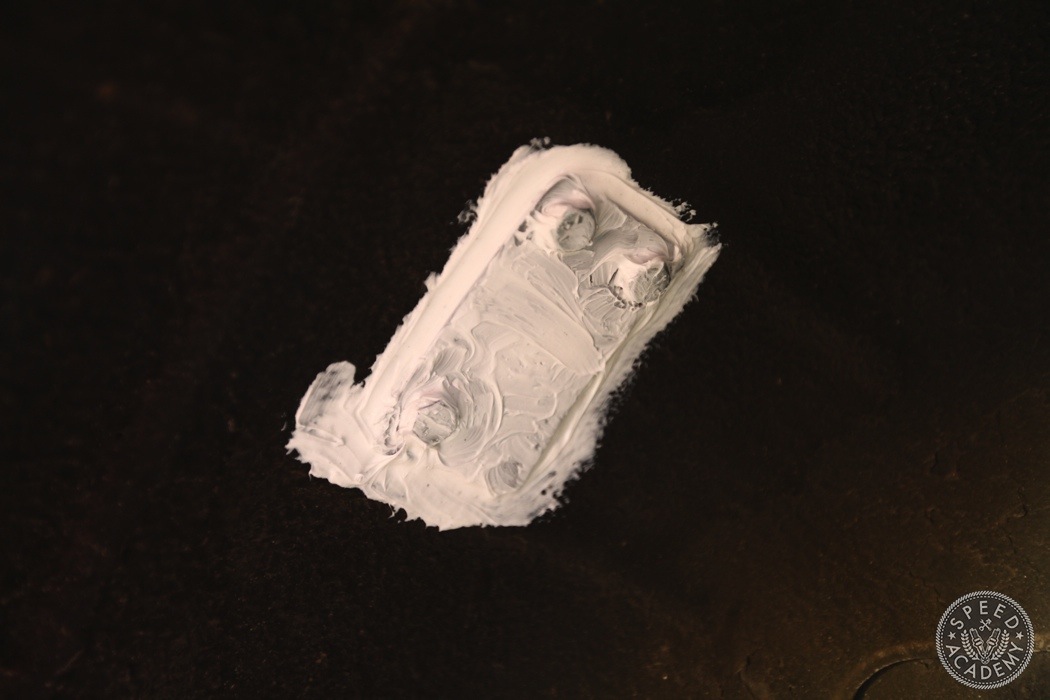
The other order of business is to coat or spray paint the exposed mounting hardware on the outside of the chassis. Otherwise, it will most likely rust and we want to keep things nice and pretty. Oh, you’ll preferably want to use a sealant or paint color that blends better than white into the undercoating. I blame my brother for the goof up.
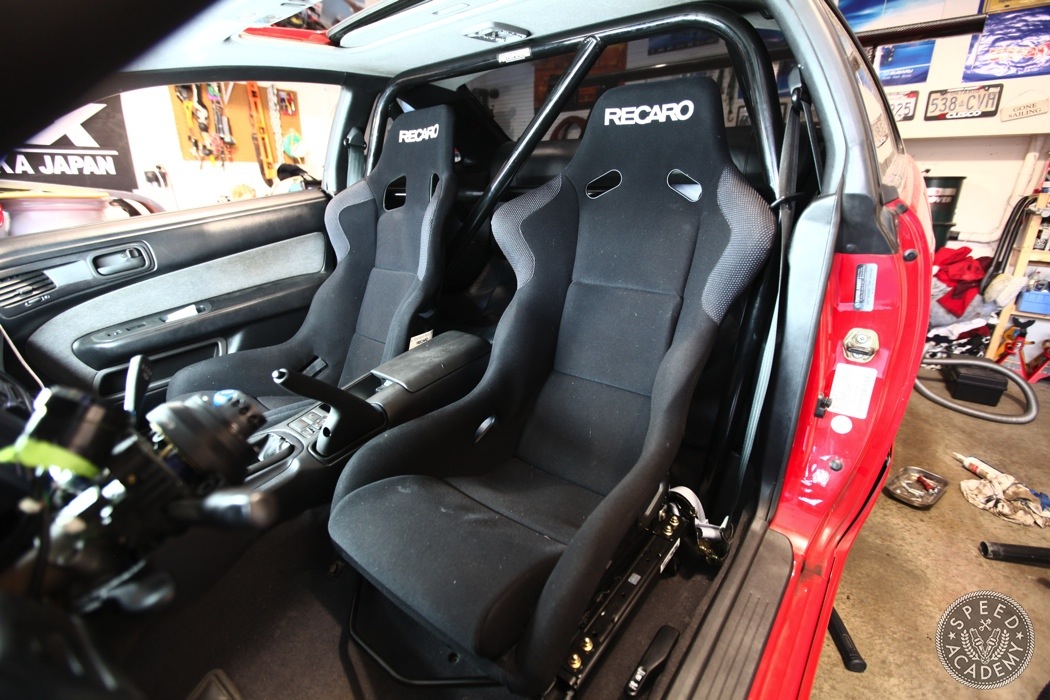
Bolt your seats back in and that’s it! Installation complete. As you can tell, it’s a very simplistic install that is more time consuming than anything but very accomplishable for the average DIY gearhead in his home garage.
Are you running a 5 or 6 point harness? If so, how and what did you mount the submarine belt to?
Love the site by the way!
marsh5 I’m in the process of doing the same thing, I was told to just drill a hole through the floor and use a 3/8″ grade-8 bolt and some washer to install it. There’s a video for the targa car build that shows exactly where you should be drilling.
Good luck.
marsh5 Hey Marsh,
I’m running a 4-point setup but will be going to a 6 point come spring and will go through how to install it and post a story.
As FunctionFrist mentioned it’s not a complicated job, just drill the floor. Check out this video: http://youtu.be/3XAzuzkOyNI