Story by: Milan Svitek
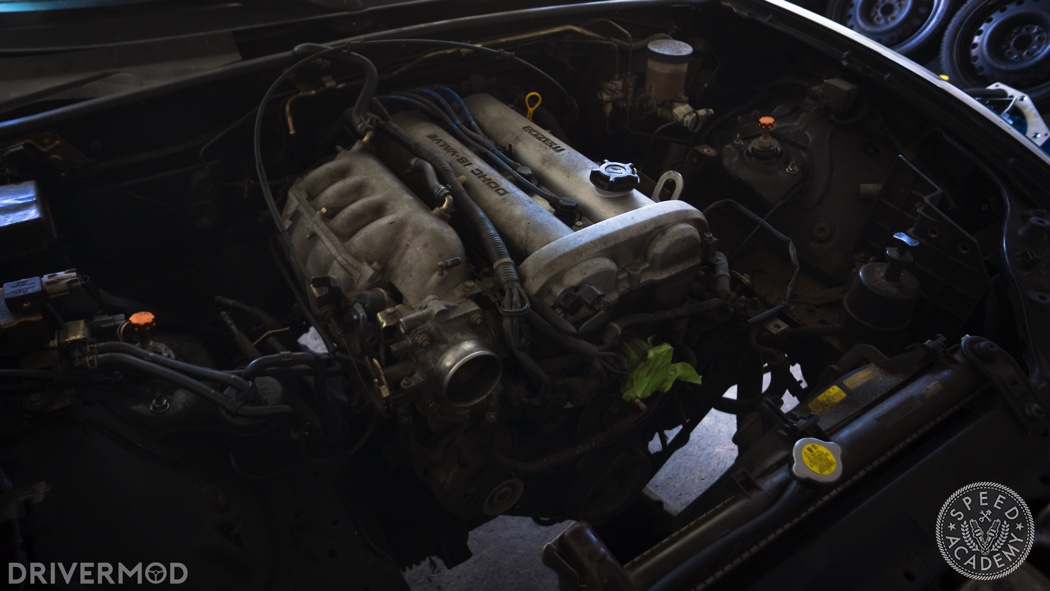
The time has come. Before you even begin thinking about removing that wonderful piece of automotive engineering that is the BP engine, you should prepare for the upcoming task. Gather some metric tools, tidy up a work area, and give a silent prayer to the automotive gods. Next, loosen your wheel’s lug nuts, jack your car up, put it on a full set of jack stands, remove the wheels and set them aside somewhere safe. With that finished, open your hood and disconnect the battery. You can now start removing your old engine.

Begin by taking the hood off your car. NB Miata hoods are held on by two pairs of bolts on either side, so remove one from each end and disconnect the windshield washer sprayers at the little nipple connector next to the driver’s side firewall. The hood is fairly light, but you’ll need the help of a friend to get the hood off so one side doesn’t fall while you unbolt the other. Once removed, take the hood to a clean area away from your workspace; you won’t need it until the end of your swap. Get under the car and remove the whole plastic splash-guard. There are some bolts hidden inside the wheel arches so don’t forget those. Gently tug along the edges of the splash-guard and it will drop down. If it doesn’t, you forgot a screw somewhere. Set it aside with the hood and wheels.
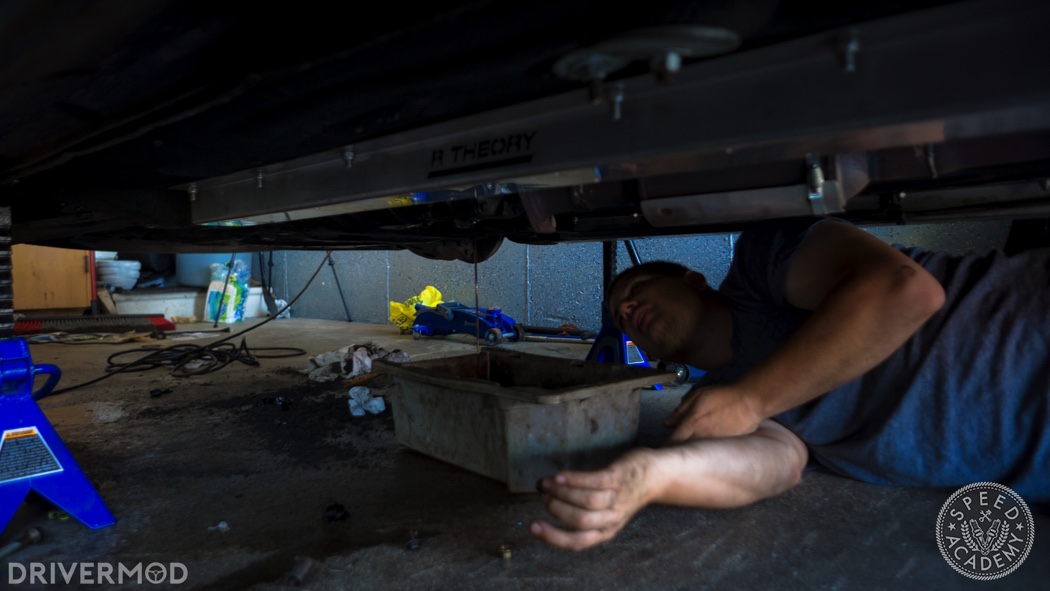
Get a big oil drain pan; it’s time to remove fluids. Set the pan under the engine and locate the oil drain. Loosen the drain, put the pan underneath, and begin draining your oil. Once it’s drained, you can move the tub under your lowest radiator hose (should be on the driver’s side). Grab some needle-nose pliers, work the tension clip free and move it a few inches up the hose, away from the radiator. Grab the hose and wiggle it back and forth until it starts moving back. Pop it off and angle it down into the tub. Your radiator will drain as well so be careful of the coolant. While not dangerous on your skin, it causes a mess if it gets inside your system so don’t accidentally get a mouth full. After draining, you can do the same to power steering, if you have it. It will be right next to the coolant hose you just removed. At this time you can also drain your differential and transmission fluids; if you’re swapping an engine, you may as well get some fresh fluid into the rest of the car, too.
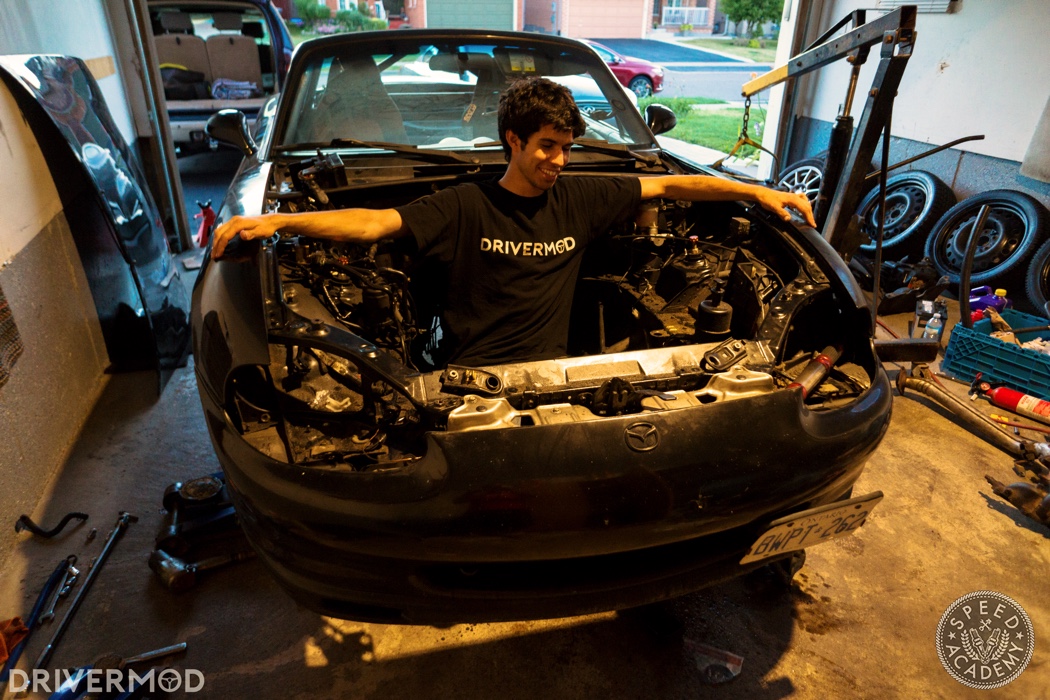
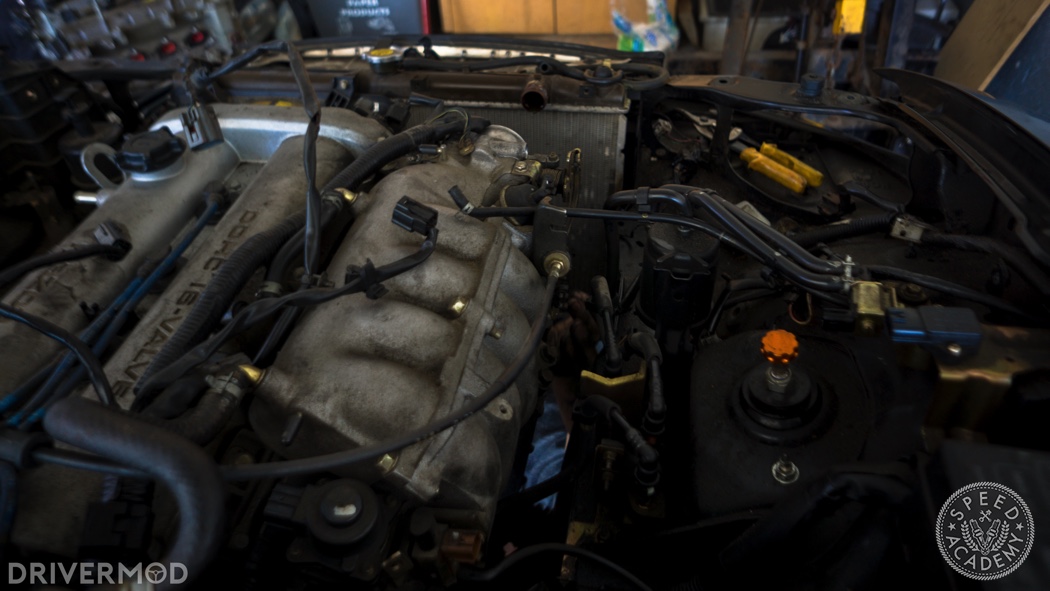
With the fluids gone, you can begin disconnecting the engine from the car. The best way to start is by dismantling the intake system. Beginning at the airbox, disconnect the intake sensors and vacuum hoses. The vacuum hoses pop right off, but the MAF sensor’s socket is held in by a locking mechanism so use a small flat-head screwdriver to gently open and wiggle it free. Have masking tape handy to tape over the connectors so debris and grime doesn’t get into the plugs (and label the wiring to stay organized). With every connection between the intake tubing and engine removed, you can begin unbolting the entire intake system. Begin at the throttle body and remove the tension-fastener connecting it to the intake. Halfway down the intake, there may be an anchor with a single 10mm bolt. The airbox is held to the car by a few more bolts which, after removal, will free the entire system. Lift it out of the car and put it aside.
Next, remove the windshield washer and coolant reservoirs and set those aside as well. The coolant reservoir will have a pair of hoses running to it, so remove them and dump the contents into your tub of used fluids. The windshield washer reservoir has a wire leading to the little pump. Unclip and label the cables. Finally, remove the top radiator hose, unbolt the clips holding the radiator in place, and lift the whole unit out of the car. Set it aside and continue the teardown.
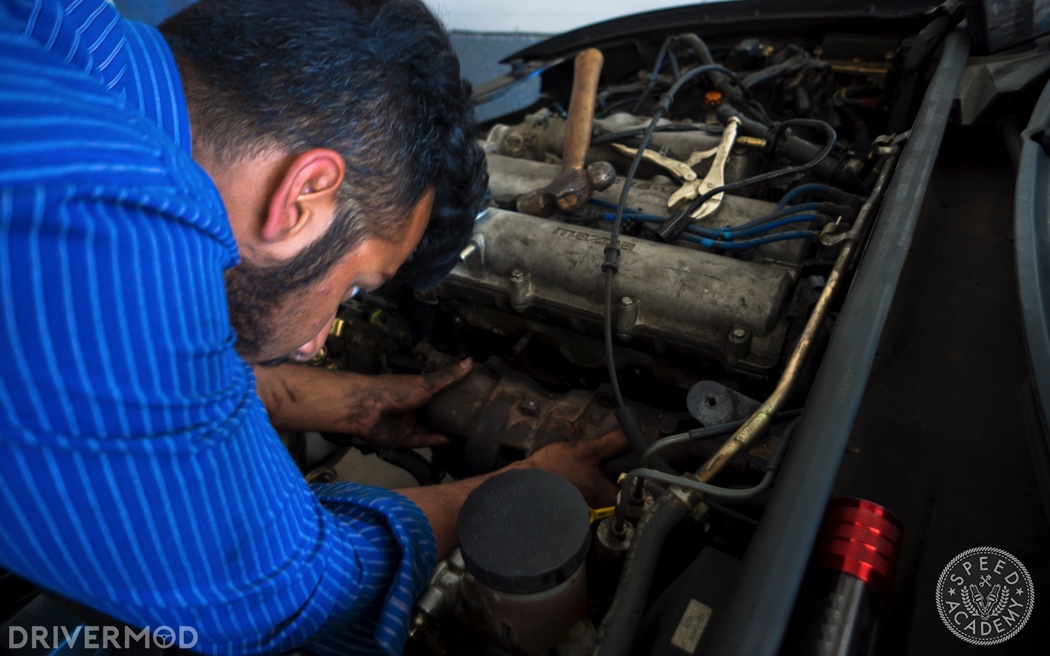
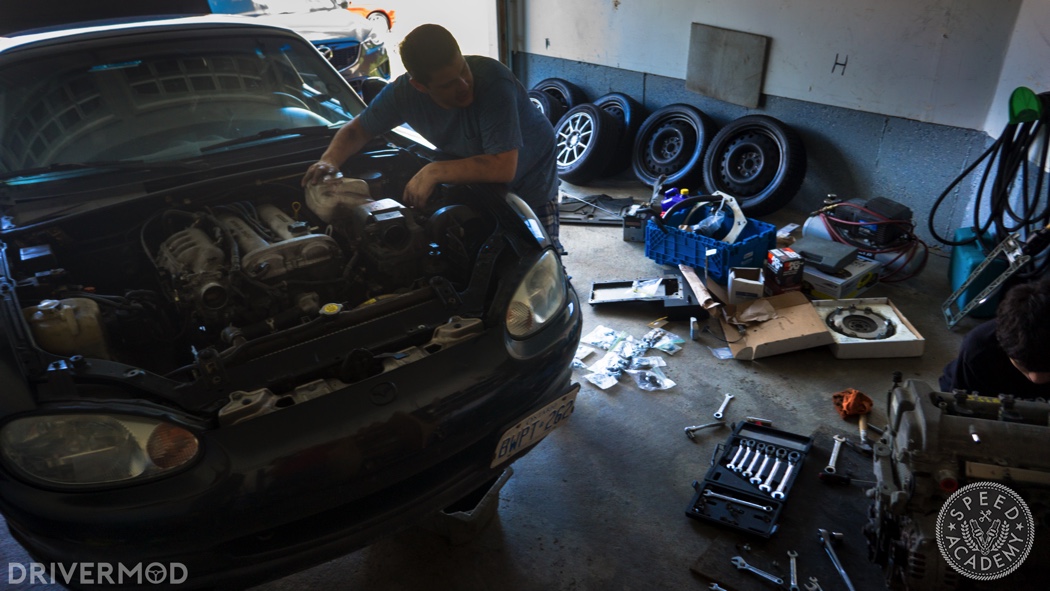
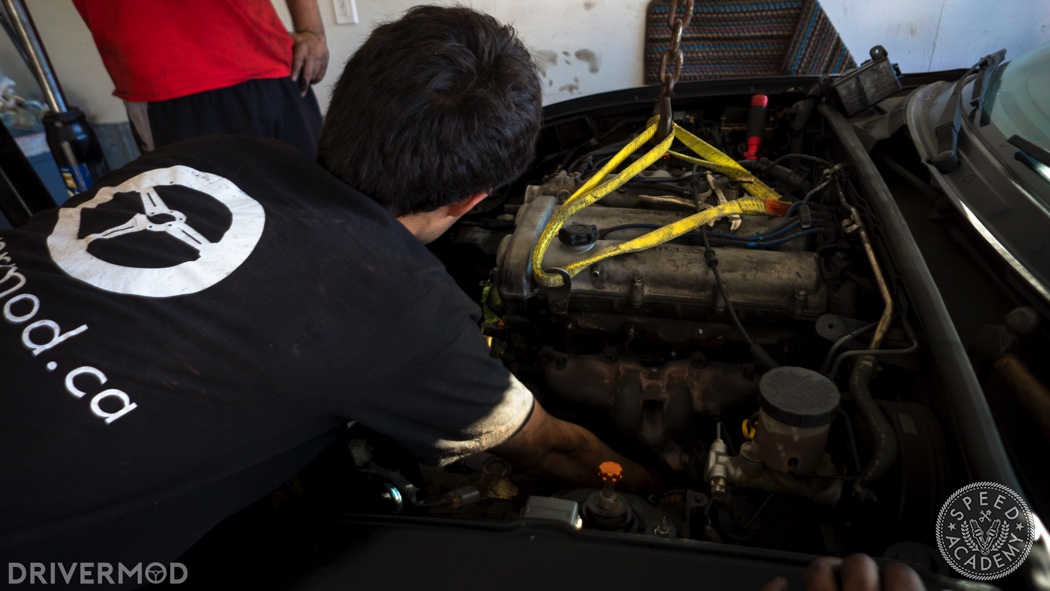
There is a host of sensors and electronic leads on the engine itself so begin tracking down and disconnecting everything. But, leave the fuel lines alone for now. There is a host of small clips securing the sensor wires to the body of the car, so remove the ones you need to and work from the loom out. Locate a bundle of wires clipped to the engine bay, unclip it, follow its wires to the place they meet the engine, disconnect it, and wrap it out of the way.
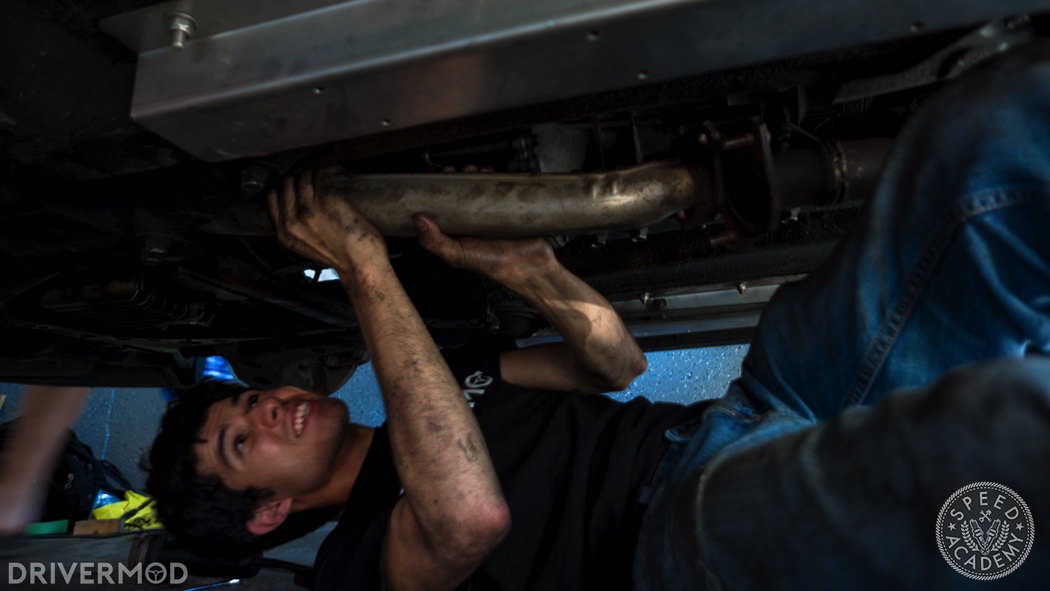
Once you have disconnected everything visible, you can remove the exhaust manifold. Take off the heatshield and undo the bolts holding the manifold to the cylinder head. There is one bolt hidden deep inside the middle of the manifold so make sure to remove it, too. Unplug the O2 sensor under the car, unbolt the exhaust from the header (where the spring kit holds the cat and mid-pipe to the downpipe on the header) and remove the whole unit. There may be an EGR tube coming off the manifold which you can simply cut off.
By now, not much is holding the engine to the car. The final remaining components are the throttle cable, the tubing/hoses going to the heater core and some fuel lines. The heater hoses are removed in the same way as the rest of the coolant hoses, so take the needle-nose pliers, slide the clips off, and wiggle the hoses free. At the passenger side of the car, there will be a thin fuel line running from the main line to the fuel rail. Either remove it from the rail or cut it. Finally, get into the driver’s footwell and work the throttle cable free of the throttle pedal. You may need to cut it and, as your new engine will have an e-throttle, it doesn’t affect your final swap. Pull the throttle cable through the firewall and tie it down on the engine.
Complete a final check of the engine and remove any cables you may have forgotten (there is usually one or two). [Editor’s Note: the ground straps get us every time!] Begin removing the bolts connecting the transmission’s bell housing to the engine block, leaving one bolt on either side for now. Next, get a jack and pump it up until it’s supporting the seam between the transmission and the engine. Remove the final two bolts and unbolt the engine mounts; they’re connected to the body by one bolt that’s accessible from each wheel well.
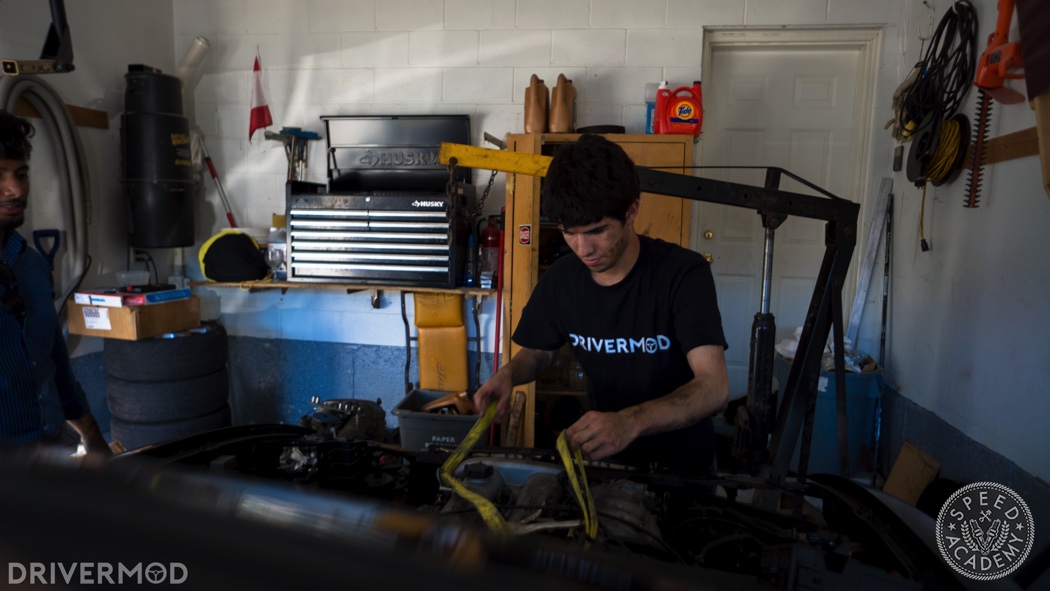
With the mounts unbolted, the engine sits in the bay with no support, so swing your engine crane over, put the straps on the hoist mounts found on the front driver’s side and rear passenger’s side of the engine.
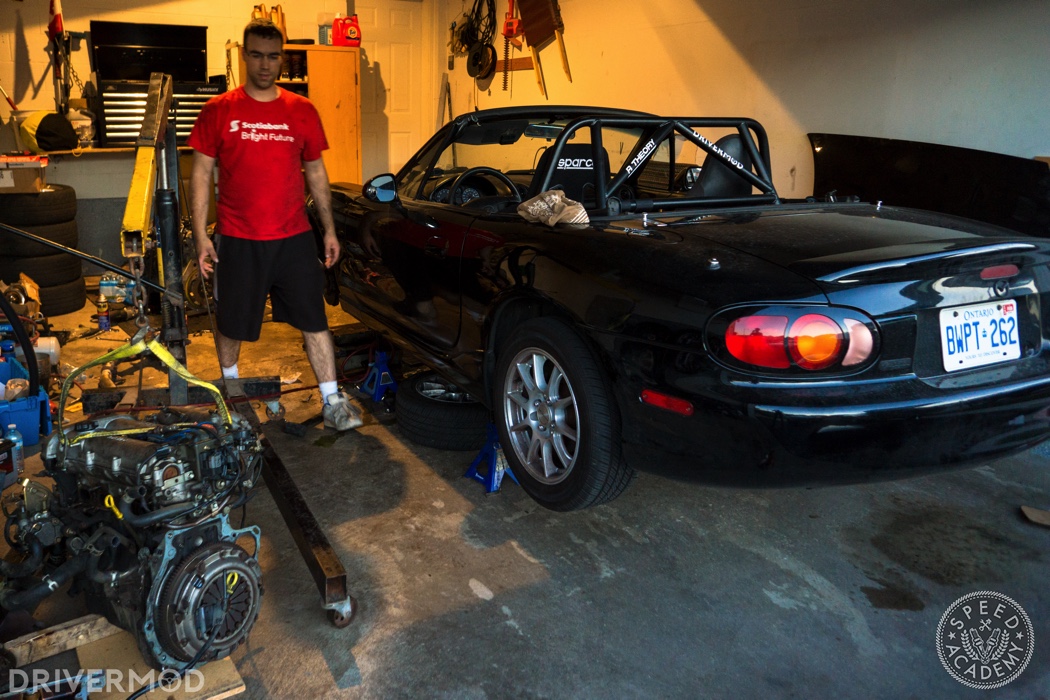
Pump the engine crane until the engine begins lifting off the subframe and have a friend gently swing it from side to side a few centimeters to check for any cables or hoses still connected to the block. It took a fair bit of rocking back and forth to get the engine to separate from the transmission. Once everything is confirmed to be disconnected, you can slowly raise the engine while your friend maneuvers it out of the bay. Caution: while the engine is easy to move and swing, it is nevertheless a heavy piece of metal. Watch out for fingers caught between it and the car.
In Part 4, we’ll be getting our now-prepped Ecotec engine into the car.
Mazda Miata 2.4L Ecotec Swap Part 1
Mazda Miata 2.4L Ecotec Swap Part 2
Milan Svitek is a Slovakian gearhead whose love of engineering has led him into the world of car modification. He can typically be found sitting at his computer, daydreaming of ways he could turn his practical and reliable daily into an unreliable yet practical racecar. To get a glimpse into the mind of this strange creature, browse through his work at DriverMod.ca