You have made it this far. With the engine wiring harness complete and the pink GM power wires spliced into the Miata body harness, now you just need to splice in your power wires, the communication wiring coming from the ECU, and later your starter and alternator wiring. In our swap, we used the Ecotec Miata Wiring Patch Harness to keep things simple. Essentially, it replaces the original Ecotec body harness clip and provides connections for your electronic throttle pedal, tachometer, OBD-II port, and everything else.
Note: If you’re using a two-port ECU, you will need another solution for your tachometer (such as a digital tach running off your OBD-II port). As mentioned in Part 5 of this series, things are way simpler if you start off with a three-port ECU and wiring harness.
Caution: I’m not completely sure if the patch harness we received is identical to the one you’ll be buying, so I wouldn’t trust our colour coding to be accurate.
DISCLAIMER: Unless explicitly stated otherwise, triple-check your Miata’s wiring diagrams. This is intended to give you an idea of what needs to be done, but it is in no way a literal guide that is correct down to the wire colour. We did this swap with an NB1 Miata, so it’ll be similar if you have an NB2, but very different if you have an NA.
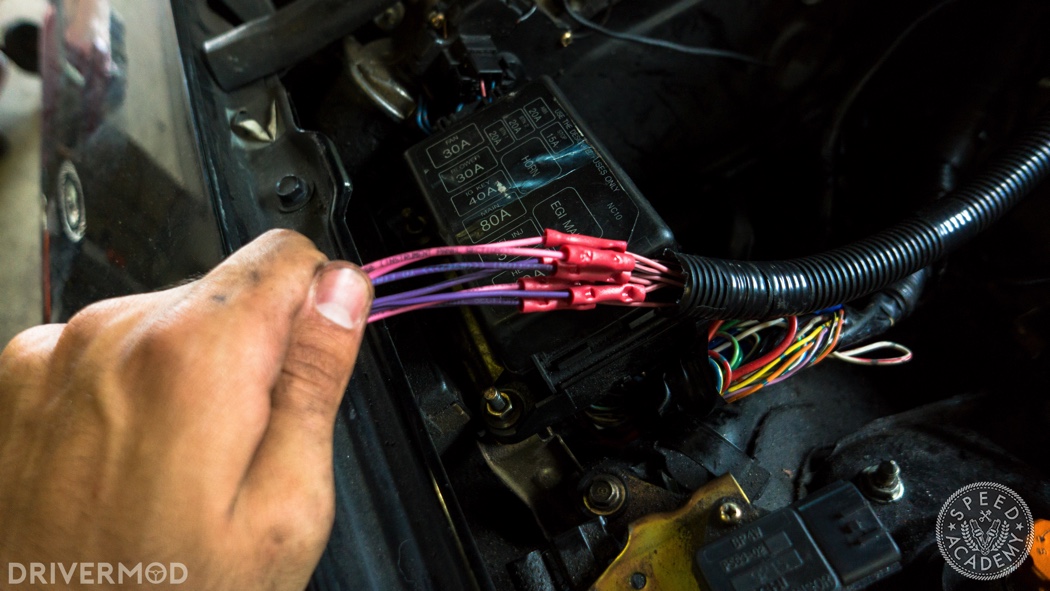
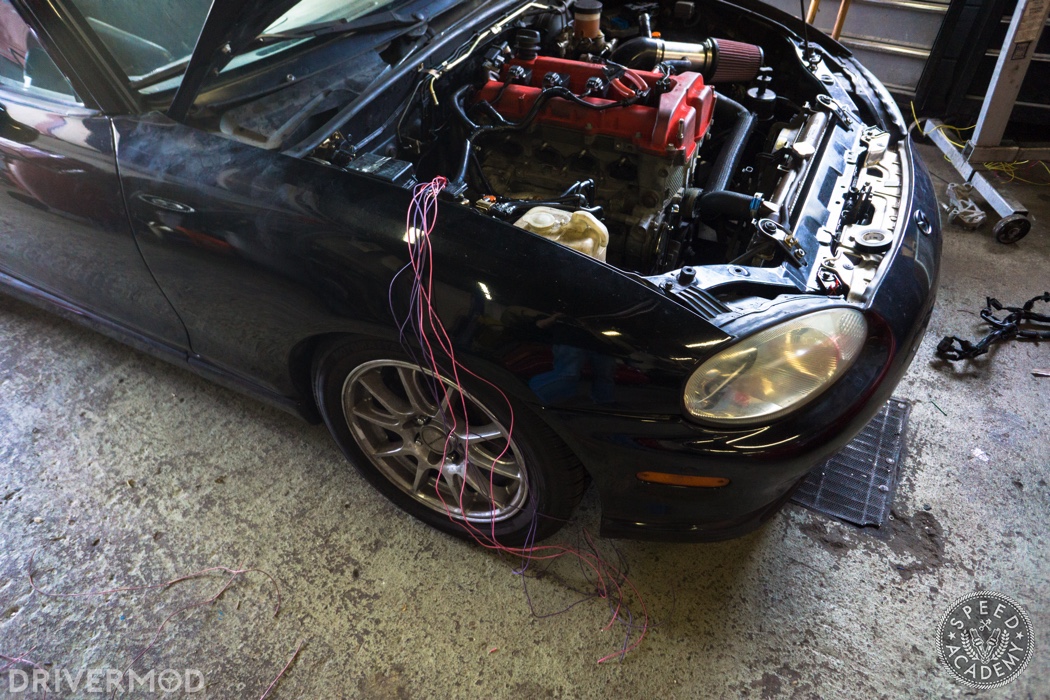

First things first; you need to splice the pink and black power wires in the GM harness into the Mazda body harness. If you have an NA, you’ll find these connections in your engine bay fuse box. On our NB, these connections are underneath the dash. If you recall from the last article, we pulled the factory harness out of the car through the firewall. We’re going to extend our pink/black power wires and run them through the same hole in the firewall that the factory harness went through. Once you’ve done that, you can reinstall the rubber grommet into that hole.
Underneath the dash, you can reinstall this large blue clip that you removed earlier. On our car, the power wires were coloured white, with either pink or blue stripes.
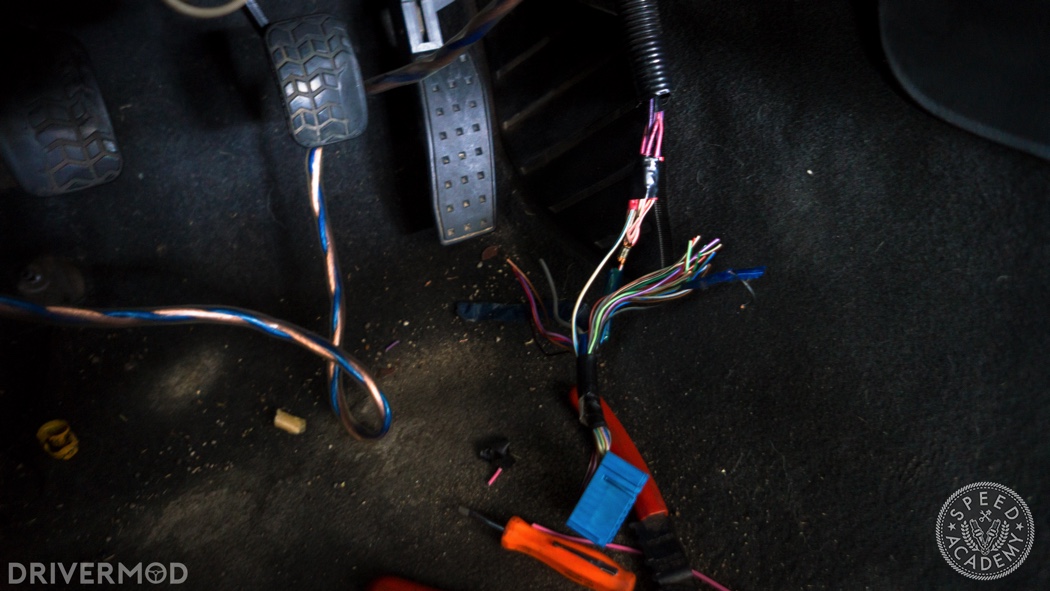
You’ll want to run these pink/black power wires that you’ve extended to the driver’s side of the dash, and splice them into the power wires coming off the blue clip.
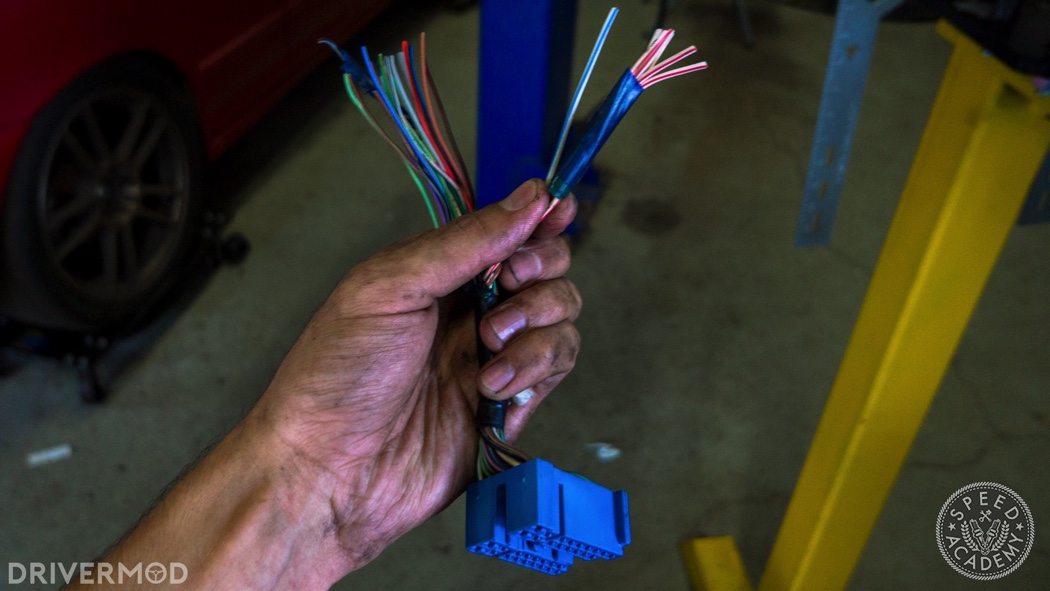
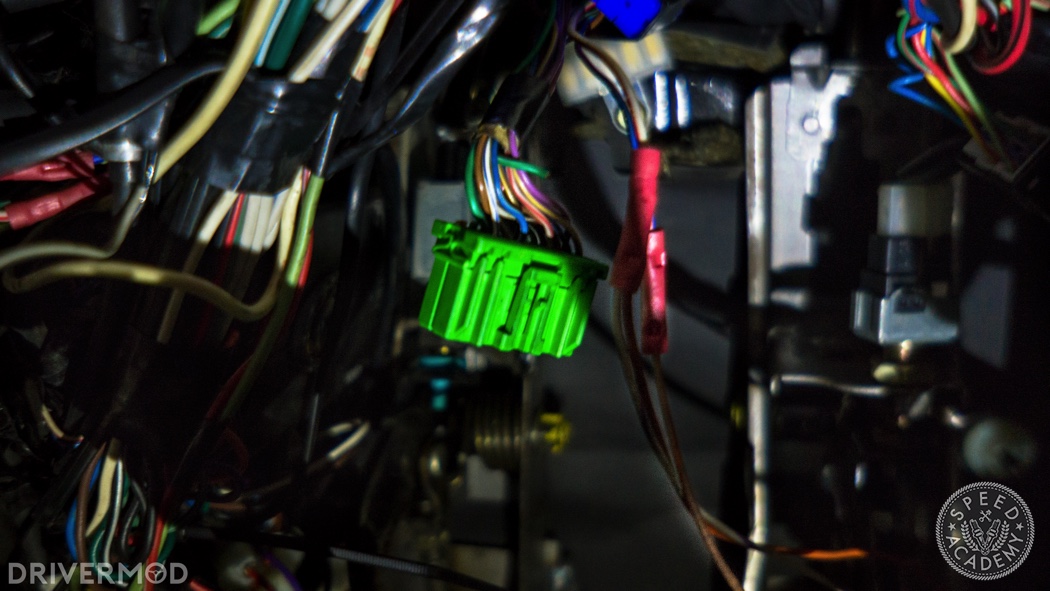
Next, you’ll need to take care of the communication wiring. Off the patch harness, you have three bundles. Two of them are wrapped in grey plastic while the other is comprised of three loose wires. The first grey bundle contains six wires that are destined for your throttle pedal. The lettering refers to the inscriptions on the clip that attaches to your pedal assembly.
A – Black
B – While
C – Red
D – Orange
E – Blue
F – Green
If your throttle pedal came with a full pigtail, you can simply splice the appropriate wires together, although the kit comes with Delphi connectors that clip into the factory throttle pedal clip.
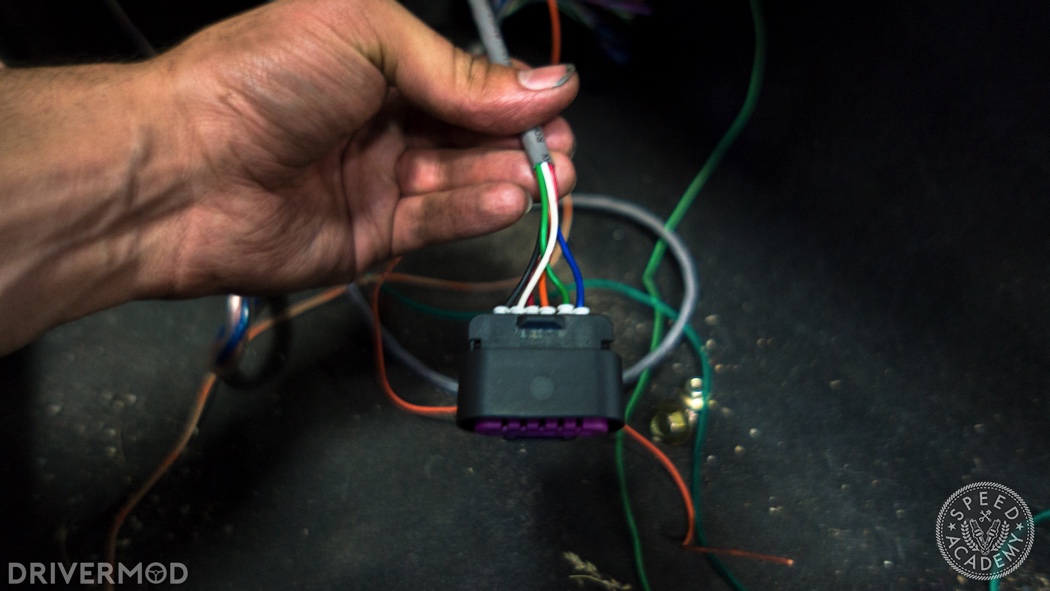
The next bundle of wires is comprised of the following:
MIL Control – Black
Fuel Pump Relay – Green
Tachometer – White
Fan Relay Control – Red
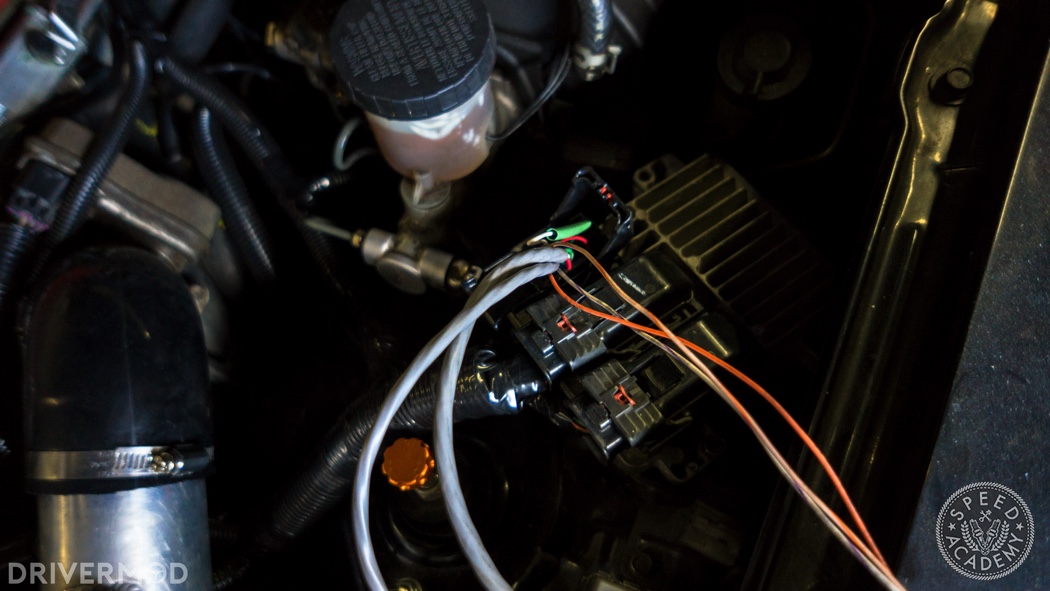
Here’s where things get tricky – partly because we aren’t able to publish wiring diagrams, but mostly because every single Miata body harness is different. Unfortunately, at this point you are going to have to pull out your own wiring harness and do some digging.
Your MIL control and Fan relay control wires (labelled MIL Control and Cooling FC on your Miata diagrams) should be attached to one of the green clips that were attached to your original ECU. You just need to find out exactly which wires these are and splice the Ecotec Patch harness wires to them. On our NB Miata, the MIL wire was attached to terminal 1E and the Fan Relay Wire was attached to terminal 1R, both on PCM Connector 1.
The tachometer wire should connect to the same large blue clip you spliced your pink/black power wires into earlier. On our NB Miata, the tach signal wire was green/orange, but check your own Miata wiring diagrams because this is not something you want to do twice. We are going to save a fuel pump relay wire for a little later.
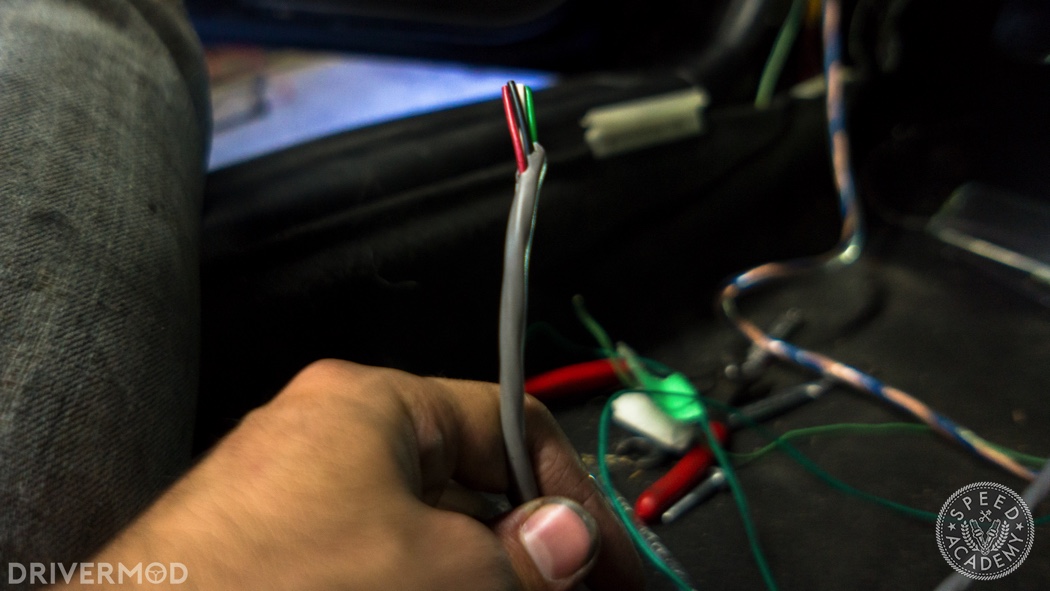
The three loose wires you have left are for ignition and battery signals. Our kit was labelled as the following:
Tan/Orange – Battery
White/Violet – Ignition
Orange – Ignition.
You can find ignition and power wires on the same ECU clip that you spliced your MIL control and Fan Relay wires into. On our NB Miata, the battery wire was attached to terminal 1A (labelled Back-up power supply on your diagram), and the ignition wire was attached to terminal 1B (labelled Power supply). We attached both ignition wires coming off the patch harness to this single wire, but there’s also an ignition wire running to the large blue clip we mentioned earlier.
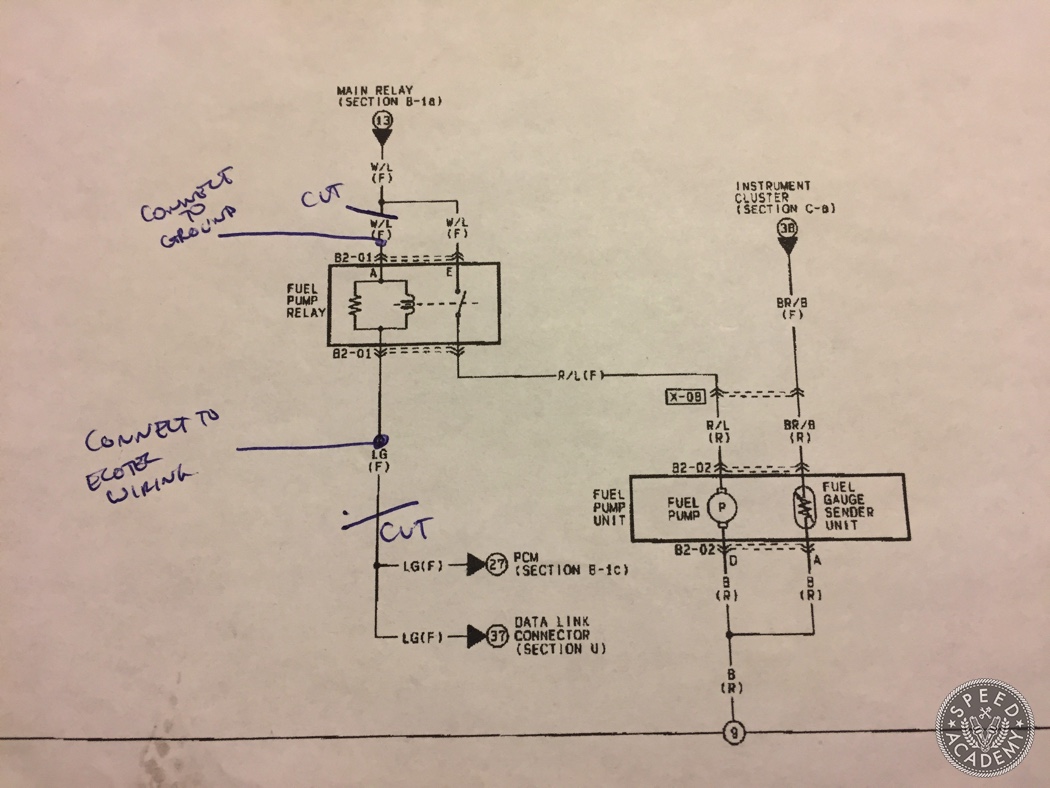
Finally, you need to deal with the fuel pump relay wiring. The relay itself is difficult to find. The easiest way to track it down is to figure out the colour of the wires running to it, using your wiring diagrams. If you are doing this on an NB2 or NA8, the process is the same.
Once you have found it, the easiest thing to do is to follow the wiring diagram above. The white and blue wire running from the main relay to the fuel pump relay needs to be clipped, and the main relay end of this wire needs to be spliced into a ground wire. Then, the light green wire running from the fuel pump relay to the ECU clips needs to be clipped and spliced into the green fuel pump relay wire in the patch harness. If you’re doing this on an NA6, the fuel pump relay needs to be connected directly to the fuel pump relay wire coming off the patch harness. Now, you just need to hook up your starter and alternator wiring, and your wiring is done.
That completes the wiring conversion on our Ecotec swap, so next up we tackle some accessories including power steering.
Previous Ecotec Miata Swap stories:
Phillip Oliveira is a local track day junkie who spends his days running the Canadian car culture journal DriverMod, and his nights awake wondering if his Ecotec-swapped Miata will ever be finished. You can see more of his work at www.drivermod.ca.