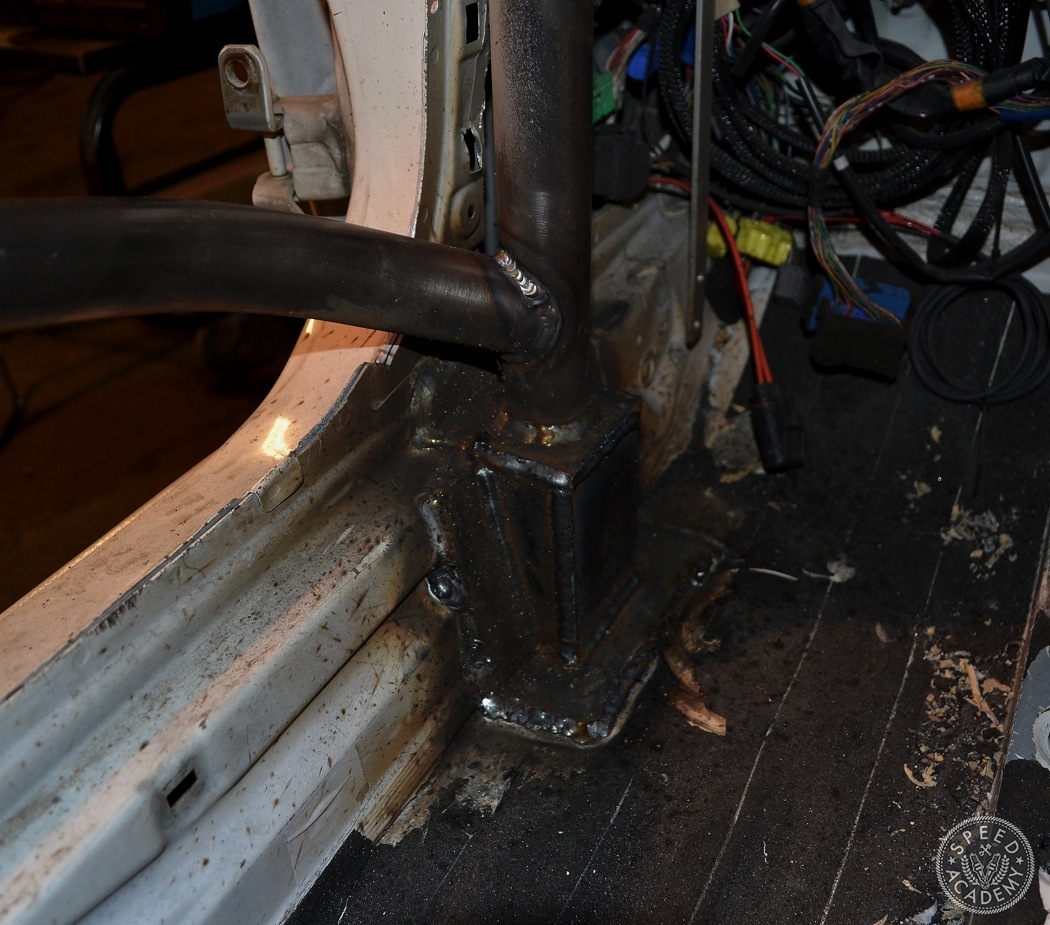
These plates support the main hoop and distribute the load across the frame rail. They were temporarily tacked on the frame rails, then the main hoop was also tacked onto left and right base plates.
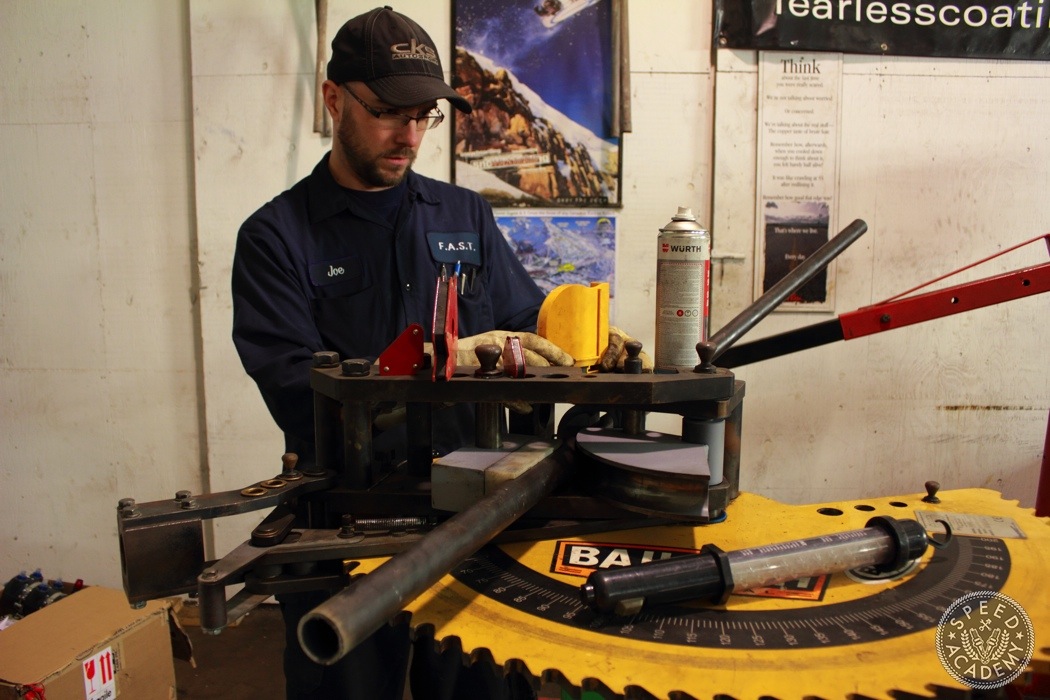
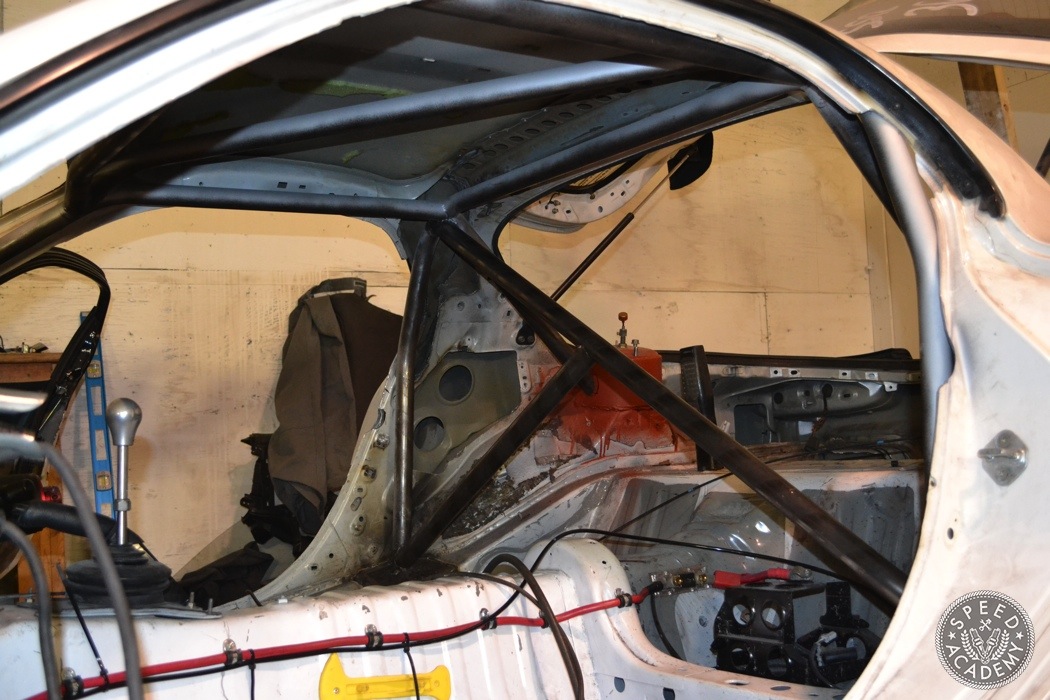
With the main hoop temporarily secure, we had a starting point to build the rest of the roll cage. Tubing was bent for the A-pillar bars and so forth. The feet of the A-pillar would also tie into the front interior frame rails.
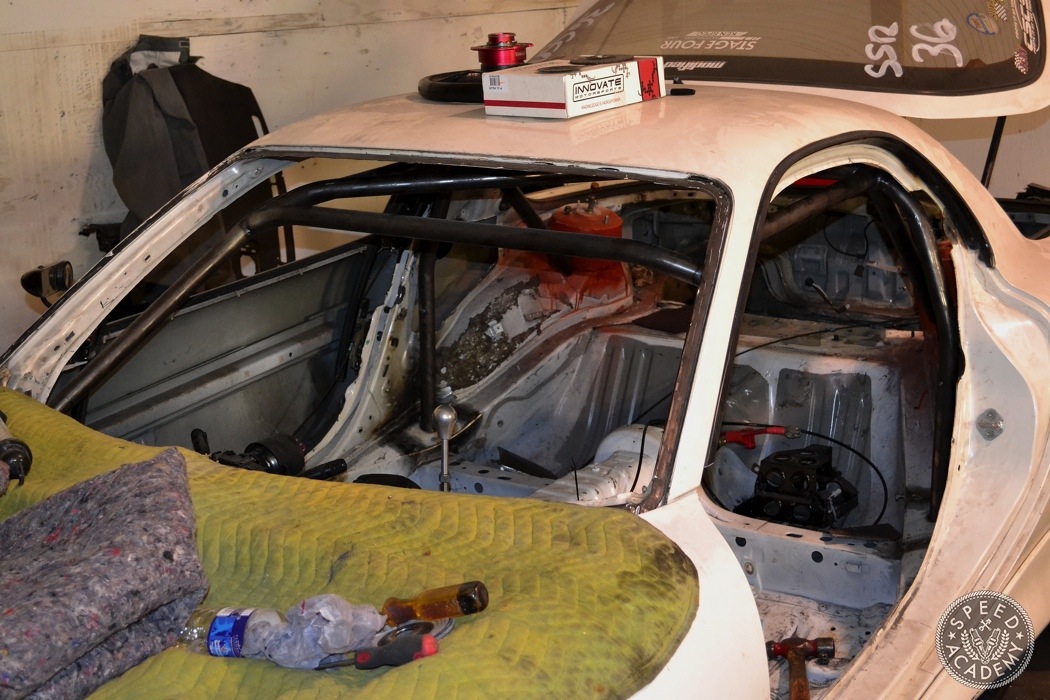
We bent up the front Halo or “head banger” bar to tie both left and right A-pillar tubes together at the roof level. This bar adds rigidity to prevent the A-pillar bars from caving in should we sustain a rollover.
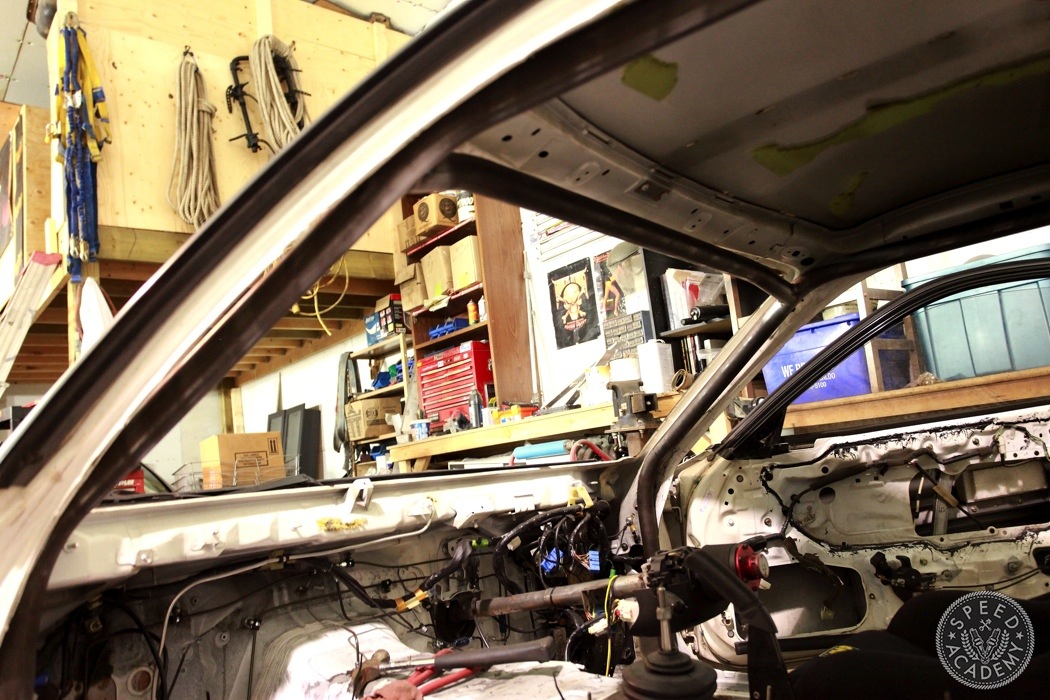
The roof cross bar was also added and triangulates the top front and rear corners of the cage. Nice tight fit-ups and accurate tube notching can be appreciated here. A glimpse of the dash bar can also be seen.
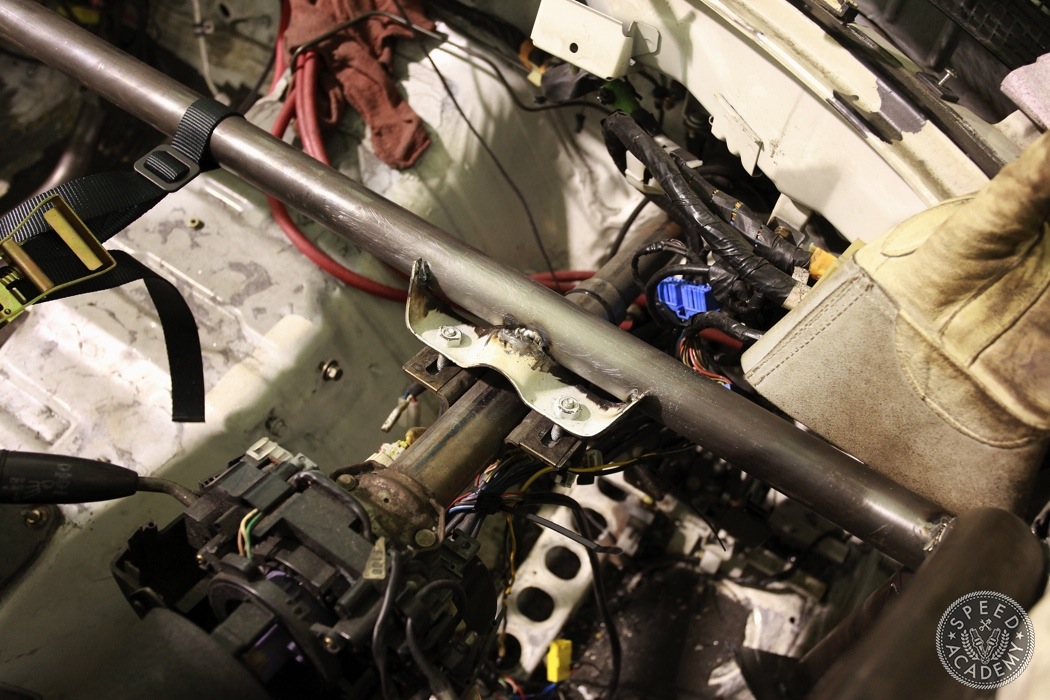
Since the OE dash bar support is no longer present, we had to figure out how to mount the steering column. Utilizing part of the OE bracket we tacked it in on our new dash bar and tested the position of the column. Once we were satisfied with the seating position to column orientation, it was welded in place.
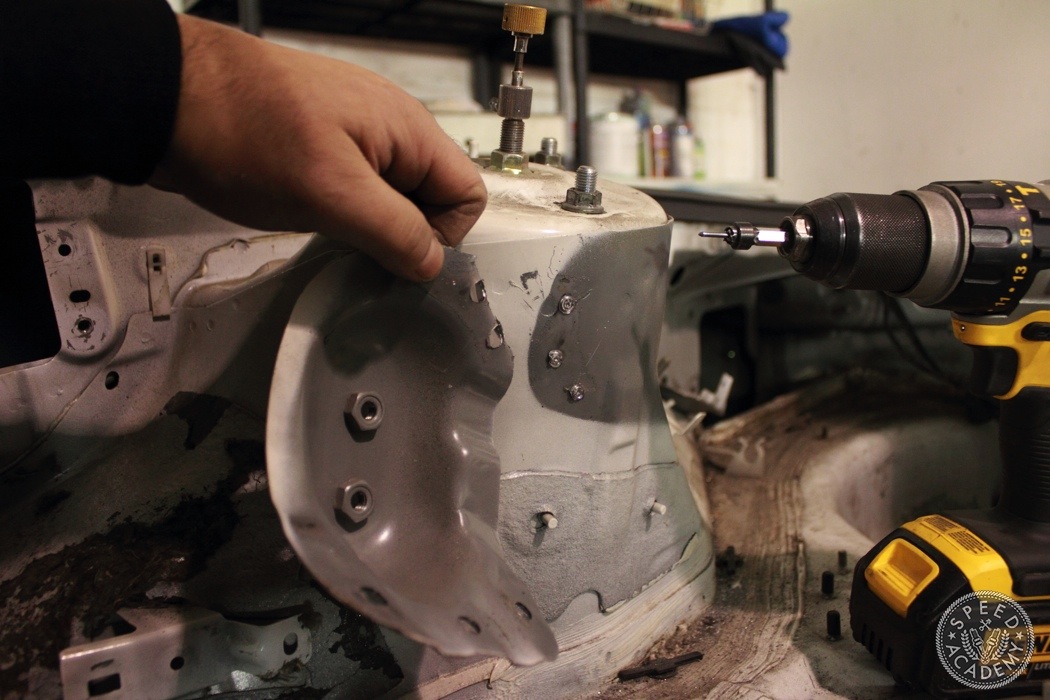
With the front section of the cab taking shape, “useless” brackets and mounting tabs were removed around the shock towers so we could have a nice flat surface for the shock tower reinforcement plates.
Using 3/16 thick plate that we cut to the desired dimensions, we forced each plate to contour to the shock towers using a combination of tack welds, heat, BFH (Big Fat Hammer) and a generous amount of swearing. With the rear shock tower plates set in place, we cut and notched the rear main hoop supports to the main hoop. We did not attach them to the shock towers yet so we could perform the next step.
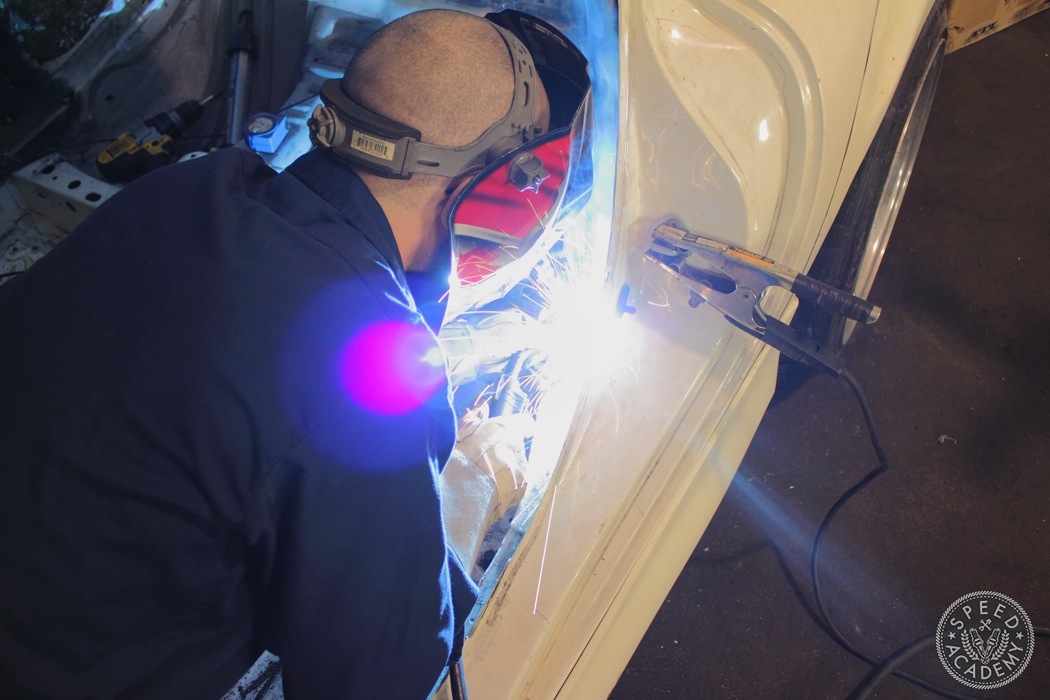
After multiple measurements to confirm placement of the roll cage tubes we were ready to weld it all permanently. We had to gain space above the roll cage to give the TIG torch room to work. The temporary base plates that were tacked on the frame rails were removed revealing the holes we had previously cut. This allowed us to drop the roll cage through the holes giving us space so we could fully weld the joint around its circumference.
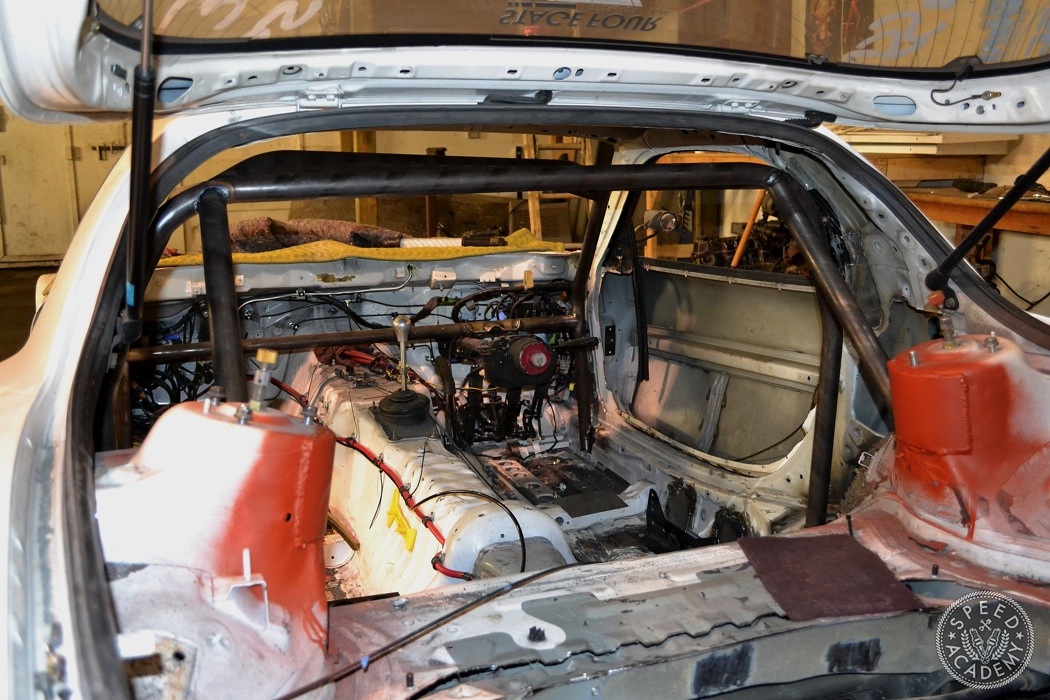
Once all the welding was completed, we raised the roll cage up and welded in the base plates. The A-pillar base plates were further boxed in as the front frame rails were narrower than the rear frame rails where the main hoop was attached. With the cab section of the roll cage completed, we moved on to the rear main hoop support bars . These were welded to the top of the hoop and the rear shock towers.
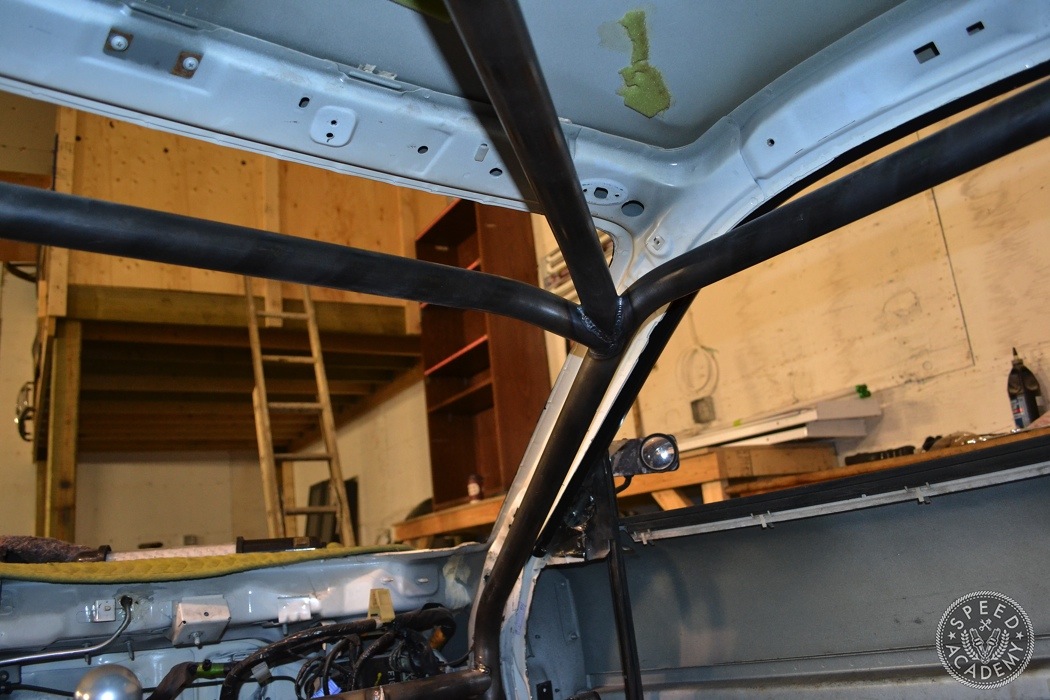
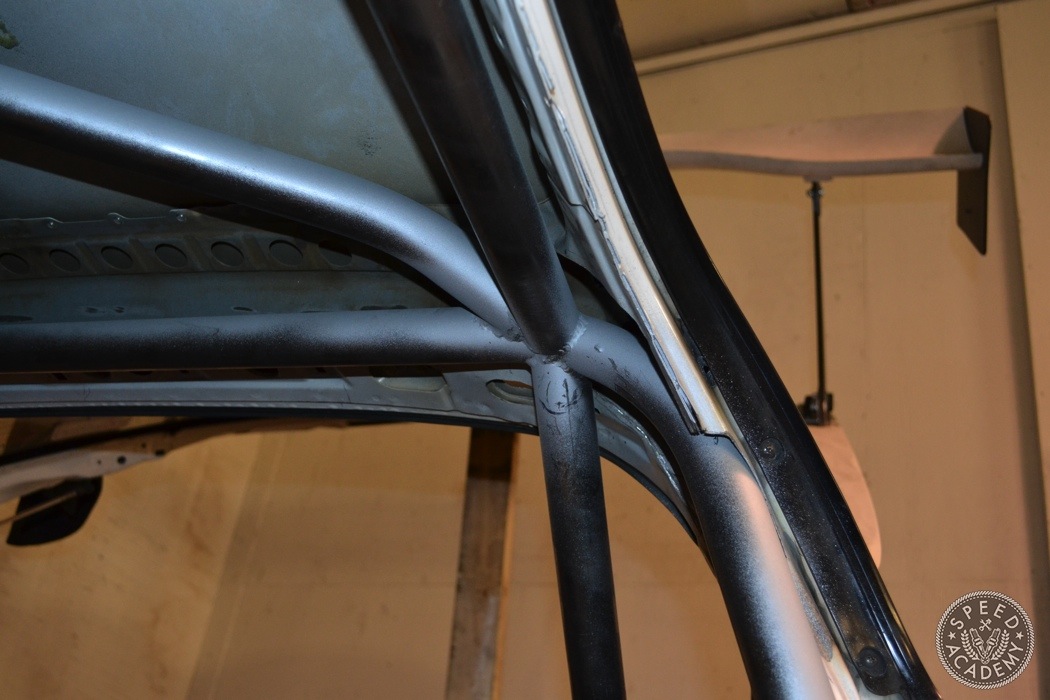
We then started the main hoop’s X-brace which further adds to the strength of the roll bar in the event of a rollover. A tube was notched and fitted from the leg of the main hoop that extended to the top corner on the opposite side. The start of the corresponding diagonal brace can be seen here. The top half of this brace turned out to be a lot of work because of where it was going to end.
This was a busy intersection of tubing and where the last section of the X-brace was to reside in – not a lot of real estate and not a straight forward notch!
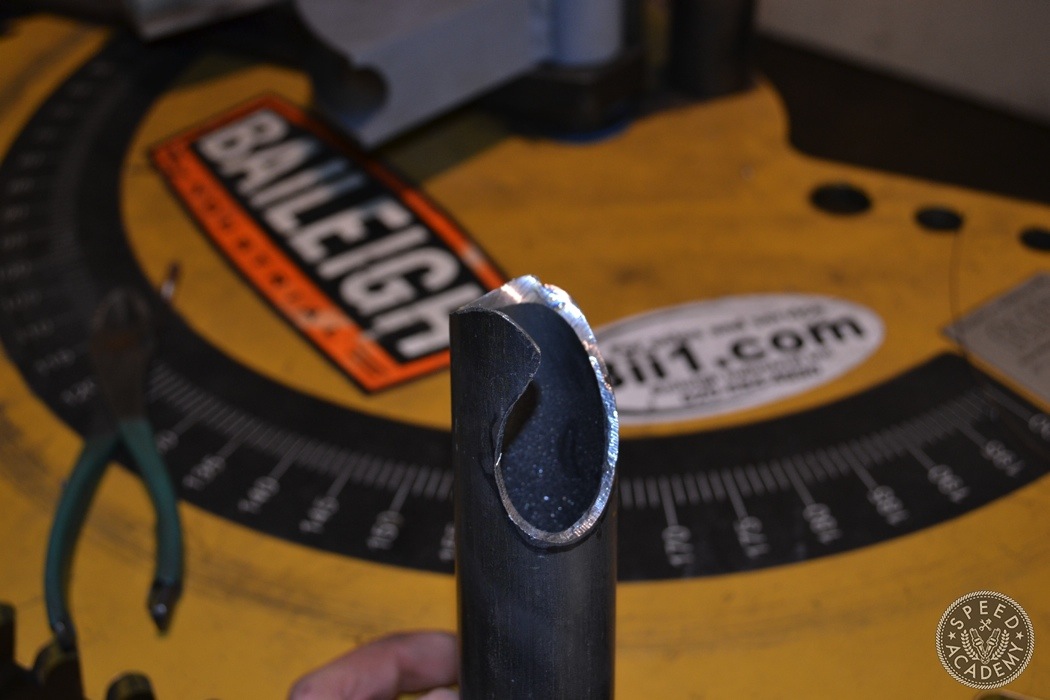
Lucky for me, Joe combined some sort of magic and artistry all into one to make sure the fit of the joints were as tight as possible. This joint end had compound notches to accommodate the adjacent tubes. The end result speaks for itself.

this car just keeps getting better, keep up the fantastic work.
RenoRotary Thank you very much! We have more upcoming modifications to the FD so continue to stay tuned! Thanks for your support.