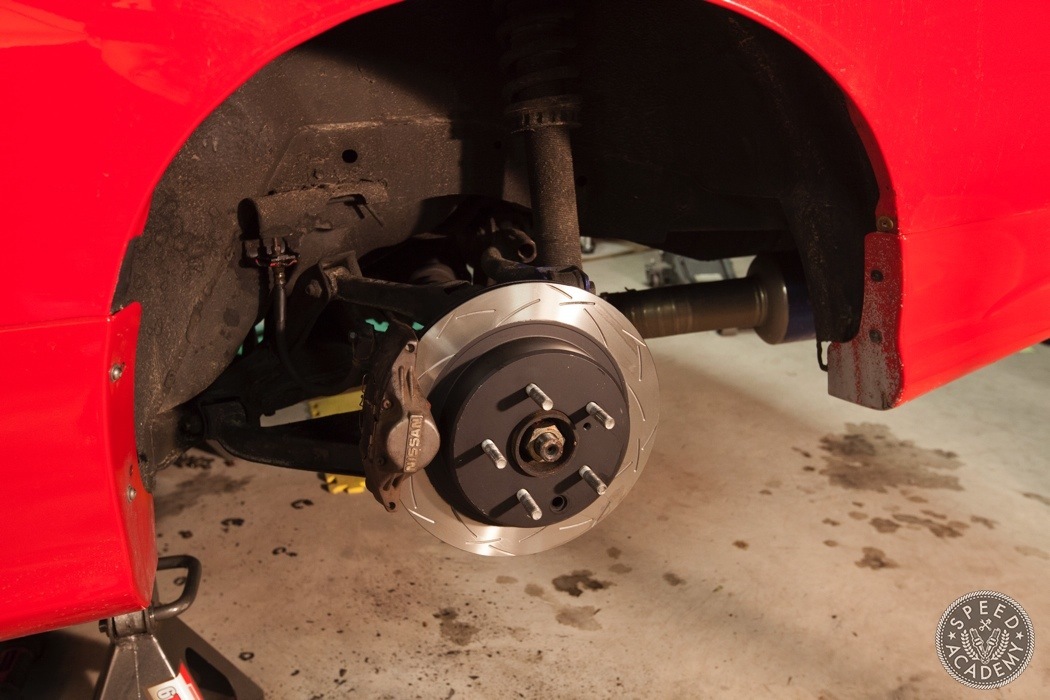
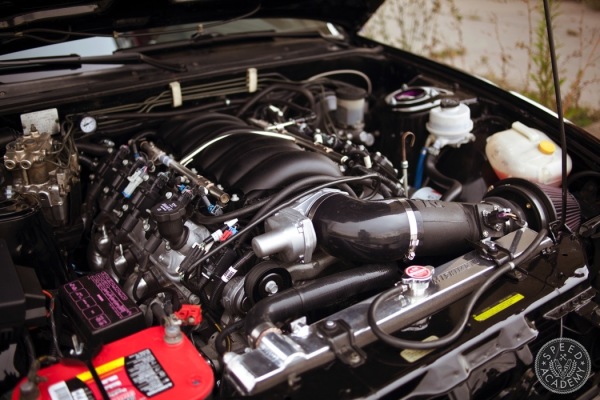
This article is a follow up to the video we made about upgrading the brakes on our Project GripS14 (http://youtu.be/G9I06pjuCRg). If you’ve watched it then you’ll have a good idea as to how to tackle the job but we figured why not include a full step-by-step story as well to really make it easy on you.
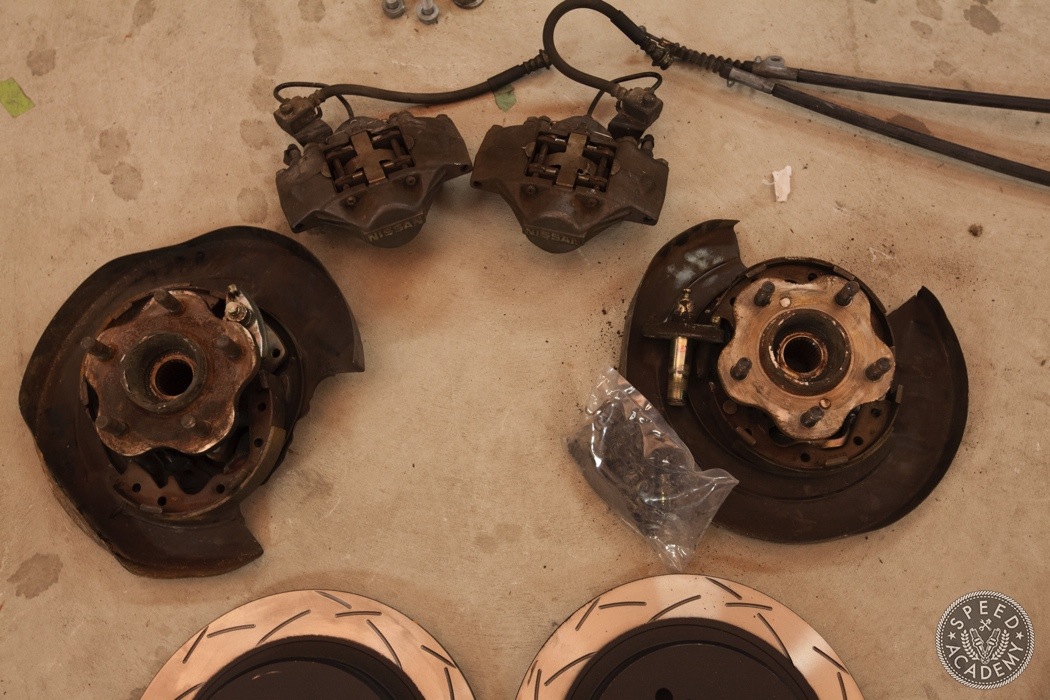
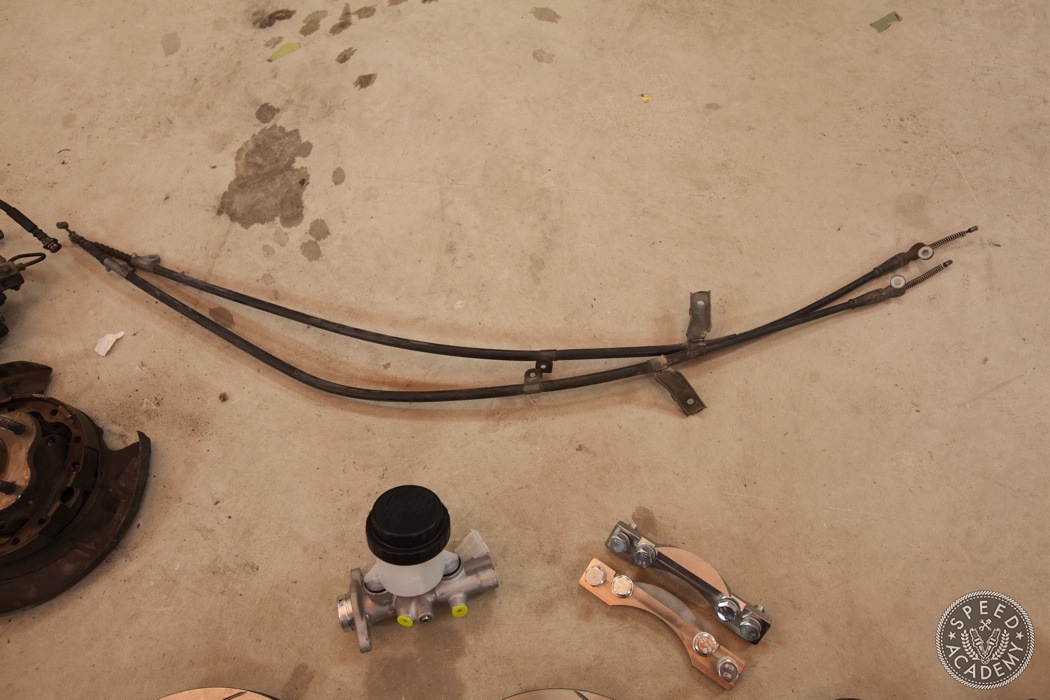
What you see here is essentially everything you’ll need for the conversion. I picked all of it up complete from Z1 Motorsports. Make sure you’re getting everything needed for the parking brake setup because if pieces are missing, odds are you’ll need to buy them new from Nissan and that won’t be cheap. I’ve heard that older generations of the Infiniti Q45 also have a near identical parking brake layout so you may be able to use parts from that vehicle.
Also, the hubs aren’t necessary because you can re-use the S14 units but you’ll need the backplates and most places don’t like to sell these items individually so it’s easier to buy the whole shebang and sell off the hubs. There are plenty of 4-lug 240 owners that’ll scoop them up.
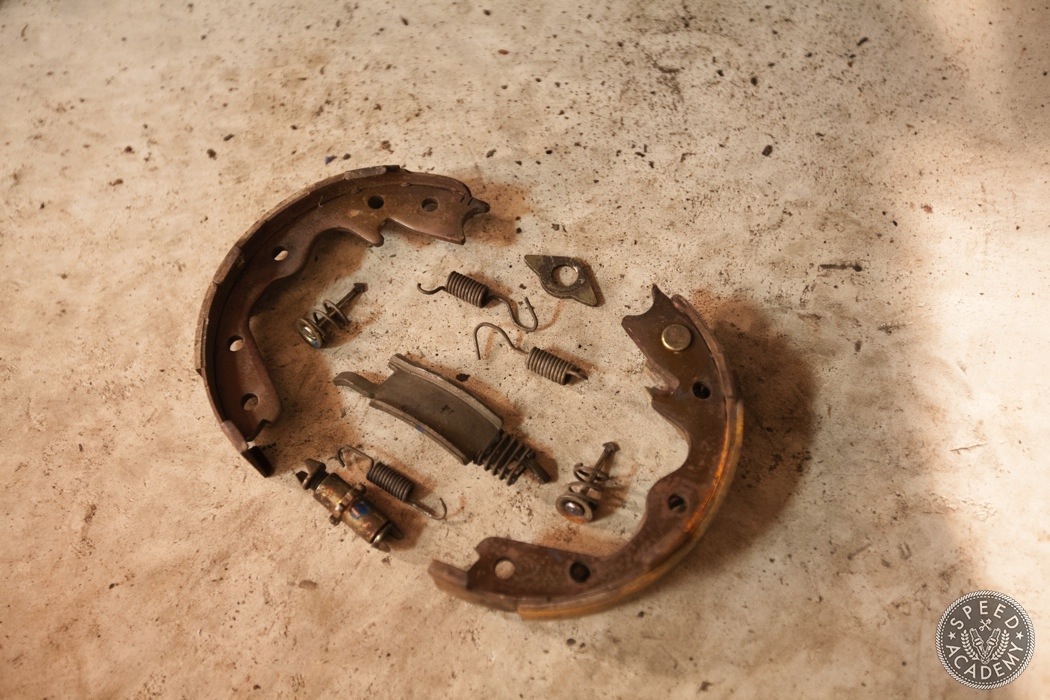
These are the bits and pieces needed for a working parking brake. Even if one spring is missing the system won’t work correctly so double, no triple check that you have everything.
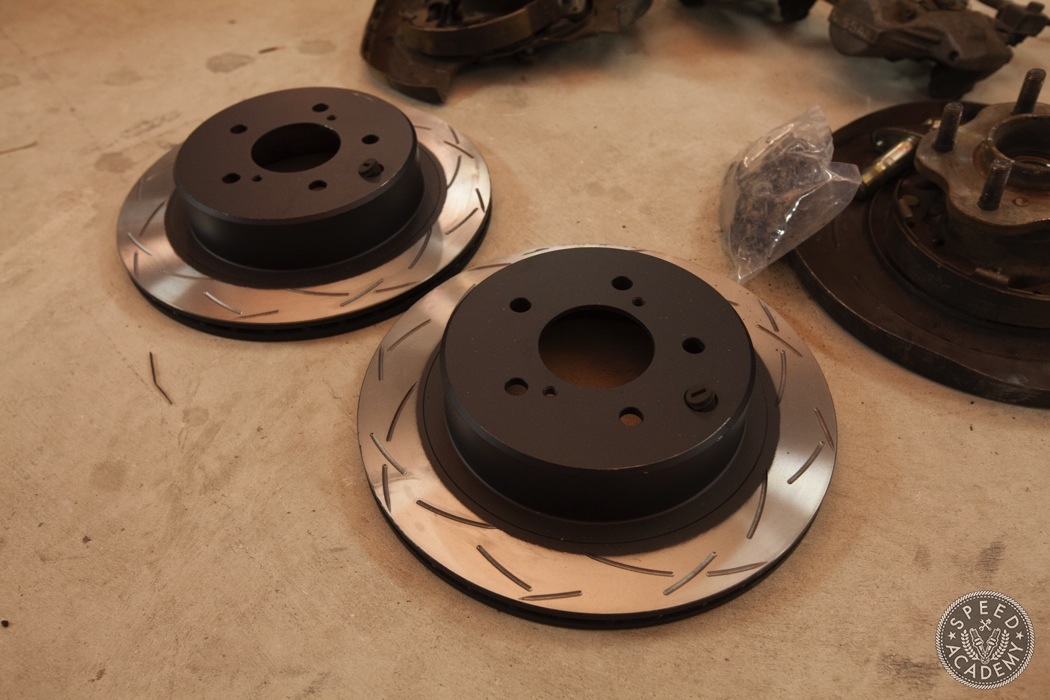
For rotors, I went with Disc Brakes Australia 4000 Series one-piece slotted rotors. They’re a great rotor for motorsports use since the rotor is cast from a high carbon iron that resists warping and has increased thermal capacity over standard rotors.
The last piece of the 300ZX rear brake conversion puzzle are the parking brake cables. You’re going to need R33 Skyline cables because they’re the only cable that’s long enough and will work in an S14 (’95-’97). S13 (’89-’94) owners are in luck because the 300ZX cables work but I’ve heard they’re an extremely tight fit so if you have the extra loot buy the R33 cables. They’re about $90 from thenismoshop.com However, they’re usually out of stock so finding them on a 240SX forum (like I did) may be the better solution.
Alright, let’s get down to business and remove the stock brake setup.
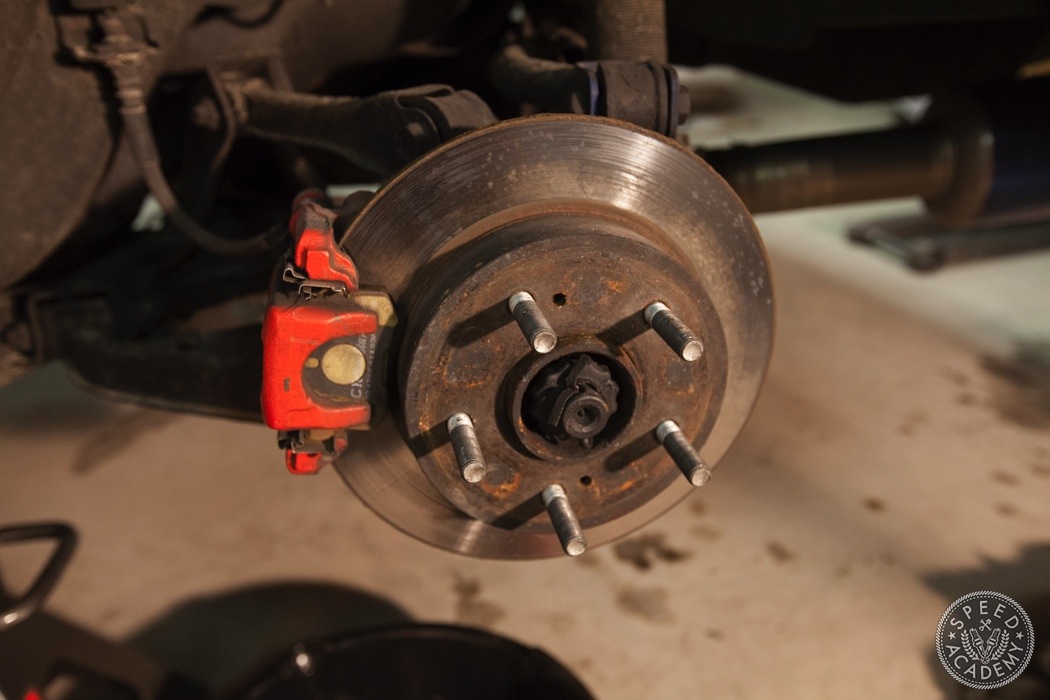
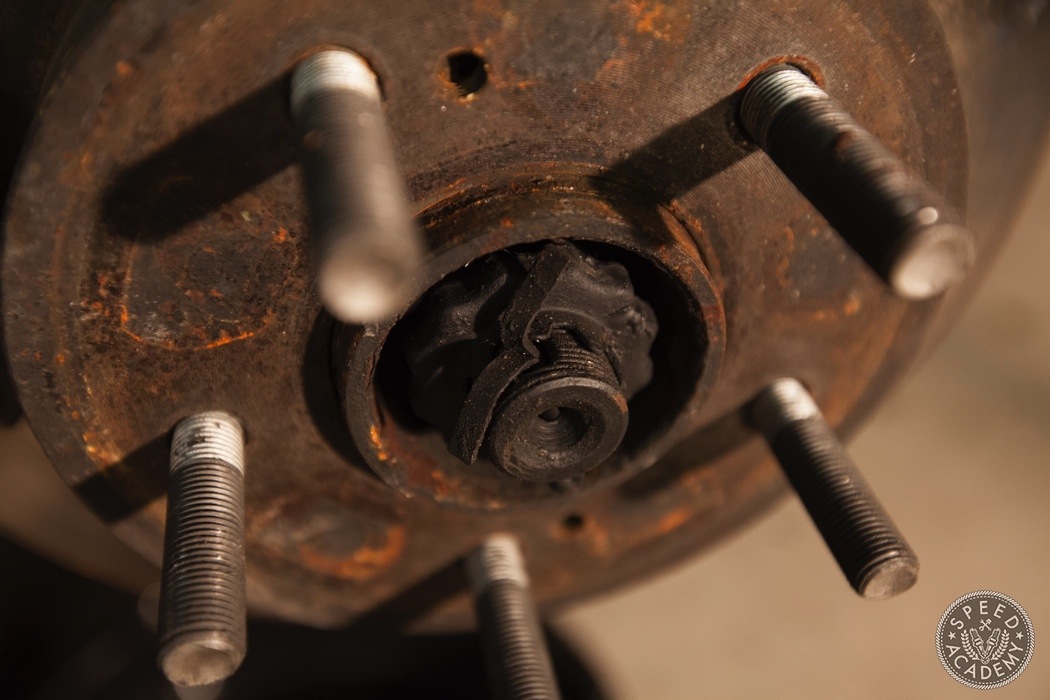
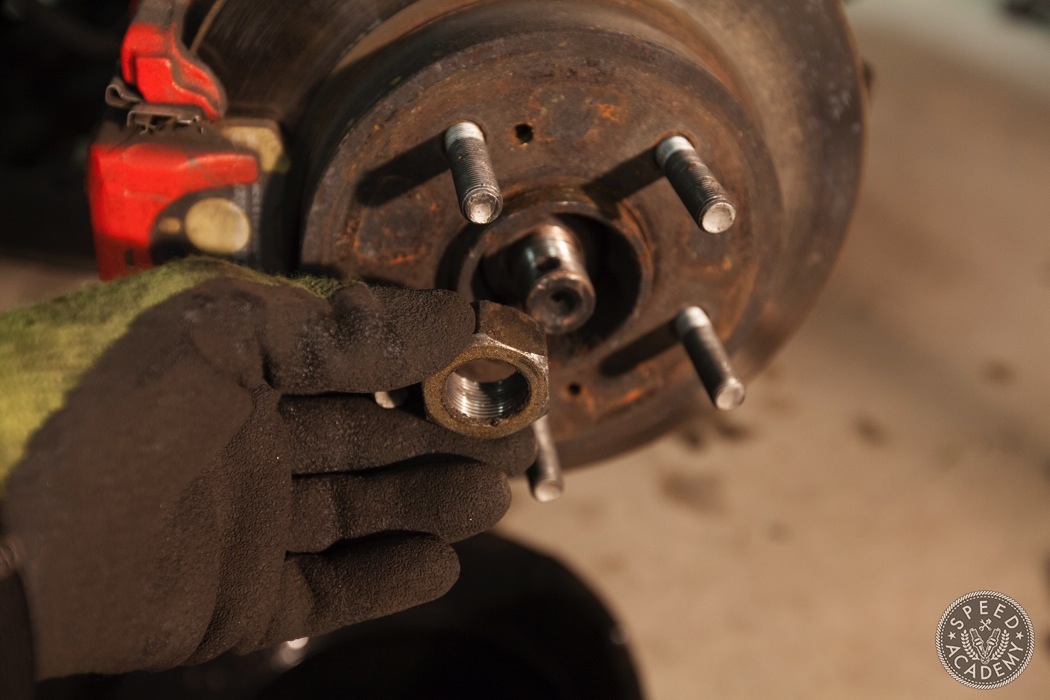
Start by removing the cotter pin that keeps the axle nut from backing off and then remove the axle nut. Usually a good impact gun will do the trick here. If not, bust out the BFB (Big F*cking Bar). If I recall correctly, the nut size is 27MM.
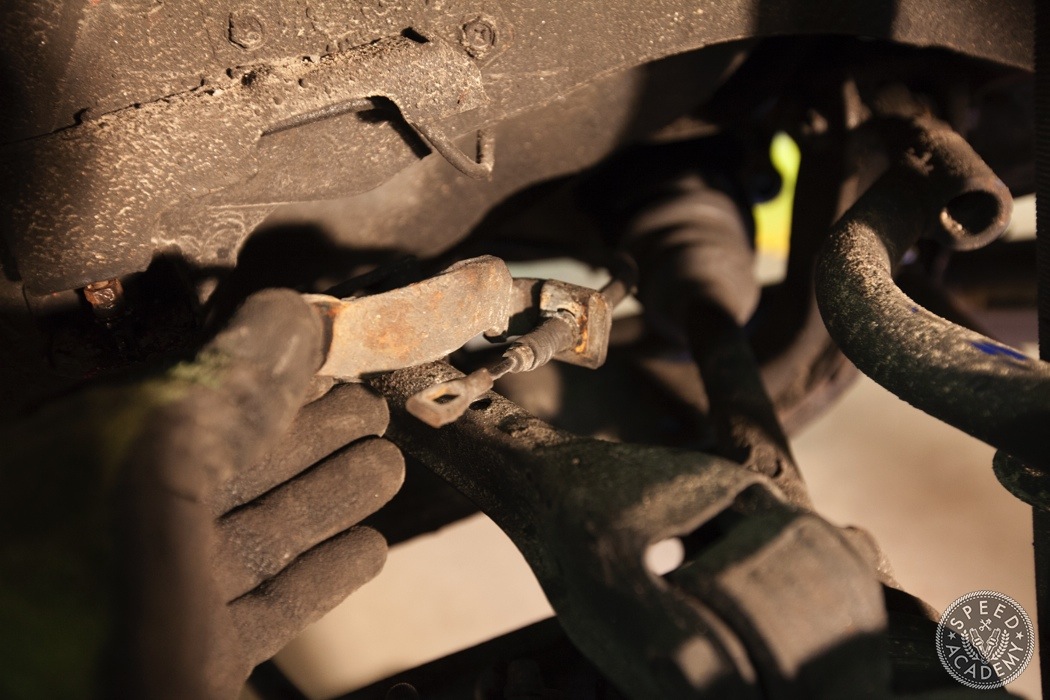
Before removing the caliper, you’ll need to disconnect the parking brake cable. It can come off two ways. One, you remove it with the bracket in place (as shown above). Two, the clip holding it on the bracket is popped off and the cable slides out. I used the first method because the damn cable was seized into the bracket. Salt ridden roads during Canadian winters will do that.
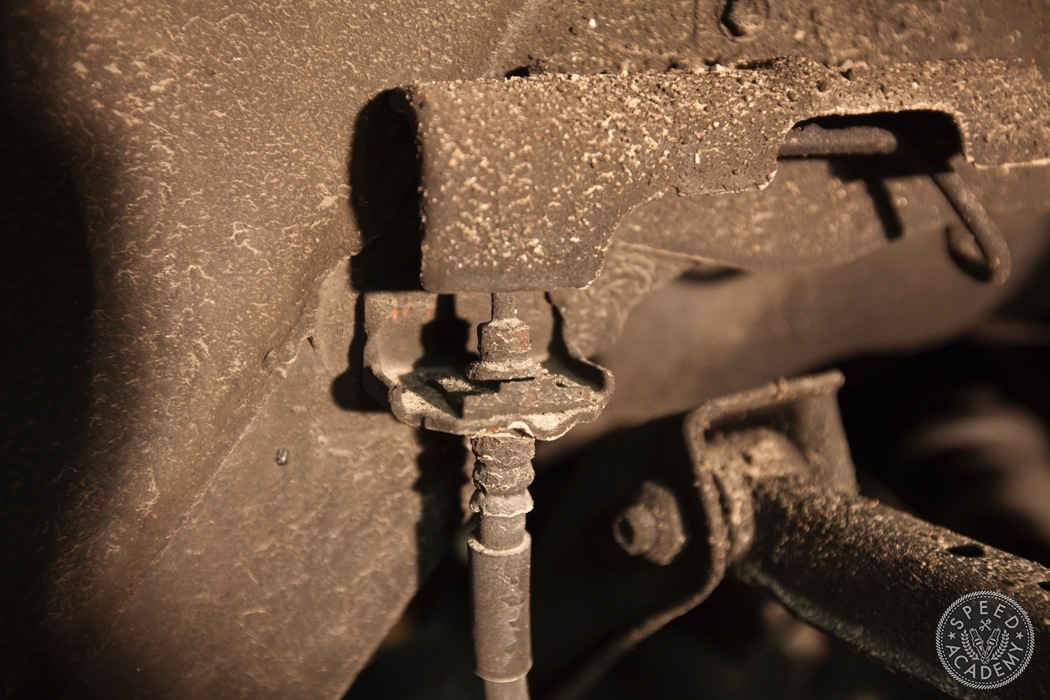
Crack the brake hard line loose but don’t remove it until you’ve got the caliper off. That way you’ll minimize the amount of fluid lost from the system.
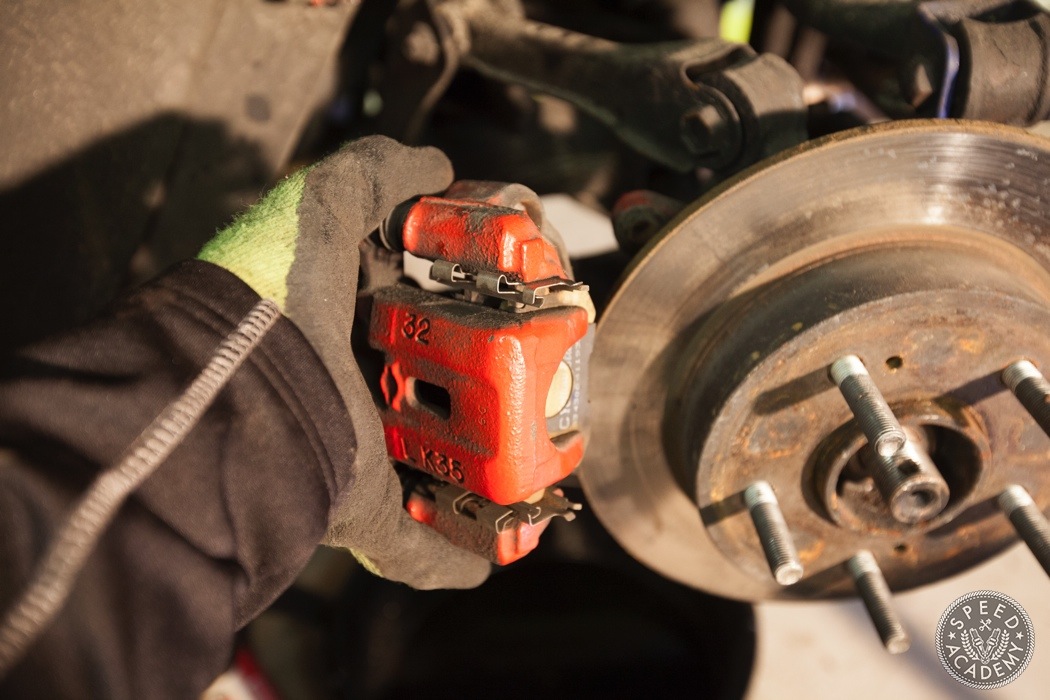
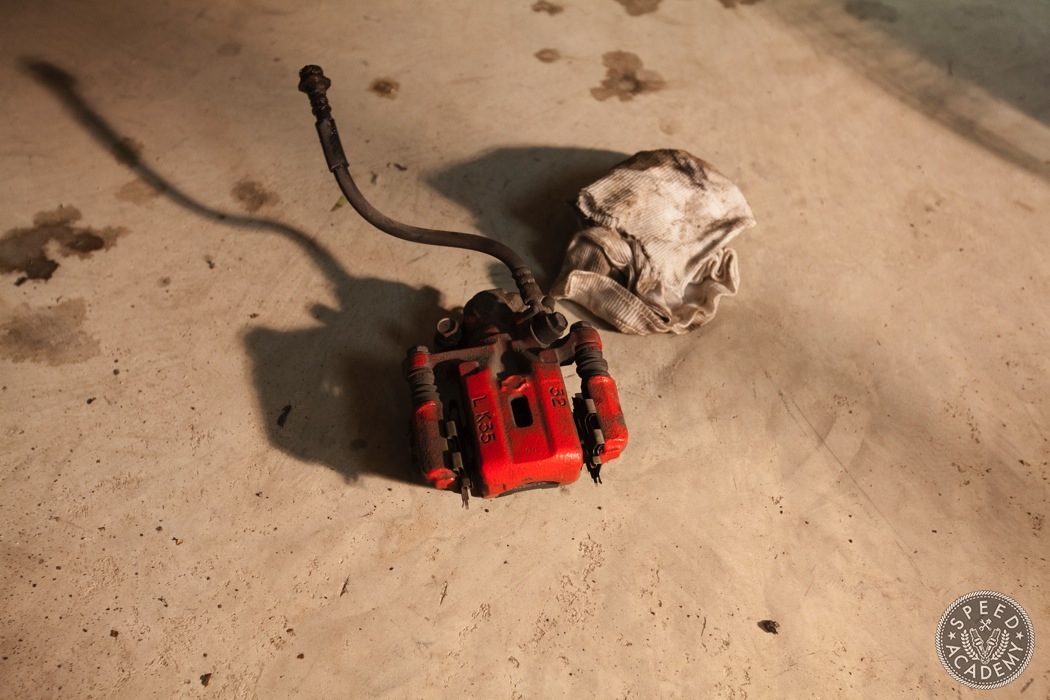
Now you can pull the caliper off.
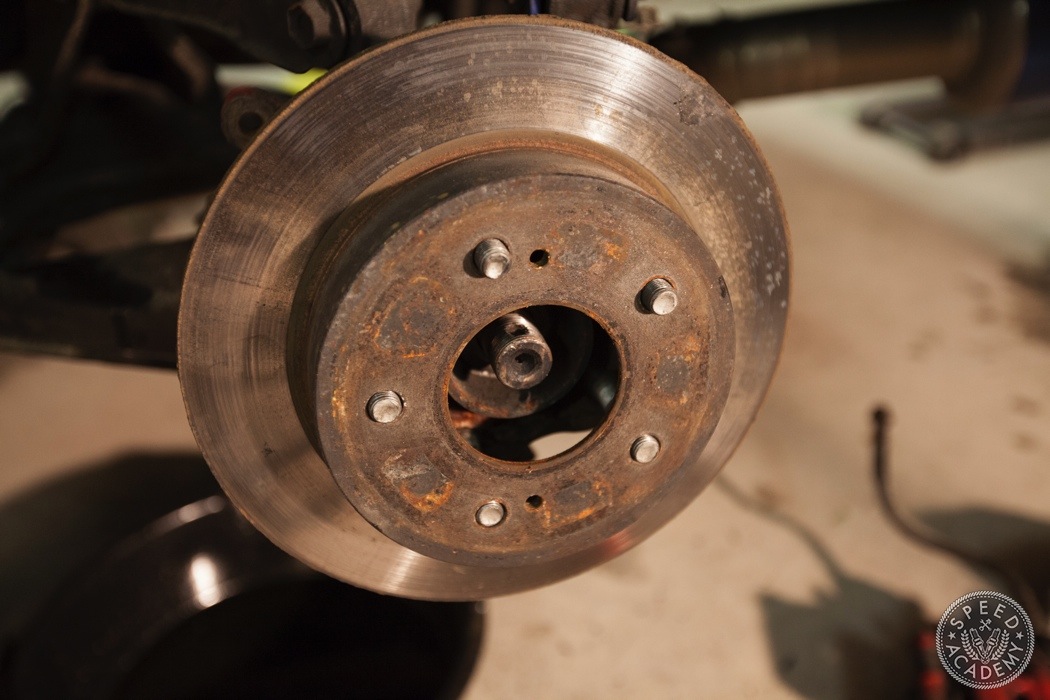
Next, comes the rotor. It’ll most likely be rusted onto the hub so a rubber mallet or a BFH can be quite persuasive.
