In any racing discipline having a lighter chassis has its obvious advantages. Weight reduction aids with power to weight ratio, acceleration as well as vehicle weight transfer. Large racing budgets mean weight reduction can come from uber expensive composite panels and exotic alloys. For the rest of us, it means removal of sound deadening, creature comforts and basically creatively stripping out the interior.
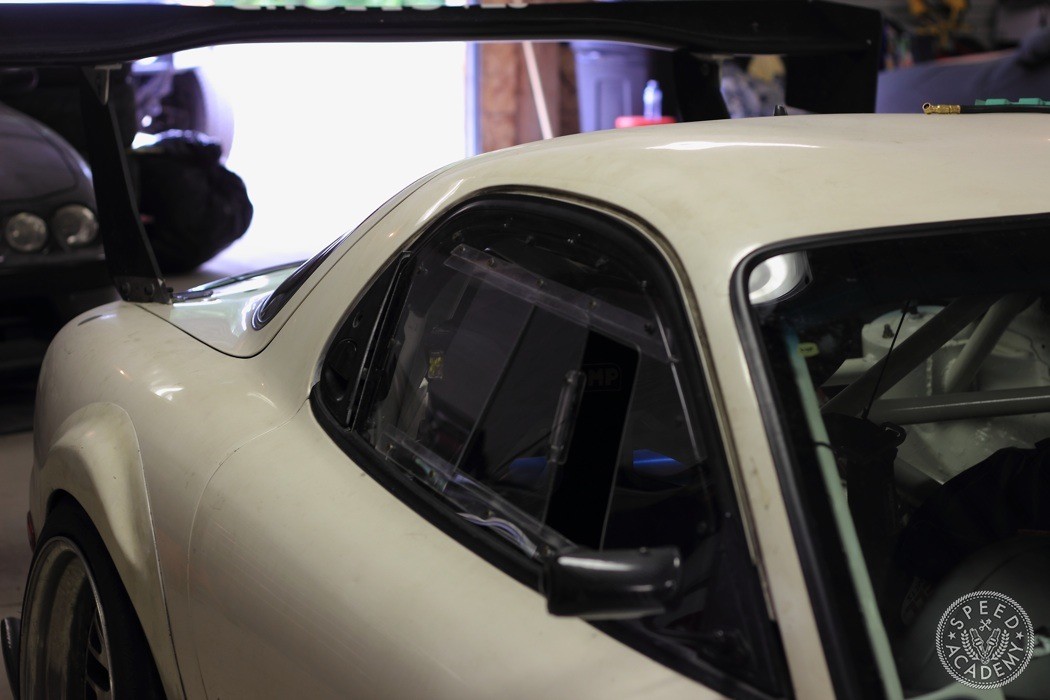
Some of the heaviest components in a car are OE glass surfaces. Front windshields, side windows, and a sun roof. They constitute weight that can be removed (depending on your racing sanctioning body) and Lexan/Poly carbonate replacements are available for most popular racing platforms.
For Project Rotary Race mule, plans for a full roll cage with door intrusion x-braces meant that I had to cut into the inner door skin to make room for the bars. Therefore, the support skeleton for the power window mechanism had to go as well as the windows themselves. However, I was still wanted some type of shielding from the elements in the event of inclement weather while on the track so I opted to make my DIY Lexan windows. Here are the steps that I took to make it happen.
There are usually two material choices, Lexan or Acrylic (Plexi-glass) material. Each has its pros and cons. Lexan is more expensive than Acrylic, however it resists shattering and will “bend” where Acrylic will crack. Lexan does scratch very easy compared to Acrylic so care needs to be taken more when cleaning it. I chose to use Lexan for the driver’s side and Acrylic for the passenger side since there will not ever be a passenger in the car.
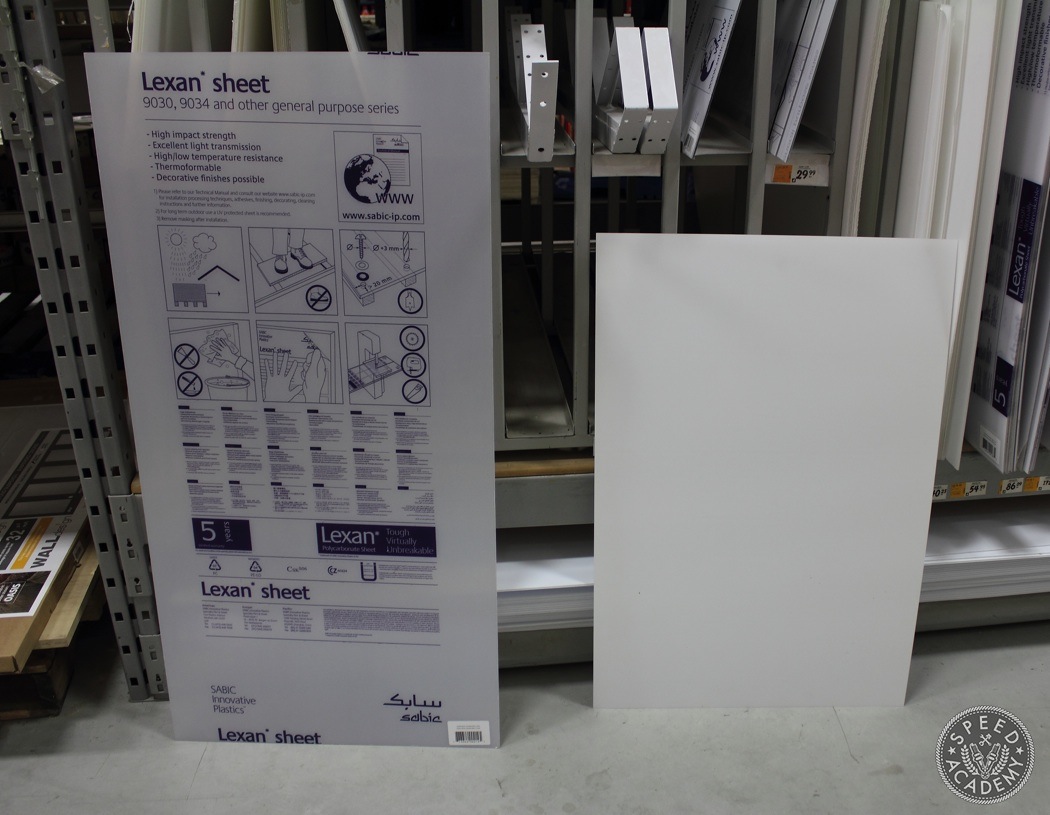
I picked up Lexan and Acrylic in 3mm thickness and sourced a 24″ x 48″ and 24″ x 35″ respectively from a local home improvement store. Other materials included 3/16 round metal and flat stock as well as bolts. These will be explained further down in the article.
The process is the same for both windows so excuse the flipping from driver’s side to passenger side. It was hard to stop and take pictures when I was in the zone, only to realize that I needed a picture for the step.
Mounting the Lexan window can be as easy as using the OE window tracks as a guide and securing the bottom of the Lexan. However some window tracks are not deep enough to keep the windows from blowing out. I decided to make a metal frame so the Lexan could be securely bolted in.
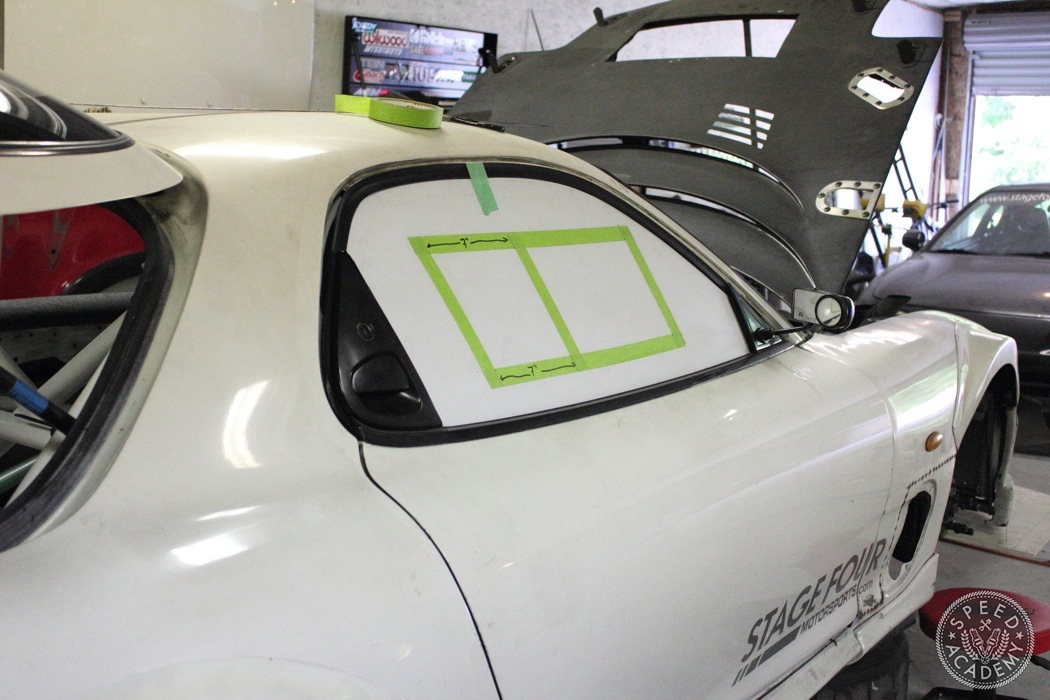
The first step is to create a template using the OE windows. Once the pattern is traced it is time to cut the Lexan sheet to size. For my first attempt, I used the polycarbonate in case of an error.
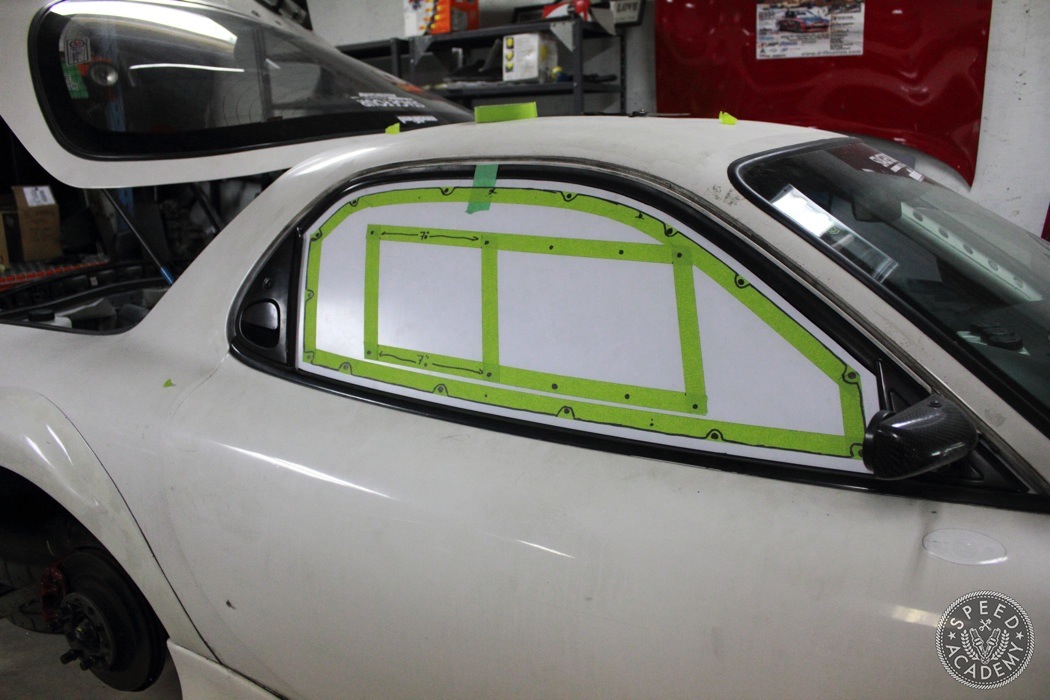
The white protective film made it easy to mark the metal frame and where the mounting tabs would be. I also taped in a sliding window to check for clearance and to insure no interference with the mounting frame. The outline provided a guide to bend the 3/8 round metal stock to create the frame.
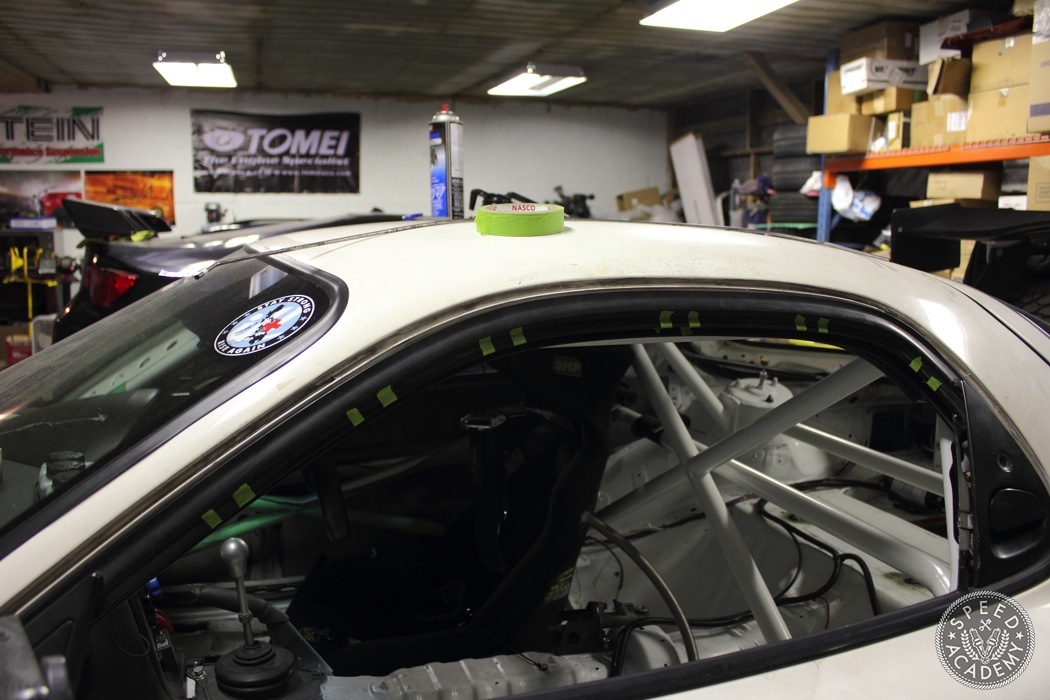
The RX7 has a metal window frame that I decided to mount the Lexan window frame to. Here the spaces in between the taped section are where tabs will be welded to hold the frame. These areas were grinded down to bare metal to prepare for welding.

The mounting tabs were then welded on the OE window frame. Before any welding was done, all of the metal materials were prepped by sanding the surfaces and cleaned with acetone.
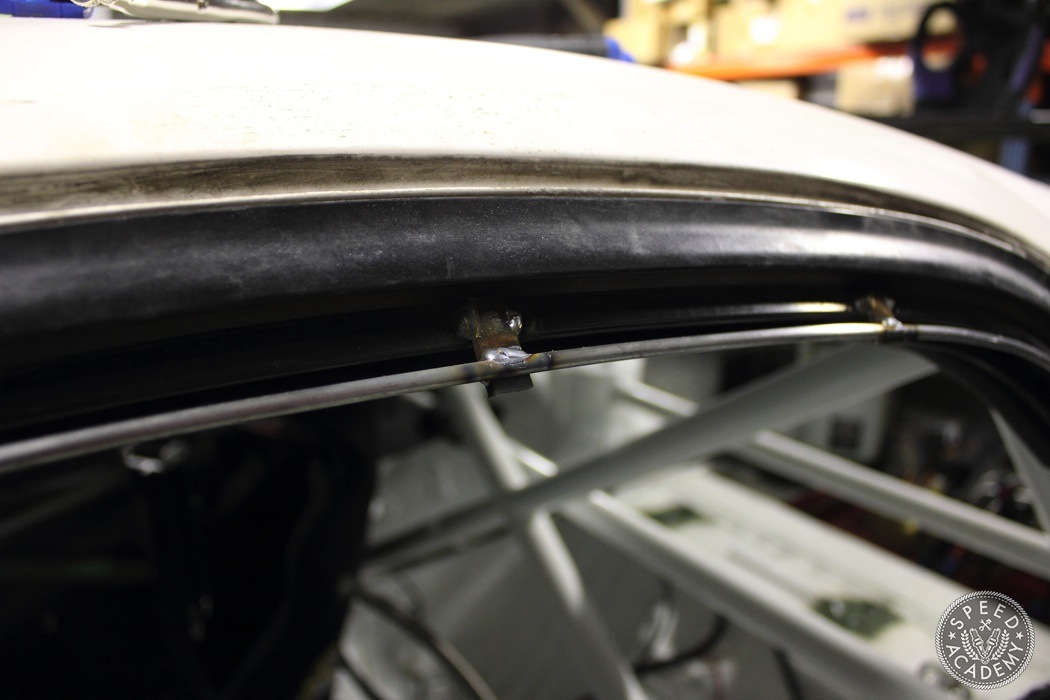
The excess material that is under the new metal frame was trimmed and all sharp edges ground smooth. If your initial shaping did not follow the contour of the window frame, fear not. You can adjust the shape of the frame by welding it one tab at a time.
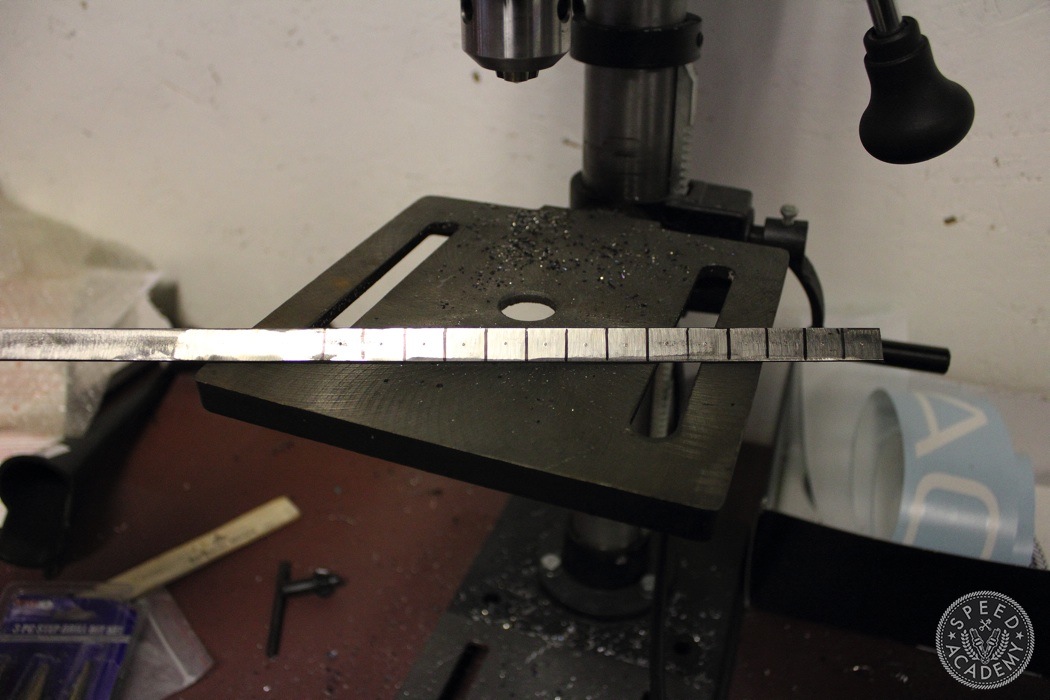
For the window mounting tabs I used 1 inch flat stock that I divided into 3/4 inches and punched the centers where the bolt holes will be.
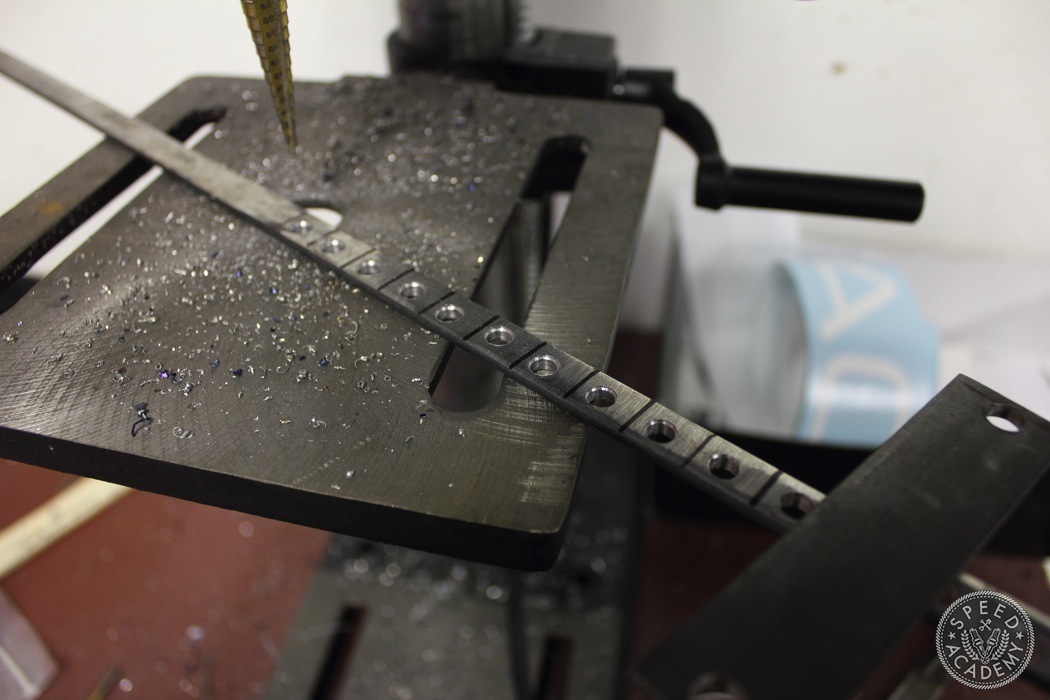
A drill press made quick work of the multiple tab holes while a step drill bit kept the bolt hole sizes consistent. Once all the holes were drilled then the tabs were cut out and voila! You have tabs.