Welding the tabs can be a bit tedious but hang in there. Here’s the finished shot with black paint to keep everything sleek looking and rust free.
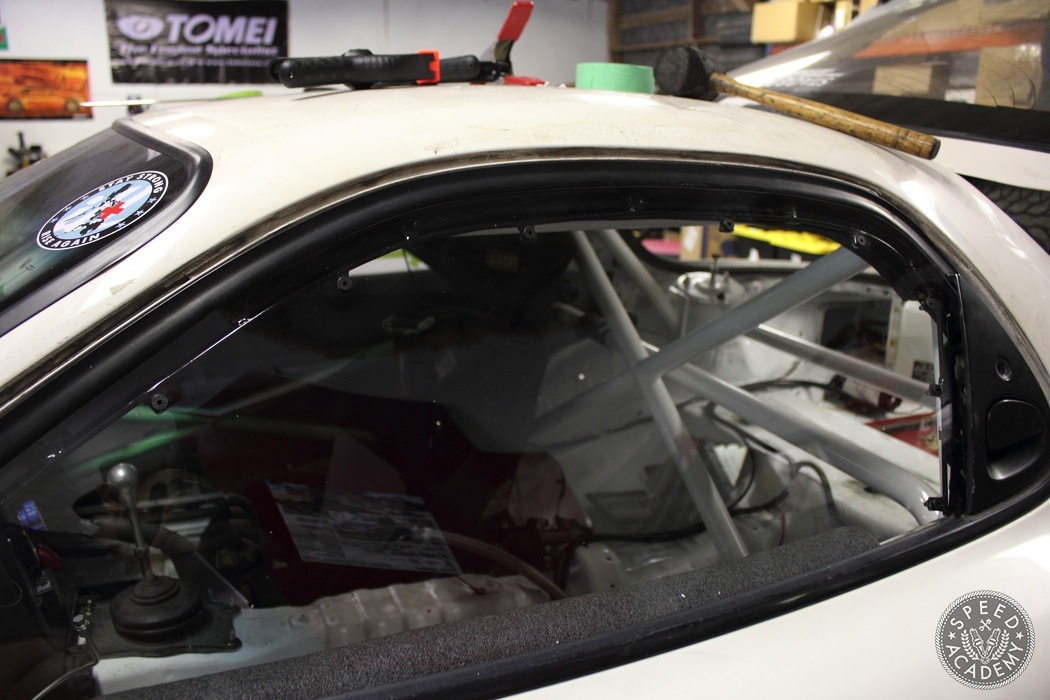
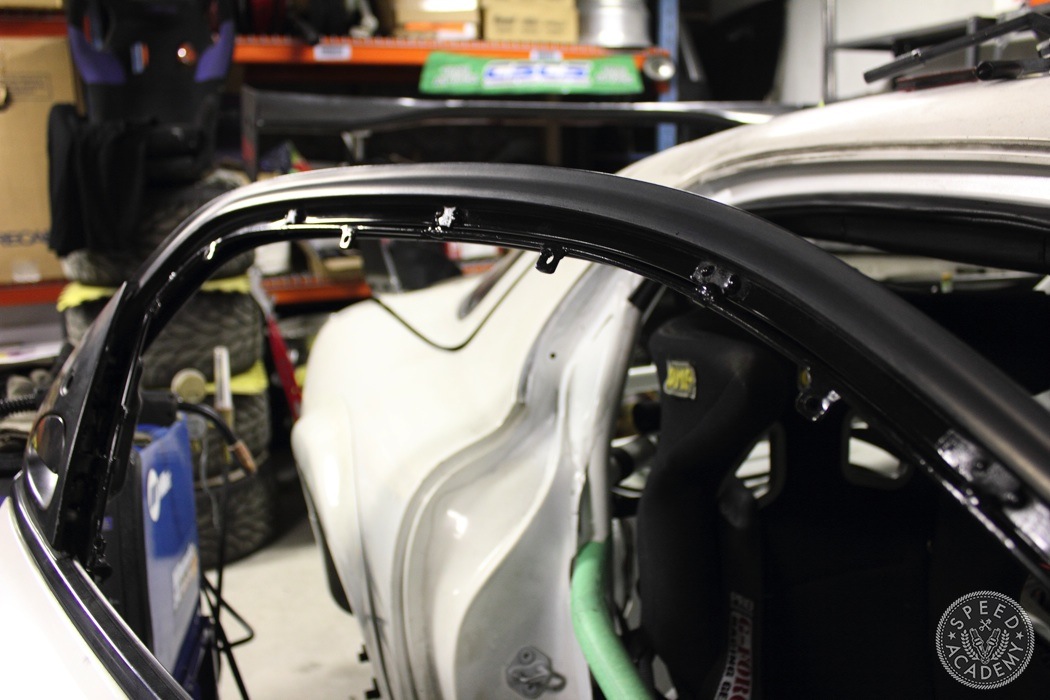
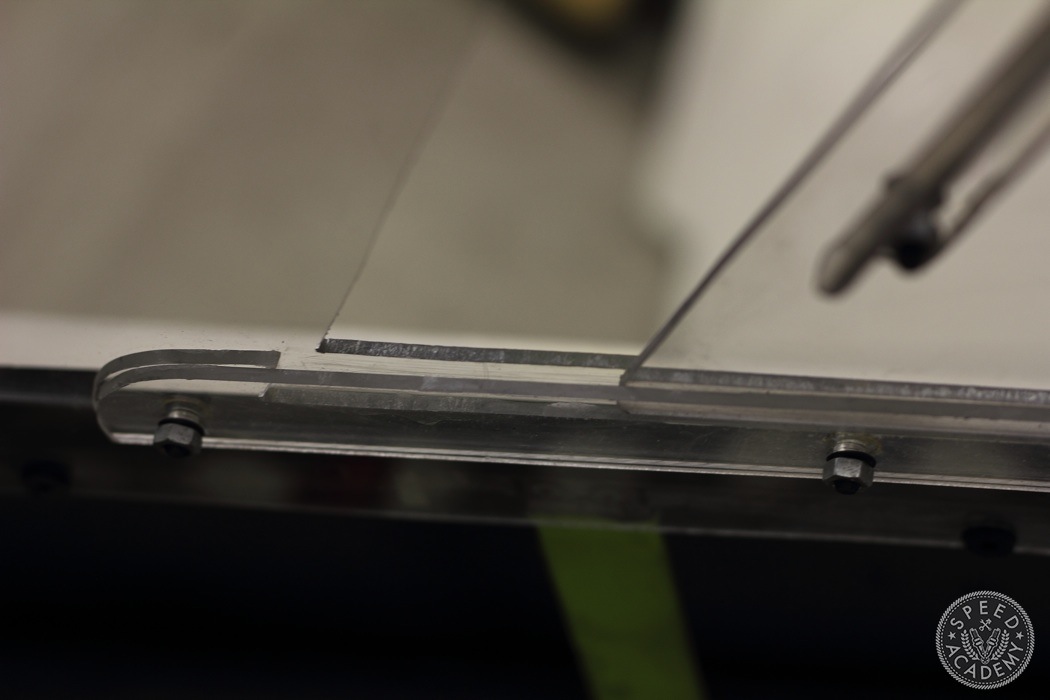
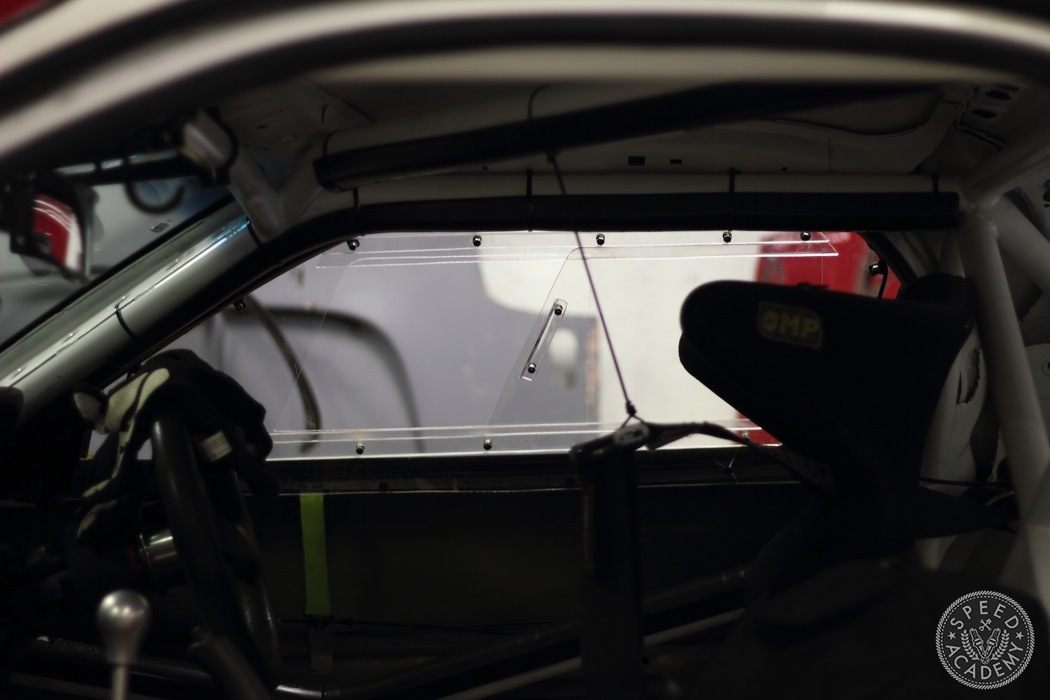
The new window was then set in place and drilled to line up with the mounting tabs.
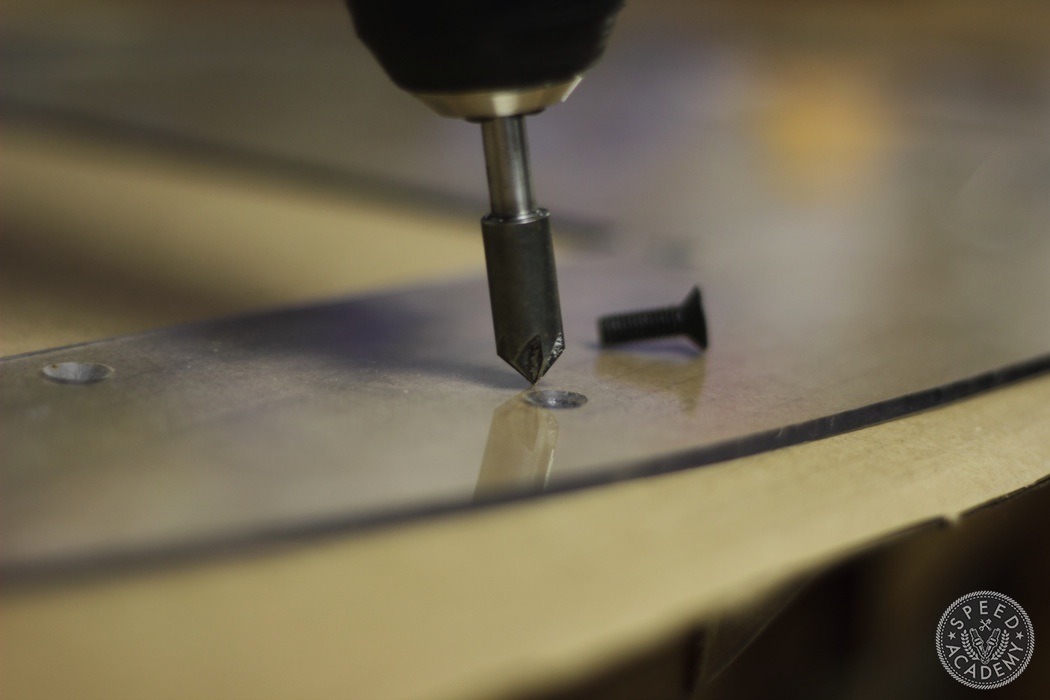
The bolt holes on the window were also counter sunk to allow tapered Allen head screws to be flush with the window surface. The bolts were then tightened just enough to secure the window. Do not over tighten Polycarbonate/Lexan as it expands with heat so allowances must be kept in mind for this. Also do not use Loctite on the bolts as it will eat thru the windows, Don’t ask us how we know because we learned the hard way. Instead, use nylon locking nuts.
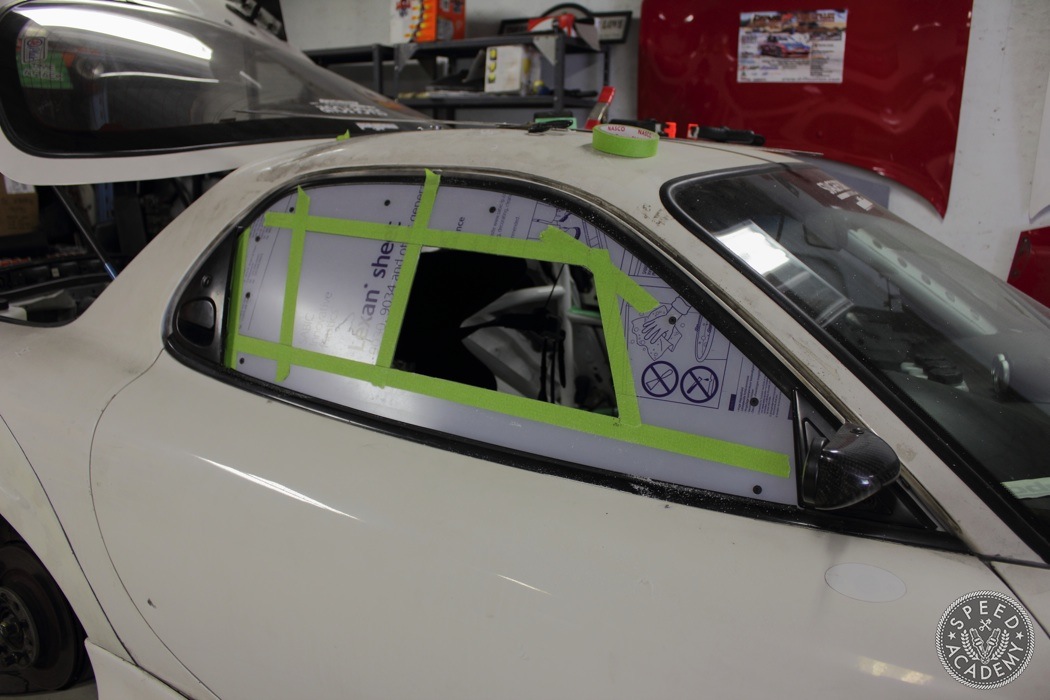
Now we move to the driver’s side lexan window. Having a sliding window is obviously more work but the air blowing into the cockpit will be a blessing on a hot day as well as drive thru excursions.
Remember to size the cut-out window with sliding tracks in mind. If you make it too big, there will be no room to actually mount the sliders inside!
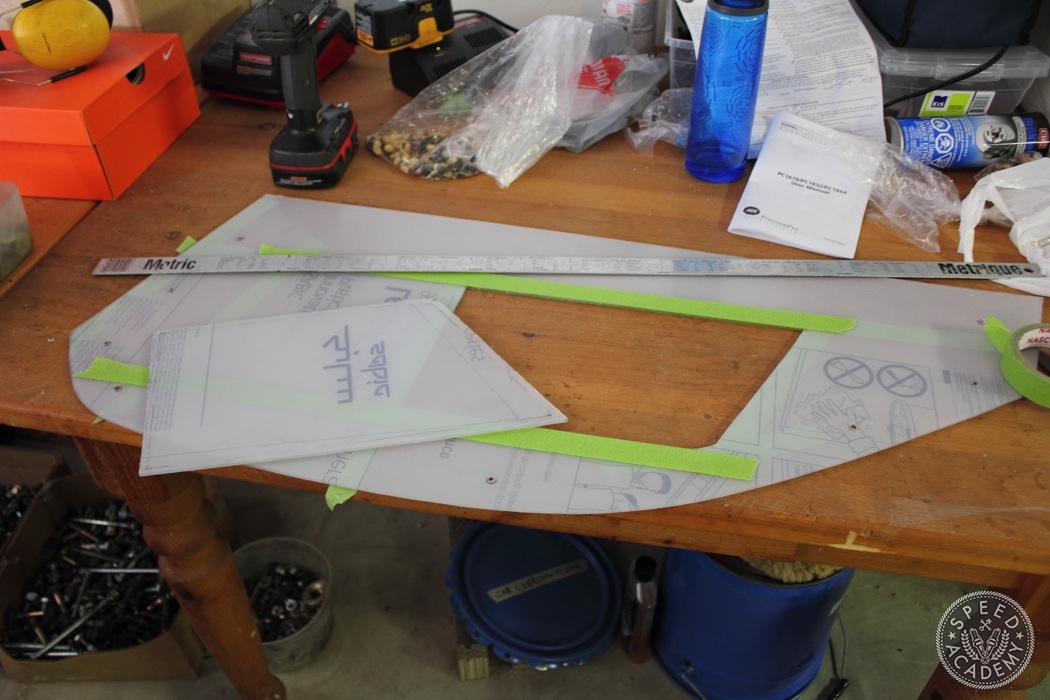
With the left over Lexan I traced the opening then added 1/2 inch all around the new window. This will ensure the window has plenty of material to slide forward and backwards on.
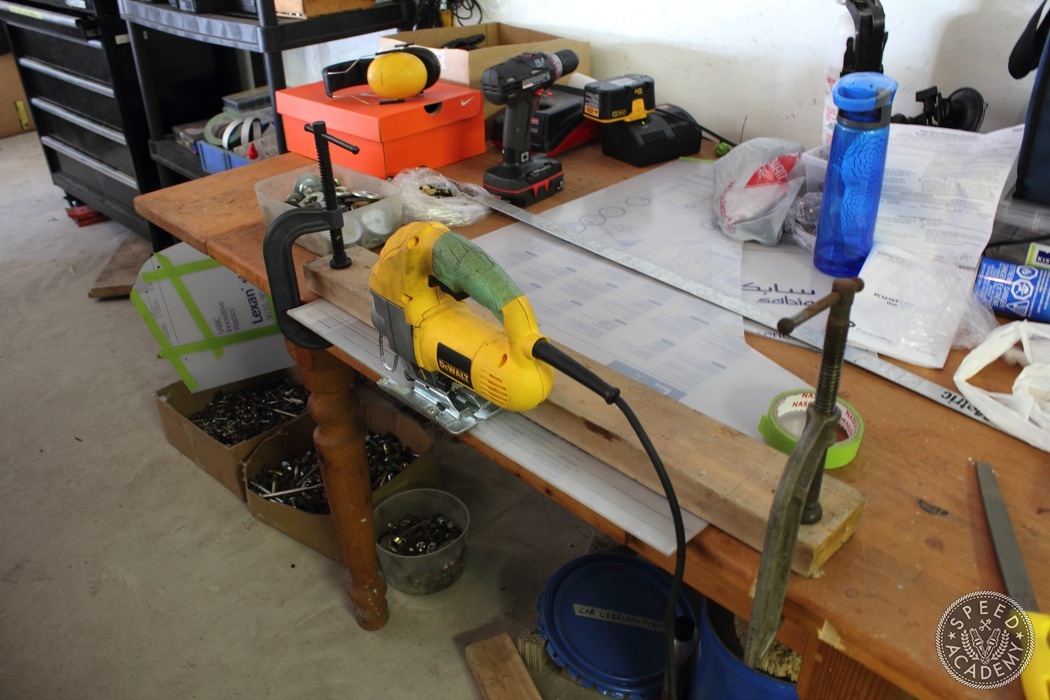
Check out my sweet cutting jig, it made cutting the sliders straight much easier. Here is a tip when using a jigsaw to cut Lexan, use a blade with higher number of fine cutting teeth. I found metal blades worked well. A medium cutting speed is the best way to go, any faster and the blade will melt the Lexan and that’s never good.
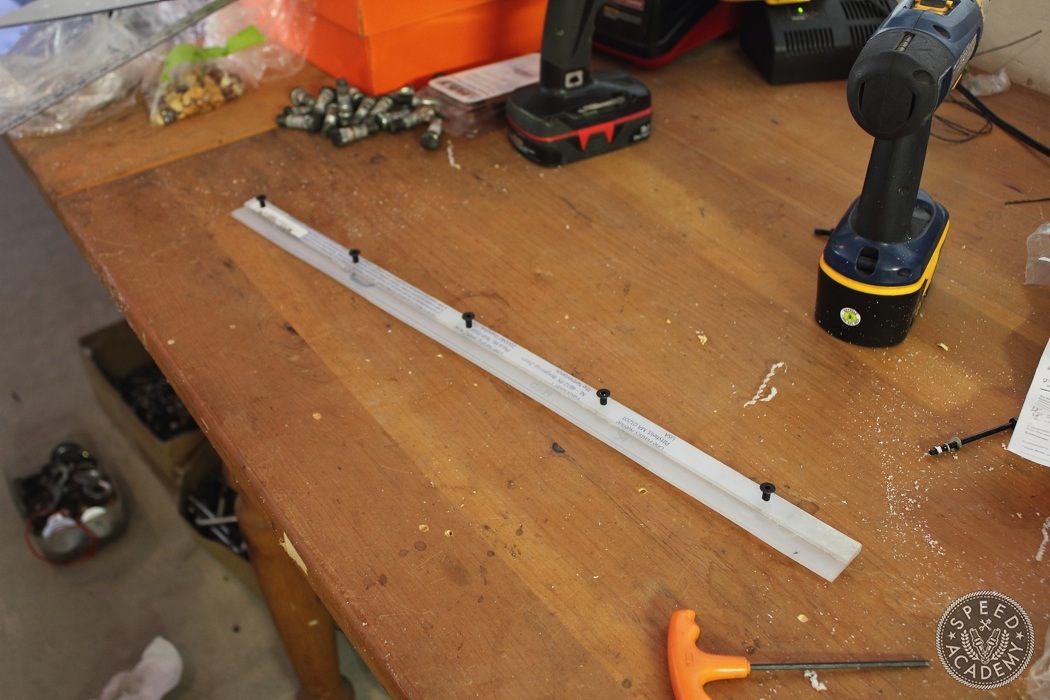
Cut two strips the same length but one has to be half the width of the other to serve as the middle track where the window will sit in. The smaller strip will be sandwiched between the interior side of the window and the wider track. You’re going to need two slider assemblies for the top and bottom of the window but that should be obvious.
To ensure a resistance free slide, mount the bottom slider first then the top so you can make the necessary adjustments to allow proper parallel alignment of the sliders. A picture is worth a thousand words so here is how it all goes together.

A handle was quickly whipped up by heating a rectangle piece of Lexan and then bending it 90 degrees. Like everything else, it’s bolted in place with allen bolts and nylon lock nuts.
Switching to the Lexan windows allowed me to save approximately 6lbs over the OE glass and power window assemblies. As well as being safer than the OE glass in an event of a crash. Plus it looks really cool when you can do this:
Speed Academy Disclaimer: Always consult your racing sanctioning body or rulebook first as modifying OE glass may move you to a different class.