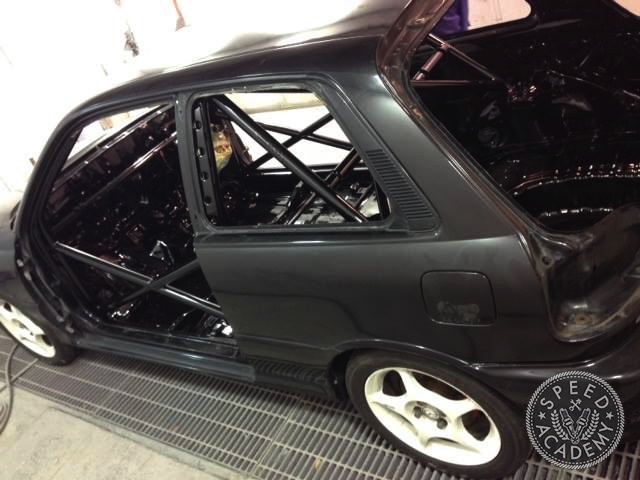
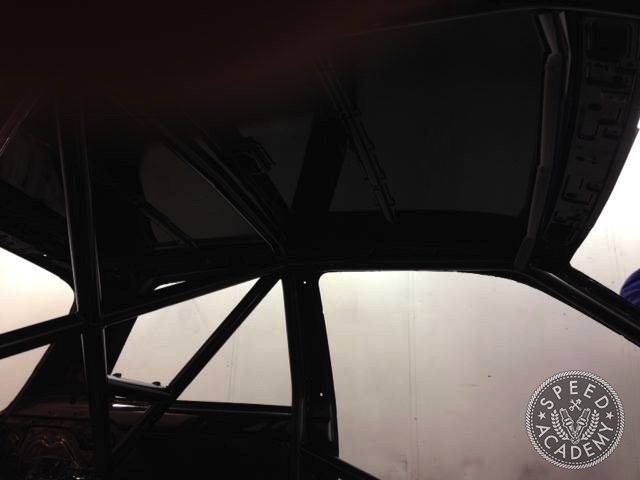
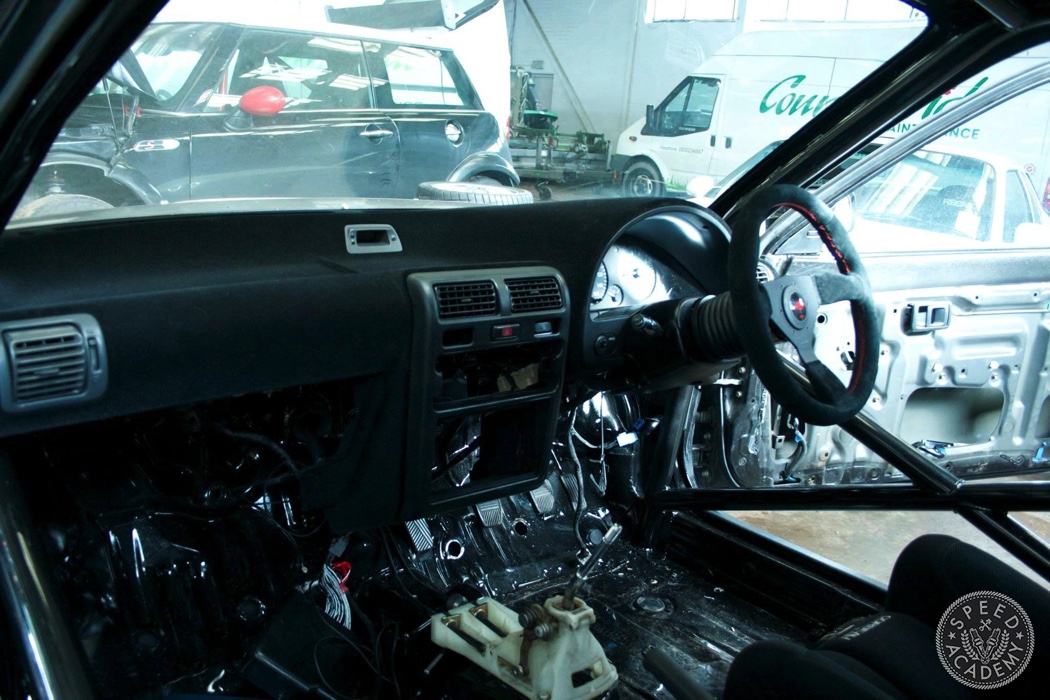
After some deliberation, I decided on matching black interior paint, which at the time felt like the right thing to do. I now wish I’d chosen a lighter colour, perhaps a grey. Not the end of the world, it still looks great.
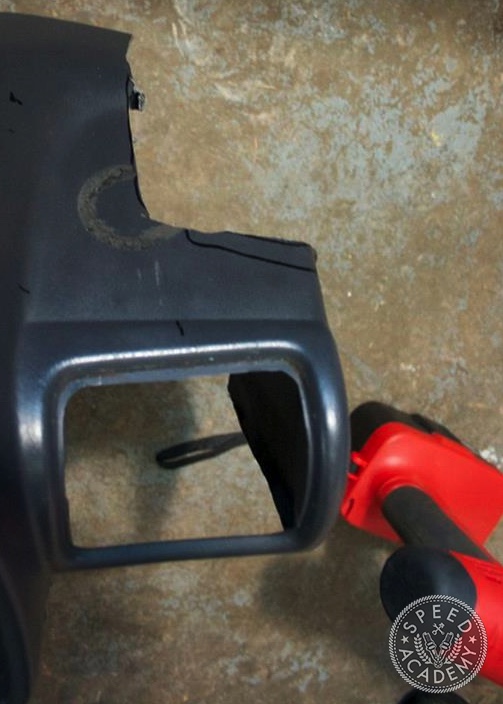
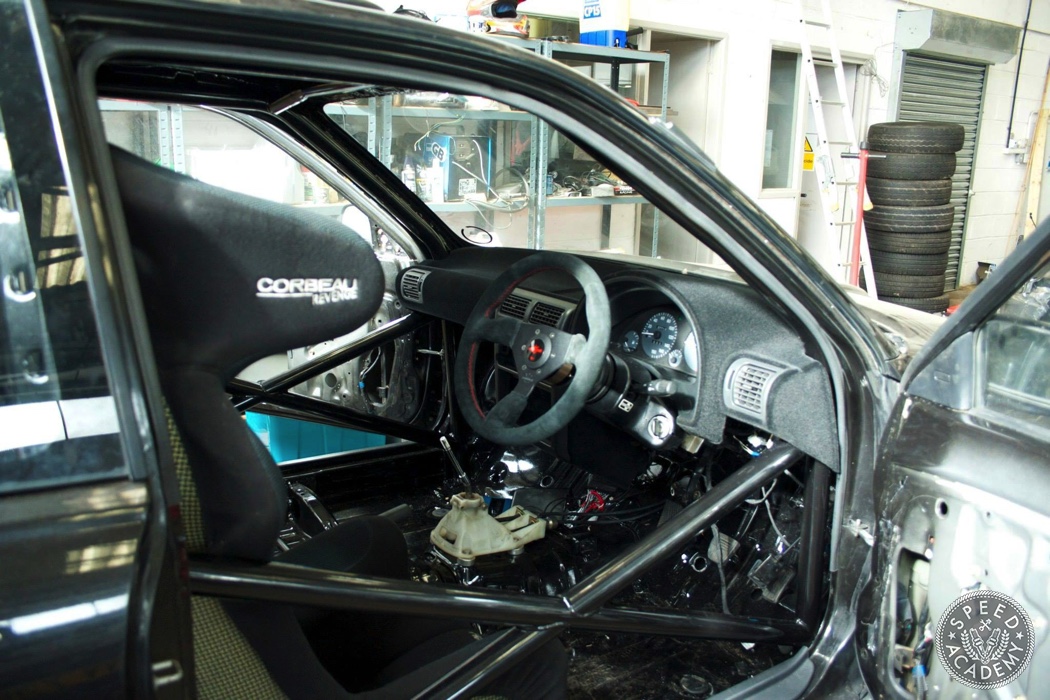
With the car painted, it was finally time to start putting it back together. First I would have to modify the dashboard to fit around the roll cage. My first attempt was a complete failure and would end up costing me a dashboard.

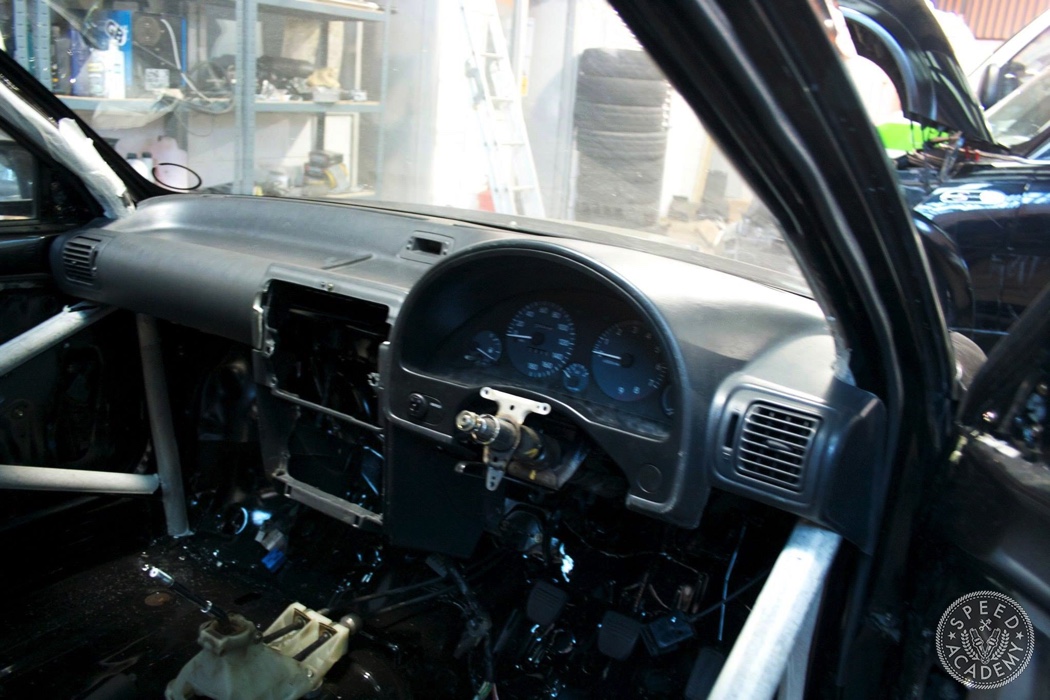
My second attempt was much more successful. What’s that they say, measure once cut twice?! No, wait.
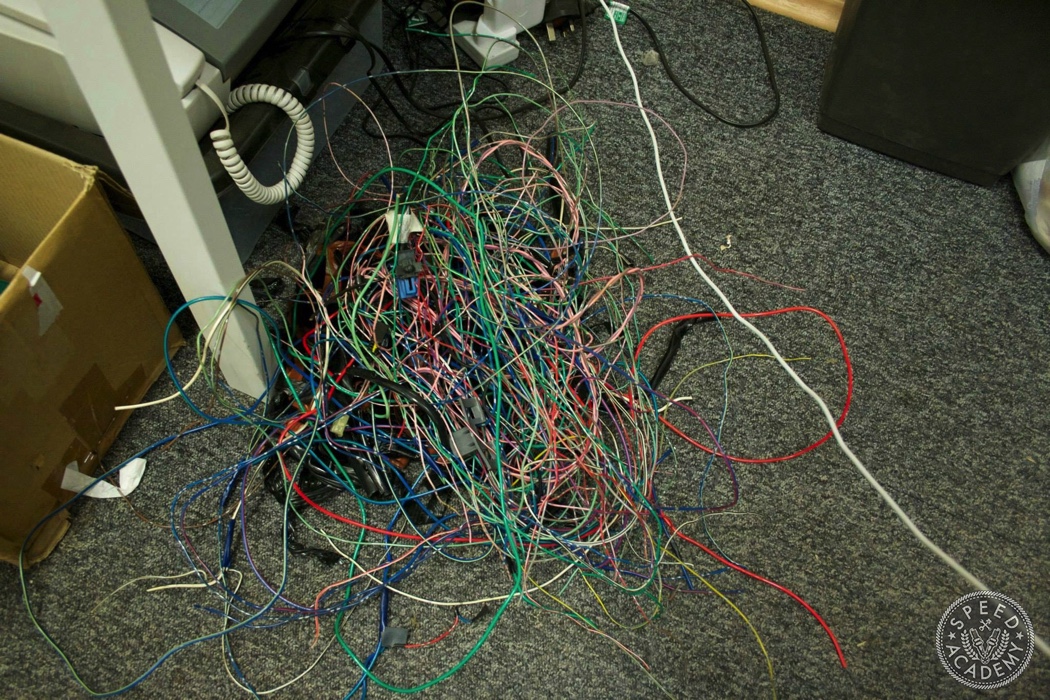
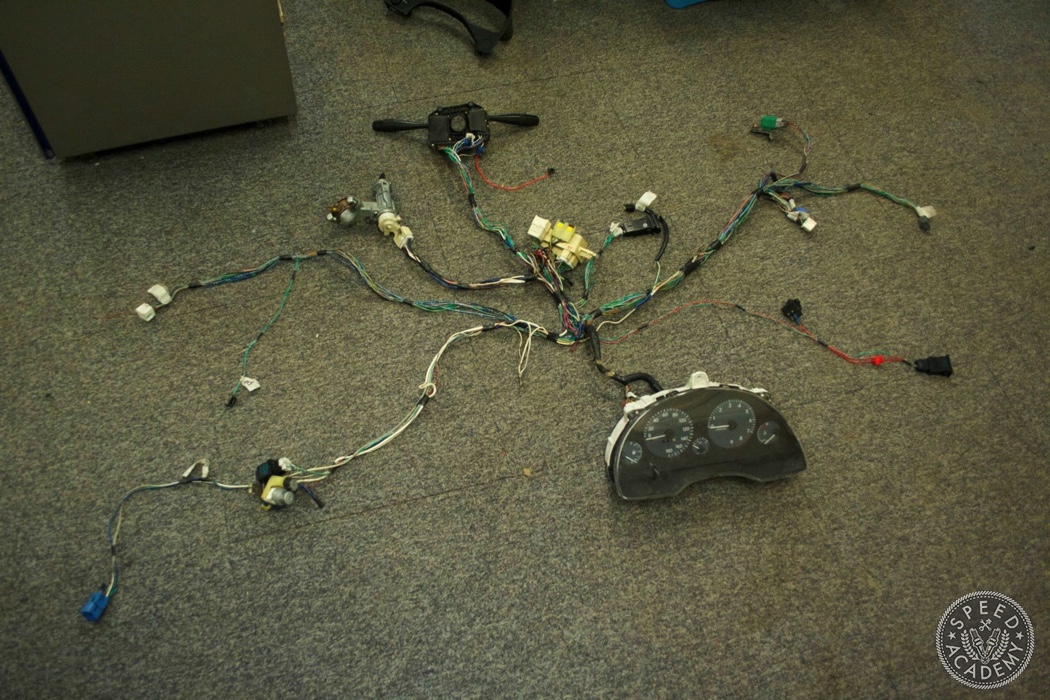
Next, I attacked the interior wiring loom, trimming any wiring and connectors that I wouldn’t need. There are a number of electrical items I would no longer require, power windows and door mirrors, interior lights, HVAC, etc.
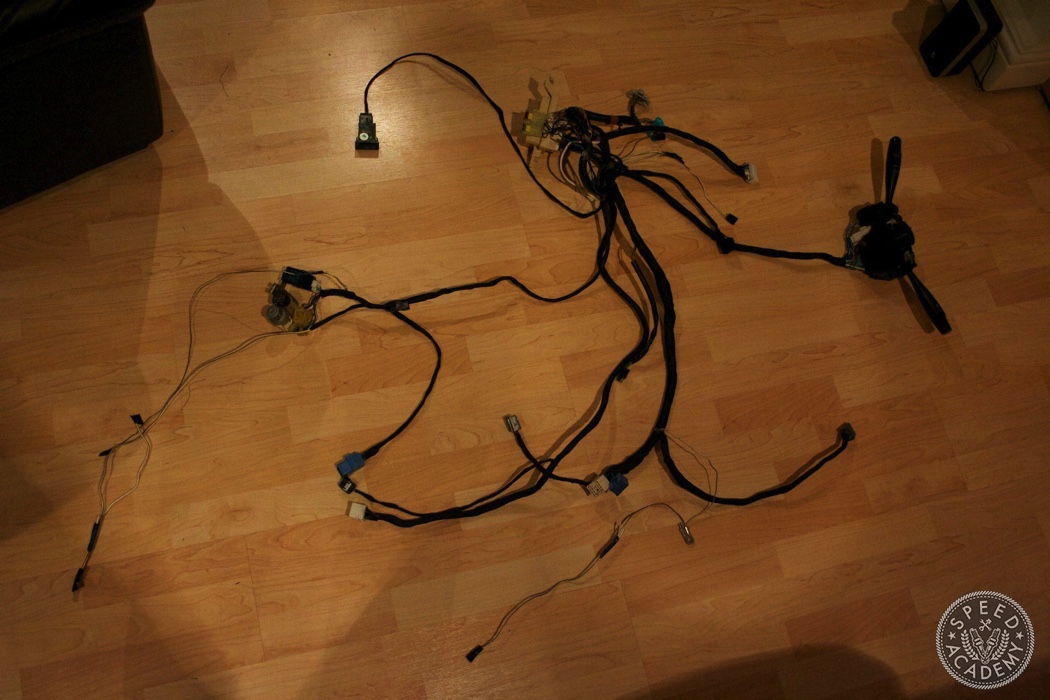
I laid the harness out, followed some wiring diagrams and ended up with a lighter, neater wiring loom.
With the wiring complete it was off to Banbury Flocking Services, who did a brilliant job making the dashboard fluffy and glare resistant. A little old school perhaps, but there’s just something proper about a flocked dashboard, or is that just me? (Editor’s Note: check out our story on how to flock a dashboard if you’re interested in doing it yourself).
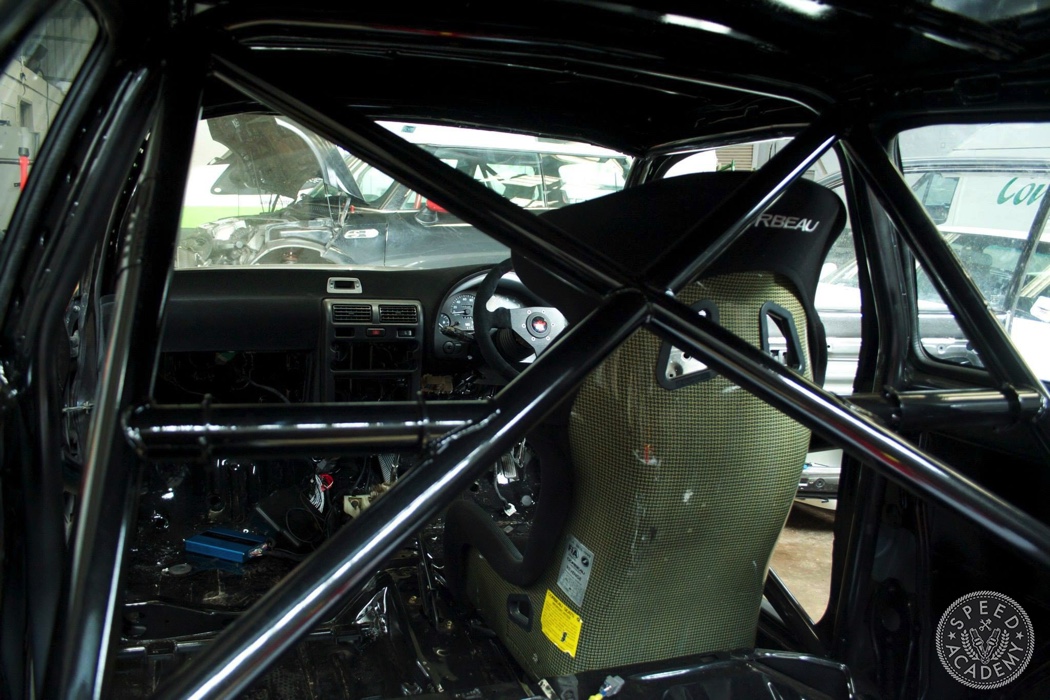
You’ll also notice the addition of a Corbeau Revenge seat, and a Personal Neo Grinta wheel, the car’s interior was slowly but surely becoming more and more track focused. I picked up a large sheet of carbon fibre from ABS Motorsport, with the aim of using it around the car to neaten things up.
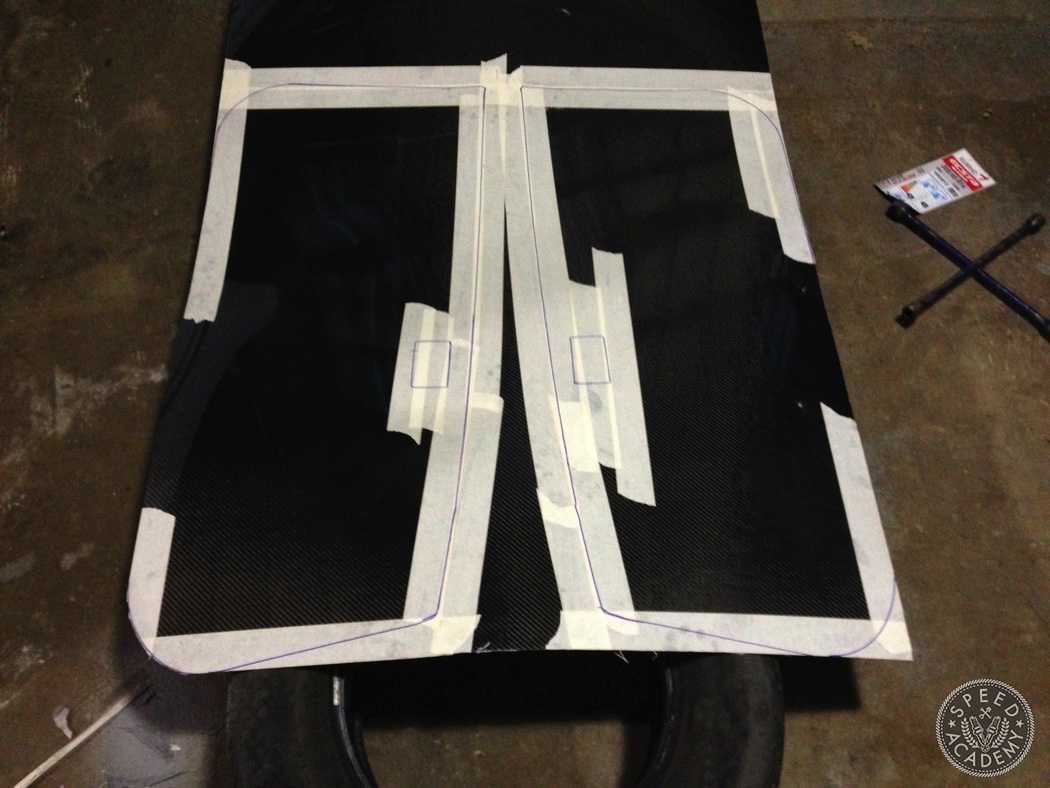
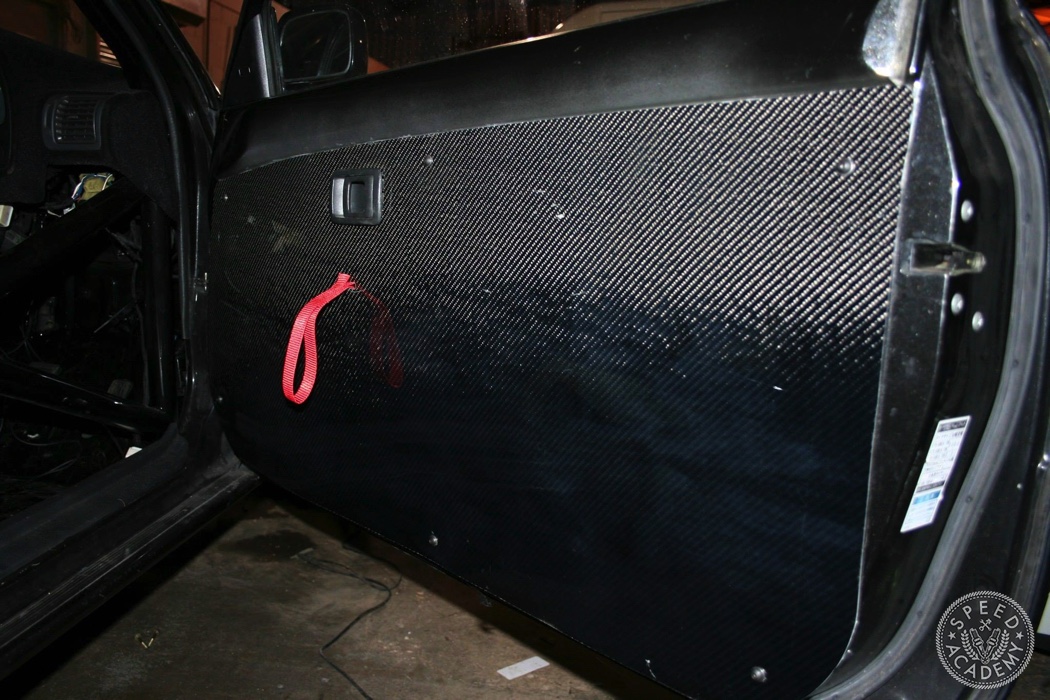
Once the door panels had been cut and mounted, I got on with creating a small switch panel. This would also house a couple of Defi BF gauges, an Innovate wideband gauge and a kill switch.
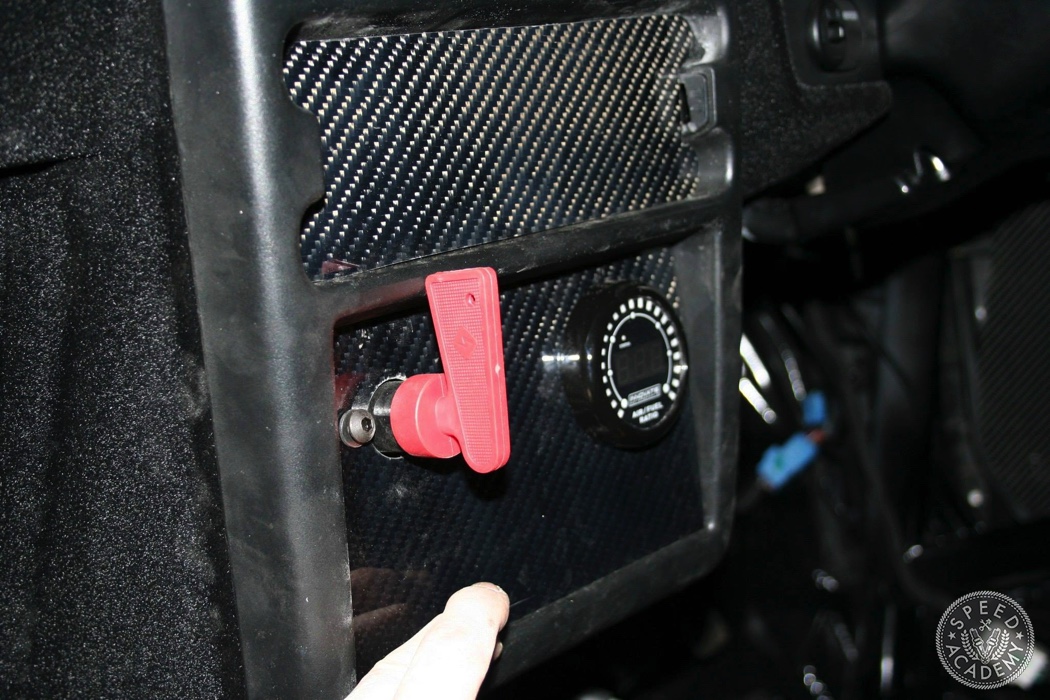
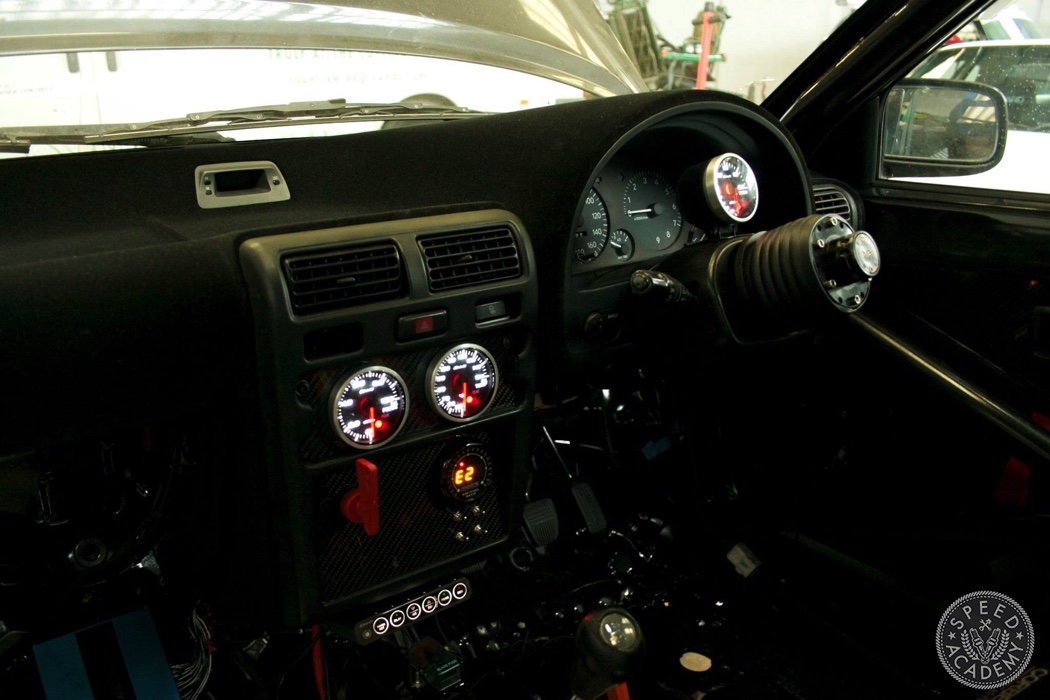
Learning from past mistakes, plenty of measurements were taken, and I ended up with something that looked pretty neat.
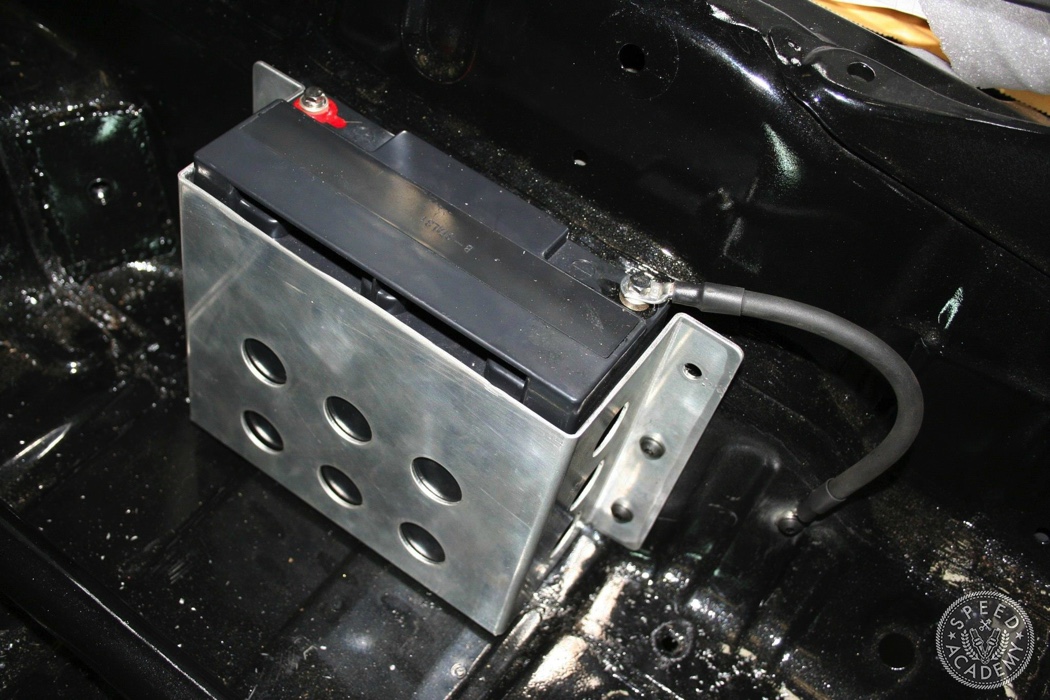
I also relocated the battery to just behind the passenger seat. I chose to move to a smaller lightweight race (read, golf buggy) battery, which is wired to the internal FIA kill switch.
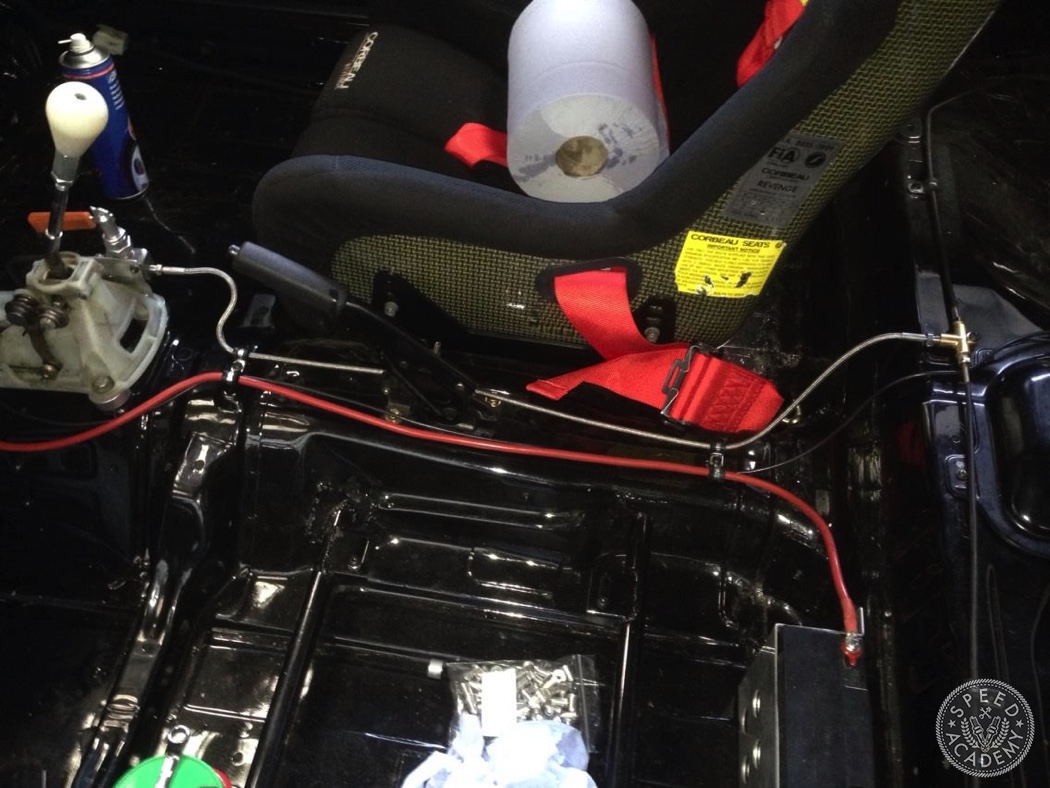
I also added an adjustable brake bias valve to the now inboard rear brake lines, and a red FIA approved 6-point harness.
Now the inside of the car is complete, it’s time to start looking at fluids, namely the oil and fuel systems, which is where I’ll learn never to use cheap fittings again! We’ll pick up from there next time…
EP82 Toyota Starlet Race Car Build Part 1 – Introduction
Hey mate sweet car! Was just wondering if the starlet originally ran twin rear brake line line a my ae101 track car? Looking at setting up a brake bias valve and just wanna know if it was ok swapping it back to a single line.
Kind Regards Jason.