

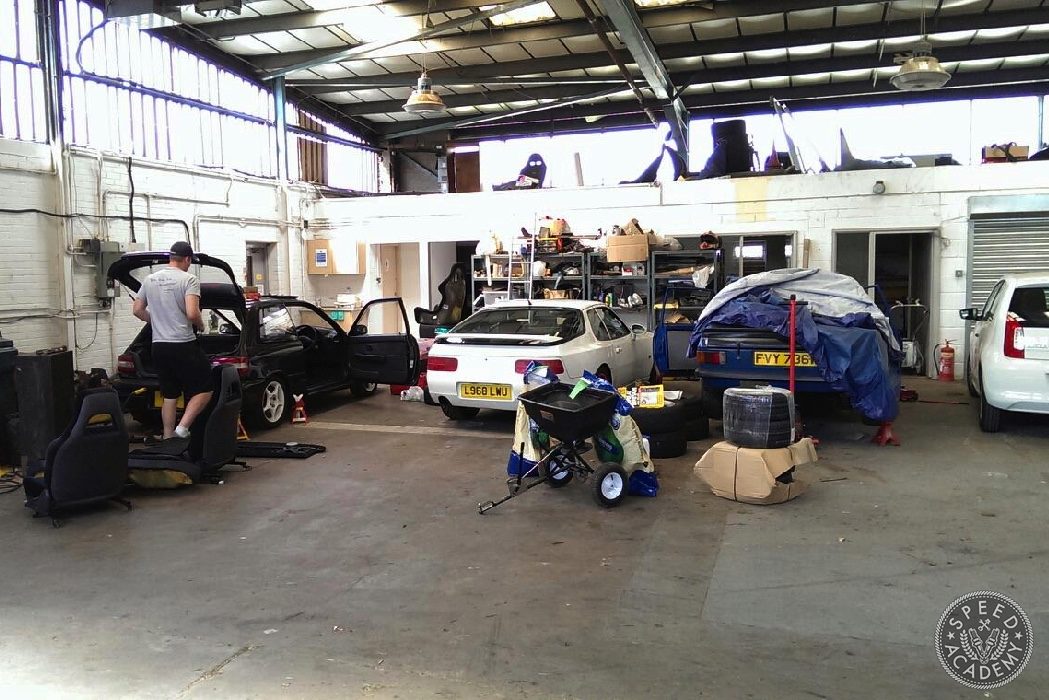
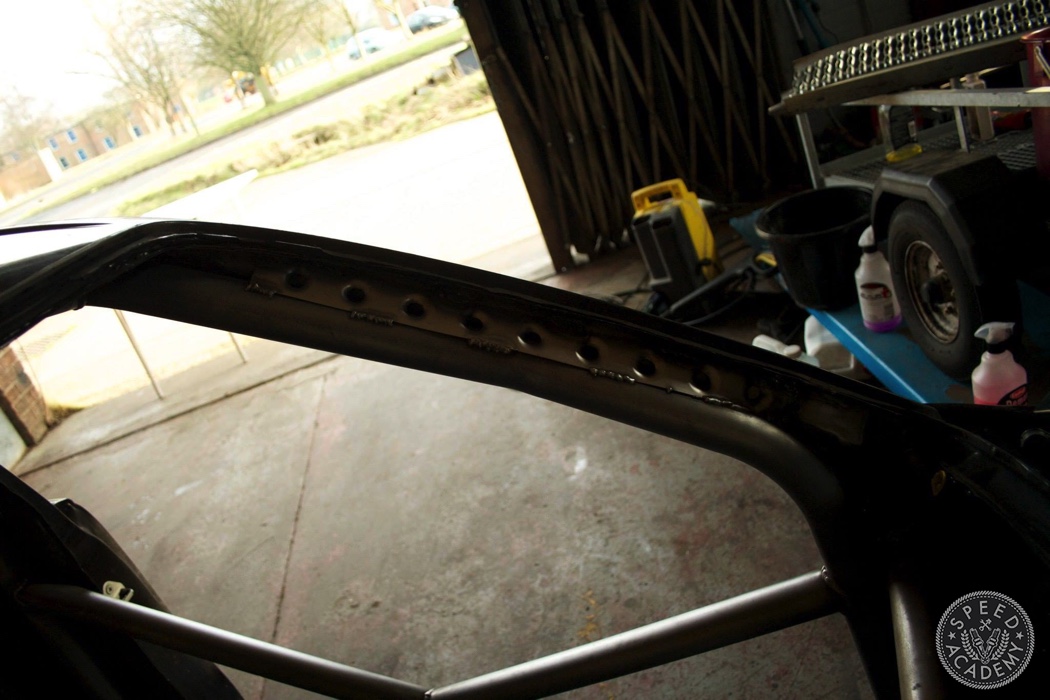
With the car now parked in good company (Porsche 968, MK2 Ford Escort, not forgetting the Skoda Citigo), it was time to get to work. The interior plastics, wiring, sound deadening, and fuel system needed to be removed before I could take the car over to Custom Cages, to have them install one of their 6 -point Clubman weld-in roll cages.
Before I continue on, I think an apology is in order. Let’s just say, I’ll never profess to be Larry Chen equal when it comes to capturing a photograph. But early on in the build, my weapon of choice was an iPhone4, and as such, some of the photos are potato grade poor, rotten potato at some points. All I can say is, I promise you they’ll get better as the build progresses.
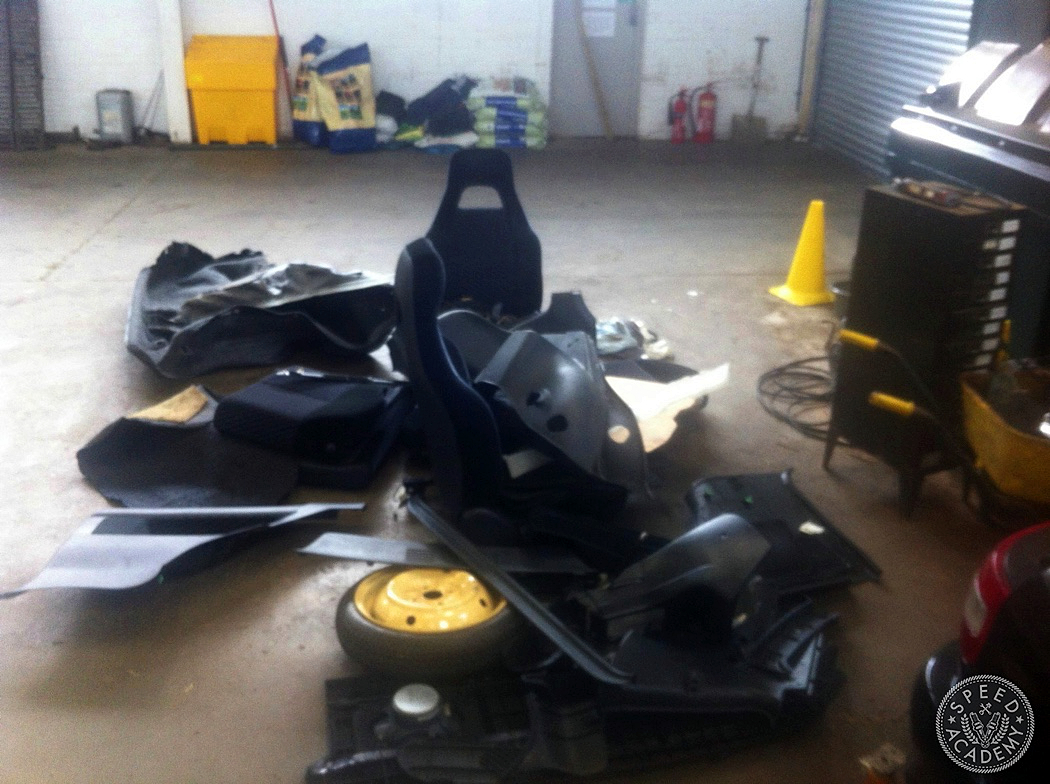
With that said, if Gran Turismo has taught me anything, the first thing you do whenever building a race car is ditching the interior, including the space saver spare tyre.
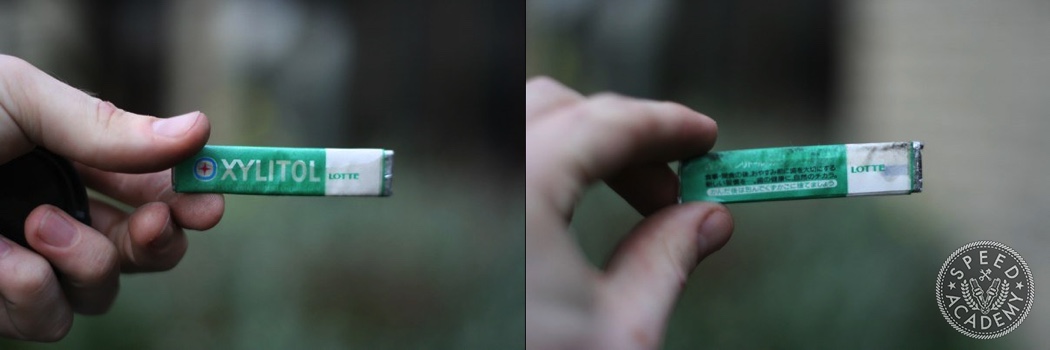
A pretty simple process, and unfortunately as I am not the first owner in the UK, I didn’t find any JDM paraphernalia. In the past, I’ve come across Japanese coins, cigarettes, and even this stick of gum I found in my Nissan Pulsar GTiR. (and no, I didn’t chew it, but I did keep it in the car as a bit of a good luck charm…didn’t work!)
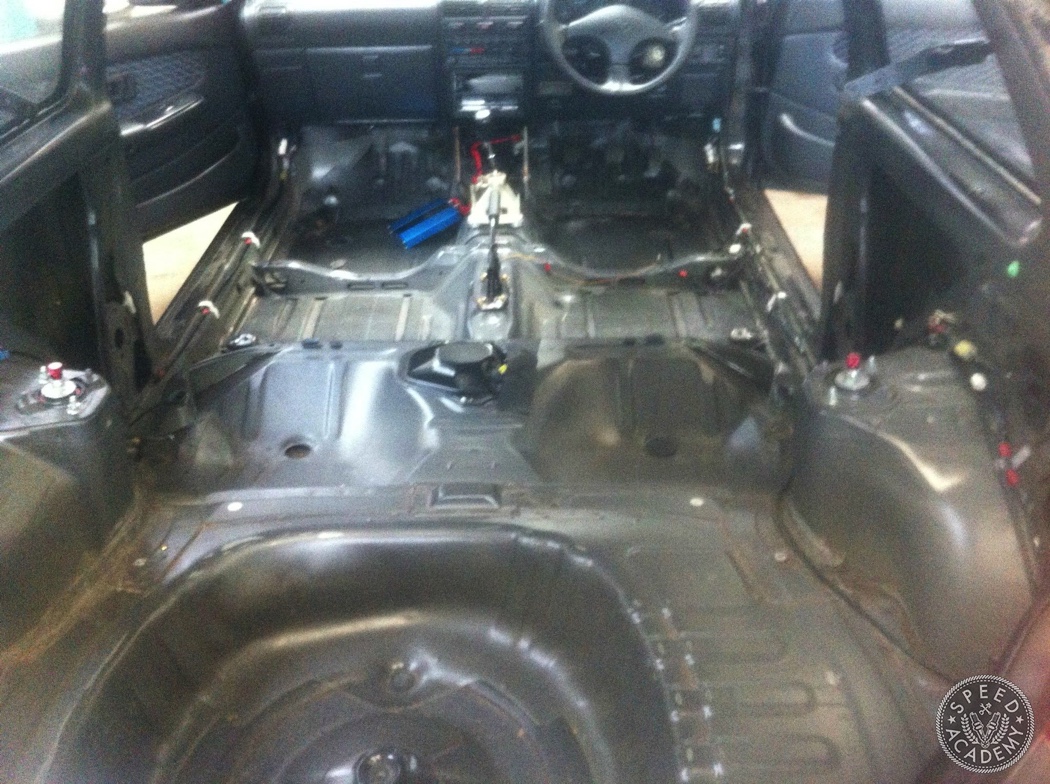
With all the interior removed, I was ecstatic with how clean the car appeared. Many imported cars are not protected against the salt our local authorities like to spread during winter months. This often results in horrific corrosion, no sign of that here, a big relief.
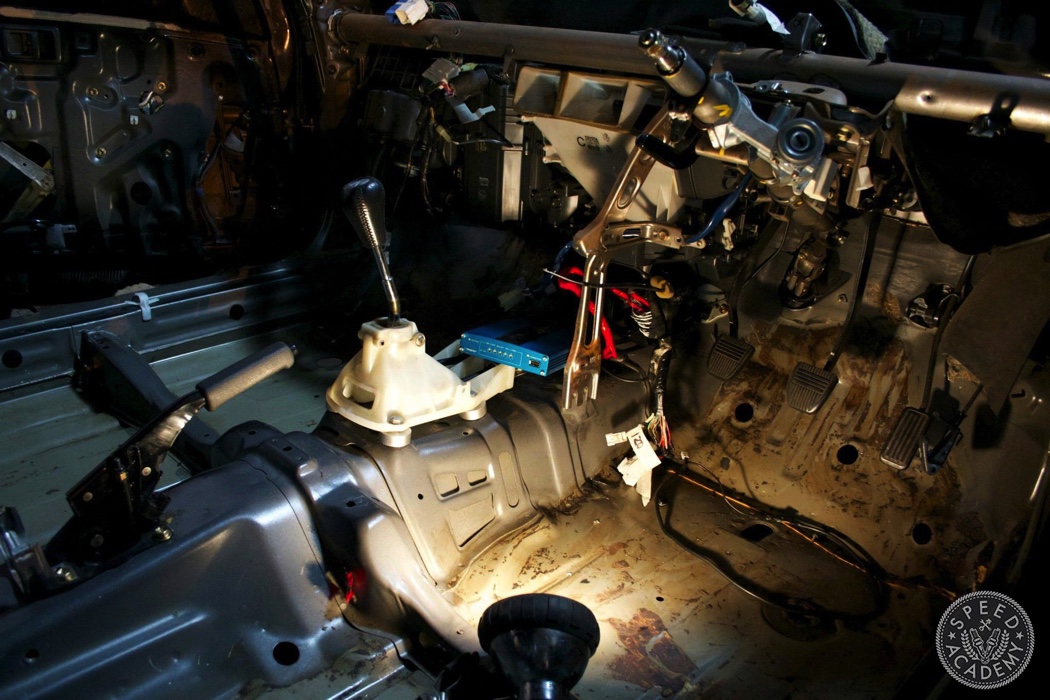
Once the interior had been unbolted, next on the list was to remove the factory tar type sound deadening. A job I’ve done a couple of times now, but one that never gets any easier. Dry ice is pretty hard to come by over here, so my method involves a heat gun and a paint scraper; it takes forever! Bagged up, it amounted to around 5-kg or 11-lb, not massive, but it all adds up. Then the dash came out, along with anything related to the HVAC system, and finally the interior wiring loom.

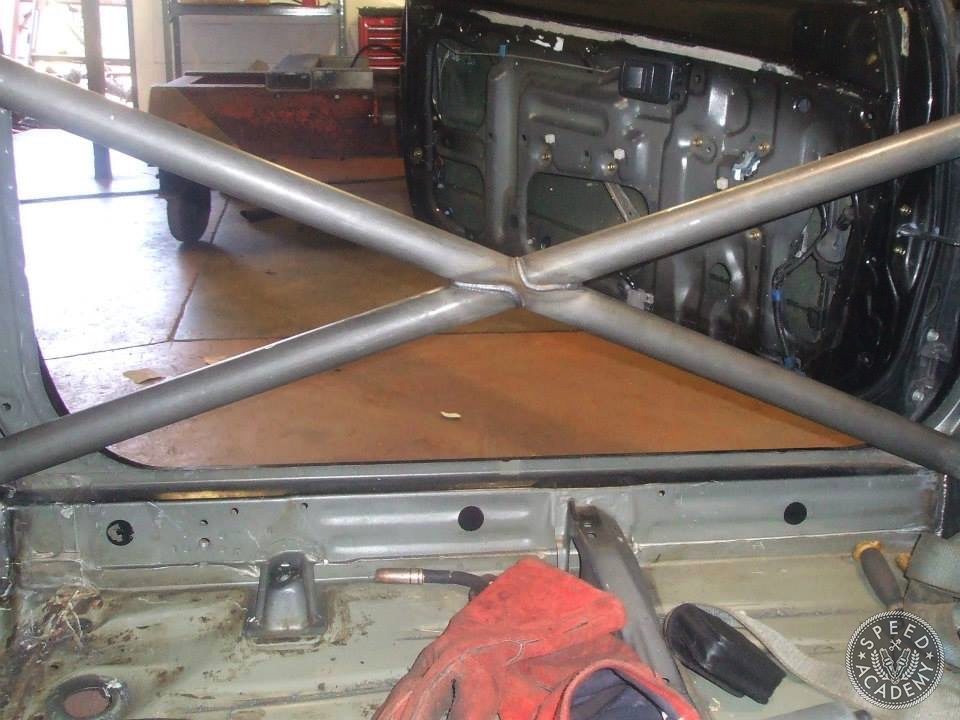
With that done, the car was finally ready to be taken to Custom Cages, and within a week, it was ready to be collected again. Great service, if a little surprising, given their initial quote indicated at least 10 days of work.
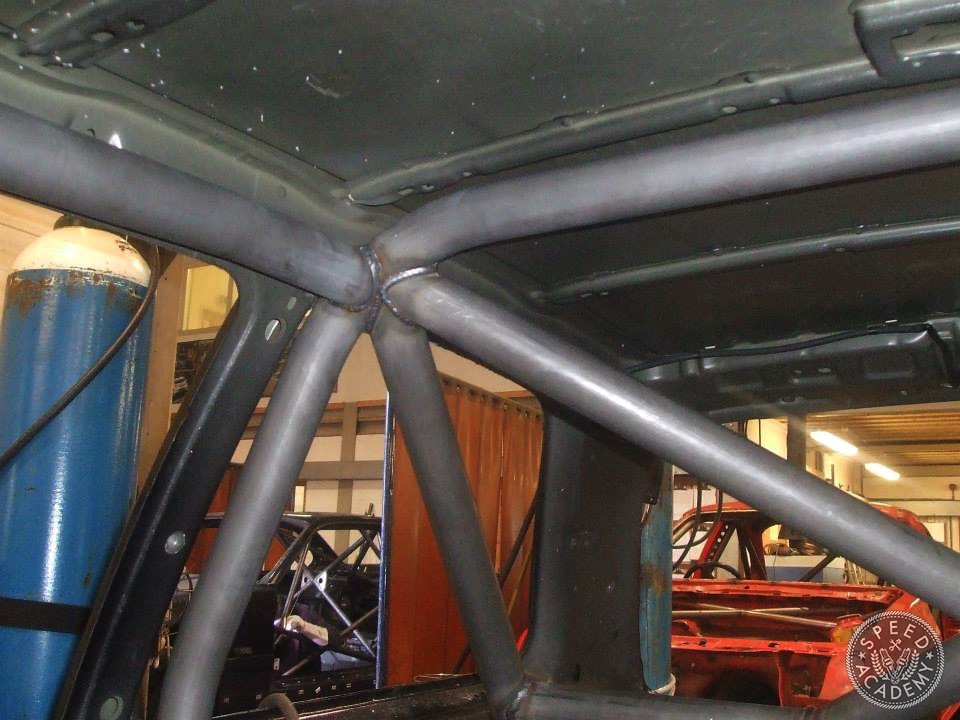
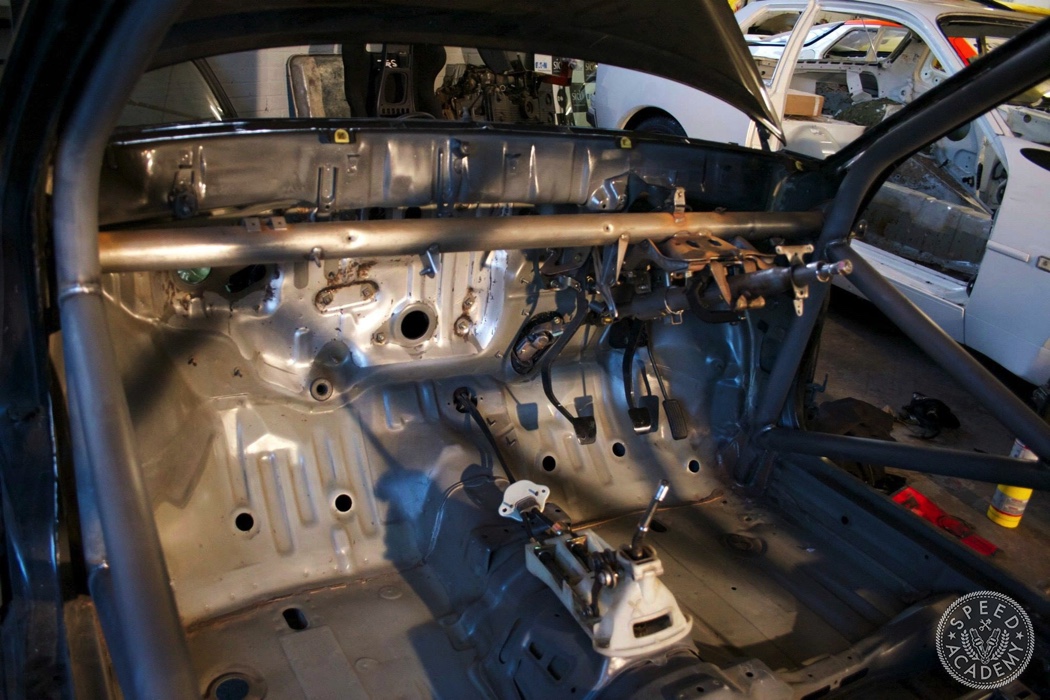
I should now confess, I can’t weld. I’ve tried, and it’s really difficult. That, among some other reasons, is why I’d choose to pay to have the roll cage installed by professionals. This array of tubes, bends, and triangles might one day have to save my life. It would be one of only a couple of things I’d not do to the car myself, and I’m OK with that.
From Custom Cages, the car was taken over to Podium Prep, who is owned and operated by a friend of mine. Andy would continue the car’s fabrication, by adding a pair of bucket seat mounts and gussets to both the A and B pillars.
I then spent the day, no, the afternoon (I overslept) helping prepare the interior for paint. Lots of scrubbing with Scotch-Brite left me with an interior good enough to eat off. Told you it was clean, not bad for a 20-year old car, right?
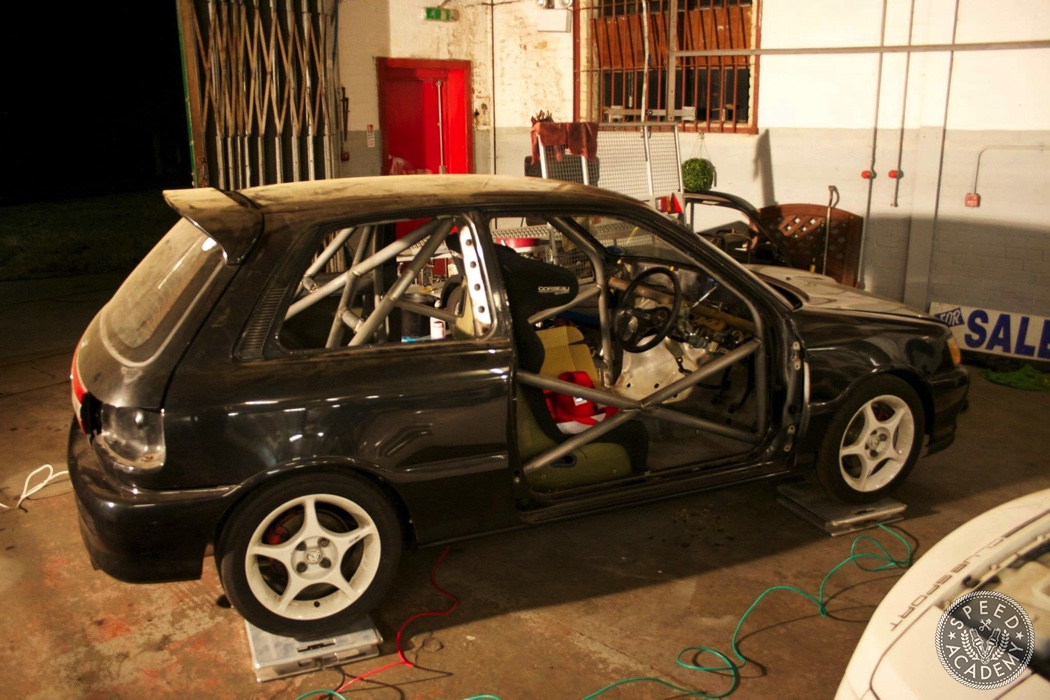
Before I left, we quickly threw the car on the scales to get an idea of what it might weigh. There are parts missing, namely the doors, rear quarter glass, and some other small bits. But there was enough of the car there to give us a ballpark figure.
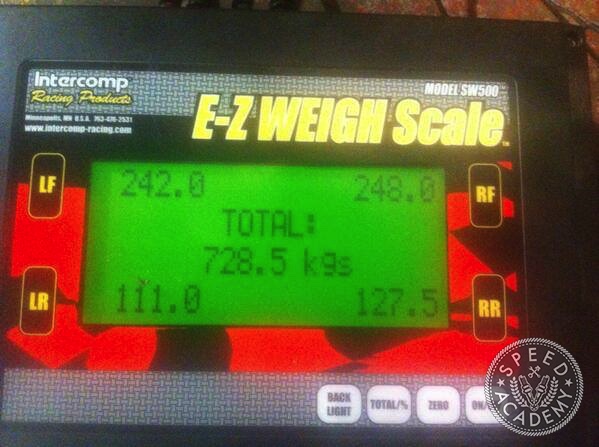
Pretty light then? Both Andy and I guessed at around 800-kg/1765-lb. The doors were later weighed including glass and power window mechanism at around 50-kg for the pair, I’d guess the dashboard, chassis harness and other sundries weigh around 10 to 15-kg. Our guess wouldn’t be too far off then, taking into account doors, wiring, and some paint.

Hey mate sweet car! Was just wondering if the starlet originally ran twin rear brake line line a my ae101 track car? Looking at setting up a brake bias valve and just wanna know if it was ok swapping it back to a single line.
Kind Regards Jason.