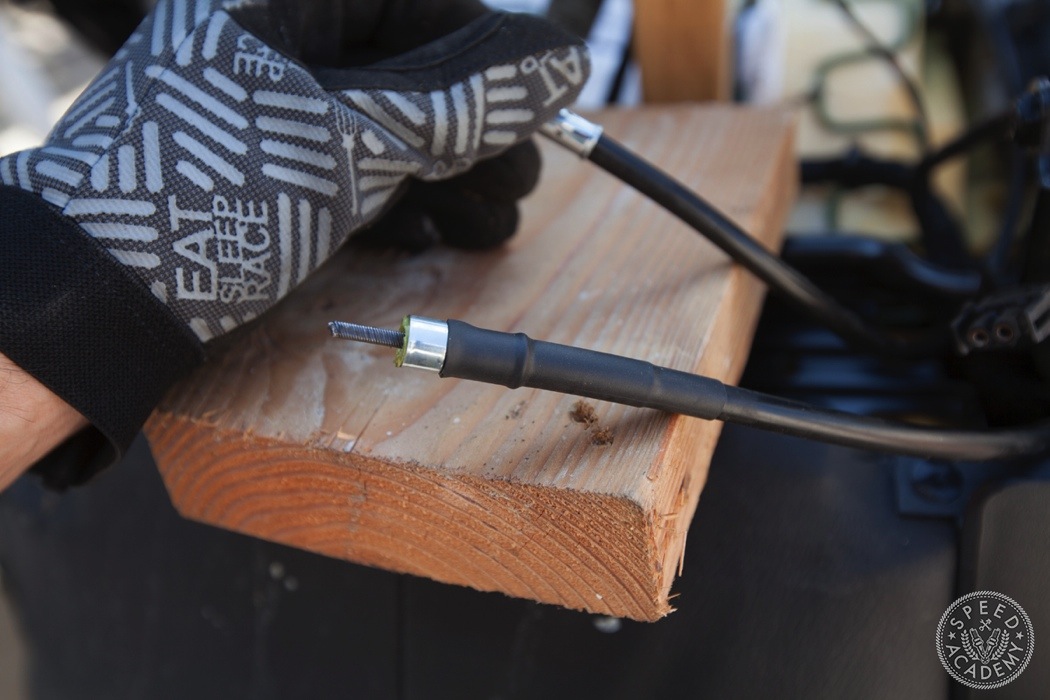
I added one more shrink tube just for good measure. You really don’t want to do this job twice so it can never hurt to use two pieces of shrink wrap. I’ve seen people use electrical tape here and I’d really suggest against it. Electrical tape has a tendency to loose its effectiveness over time and can peel off afterwards.
Onto the second, quicker and simpler method.
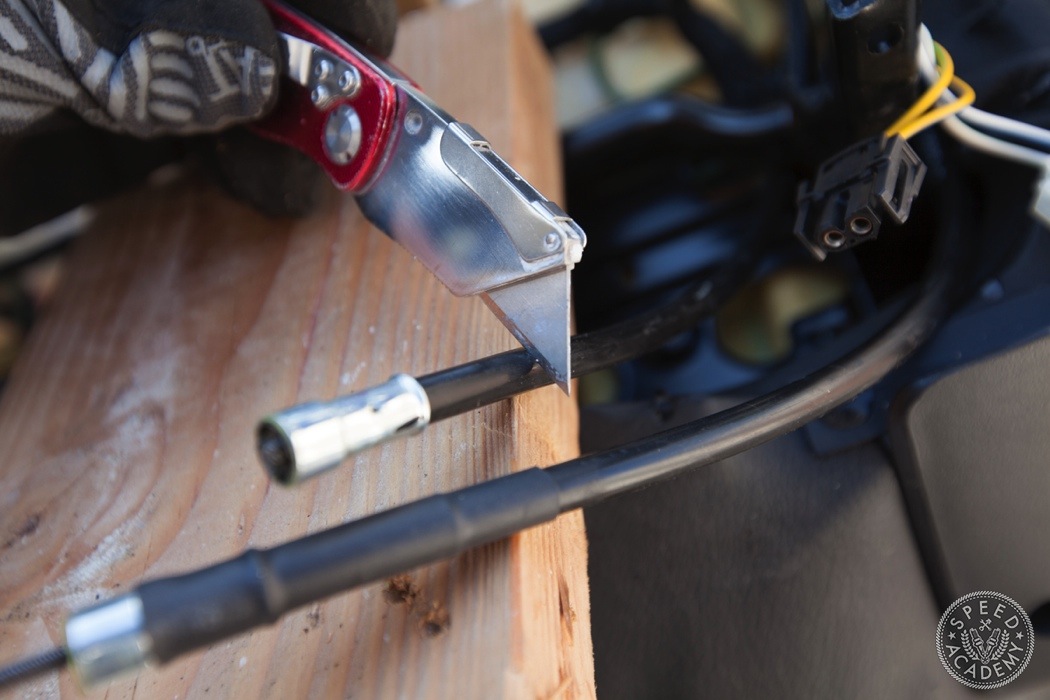
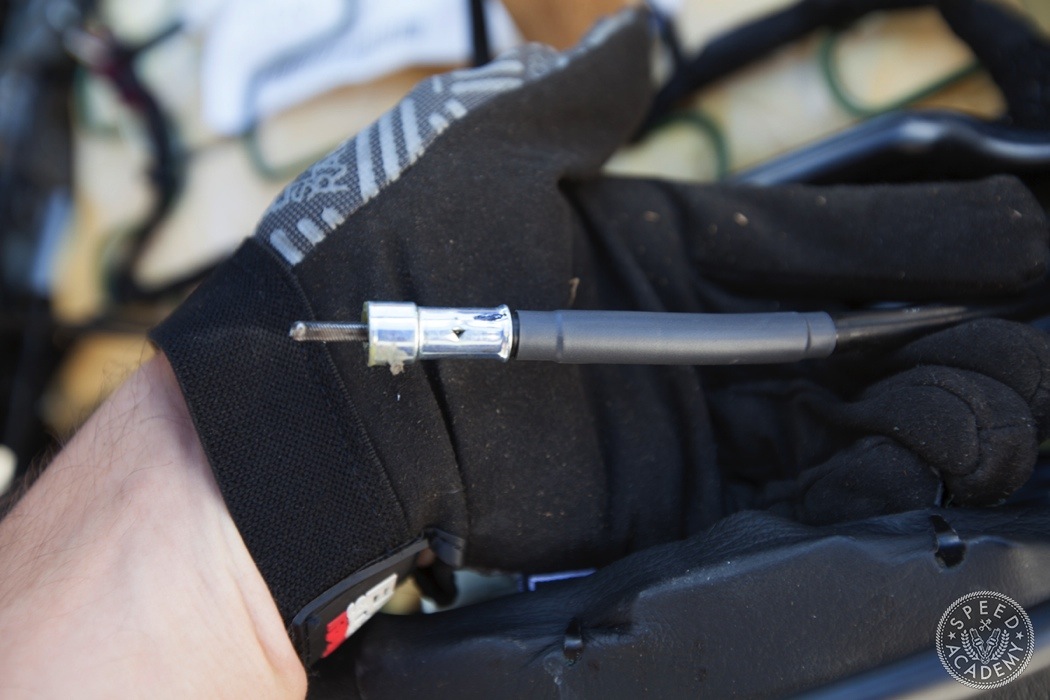
Instead of cutting the metal head off right at the base, I cut the plastic sheath about an inch and a half away from it.
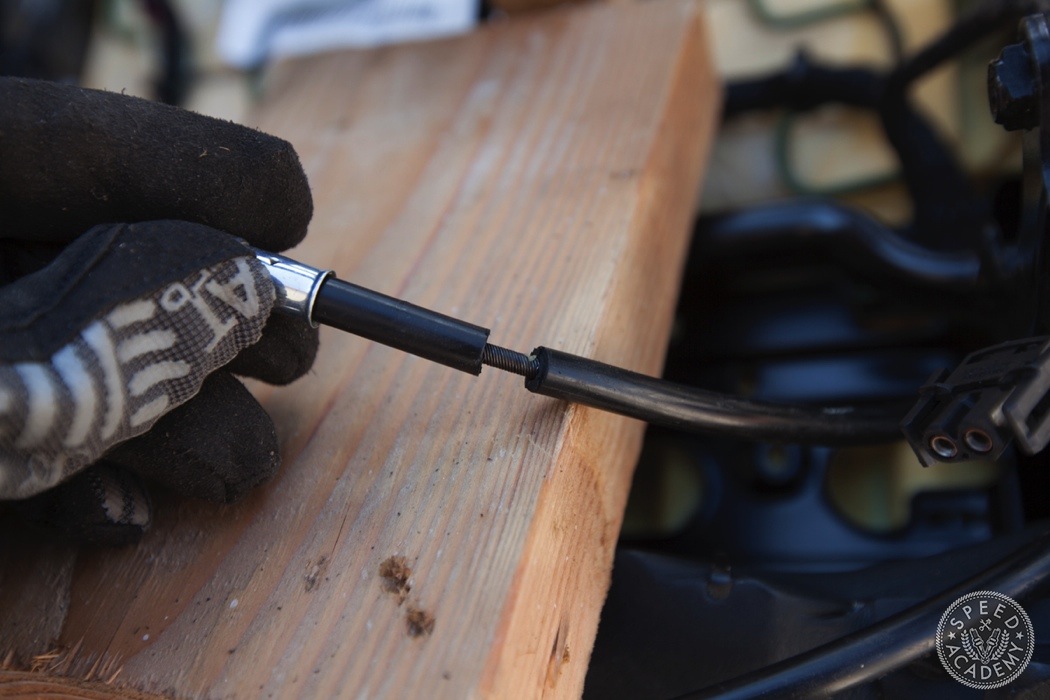
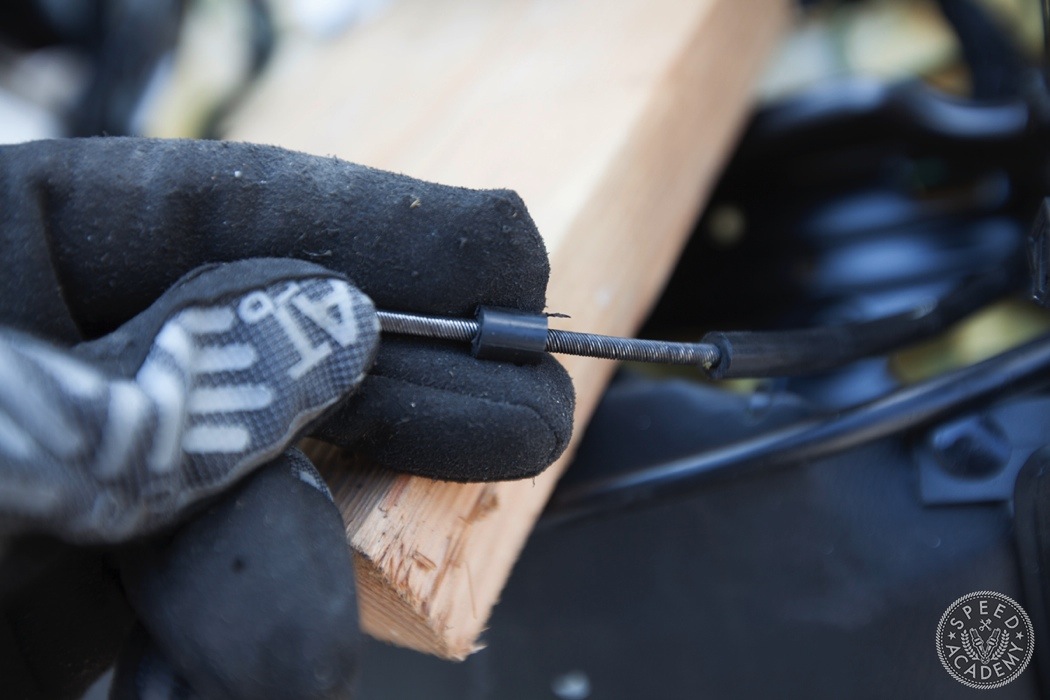
I removed then used the knife to cut another half an inch of plastic off.
And slid the metal head back on and shrink wrapped the split joint (twice) for a perfect seal and fix. I tugged at the metal end to see if I could get the plastic to separate and slide out of the shrink tubing but it’s in there solid so I’m convinced it’s going to last for many, many years.
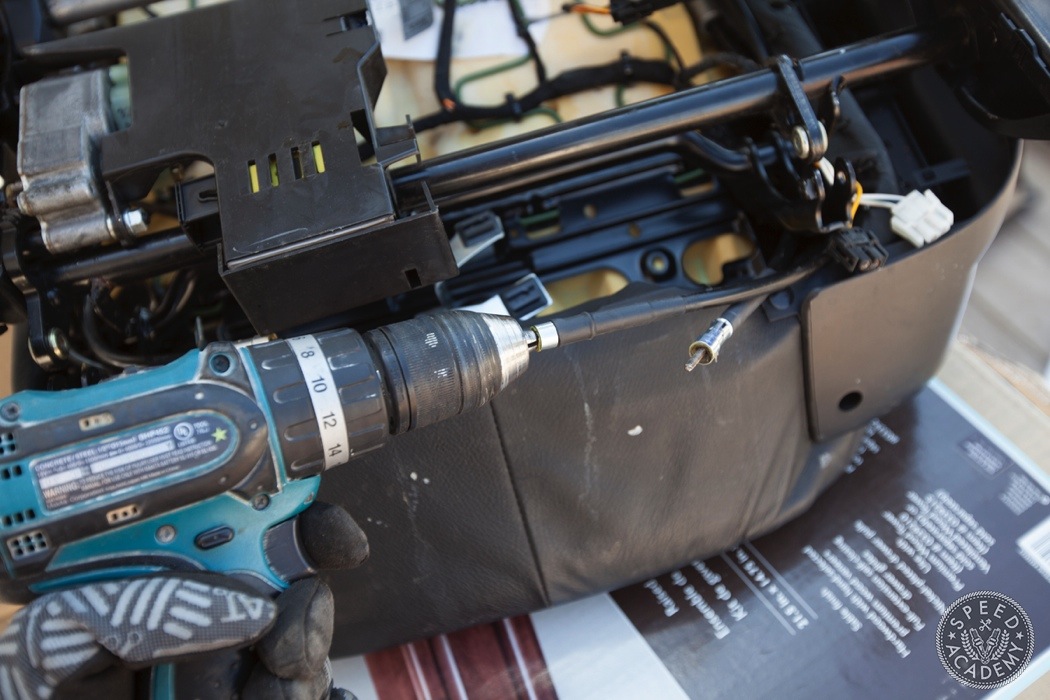
Before you go putting everything back together, there’s still the issue of the seat back being twisted. Grab a drill and connect it to the according cable and adjust the seat back until it’s straight. You’ll want to make sure it’s actually spot on because the last thing you want to do is find out it’s still twisted when you’ve installed the seat back inside the car. Take your time, flip the seat over, look at it from different angles, sit in it until you have it properly aligned.
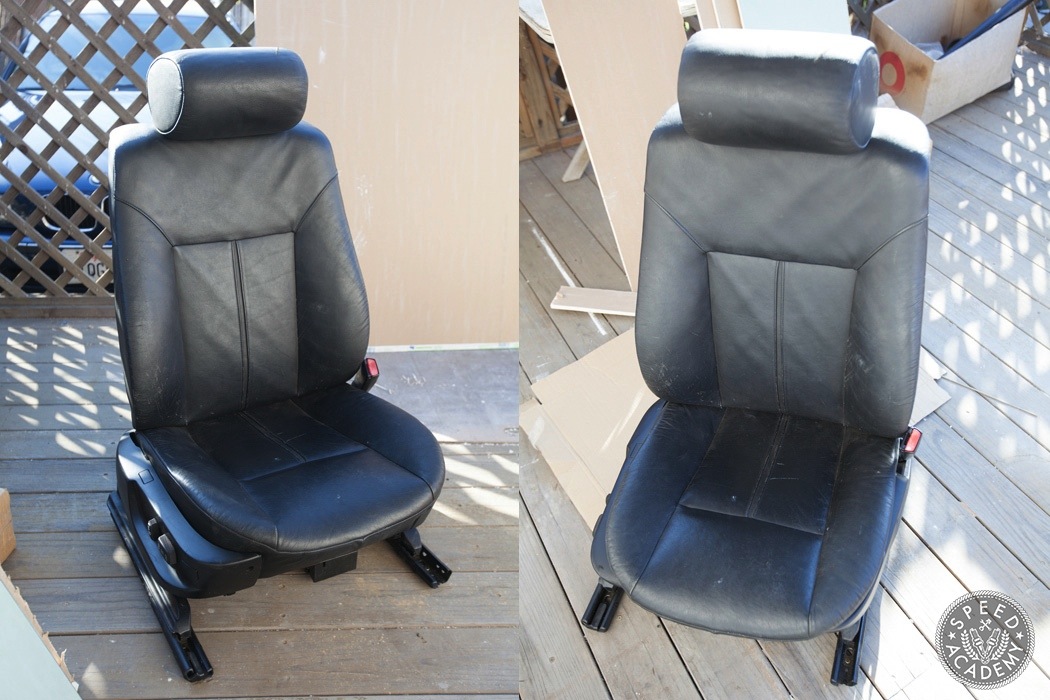
Assemble the seat back together much like you took it apart and that’s a wrap. Your seat should look like this. No more creases in the leather or twisting!
If you search online, there are much quicker methods that are accomplished by cutting the plastic around the cables in the car similar to my method. Those can certainly work but they leave the inner cable exposed and gaps in the plastic sheath since there’s no access to wrap or shrink tube the cable. I can’t say whether that’s a good long lasting solution or not but I’ve always done things right the first time to ensure that I don’t have to do them again and I think my fix is as rock solid reliable as going to the dealer and paying full pop for a new seat, which by the way is what most BMW dealers will recommend if you bring your car to them to fix this issue.
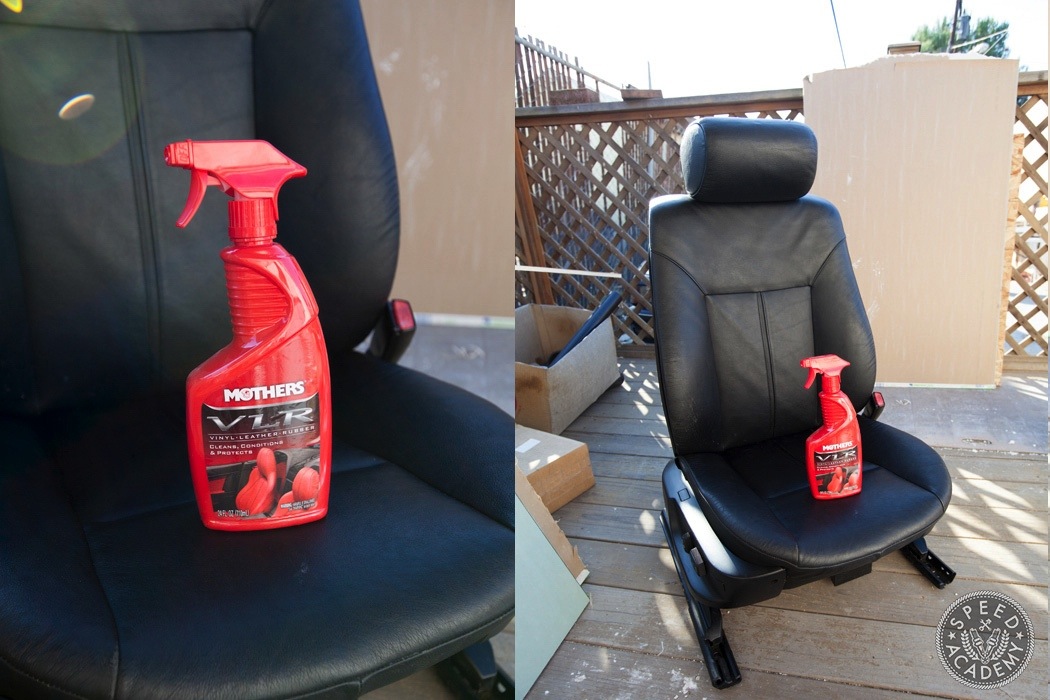
Lastly, I’d recommend using some Mother’s VLR on the leather to bring back some shine, elasticity and help protect the leather from cracking and fading.
Good luck! If you have any questions or issues or suggestions on this fix by all means leave some feedback in the comments section below.
I keep on blowing the fuse for the driver’s seat. I did this repair and the seat works perfect but I blow the fuse after a few uses.
Thanks for this step by step. It would have been incredibly beneficial if you included “how to” remove the cable on the passenger seat. It was definitely not intuitive. I had to go to other sites.
Thanks again and perhaps include that and the tools necessary (i.e., T-27, T-50, 8mm, etc.)
Hi can you tell me what the tension springs do and how to hook it again after fixing the cable?
Thanks
Can you do mine 🙂
Thanks for this….helps alot…..took both seats out and got 1 seat working, but unfortuantely the drivers side still has the twist w about 1/4 a 1/2″ of the wire reinserted into the motor…..any other thoughts? The only one i have is that one of the moters needs to be replaced
Thanks fixed my seat!!
Can anyone fix for me ?
First of all, not easy. Second, dont you think putting down some of the sizes of tools and heat shrink that was used would be helpful? Guess not since you didnt put it in. And how about which motor operates what? Jesus Christ I curse the day i found this diy on the top of my google search. I want those several hours of my life back buddy….
Gosh Steve, how ungrateful. Where”ks your DIY listing the tools and other items you mentioned. You tried a DIY project and thought it would be easy???? And wouldn’t take hours?? And you want to blame this guy for that time? Obviously you don’t have much DIY experience. Imagine how long it would have taken you without this guide.
Fuck this diy. I want those several hours of my life back buddy….
This is an awesome write up! My passenger seat just twisted for the first time yesterday. Very annoying let me tell you just kept getting worse when i tried to keep playing with the buttons so i left it alone, i will definetly be doing this and hopefully my issue gets fixed! My driver seat doesnt go full movements as well so hopefully doing this fixes that too and i wont have to dip into the more serious electricals and new motors etc! Thanks!
Awesome, thanks. Helped out a neighbor. By the way, in his 2003 525i the cable was present under the drivers seat. You picture really saved me, on getting it reattached.
Nice blog.
I keep seeing others mention to ensure you disconnect the negative cable from the battery before unplugging the seat connector. Is that required? What occurs if you do not?
Where are u located ?
I’ve been told bad gearbox is causing the twist in my seat back. How many gearboxes are there? Only one??