The objective of this article is to lay out the foundation of what I call a “budget” way of making 700 rear-wheel horsepower from a Honda K24 engine. One of my criteria is that I can only use off-the-shelf parts, nothing fancy that you have to wait for 6 months to get. However, I do need the correct combination of parts that will work well together to reach the harmonic tone of 700 reliable horsepowers. With that being said, no combination of parts will matter if you have the wrong engine builder, so I’ve reached out to InlinePRO for this project. This article is what I’m calling Phase 0 (zero), meaning this is what the blueprint for the build will be. Now, let’s get to the important stuff, starting with the cylinder head.
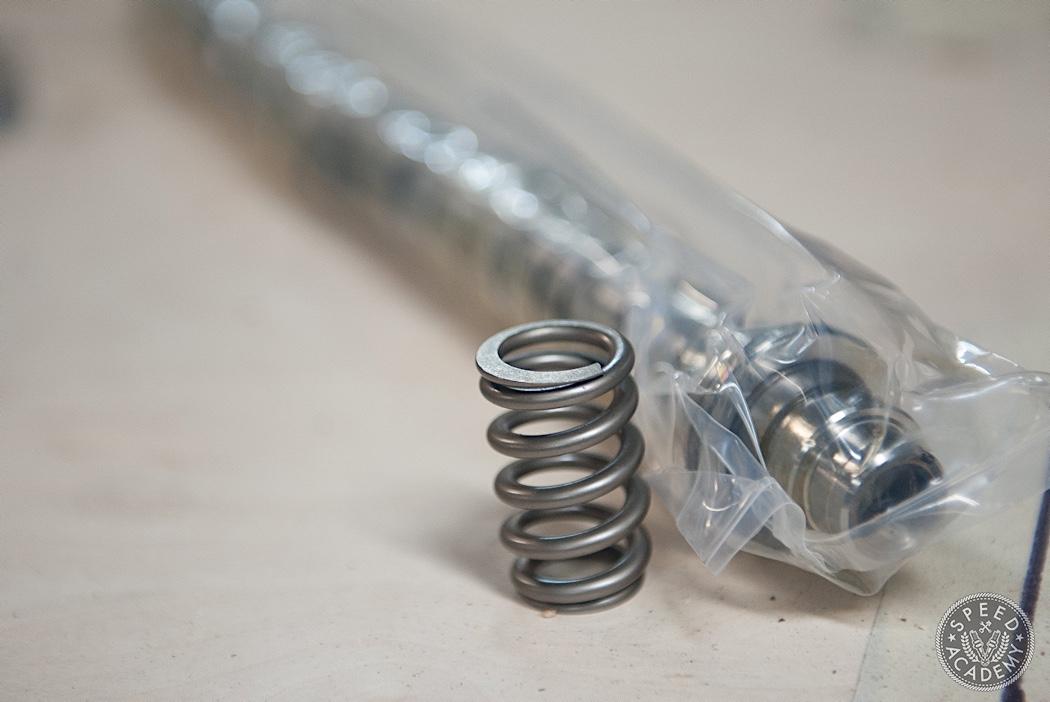
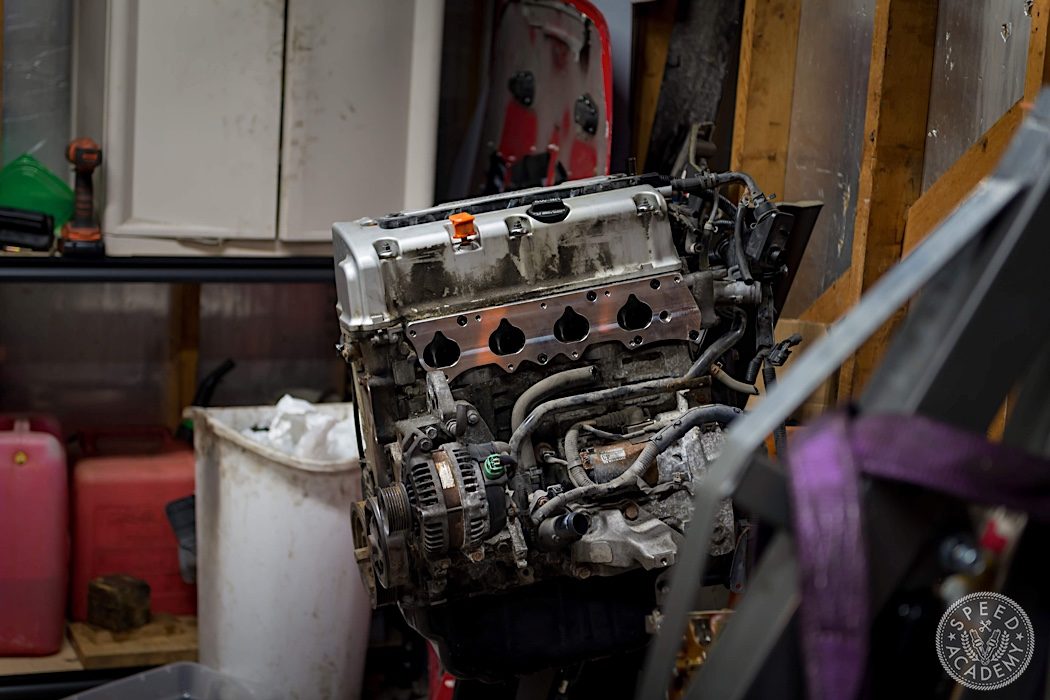
I’ll be using a K24A2 head since they are everywhere and for five hundred to eight hundred USD you can have one as well. It usually comes with a free short block attached to it, in running order 90% of the time. Let’s start the rundown on what will be going on with this head. For cams and valve control I went with Kelford Stage 1 cams paired with their Beehive valve springs.
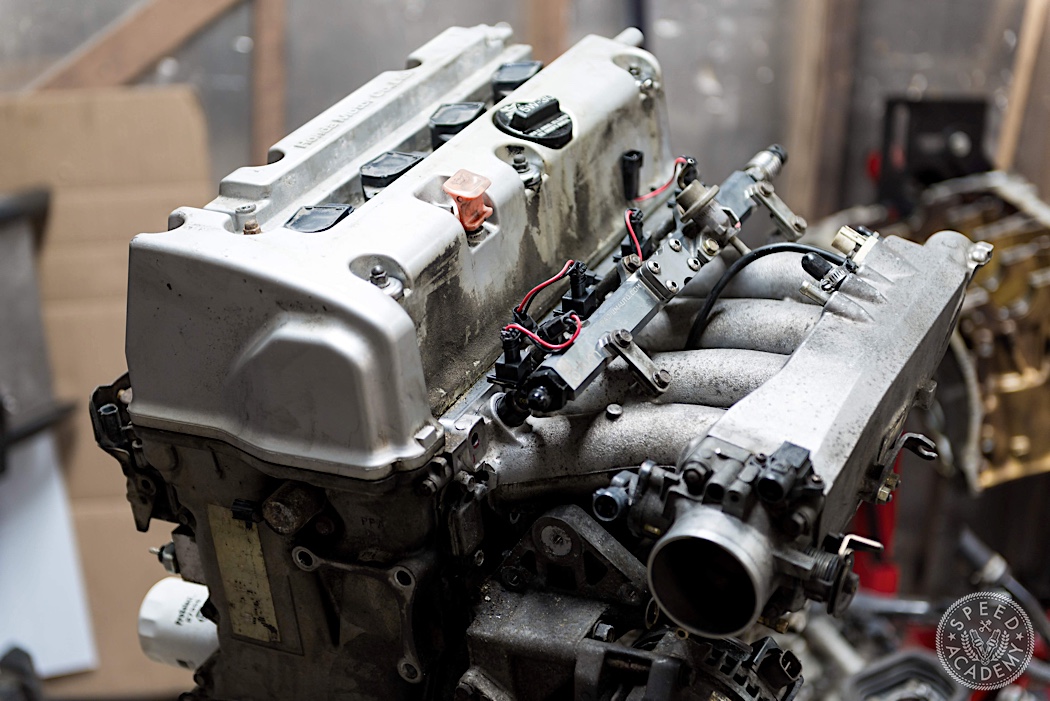
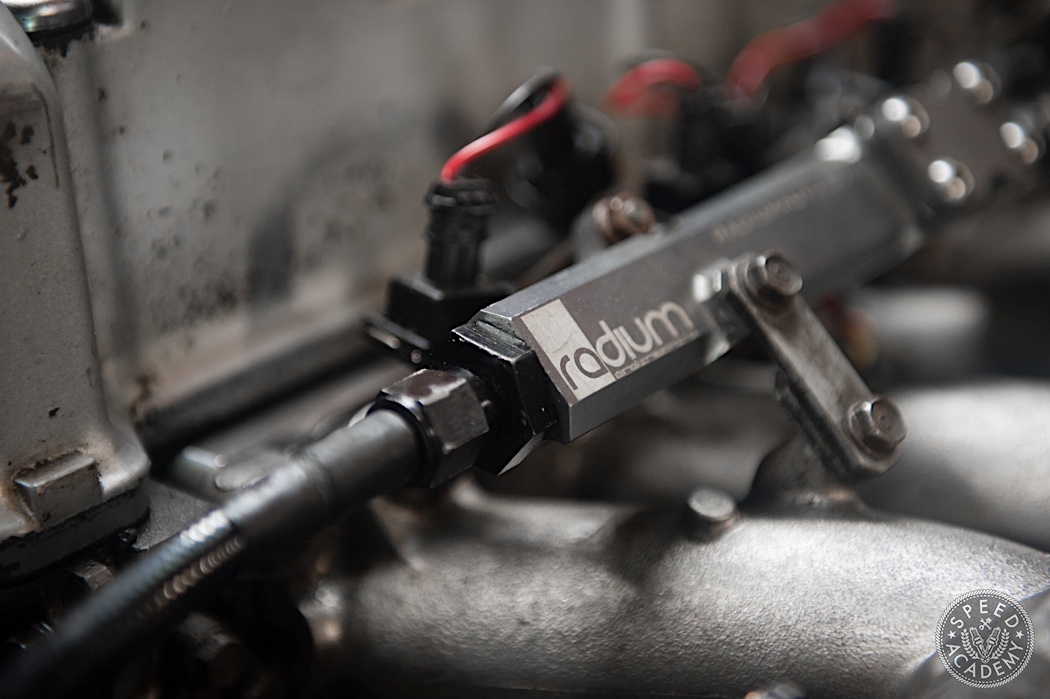
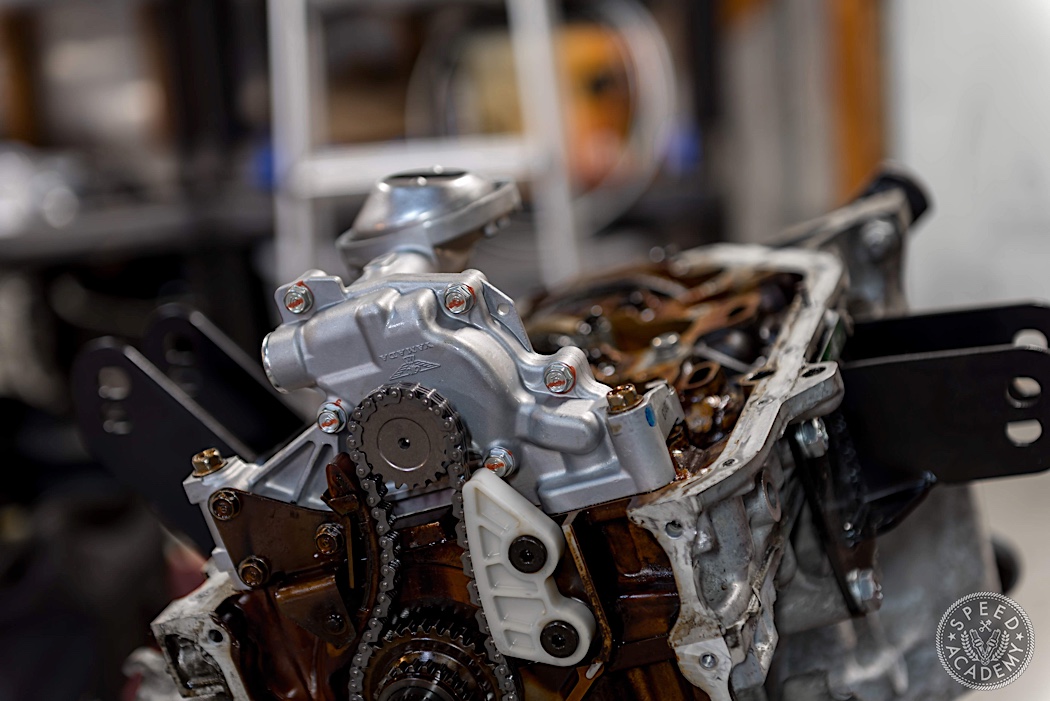
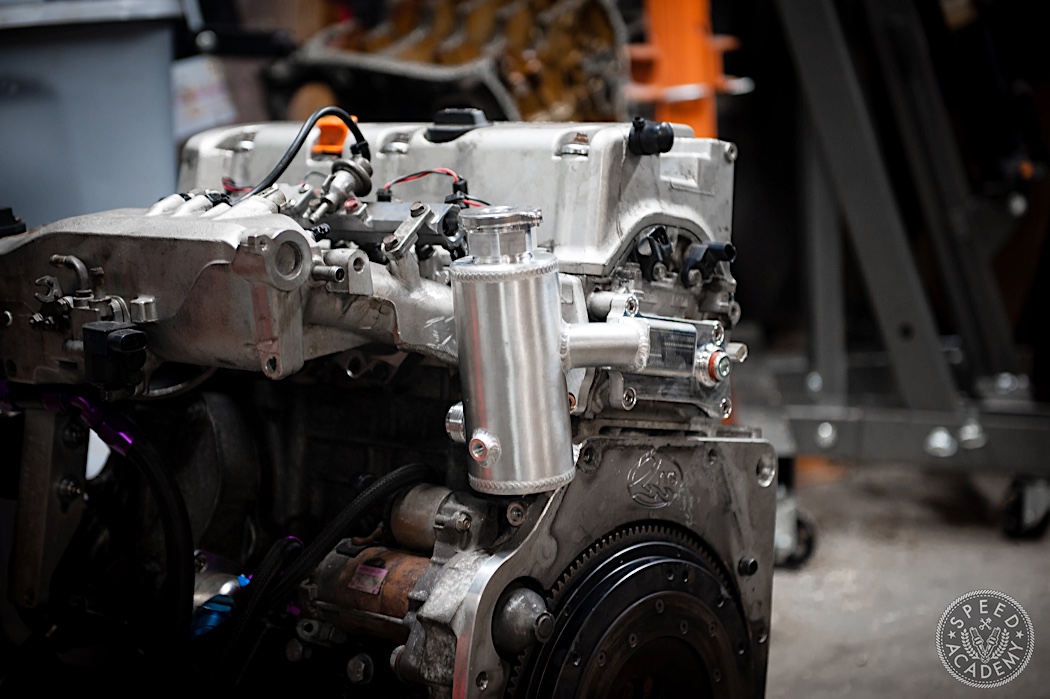
As far as valves go, we went with Skunk2 Ultra Valves so I don’t melt the OEM ones. It’ll be sucking in air through a Skunk2 74mm throttle body. I will also be utilizing a new product on the market for RWD K series applications, K Miata’s Intake manifold (OE throttle body and intake manifold pictured above). The fuelling will be covered by Radium Engineering fuel rail and ID2000s. Just like the OEM K24 that’s in the car now, we will be utilizing TracTuff’s adapters for all the pesky things that are needed to convert an engine from being mounted transverse (FWD) to longitudinal (RWD).
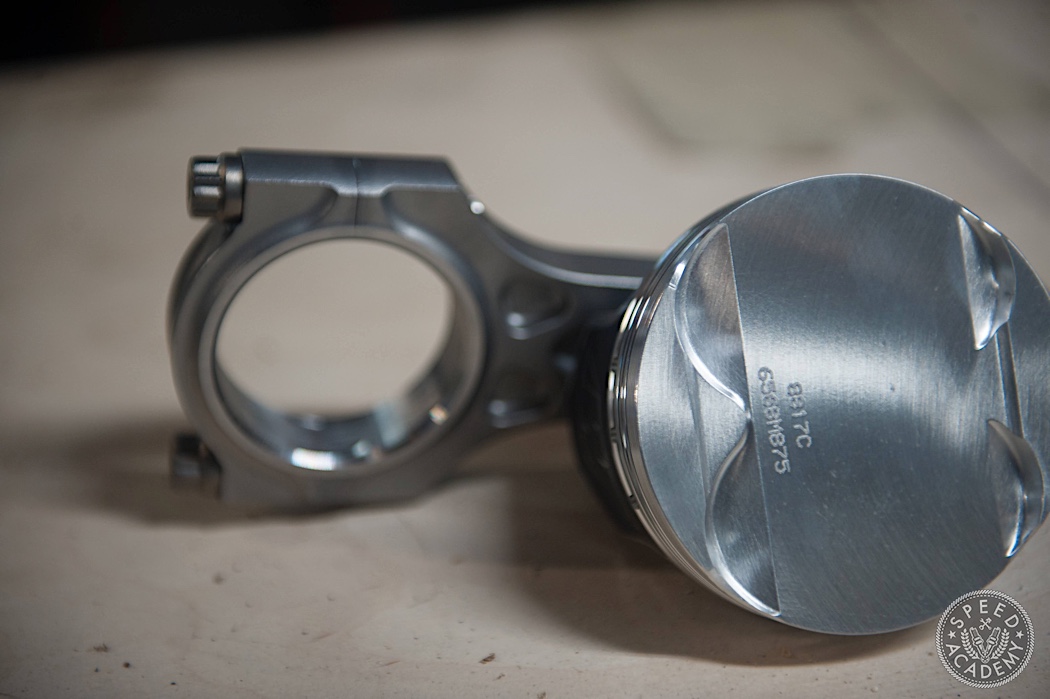
Moving on to the bottom end, I’ll be using InlinePRO’s head studs, timing chain tensioner, and head gasket. Pistons will be CP Piston 10:1 compression pistons, connected to Carrillo Pro-A Connecting rods. The block will be closed deck sleeved by InlinePRO. To control oil, I’ll be utilizing the TracTuff type-S Oil pump kit again, as well as their oil pan. Everything else in the bottom end will be OEM Honda unless I’m told otherwise by InlinePRO.
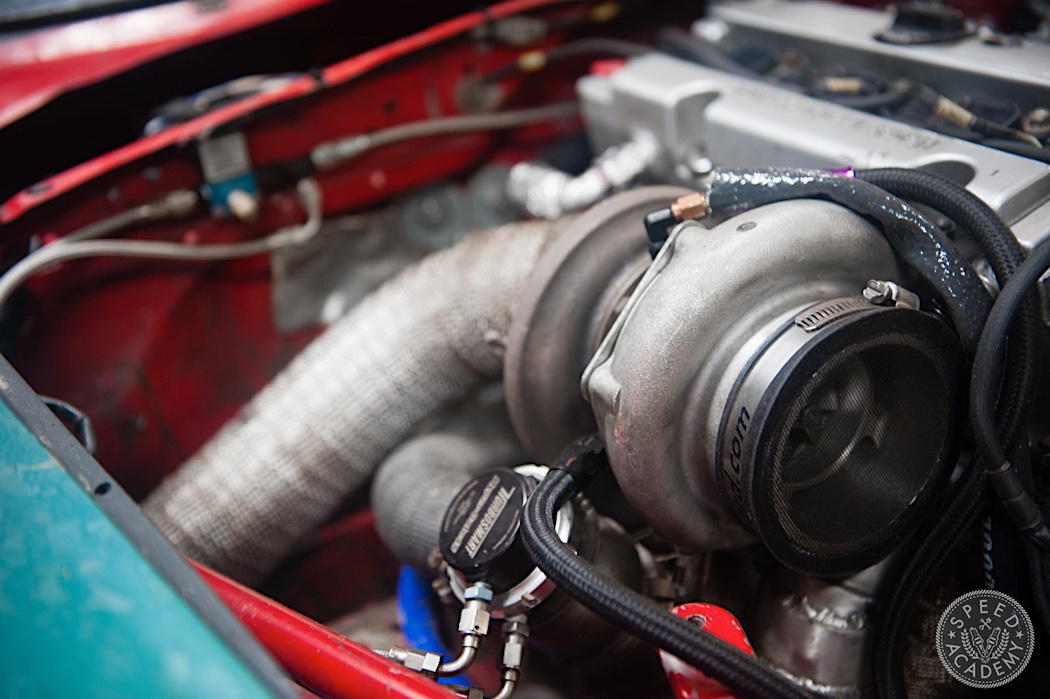
One of the most important things will be how I’m are forcing more air into the engine. That comes from my lord and saviour, Garrett Advancing Motion. I’ll be utilizing their Garrett GTX3582 again. Instead of the 7-psi I’m currently running, I’ll be shooting for around 21 to 24-psi. I also might be with InlinePRO to develop a new exhaust manifold for RWD K series applications, if we have time. I’ll be using Hasport for mounts again. Everything will be assembled in Springfield, VA at InlinePRO.
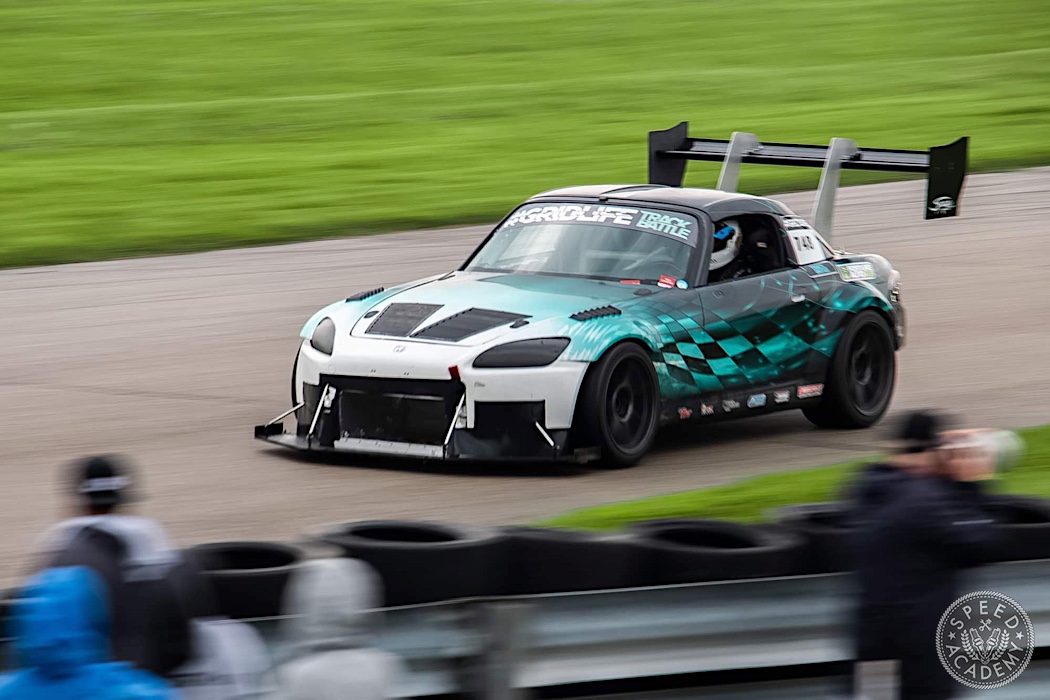
Next article we will be going over Phase 1 of the engine build, which will be the process of sleeving the block, installing rods, pistons, and all the machine work that goes into building an engine. You know, the good stuff! In the meantime, stop by my older articles and see how far Sheri my Time Attack Honda S2000 has come.
Earlier stories on Sheri the S2000
Bad to Rad Part 1: the start of the rebuild
Bad To Rad Part 2: V-mounting rad and intercooler
Bad To Rad Part 3: vents and airflow management
Bad To Rad Part 4: GridLife South Road Atlanta
Bad To Rad Part 5: GridLife Special Stage & SpecFit
Bad To Rad Part 6: 2017 Plans & Upgrades