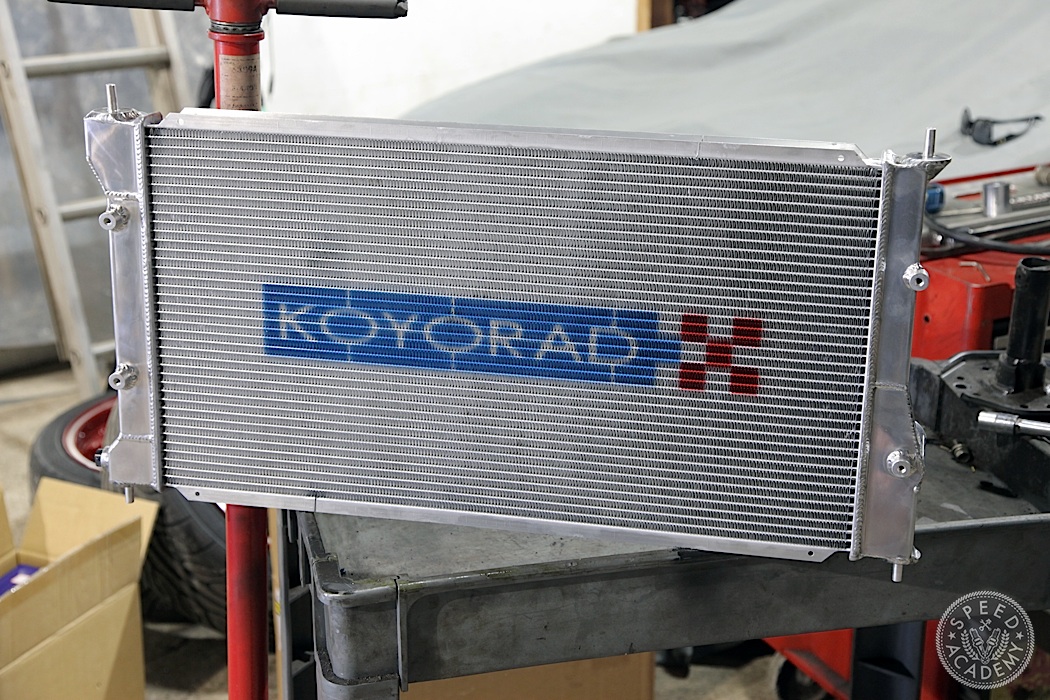
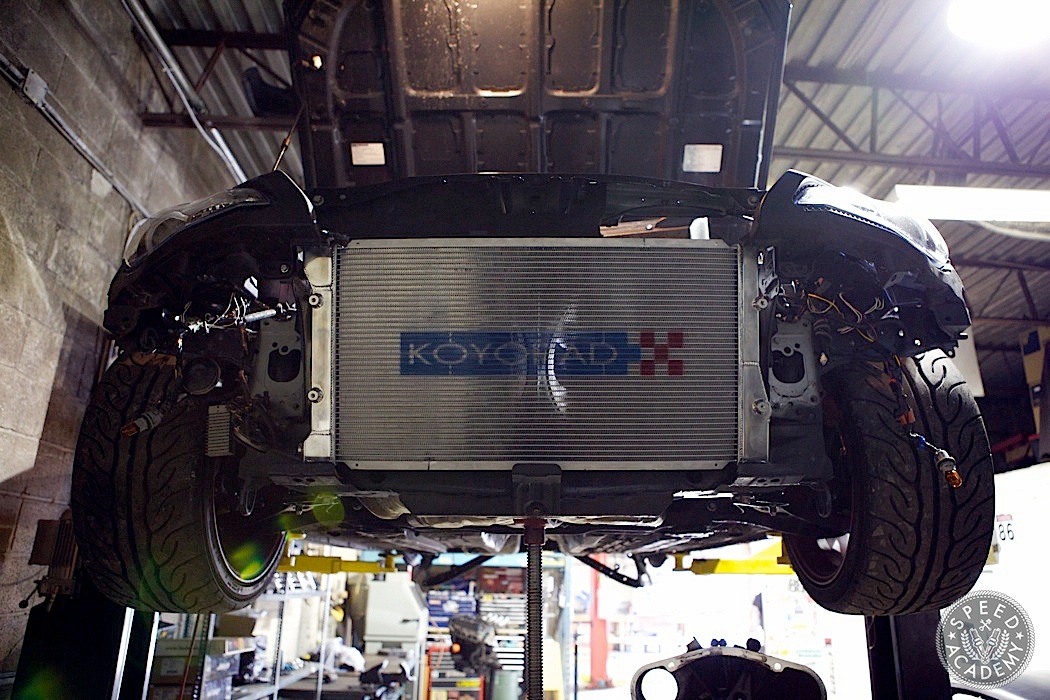
While Pat was working his magic on the diff and clutch jobs, Peter and I yanked the factory radiator and dropped in this direct-fit Koyorad from Motovicity. With some long and very high-speed stages at Targa (25-30 km with average speeds over 130 kph and top speeds approaching 200 kph), we wanted to improve engine cooling as a precaution. Targa is a 5-day endurance test, after all, so keeping the engine running at temps below 220F was high on our priority list. Plus I’ve had the plastic end tanks on OEM radiators fail on me in race conditions, so we wanted the insurance of a full aluminum rad, especially given the pounding the front end could potentially take if we unintentionally use more road than is available.
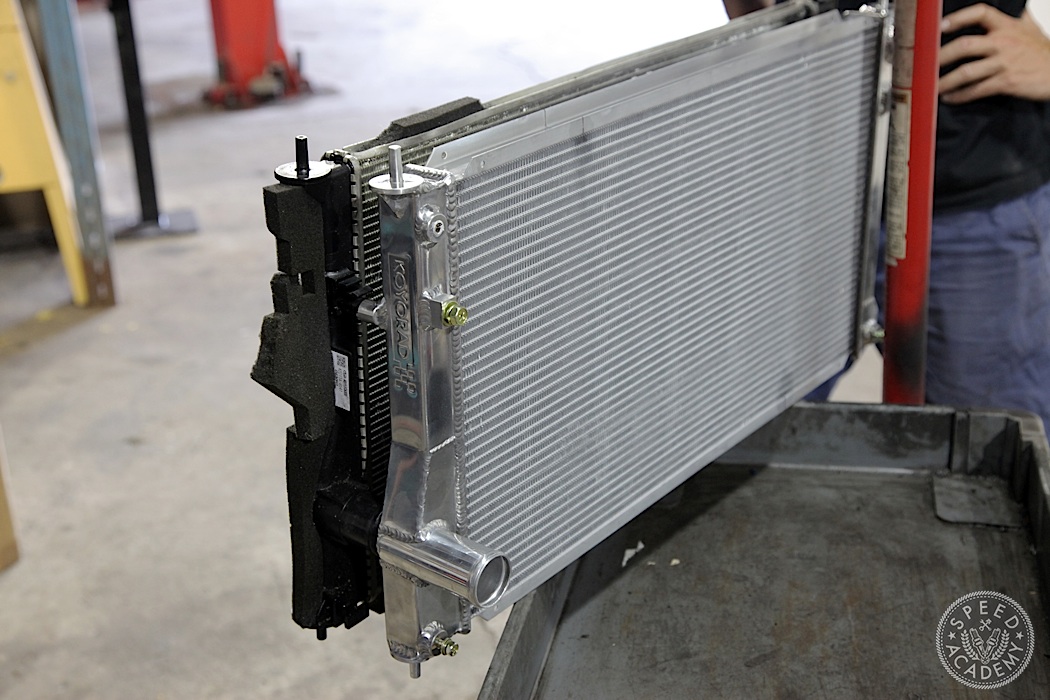
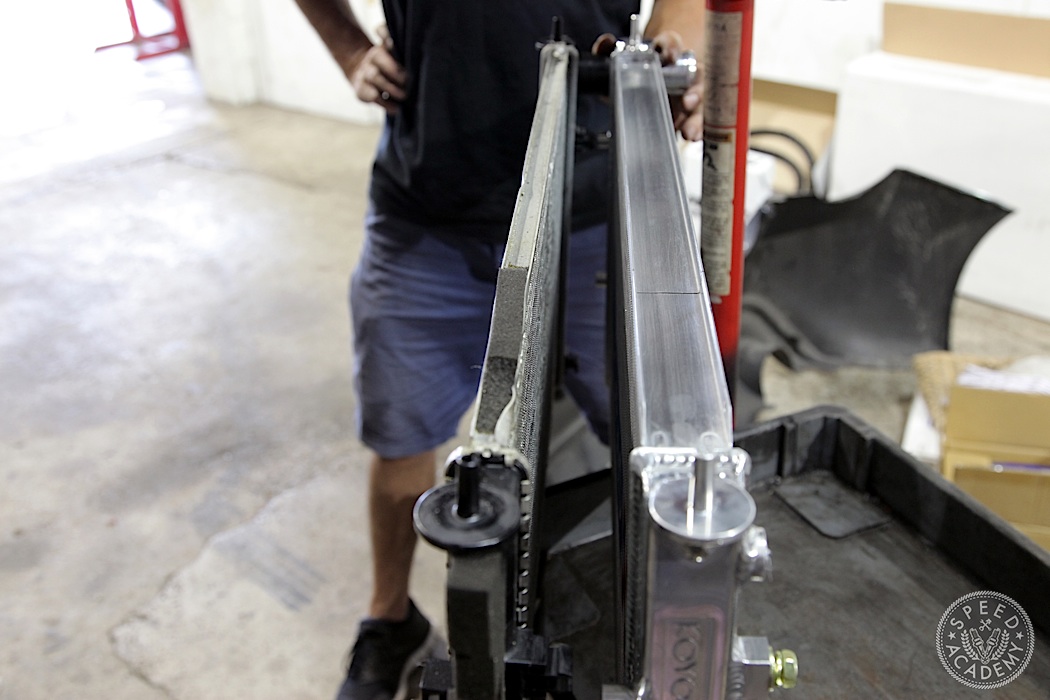
Using their new 36mm tube and fin VH Series core to maximize heat transfer, and like all of Koyo’s all-aluminum radiators, this direct-fit model is hand assembled, Nocolok brazed, then TIG welded by hand. It’s a quality piece from top to bottom, including a rugged aluminum filler neck (I’ve had the plastic ones crack) and mounting points designed specifically for the dual factory fans to bolt to.
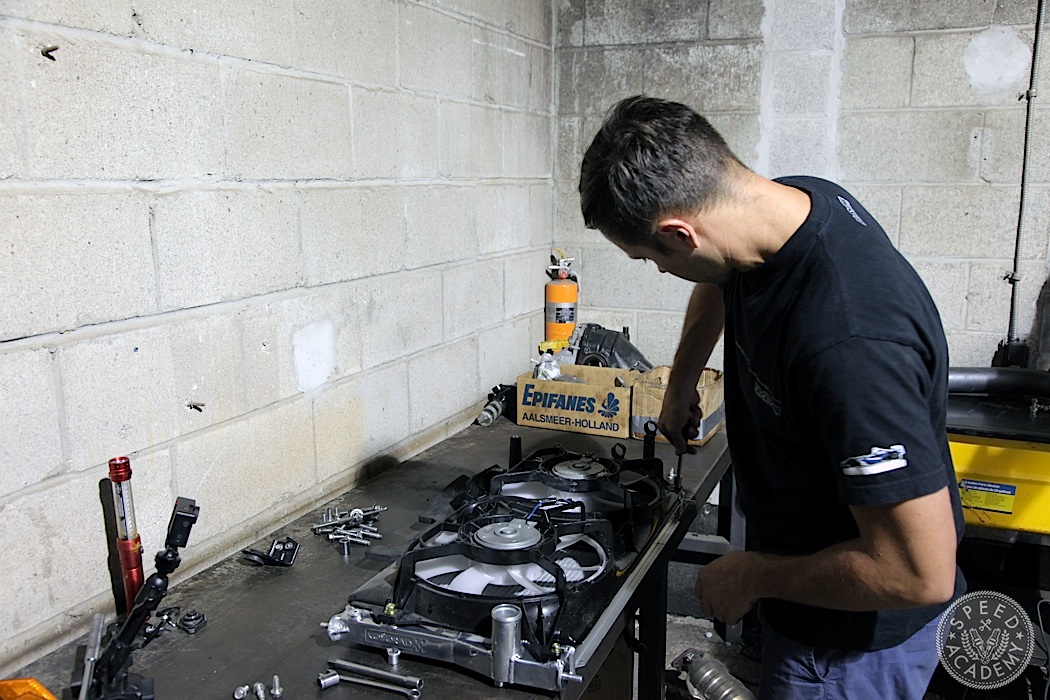
With the rad installed in the factory location, all we had left to do was bolt up the front and rear rebars we bought from Pat (we wanted these on the car for road safety during Targa) and install the Perrin Performance oil cooler kit.
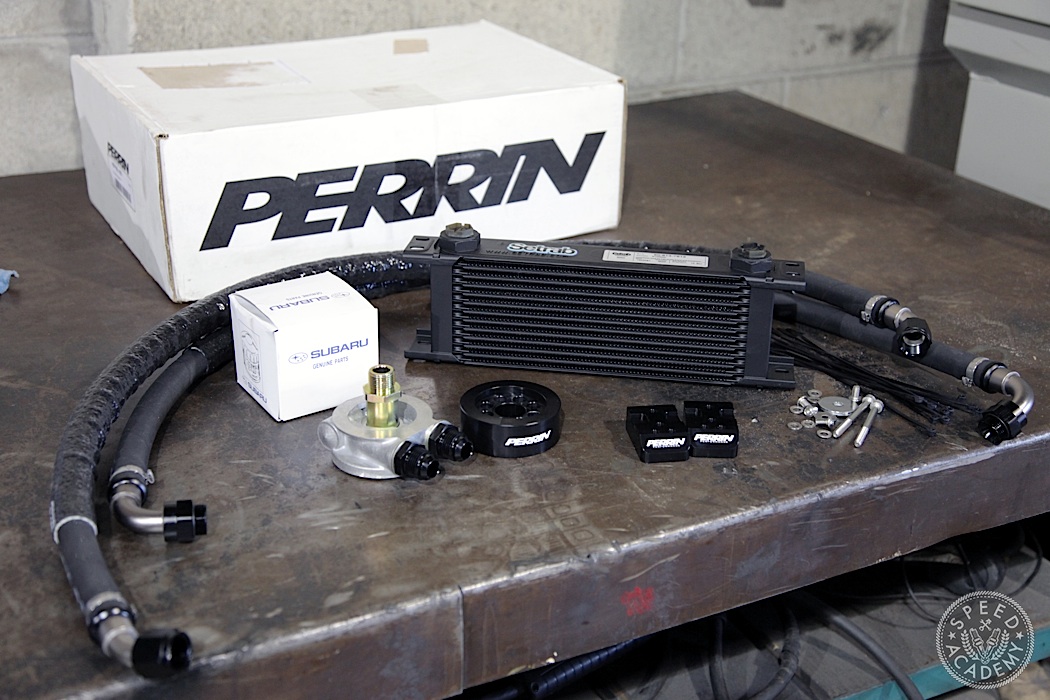
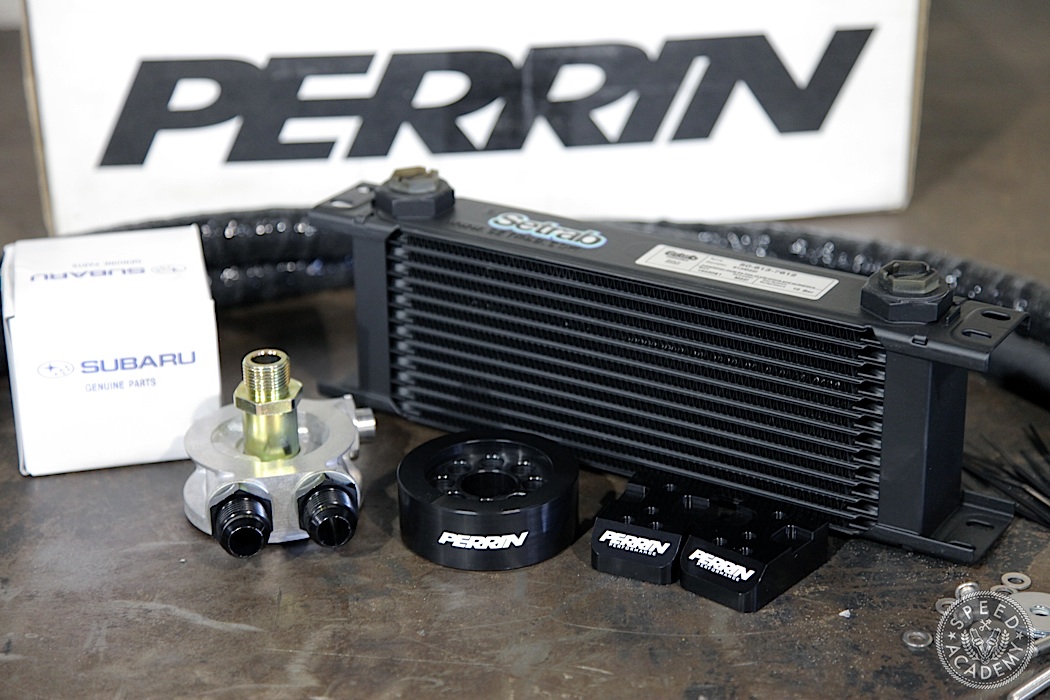
The Perrin kit is built around a 12-row Setrab oil cooler, which employs a unique inline “turbulator” (sounds like Professor Fink invented it) in the oilways to gently stir the fluid being cooled, ensuring that the oil has exposure to the entire internal surface area of the cooler with the lowest pressure drop. This highly efficient oil cooler is mounted using Perrin’s CNC billet mounting brackets that use OEM mounting points on the factory splash guard, so there’s no drilling or custom modifications required during installation. Add to that a Mocal sandwich adapter that has an integrated thermostat so oil isn’t sent to the cooler until it’s good and hot (185F) along with pre-assembled lightweight Aeroquip -10 hoses and anodized -10 push-lock type aluminum hose ends and you’ve got a very high-quality setup that anyone can install with basic hand tools. Perrin even went the extra mile by putting clamps on the hose/hose end connections to further ensure safety, plus they throw a Subaru oil filter in, too (though we prefer K&N filters since they’ve been shown to have superior filtering with less pressure drop, plus they’re pre-drilled to be safety wired).

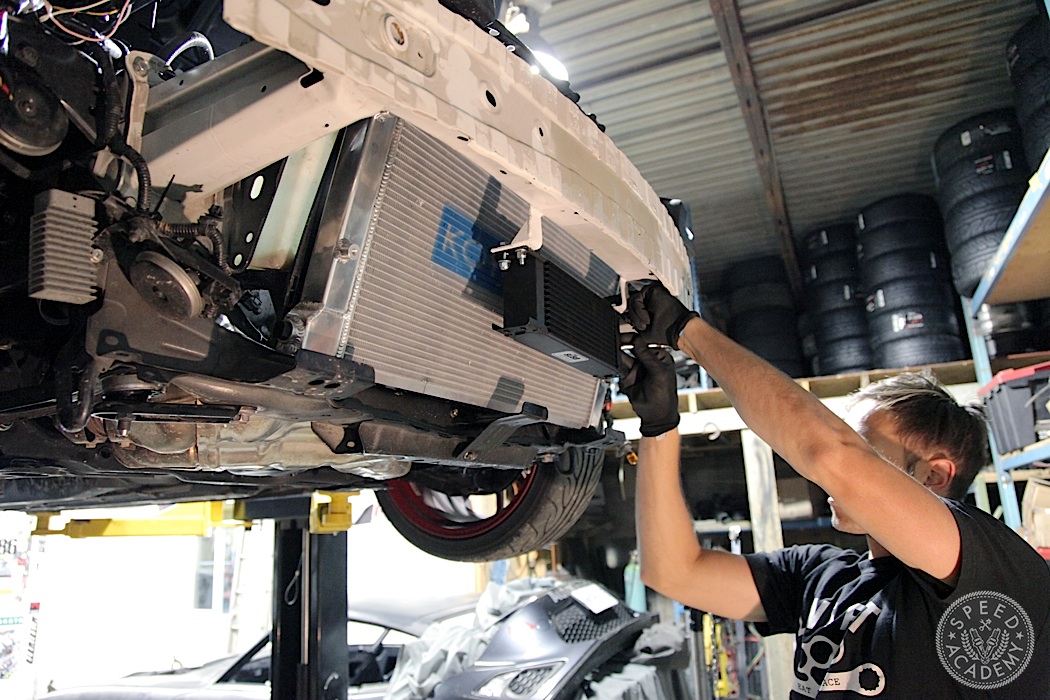
Because our car didn’t come with the factory splash guard (we eventually added one, along with a TRD skid plate), and because we wanted to protect the cooler in the event that we bottomed out the front end in a massive pothole or jump during Targa Newfoundland, Pat fabbed up some nice little mounting brackets on the front rebar so that the cooler was up out of harm’s way. This isn’t a step we think the average FR-S or BRZ owner needs to concern themselves with, but for a tarmac rally on some seriously rough roads, we wanted to take every precaution we could.

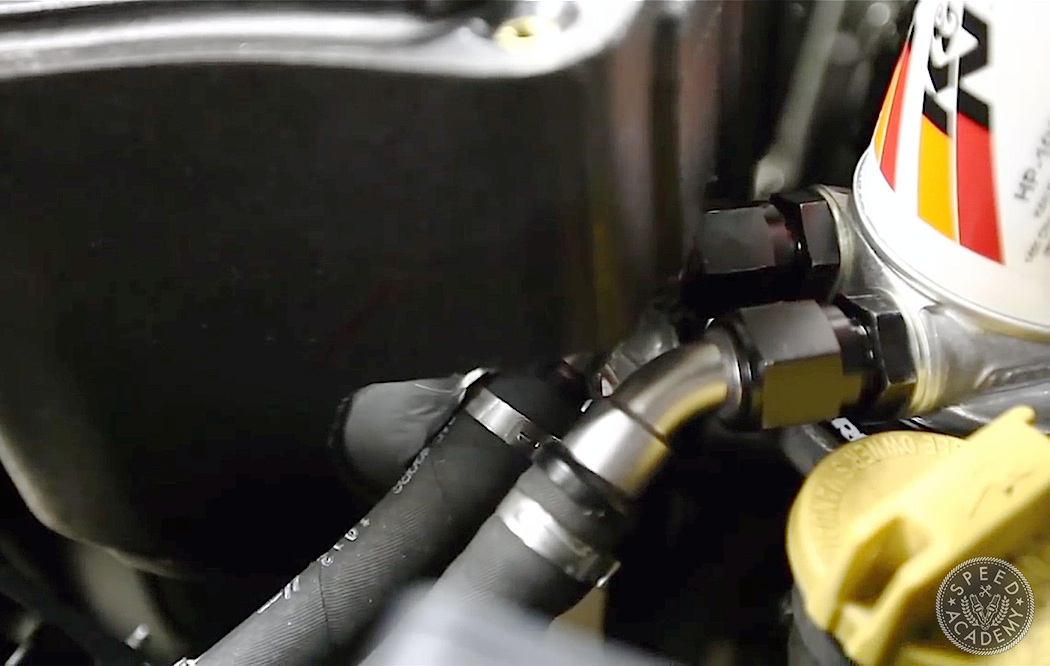
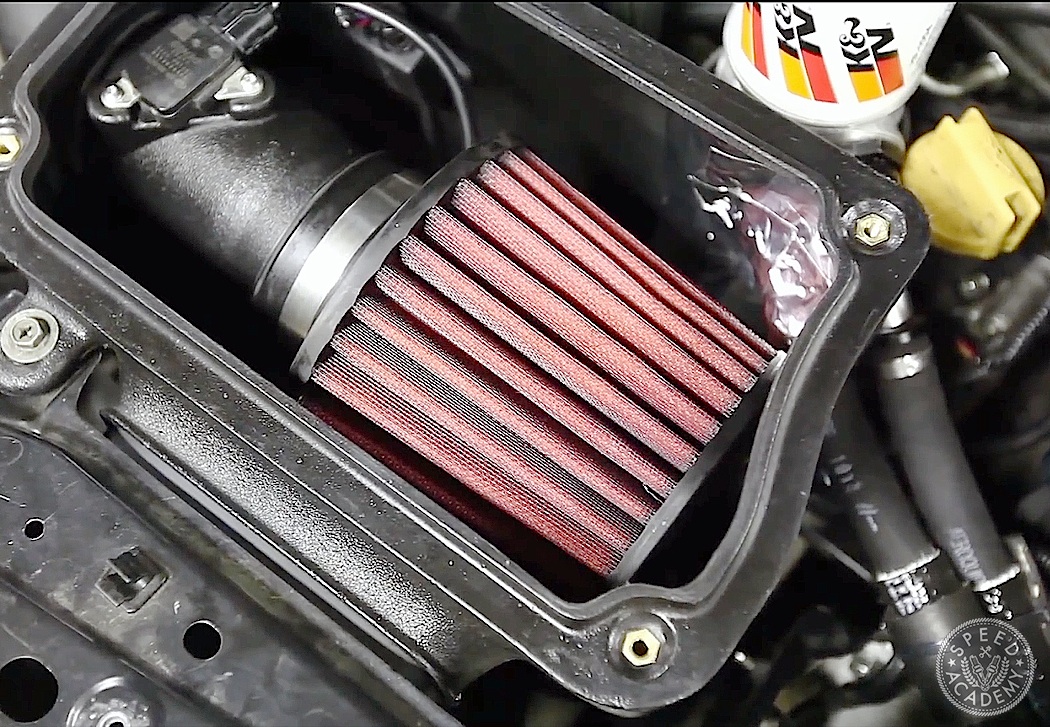
As we covered in Episode 8 of our video series, we ran into a bit of a clearance issue with the oil lines and the AEM air box. The Perrin kit is designed to work with the OEM air box or their cold-air intake, but because the AEM box is quite a bit bigger than the stock one, we had to make room for the lines by cutting into the box a bit. We ok’d this with AEM prior to hacking away and they said it’s fine (not ideal, obviously) as long as we seal the box up nicely with some tape, which we did. It’s bit ghetto, but we figure oil temp management is more important than a slight disruption to the air entering the box, especially since Targa is really about surviving the week rather than squeezing fractional horsepower gains from the engine.
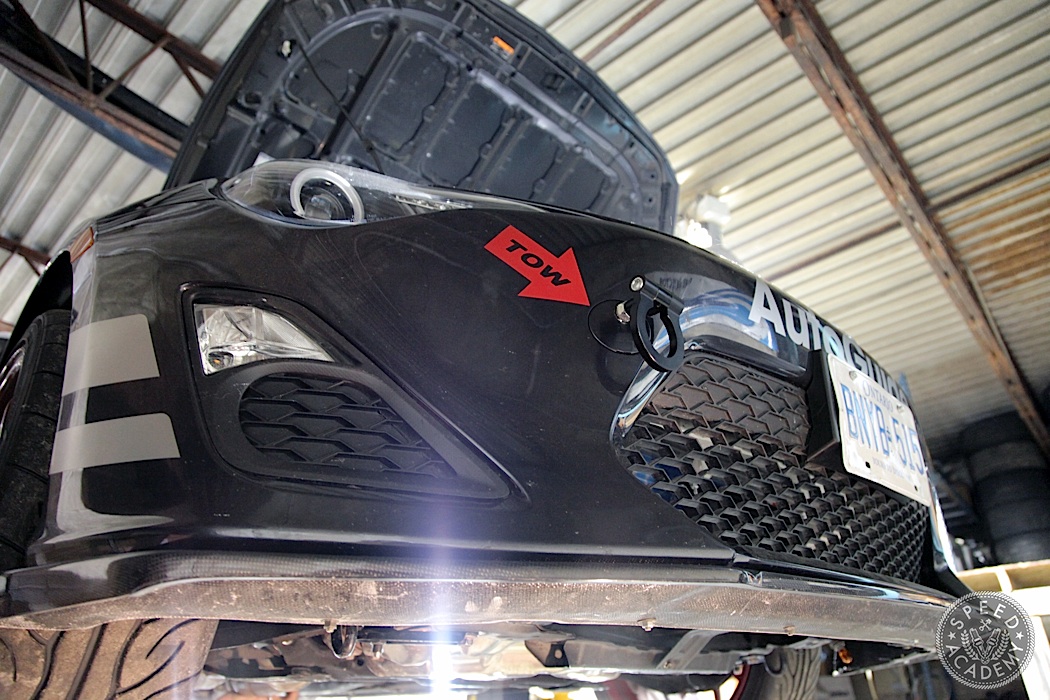
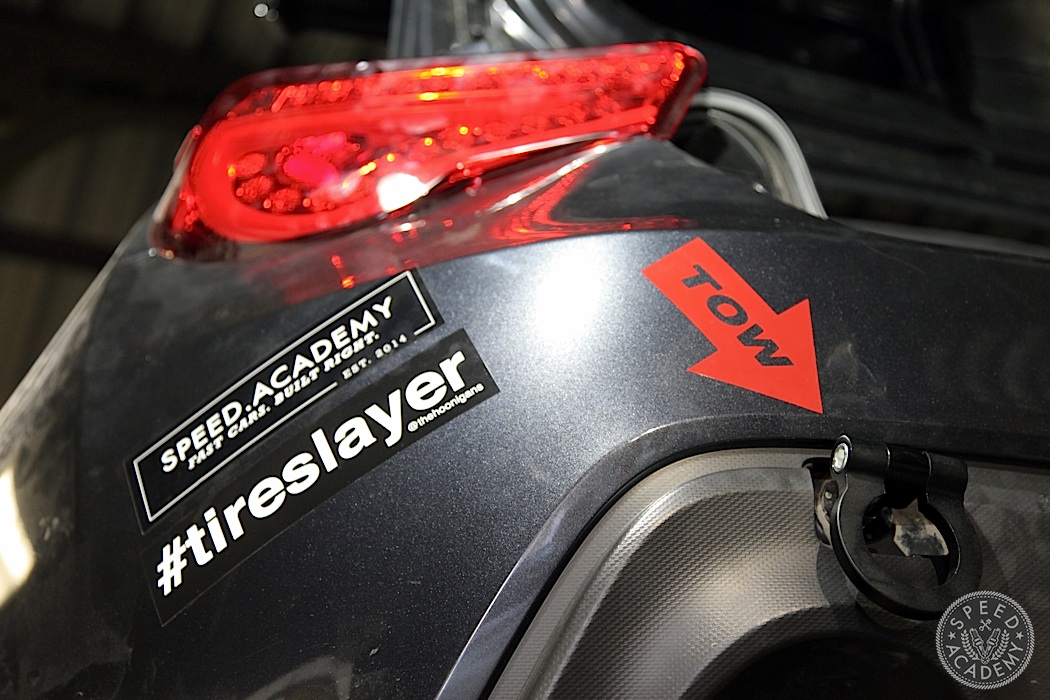
And now for that long awaited fastest install in the world. Step 1. Pop the plastic cover off the tow hook access point on the front and rear bumper covers. Step 2. Drill a hole in the cover the same diameter as the tow hook shaft (we skipped this step on the rear since the cover was missing when we adopted the car). Step 3. Screw Godspeed Project tow hook into the treaded bolt hole in the rebar. Step 4. Add a ‘tow’ sticker so the tow truck guy (who’s inevitably a pre-school dropout) knows where to find it. Step 5. Take a selfie. Total Time: 5-minutes.
Ok, that’s (finally) it for this build update. Next up, dyno time!
