With the wiring out of the way, it was time to start thinking about accessories. Most Ecotec Miatas driving around today don’t have power steering, simply because they’re usually owned by track rats with large forearms. A lot of Miata guys prefer the feel of a depowered rack, and other benefits include cost and an easier build. If you are planning on depowering your steering rack and running without power steering, you simply need to bolt on the alternator in its OEM location and buy an accessory belt for an air condition-less car. If you haven’t already, it’s also a good idea to depower your steering rack properly. Flyin’ Miata has an excellent guide on how exactly to do this.
Now, if you’re a weakling like me and value the ease of OEM power steering, there are a few things you’ll need to buy:
- Alternator bracket from a 2011 Buick Regal 2.4L (GM Part #12628024)
- Power Steering Pump from a 2011 Buick Regal 2.4L (GM Part #13309277)
- Power Steering Pump Pulley from a 2011 Buick Regal 2.4L (GM Part # 12605176)
- Alternator Belt from a 1995 Mazda RX-7 (manual trans, Part # 5PK1355)
- Ecotec Miata Power Steering kit
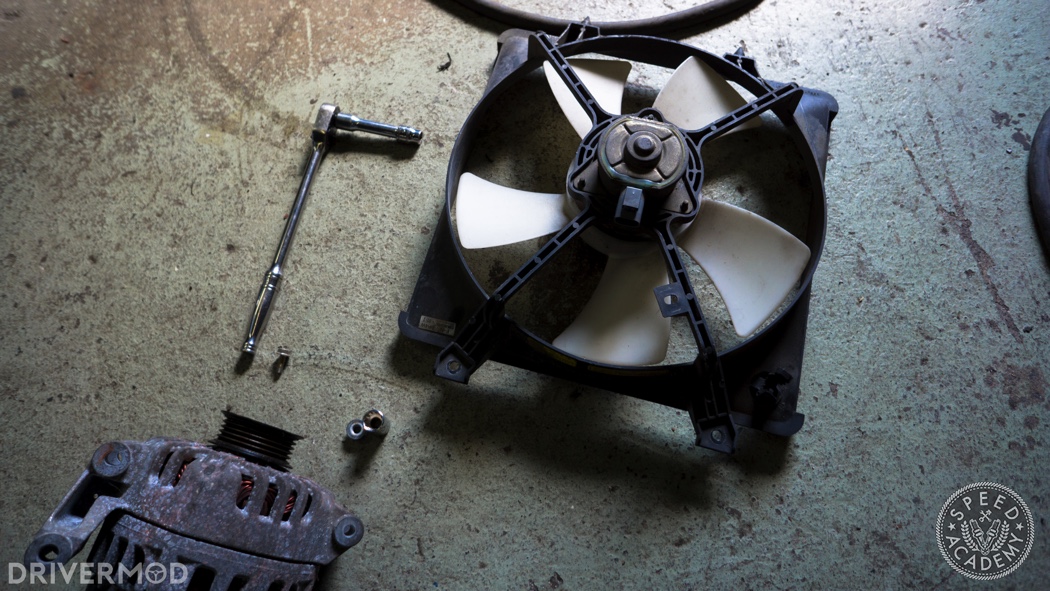
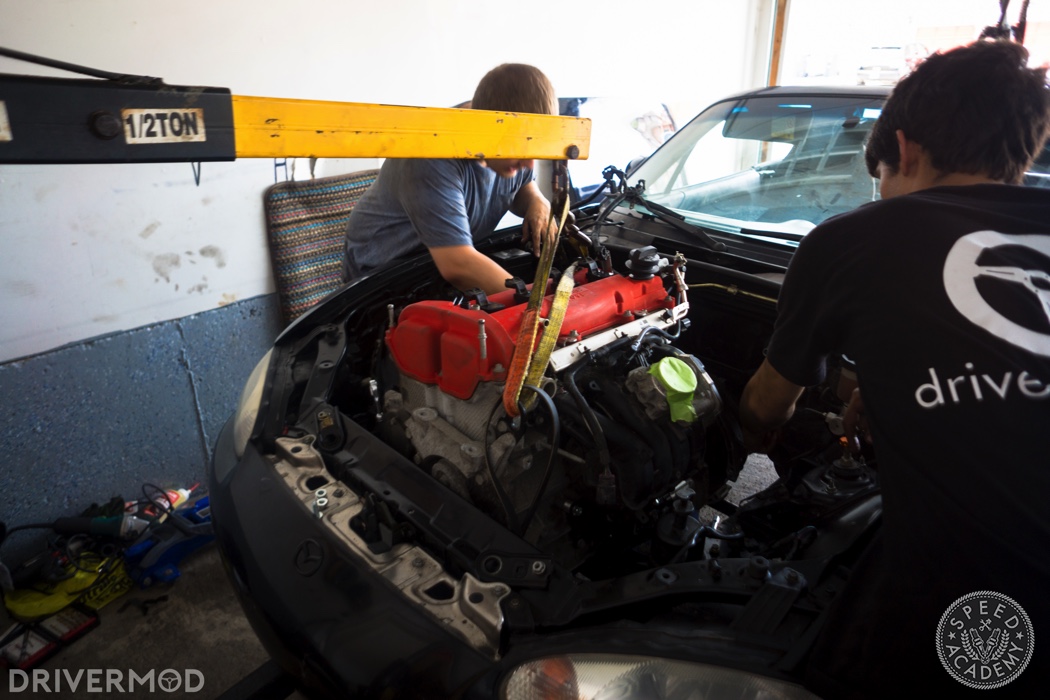
Before you start, you’ll want to remove your factory power steering fluid reservoir and your factory radiator fan. The alternator bracket bolts to the side of the engine block, and the alternator and power steering pump bolt to the alternator bracket. The problem, though, is that clearance between the engine block and the driver’s side of the engine bay is severely limited. To accommodate that, the first thing we did was machine the “posts” on the engine side of the bracket down around 7 mm.


The problem, though, is that clearance between the engine block and the driver’s side of the engine bay is severely limited. To accommodate that, the first thing we did was machine the “posts” on the engine side of the bracket down around 7 mm.
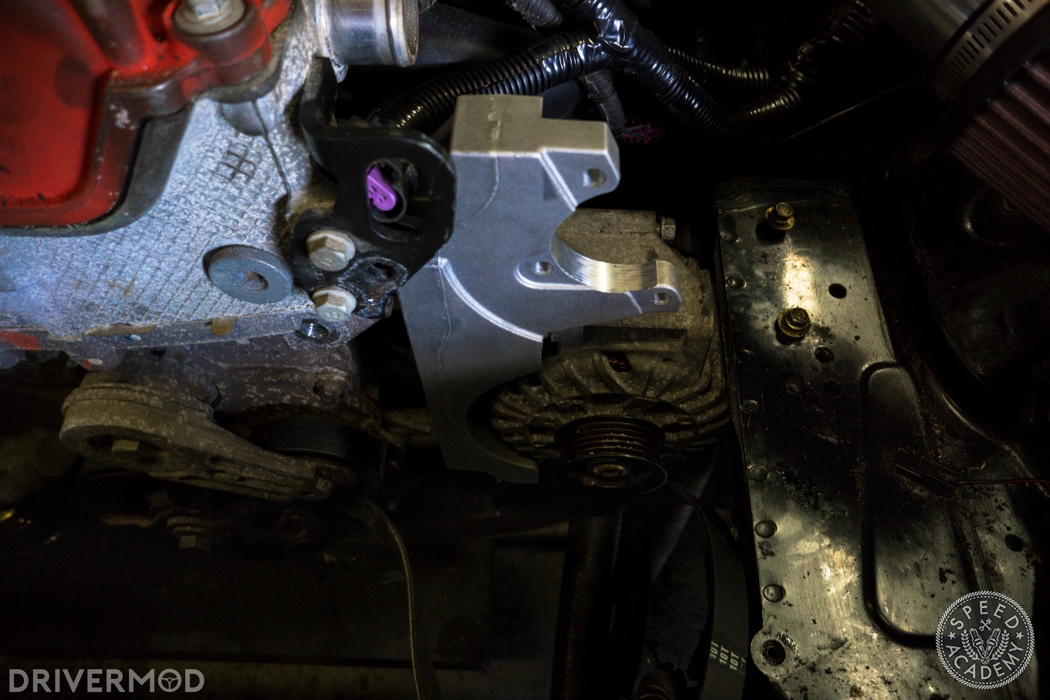
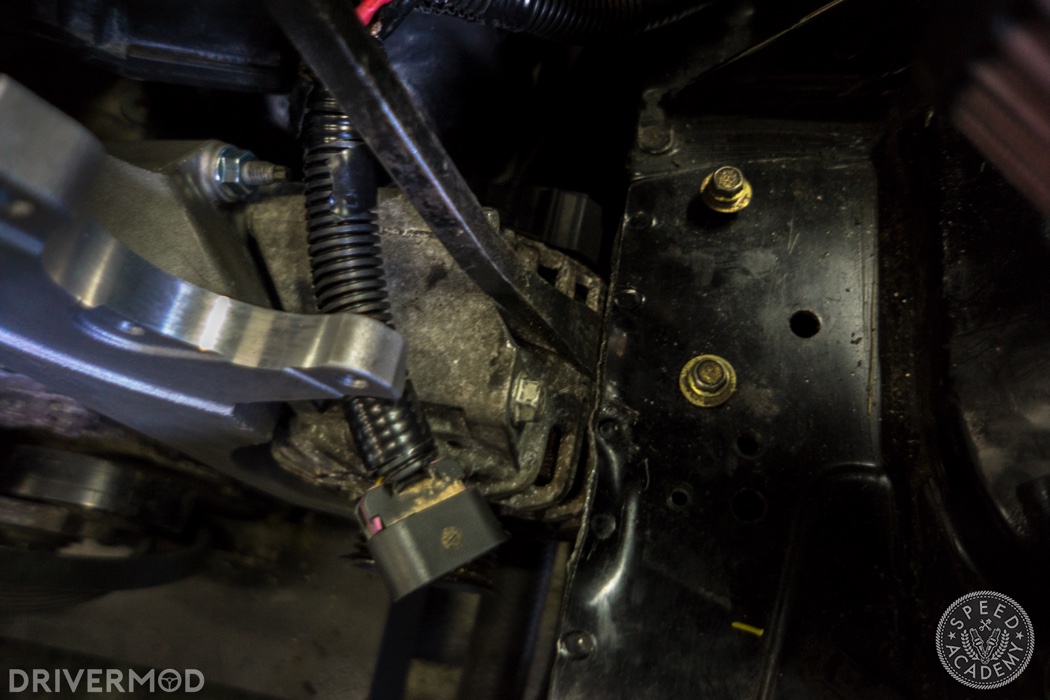
With the bracket machined, we test fitted the bracket, alternator and power steering pump, and found that the alternator was still touching the engine bay. The solution was to hammer the side of the bay until a slight dent formed and then use a pry bar to bend the engine bay’s lip slightly upwards. The end result wasn’t pretty but it should prevent vibration between the bay and the engine later on.
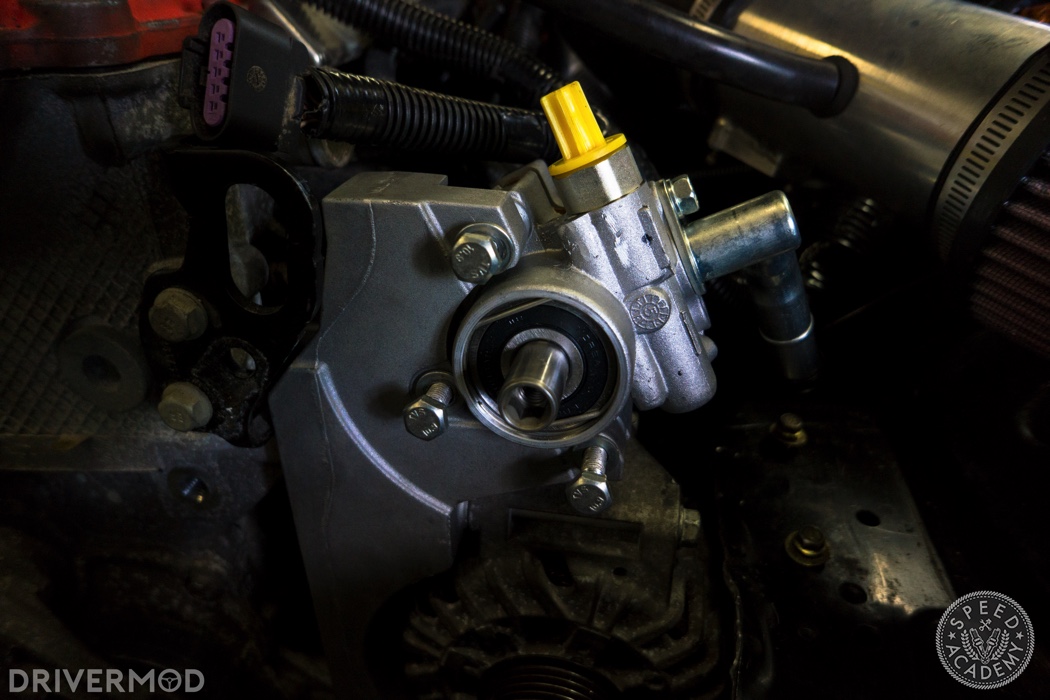
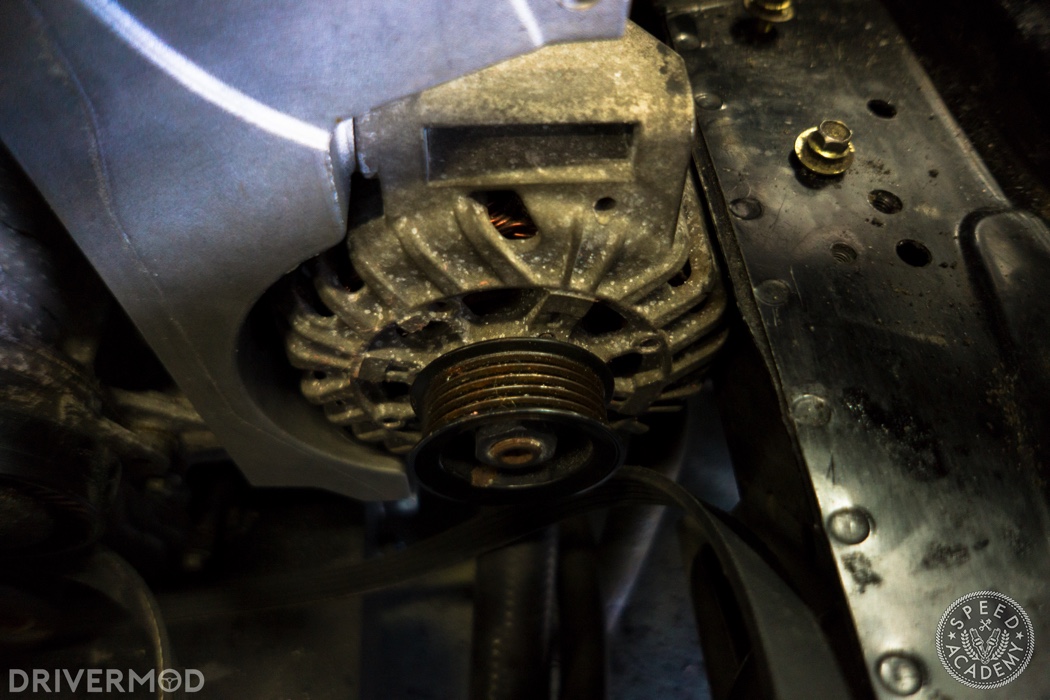
From here, the bracket, alternator, and pulley are bolted up the way you would find them on a stock Buick Regal. You will probably have to move the original mounting studs around to accommodate the bracket, and it can then be secured with nuts. You can remove the original studs using a 5 mm socket on the tip of each stud. The alternator can then be bolted in using long bolts, and the power steering pump should come with three bolts that are used to bolt it to the bracket as well.
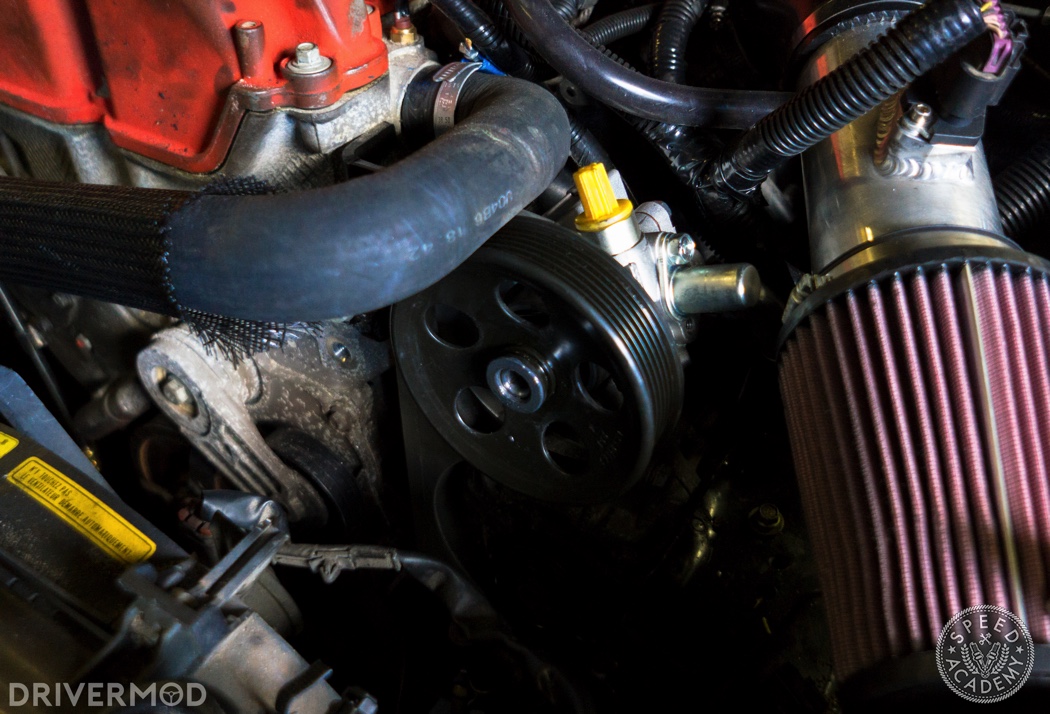
From here, your power steering pulley can be installed. It’s a press-in pulley, so you’ll have to use a pulley press to squeeze it onto the power-steering pump. At this point, you can install your belt. If you installed it before installing your oil pan, you simply need to stick a 3/8” drive ratchet into the Ecotec tensioner to loosen it before placing the belt over the alternator and power steering pulley. If it’s off the engine completely, then you’ll need to remove the crank pulley in order to fit the belt between the crank pulley and the oil pan.
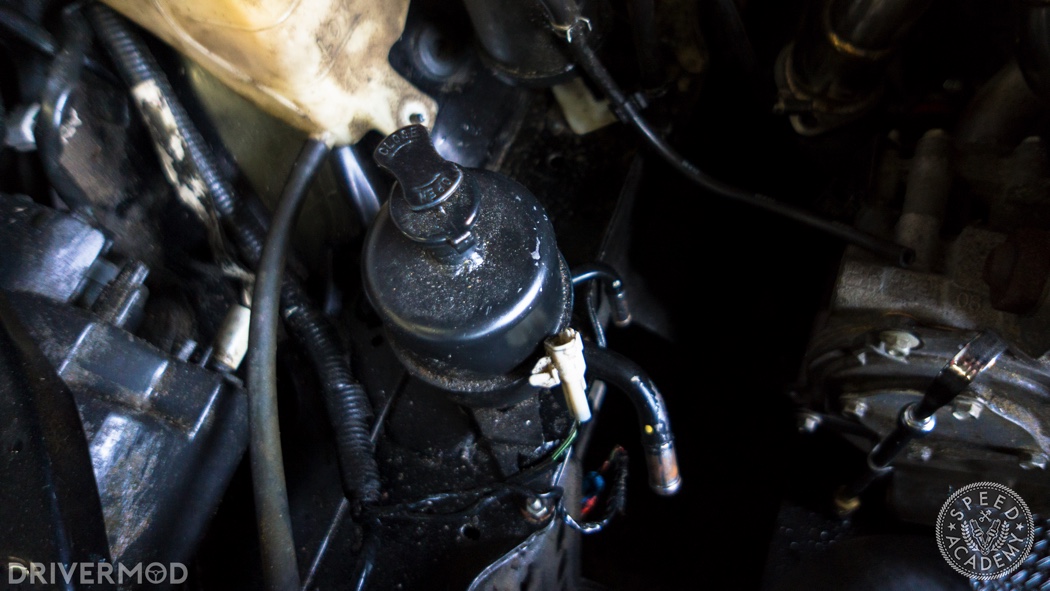
Now you can reinstall your factory radiator fan, but the power steering fluid reservoir will need to be relocated to the opposite side of the engine bay. My engine bay happened to have drain holes on the passenger side of the engine bay that allowed me to bolt up the reservoir without drilling, but you may have to do some drilling to fit up yours.
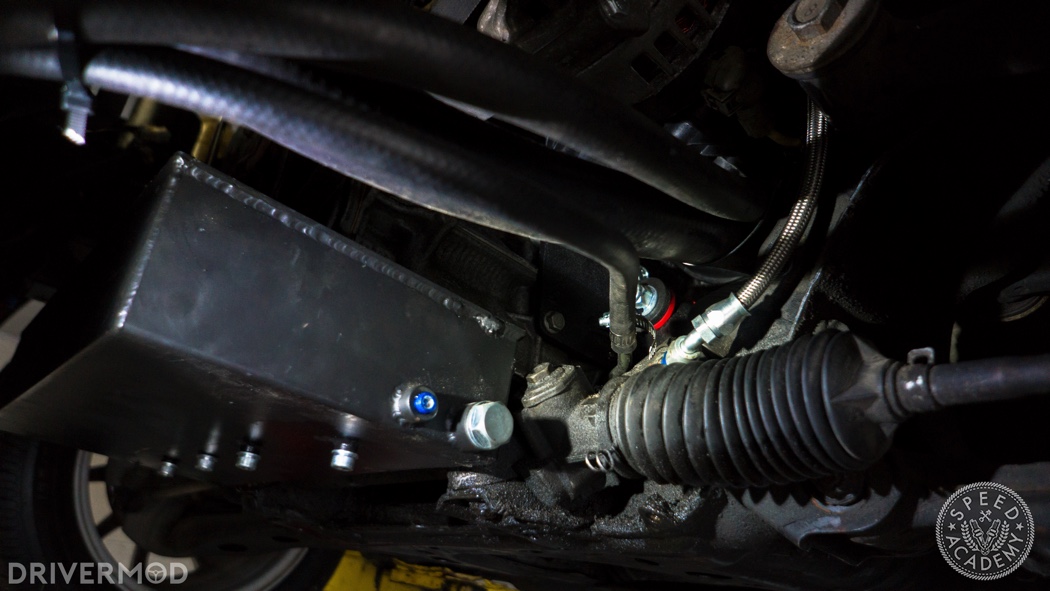
The Ecotec Miata power steering kit comes with all the hoses you need to connect the pump, steering rack, and reservoir. Rubber hoses are used to connect everything with clamps, with the exception of the pressure line running from the pump to the steering rack. For this, you’ll use a braided steel pressure hose. Check the kit’s supplied instructions for greater detail.
In this photo, you can see the power steering hoses. There’s three; a rubber hose running from the reservoir (relocated to the passenger side of the engine bay) to the steering rack, another rubber hose running from the steering rack to the power-steering pump, and a braided hose running from the pump to the steering rack. Note: the hoses running from the reservoir to the steering rack have been zip-tied to the bottom of the radiator.

Just when you thought you were done wiring once and for all, now is a good time to wire in your alternator and starter motor. You’ll find the factory Miata starter and alternator wire tucked somewhere behind the engine. There’s a single thick wire that runs to the alternator and a thick and thin wire for the starter; all of these wires will need to be extended.
Starting with the alternator, you’ll need to cut off the old alternator terminal, strip the end and extend it with a wire of a similar gauge using a crimp connector. Once you know how long the wire needs to be to reach the Ecotec alternator, you can cut it, strip it, and attach a one hole terminal to the end. We then attached the plastic cover that was on the original alternator wire to our new alternator wire and bolted it to the alternator. If you haven’t already, you can attach the wiring harness’ alternator clip to the alternator as well.
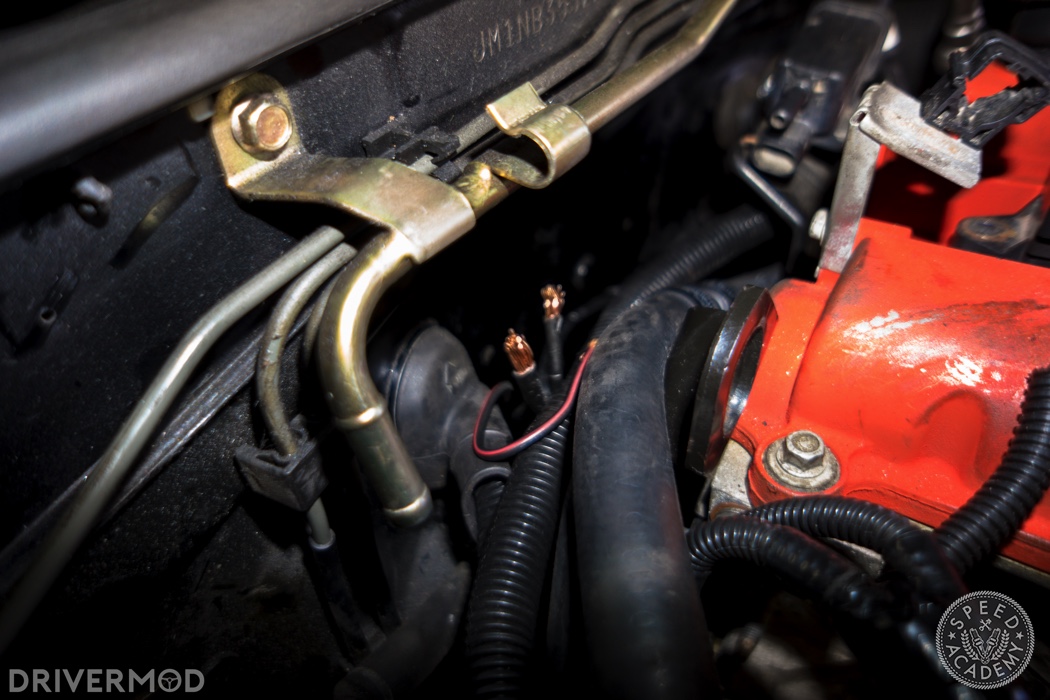
The starter wiring is made up of three wires; two thick starter wires, and one thin battery wire. These two thick wires are spliced together into one 4 mm starter wire using a crimp connector. You’ll need to remove that factory crimp connector and splice your new, longer starter wire into the new crimp connector. Wrap that in electrical tape to keep yourself from getting electrocuted, and once you figure out how long you need your new starter wire to be, cut it, splice it, and crimp a one-hole terminal onto the end of it.

After you have bolted the thick starter wire to the larger terminal on the starter, you can go about extending the thinner battery wire. Like you’ve done with everything thus far, cut off the old terminal and extend it with a crimp connector and a wire of a similar gauge. At the end of your new wire, attach a one-hole terminal and bolt it to the smaller terminal on the starter. When you are picking terminals for your new wires, check to make sure they are the right size by test fitting them on the starter terminals. You can see the starter wires bolted on to the starter in the picture above. The easiest way to do this is to either remove the intake manifold or use long extensions.

While we had the intake manifold off, we replaced the factory oil pressure sender with a Stewart Warner oil pressure sender, as we’ll be running aftermarket oil pressure and water temperature gauges. Next, we’ll be tackling the car’s exhaust.
Phillip Oliveira is a local track day junkie who spends his days running the Canadian car culture journal DriverMod, and his nights awake wondering if his Ecotec-swapped Miata will ever be finished. You can see more of his work at www.drivermod.ca.

How did you get the car running PCM/ECM
how did u get it running ecm