By now there are probably almost as many SR-powered 240’s running around North America as there are KA-equipped ones. So why bother providing a step-by-step guide on such a popular swap? Simply put, because there are still a lot of enthusiast performing this swap. Despite completing this swap (and taking these photos) in 2011, this guide is very comprehensive but just like with anything mechanical, there will be some slight differences between cars, engines and installations methods.
I performed this swap in a standard house garage on jack stands with a decent set of hand tools. Plan for a full weekend of wrenching and remember the key is to take your time, especially if this is your first SR swap. Rushing matters will only result in mistakes being made that will come back to haunt you once you’re ready to turn the ignition key.
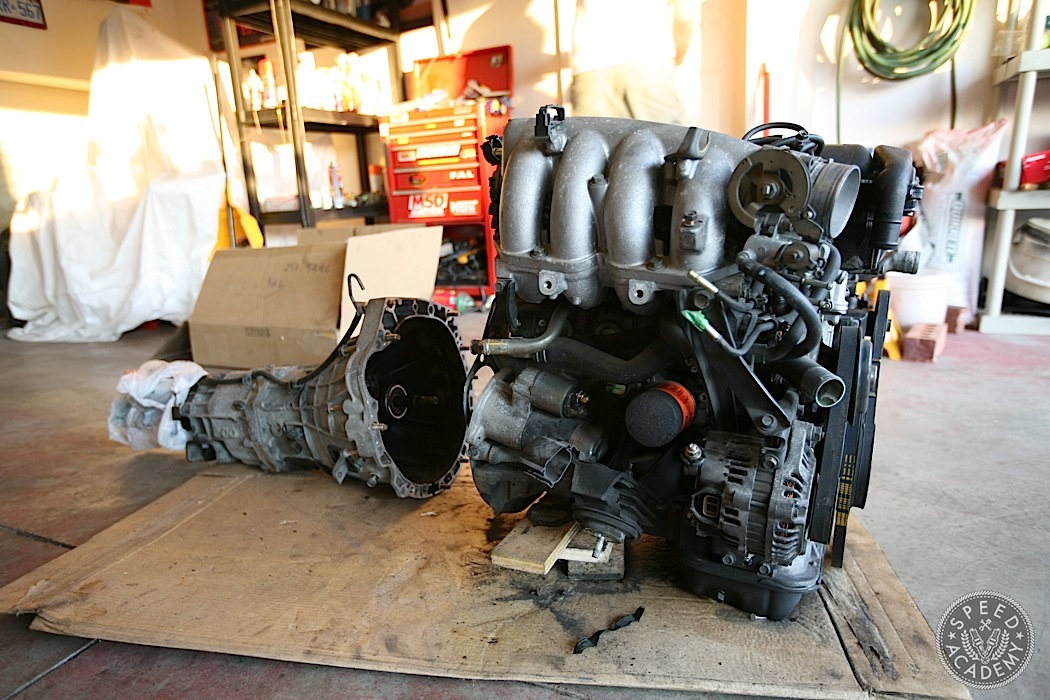
If you’re wondering why the SR20 and not RB26, 2JZ, or even a GM V8 swap which are becoming more and more popular. It boils down to simplicity and cost. Most of us who own 240’s are on a budget, trying to make our cars as fast as possible without putting too severe a beating on the pocketbook. Simply put, the SR20 swap is the best bang for the buck for the S-chassis.
The second reason is simplicity. Unlike the other swaps, no custom mounts or drive shafts are needed. This sucker just fits perfectly, as you’d expect from a drivetrain that was the factory choice for the JDM version of this vehicle.
As for sourcing a motor, do your homework and find a reputable place to buy your engine set from. The lure of cheap motors usually comes at a cost of performance when you finally get it fired up (if it even fires at all). If the deal is too good to be true then it usually is. Be sure to inspect your motor set by checking compression, the plugs, pulling the valve cover, and spinning the turbo among other things.
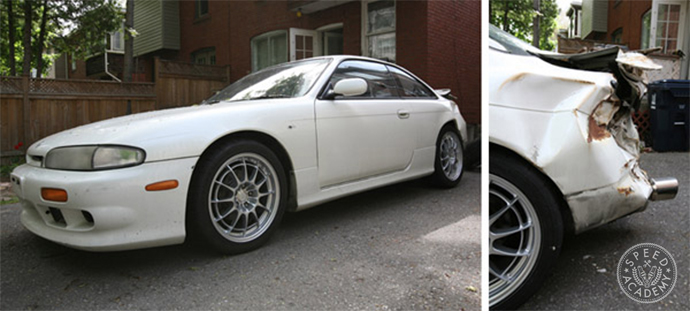
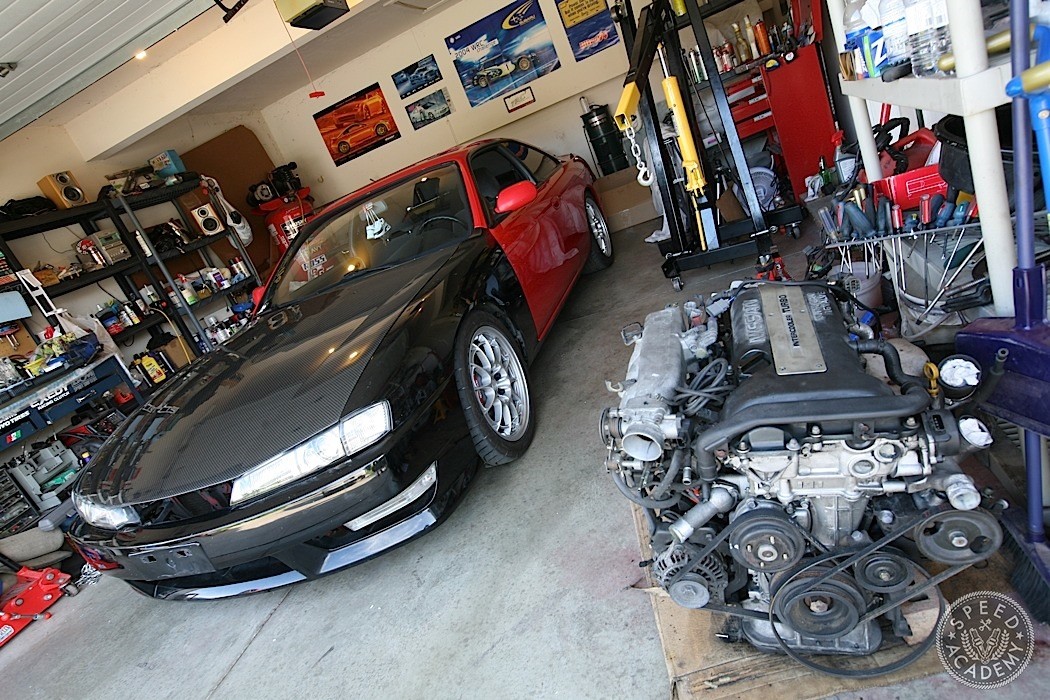
Unlike most of you, I was able to source an engine set from an actual JDM S14 that I bought. As luck would have it someone was selling a wrecked one and I jumped on it! I parted the car out and kept the drivetrain which cost me nearly nothing but the real advantage was that I had a chance to drive the car and do a compression test on the motor to ensure everything was in proper working order.
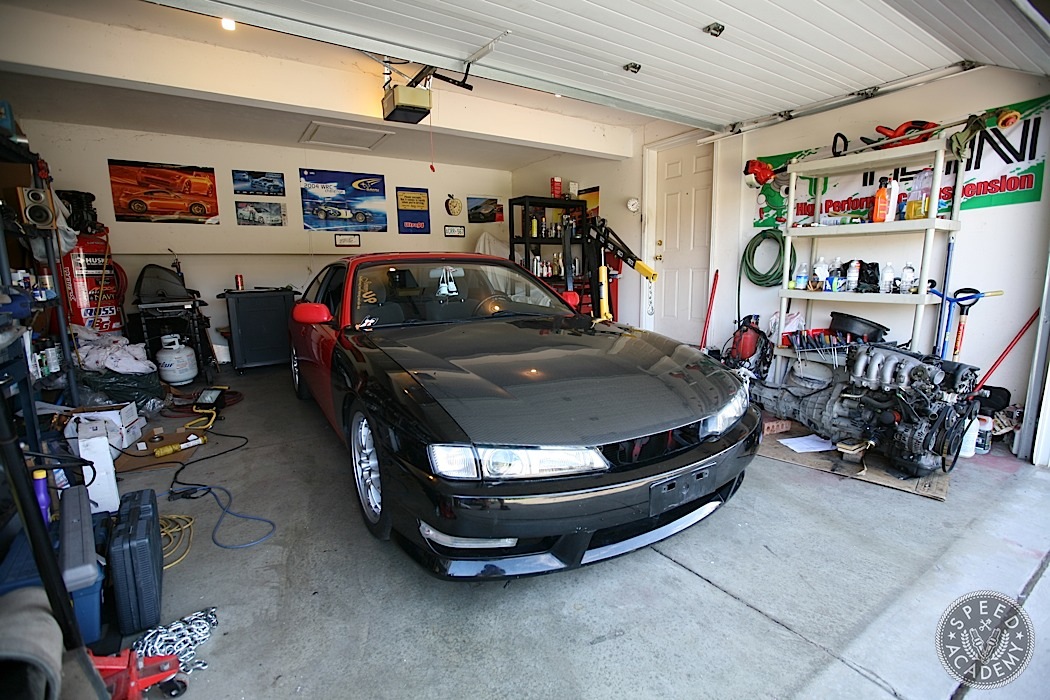
This was my workspace for the swap. As you can see it’s nothing too fancy. We did have an air compressor, which helps speed up the removal of some of the bigger bolts, but hardly a requirement. By the way, you’ll have to excuse the mismatched paint on S14. I had just finished installing a JDM Kouki front end and wanted to perform the SR swap before it went to paint.
Clutch
Before even touching your car, there are some critical components that need to be inspected and possibly replaced. The clutch is right up there at the top of the list. Chances are the clutch is old and beat up from years of abuse in Japan. Even if it isn’t, this is still a good time to install a better clutch since the OE unit can’t handle much more power than stock.
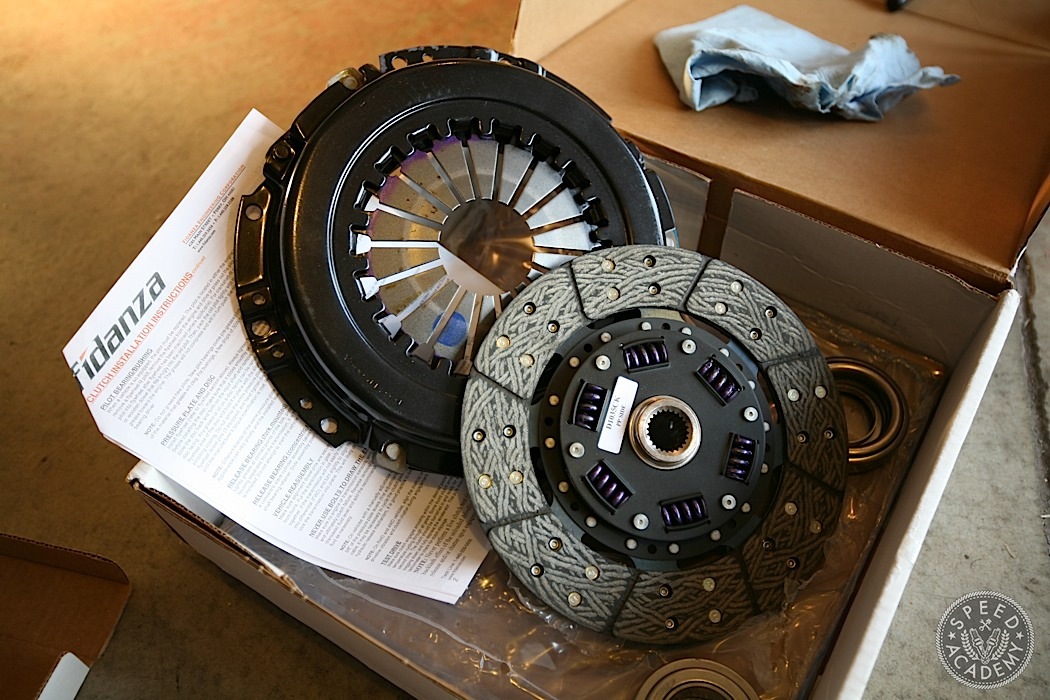
Here’s a great lesson for all of you out there. The clutch that you see here is a Fidanza unit. Fidanza is known for making great flywheels but as I found out the hard way, their clutches aren’t so good. This unit didn’t have a properly matched pressure plate and slipped from day one. There’s nothing worse than installing an engine swap and realizing that you’ll have to take it apart right away so do your homework and buy proven parts.
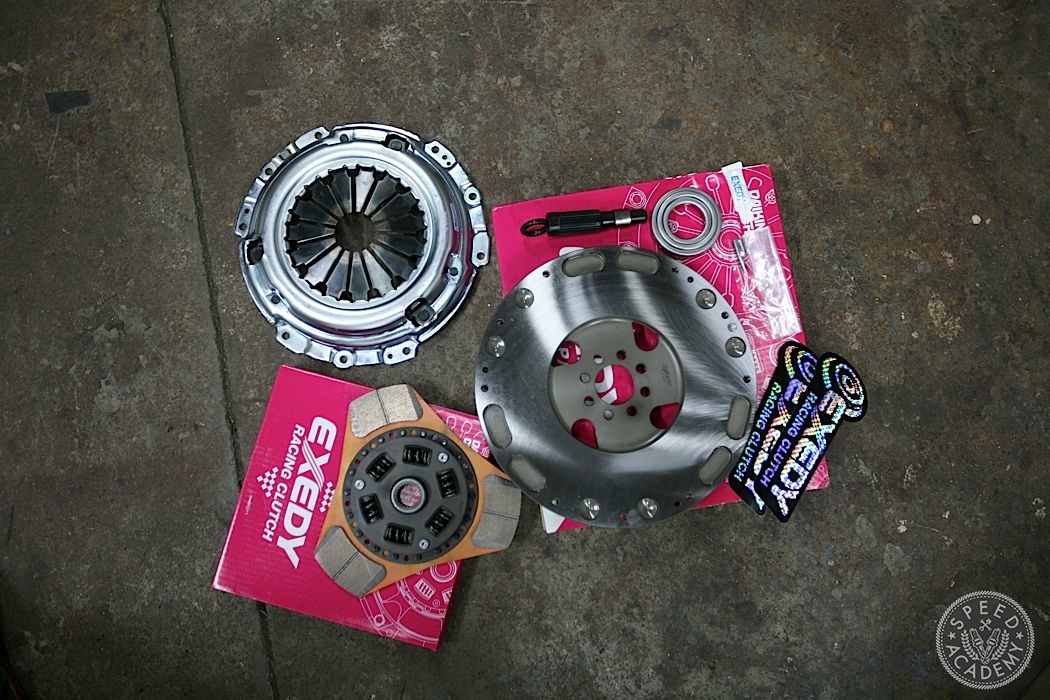
Replacing the Fidanza clutch was an Exedy 3-puck sprung disk and lightweight flywheel. This clutch is rated at 400hp/350ft-lbs and is for the performance minded individual who’s looking to use their car more on the track then on the street. It’s still very streetable but does chatter here and there in heavy traffic.
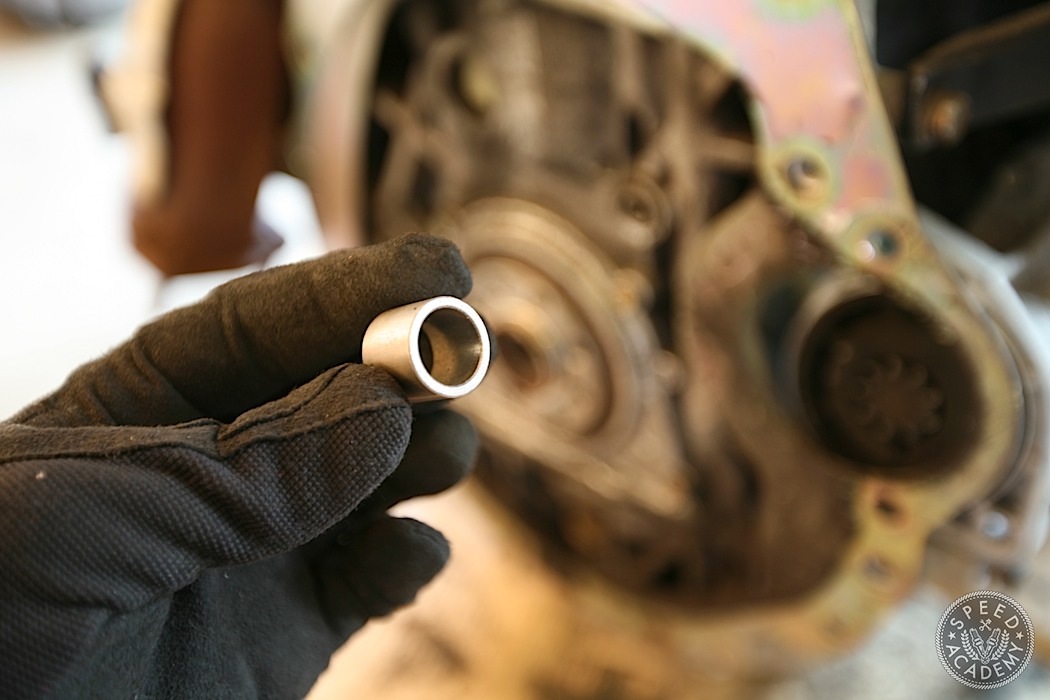
Changing the pilot bushing bearing is also a good idea. It’s cheap insurance against the stress that’s placed on the input shaft.
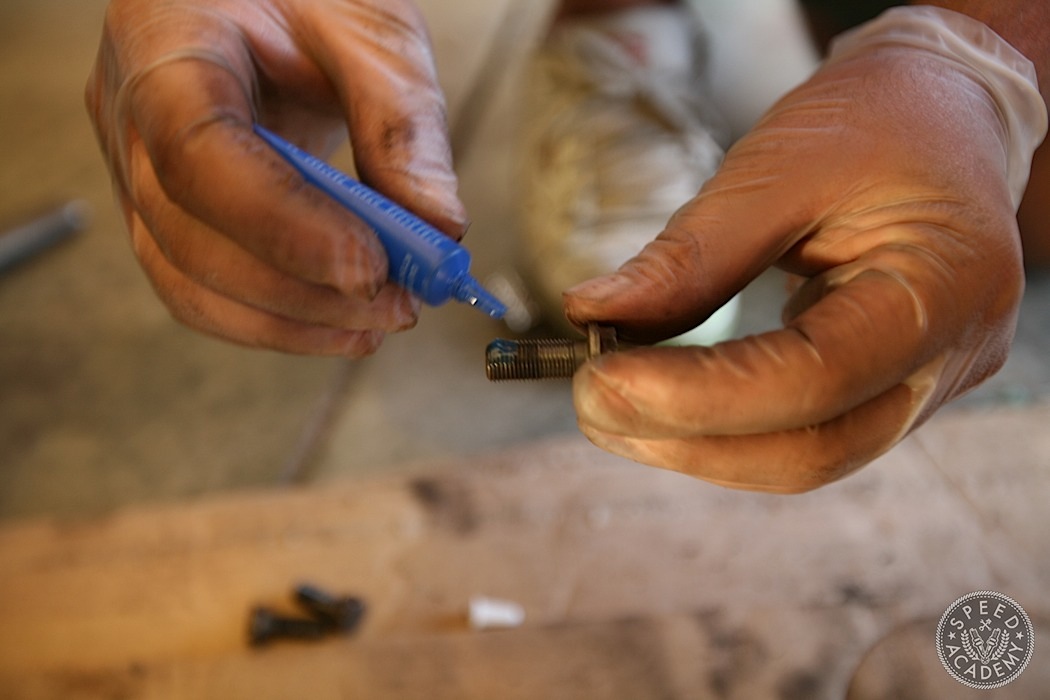
Always use some type of thread sealer on the flywheel bolts. If they back out then you’re going to have a serious engine failure on your hands, not to mention the chance of a flywheel coming through the firewall. Ouch!
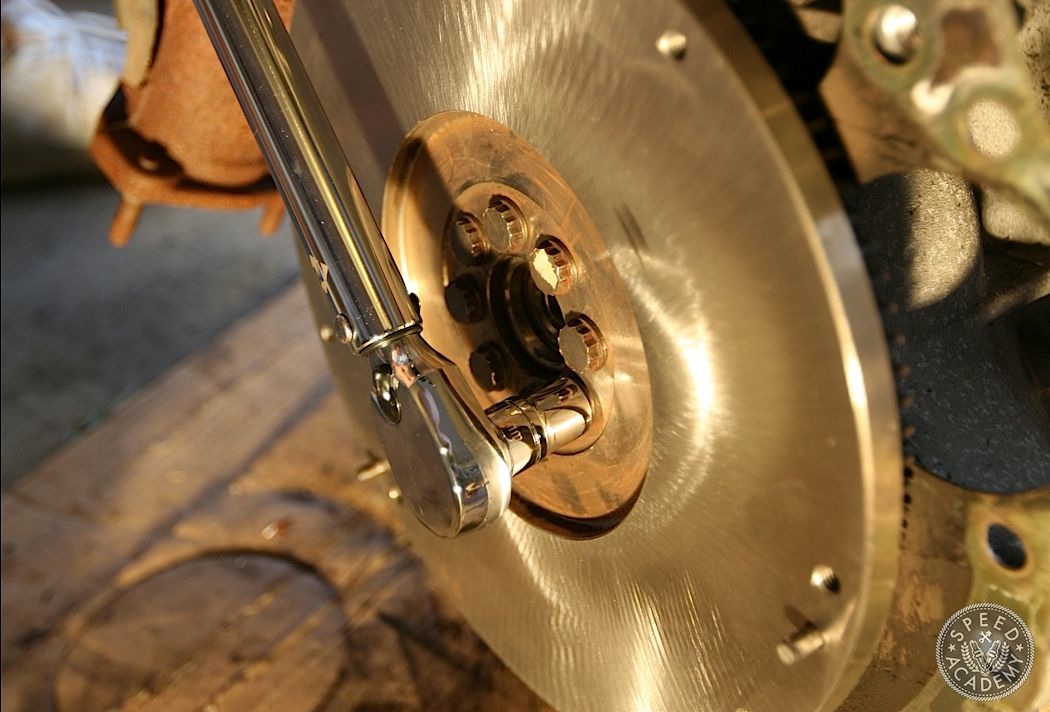
In a star pattern, torque the bolts to 94 – 101ft-lbs with a torque wrench.

If you have problems with the flywheel turning as you are torquing the bolts, you can use a large pry bar and wedge it between the engine and flywheel as shown.
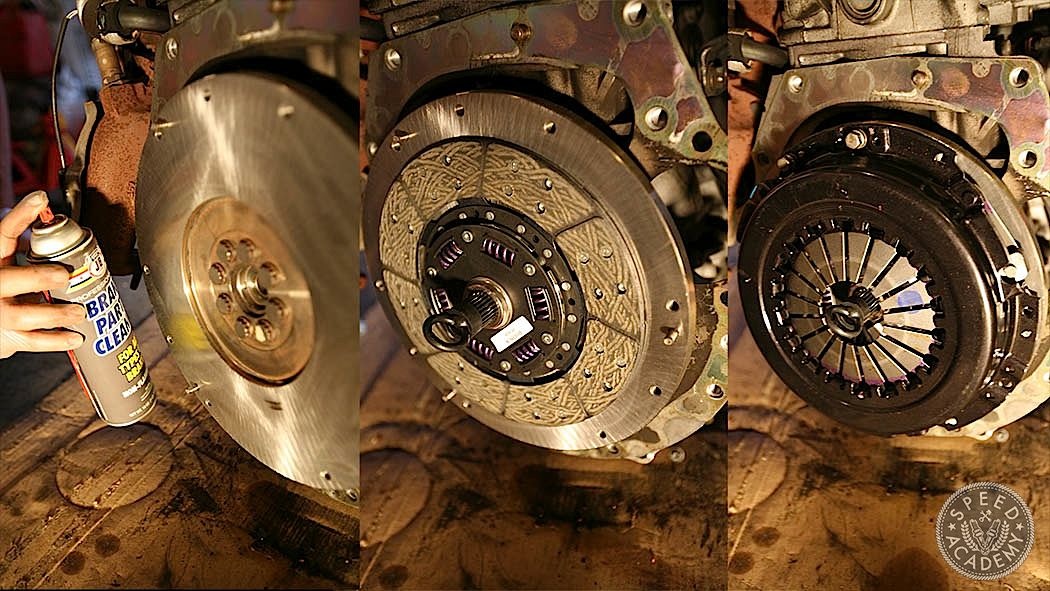
Before installing the clutch, ensure the flywheel surface is clean by spraying some brake cleaner on it and giving it a good wipe with a clean shop towel. Slide the clutch into place with the supplied clutch alignment tool and then the pressure plate. Snug the bolts down in a star pattern following this torque procedure: First tighten all bolts to 7.2 – 14 ft-lb then tighten again to 16 – 22 ft-lb.
I’m planning on doing this exact swap to my 95 S14 Zenki. My car is completely stock and one question I have been wondering is.. Do I need to modify/replace my front bumper for the turbo intercooler to fit?
You may need to trim your bumper slightly depending on what intercooler you get but it wont be much. As for the rebar, you’ll have to cut it to fit most decent sized intercoolers.
tonyfricker88
You shouldn’t unless you’re doing a fmic conversion. The S chassis cars all had side mount intercoolers, and it should bolt up with little to no modification (They came like this everywhere but north America). If you’re gonna do a front mount, then ya, you might need to, but that’s pretty routine