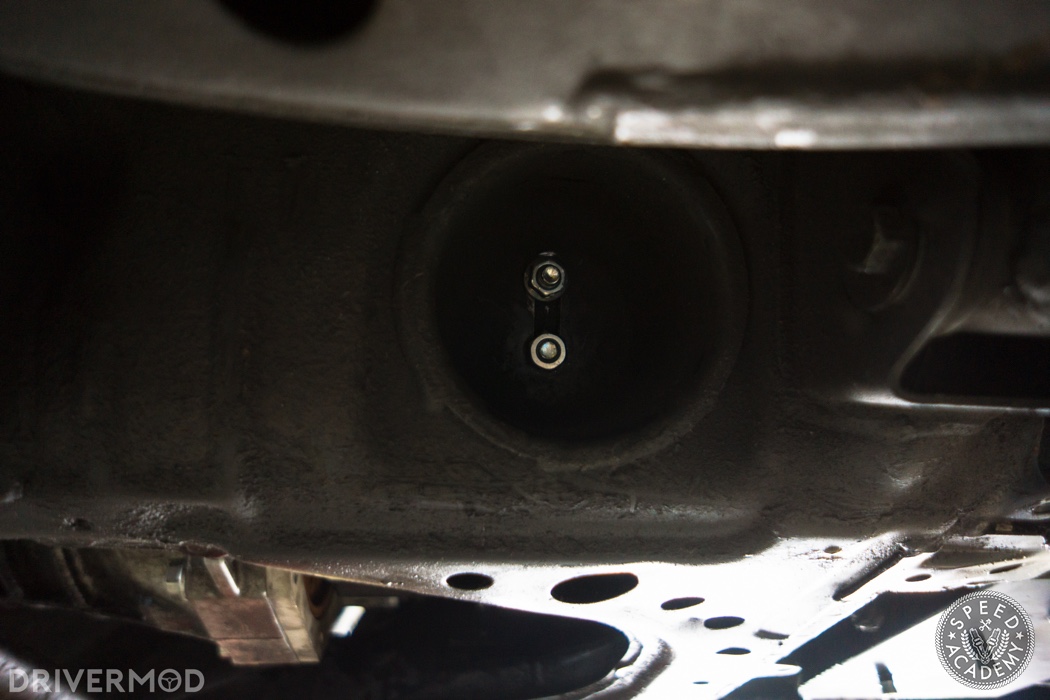
Once you get the bellhousing adapter flush against the transmission, you can install the six provided bolts and torque them to 40ft-lbs. There are four along the bottom that are easily accessible from underneath the car, along with two along the top which is trickier. The bolt on the driver’s side is easily accessible inside from the engine bay while the bolt closer to the passenger side will have to be reached from underneath using socket extensions.
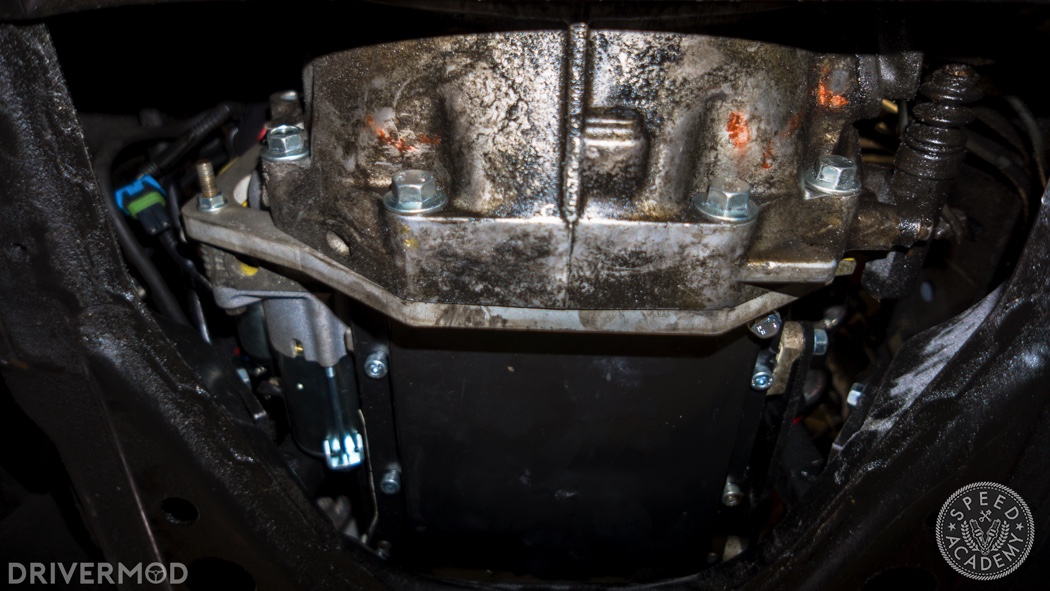
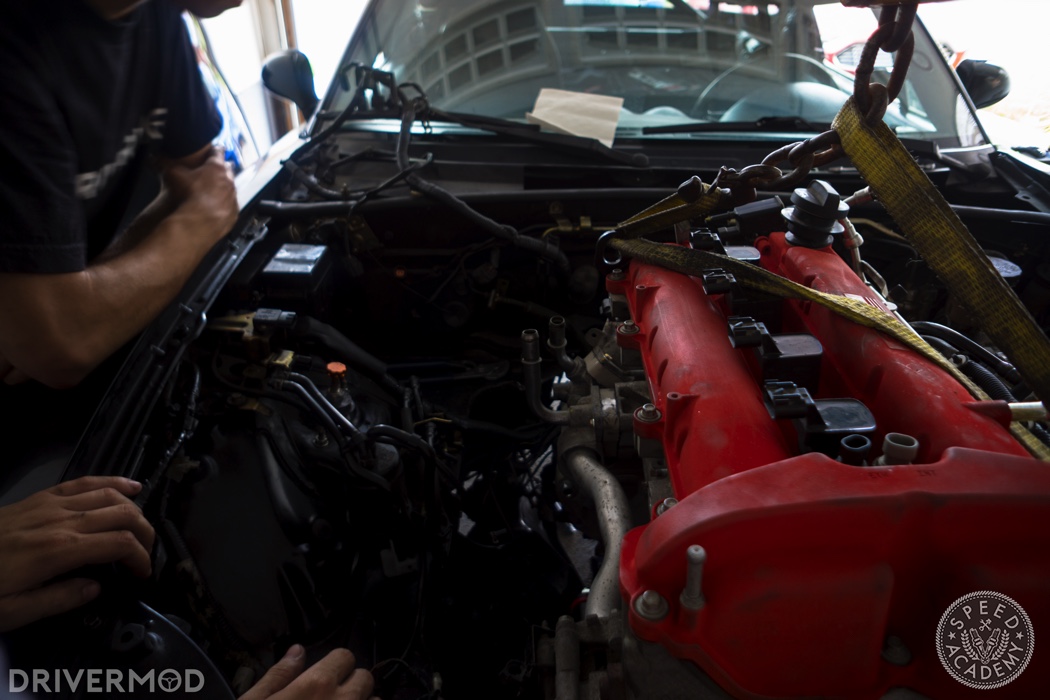
At this point, you can go ahead and carefully lower the engine onto the sub-frame, ensuring that the bolts you threaded into the engine mounts earlier, line up with their holes in the sub-frame. You can then gain access to the back of the engine mount through both front wheel wells, and thread nuts over the bolts. The large bolt that both engine mounts swivel around (inside the poly bushing) can now be tightened as well.
Pro Tip: If your engine mount bolts don’t line up with the holes in the subframe, crack the two 17mm bolts that bolt the PPF to transmission loose. This will allow you to shift the transmission backwards or forwards with a pry bar to line up the engine mounts with the sub-frame. When you tighten the 17mm bolts back up, take a second to make sure the PPF is aligned – there’s plenty of documentation to help with this online.
With the engine now in the car, you can start reinstalling some of the things you removed to get the Mazda BP engine out, such as the radiator and front sway bar.
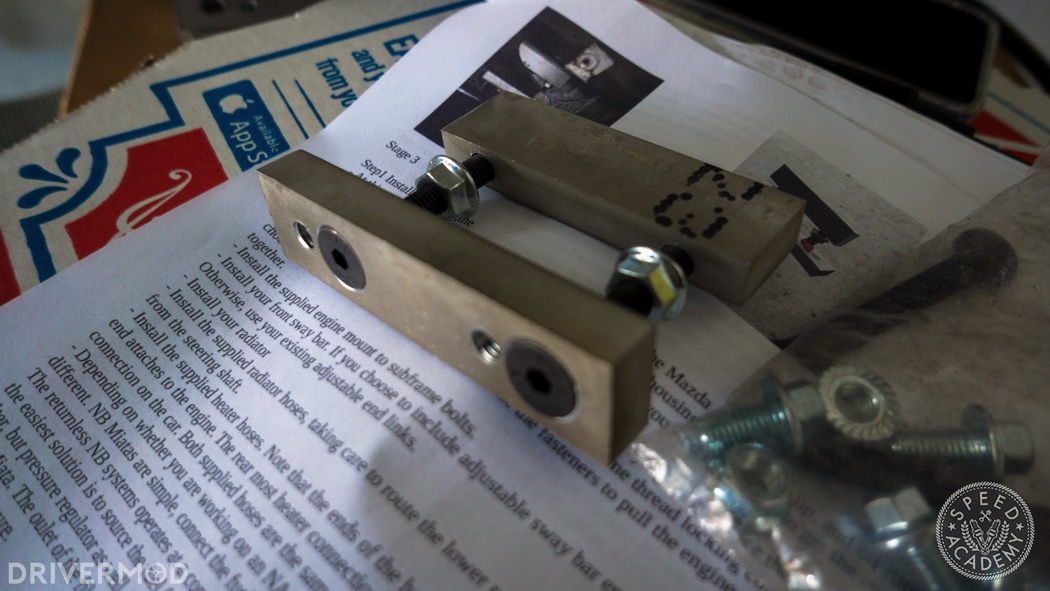
In order to accommodate the new engine, the front sway bar needs to be installed using the supplied sway bar relocation kit. This moves the bar ½” lower than it sat stock. Your sway bar bushings then bolt to the sway bar relocation kit as such.
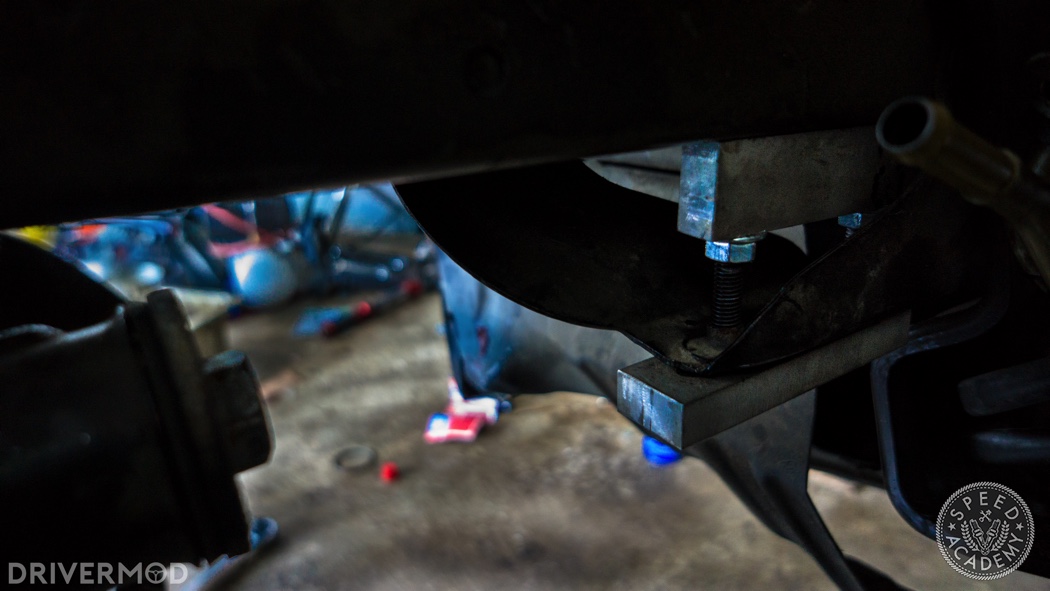
One thing to be mindful of is that the relocation kit needs to be installed in a direction that puts the swaybar as close to the front of the car as possible. Install this kit the wrong way around and your front sway bar will hit your crank pulley.
On earlier kits, there was a problem on NB cars where the relocation kit couldn’t be bolted on in the right direction on the driver’s side because it would hit the radiator mount. The solution is simply to trim part of the factory radiator mount and hit it with some paint to prevent rust.
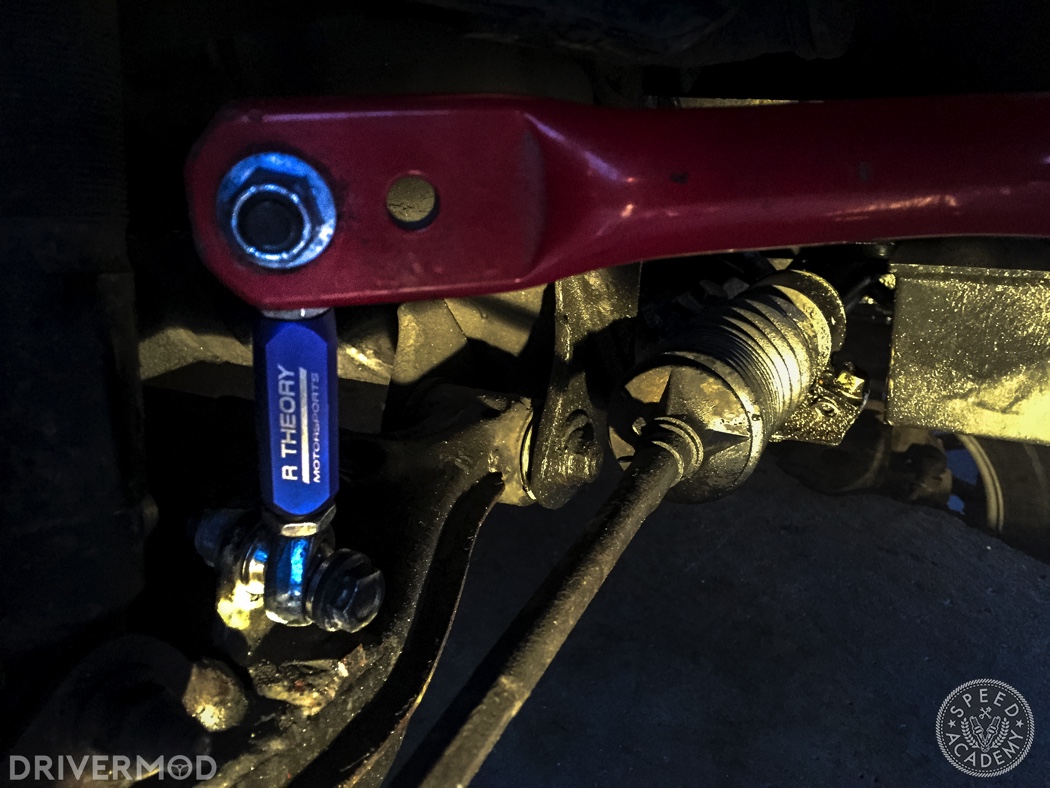
With this done, we bolted up the relocation kit, mounted our Racing Beat sway bar, and finished it off with some brand new adjustable end links from our friends at R Theory Motorsports.
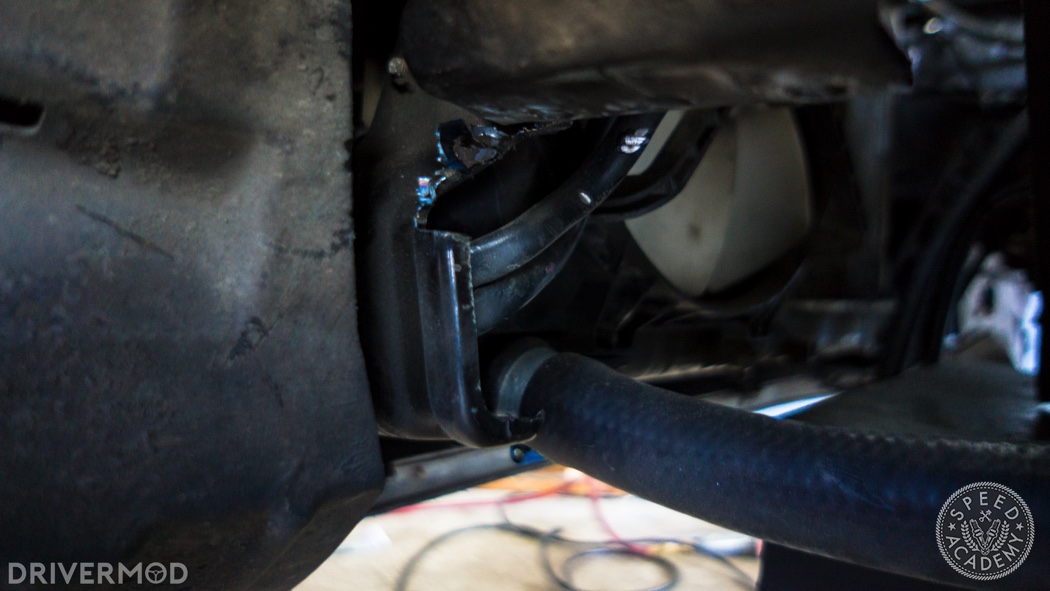
You can also install the supplied heater core hoses and coolant hoses. There are two multi-diameter hoses that attach connect the Ecotec thermostat housing to the Mazda heater core and are secured with hose clamps.
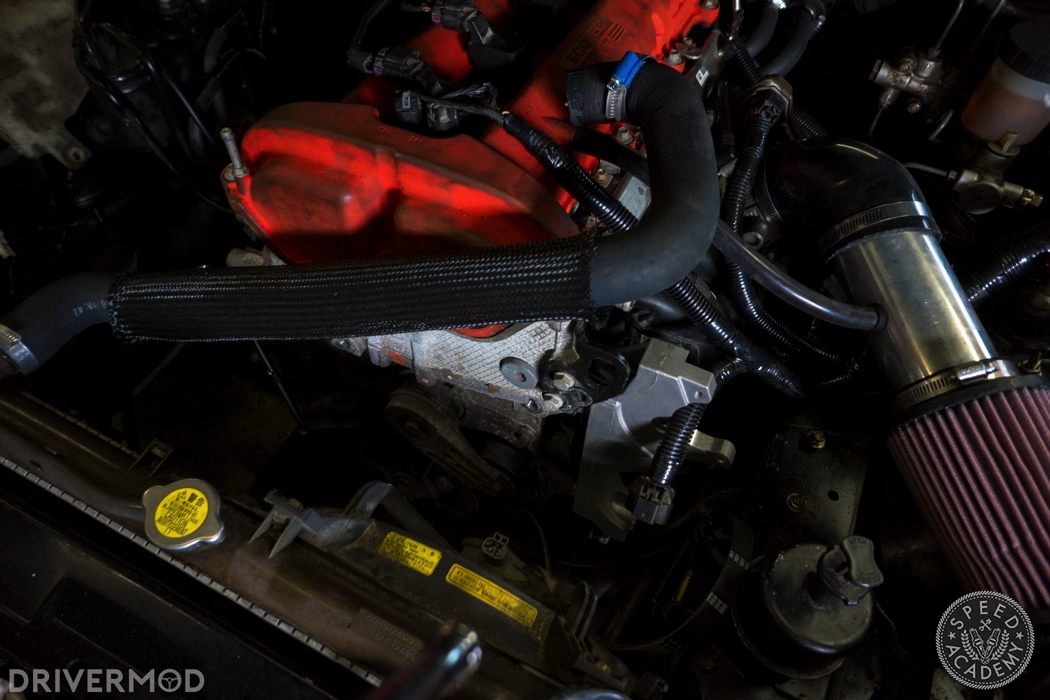
The longest coolant hose connects the thermostat housing to the lower coolant outlet on the Miata radiator with hose clamps, while the shorter one connects the coolant outlet port on the front of the engine, to the coolant inlet at the top of the radiator. You may want to leave this hose off if you haven’t already installed accessories on the engine. You’ll also want to install the supplied intake tube and filter using hose clamps.
With the engine in the car, we patted ourselves on the back thinking that the swap was more than half done. From here on out, the car just needed to be wired, fitted with a custom exhaust, a GM throttle pedal, engine accessories, custom power steering lines, and a fuel line to the GM fuel rail. We couldn’t have been more wrong. Next, we’ll be covering the wiring.
Phillip Oliveira is a local track day junkie who spends his days running the Canadian car culture journal DriverMod, and his nights awake wondering if his Ecotec-swapped Miata will ever be finished. You can see more of his work at www.drivermod.ca.
Mazda Miata Ecotec Swap Part 1
Mazda Miata Ecotec Swap Part 2
Mazda Miata Ecotec Swap Part 3