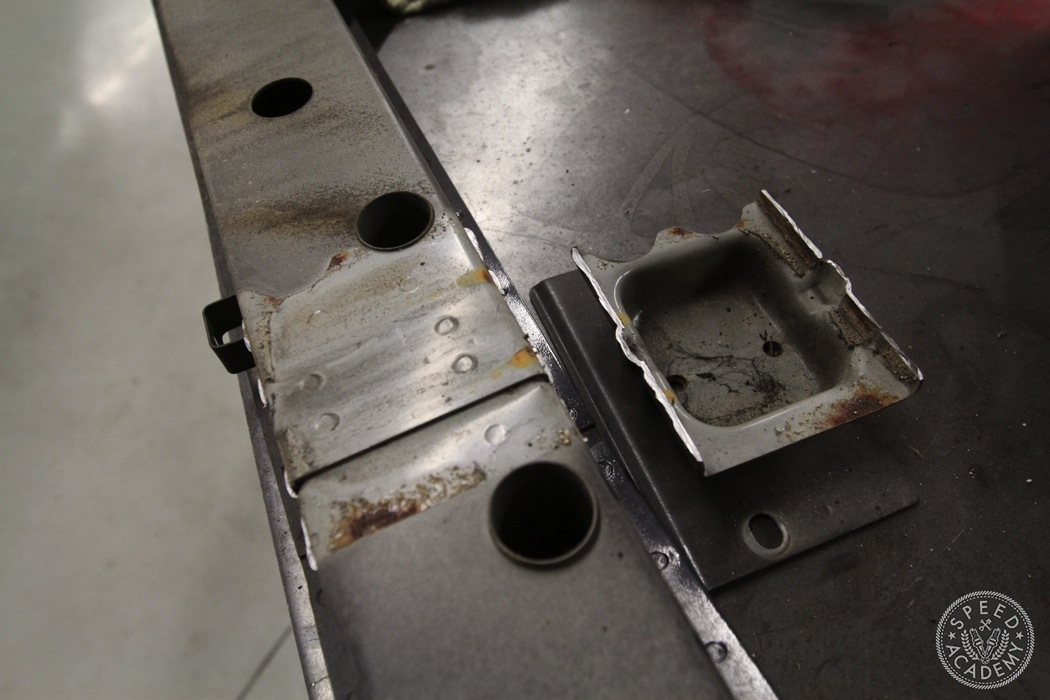
You may need to do a bit more cutting here and there but once free of the welds the bracket should pry off rather easily.

Perform the same task on the other side and this is what you should be staring at.
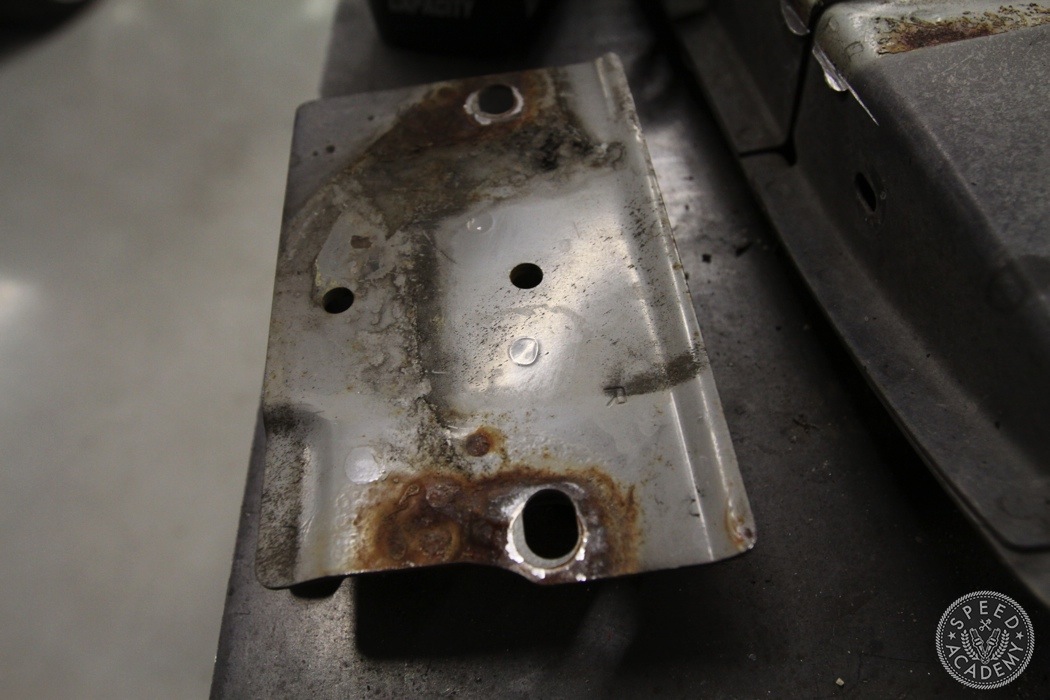
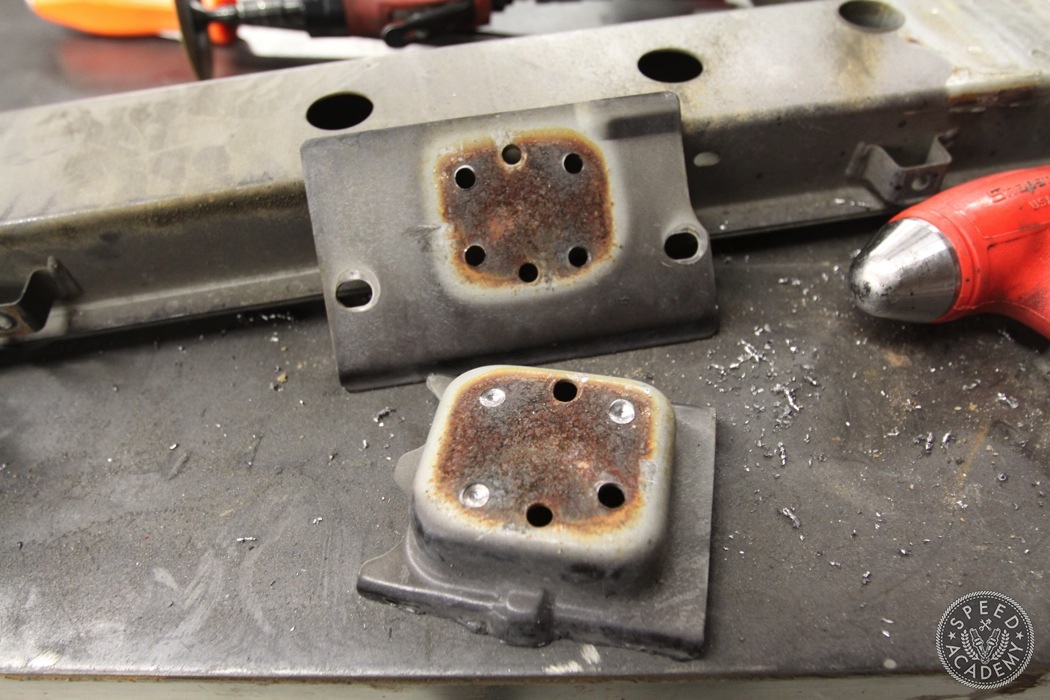
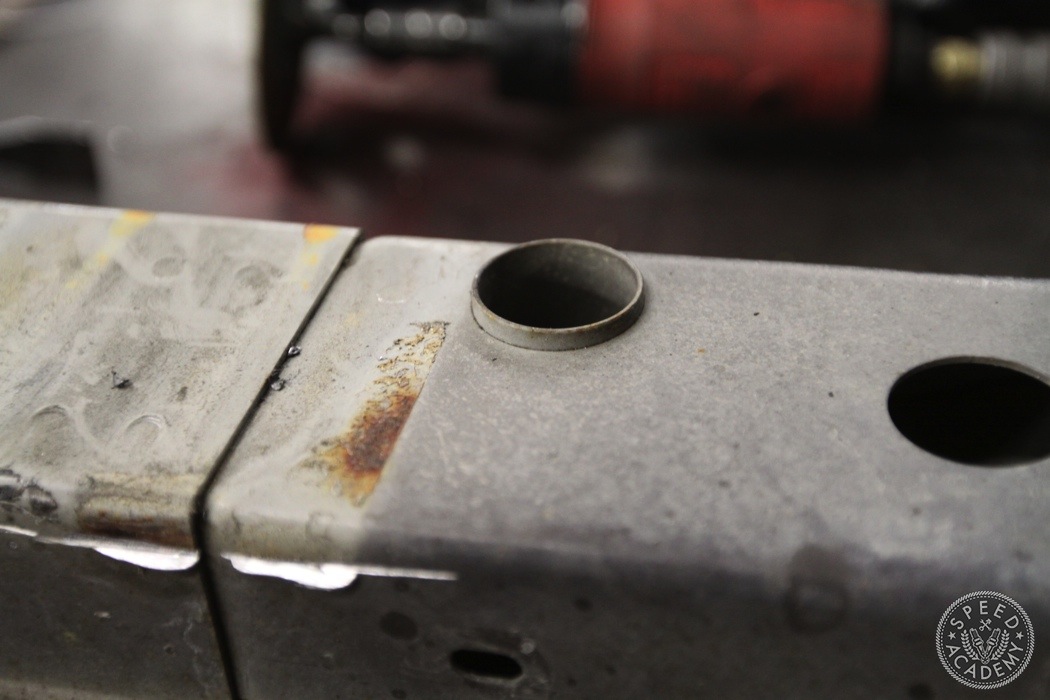
Take a close look at the bracket plate and you can see three spot welds that we’ll need to drill out.
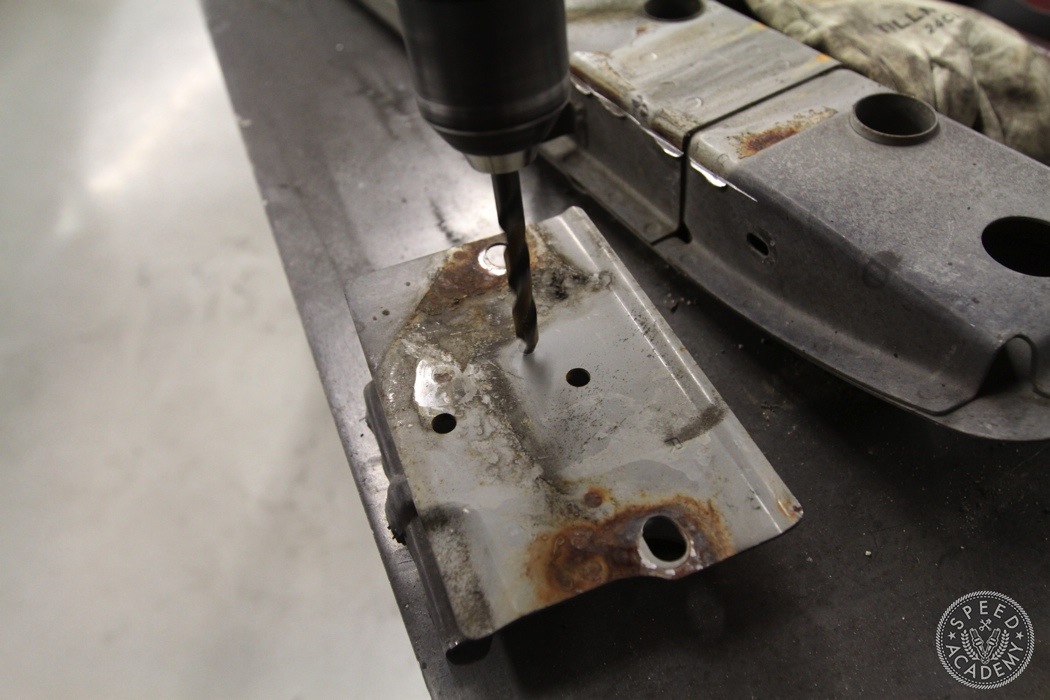
You don’t have to drill completely through the metal just enough to cut through the top plate.
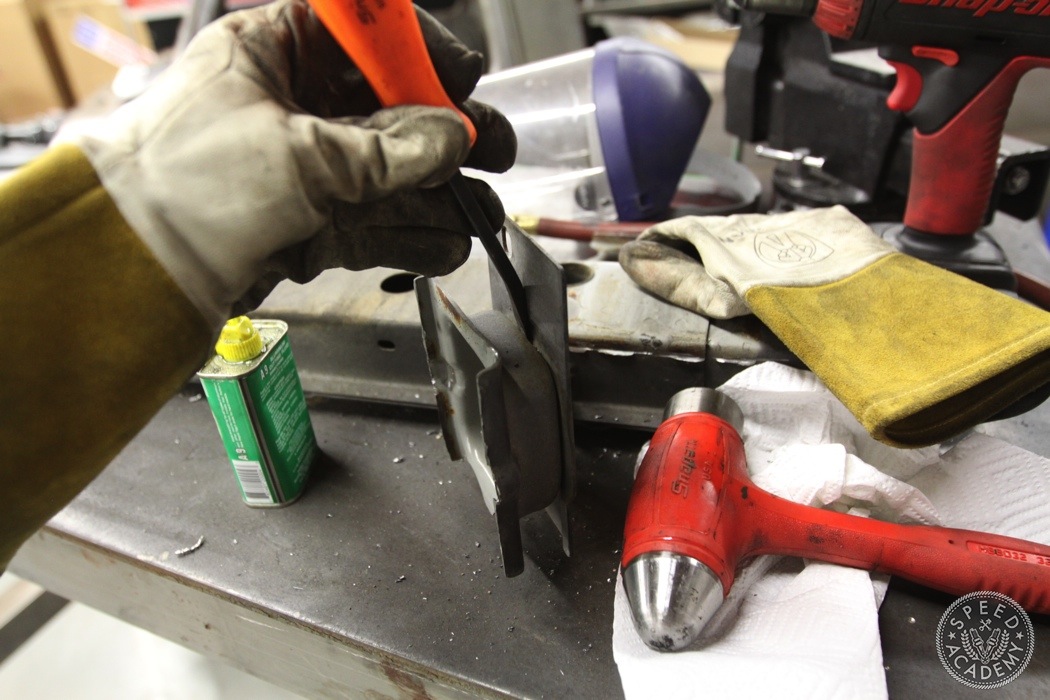
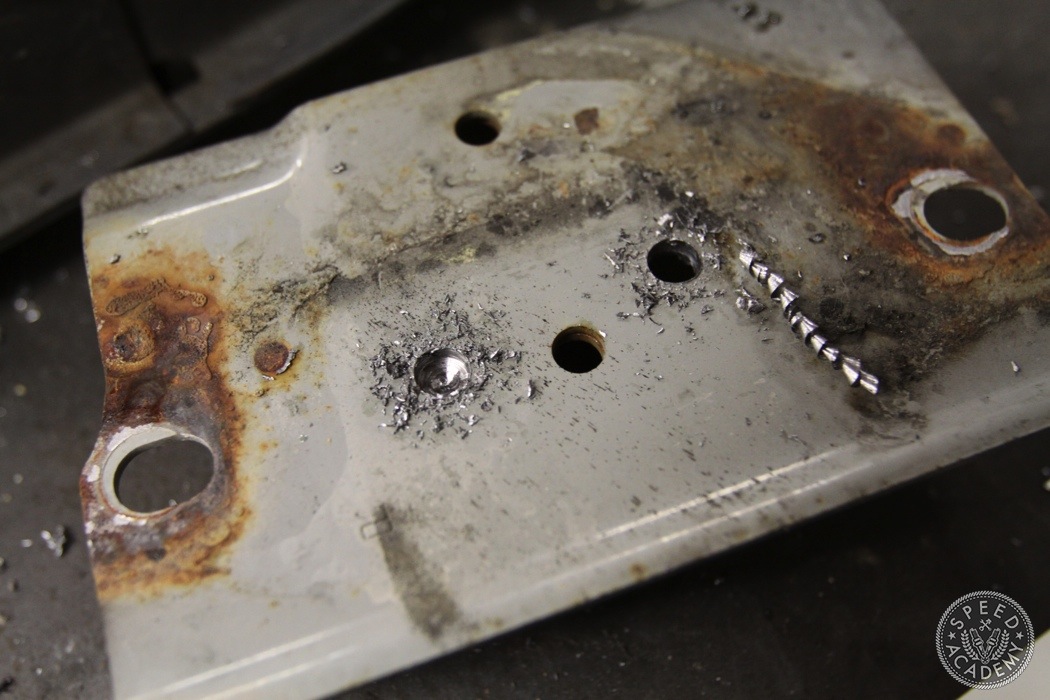
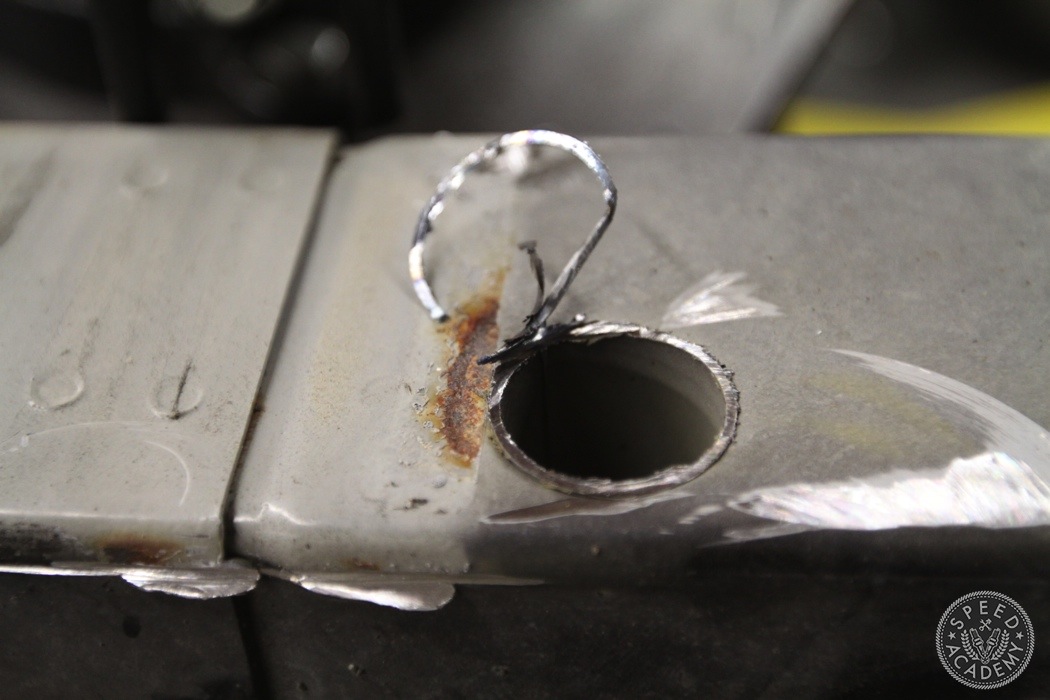
Once you’ve drilled all the spot welds, use the pry bar and separate the two pieces.
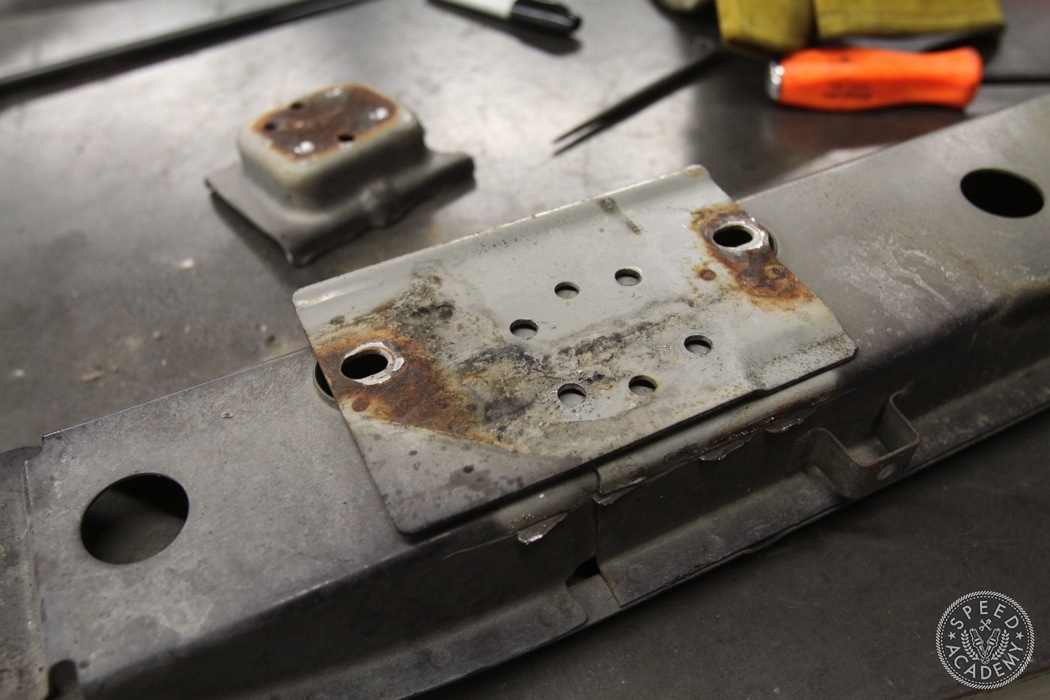
The plan is to re-attach the mounting plate to the reinforcement bar. This will make it sit much tighter on the rear end thereby clearing the JDM bumper.
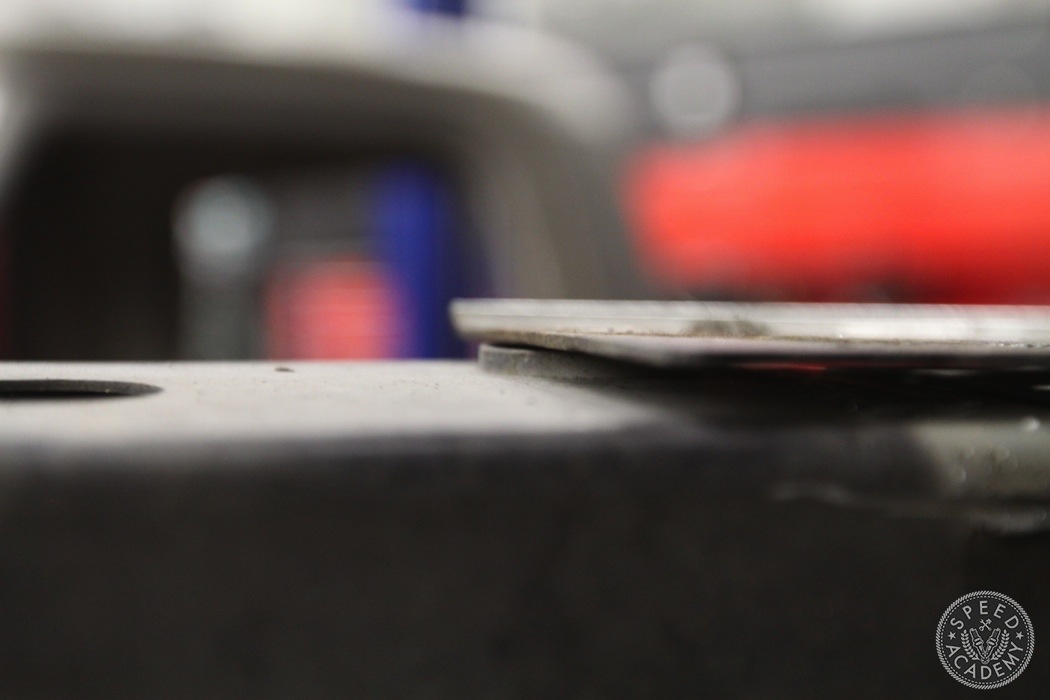
You’ll notice that the plate doesn’t sit flush with the bar and that’s not good for welding so we need to fix that. Get the grinder out again and zing off the excess material.
Heck yeah. Very good info. Pictures are great too.