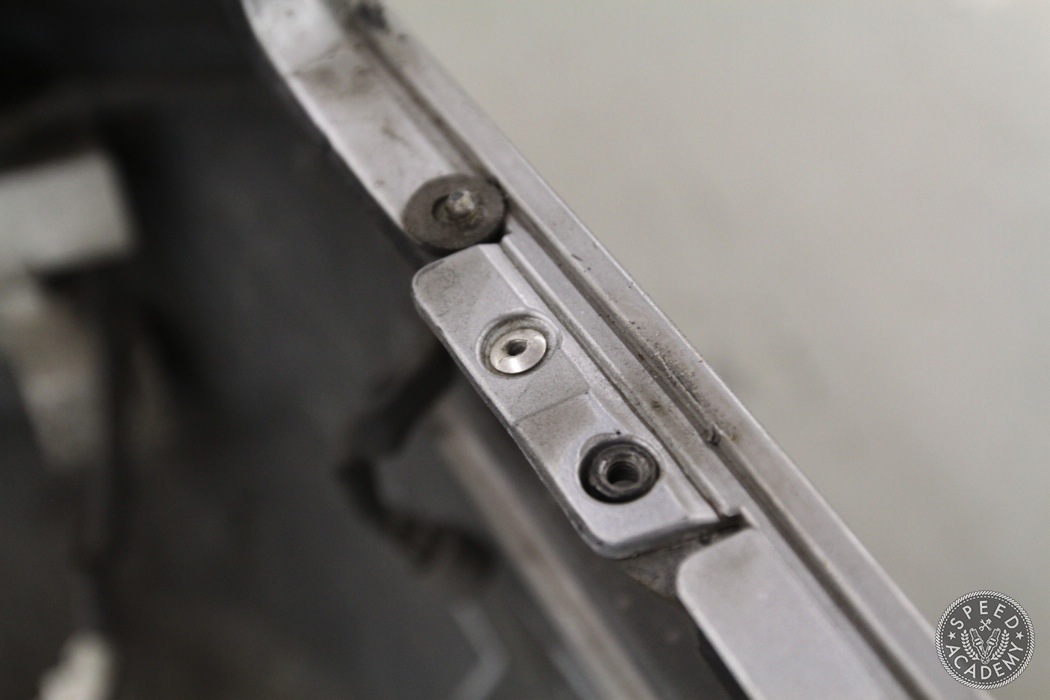
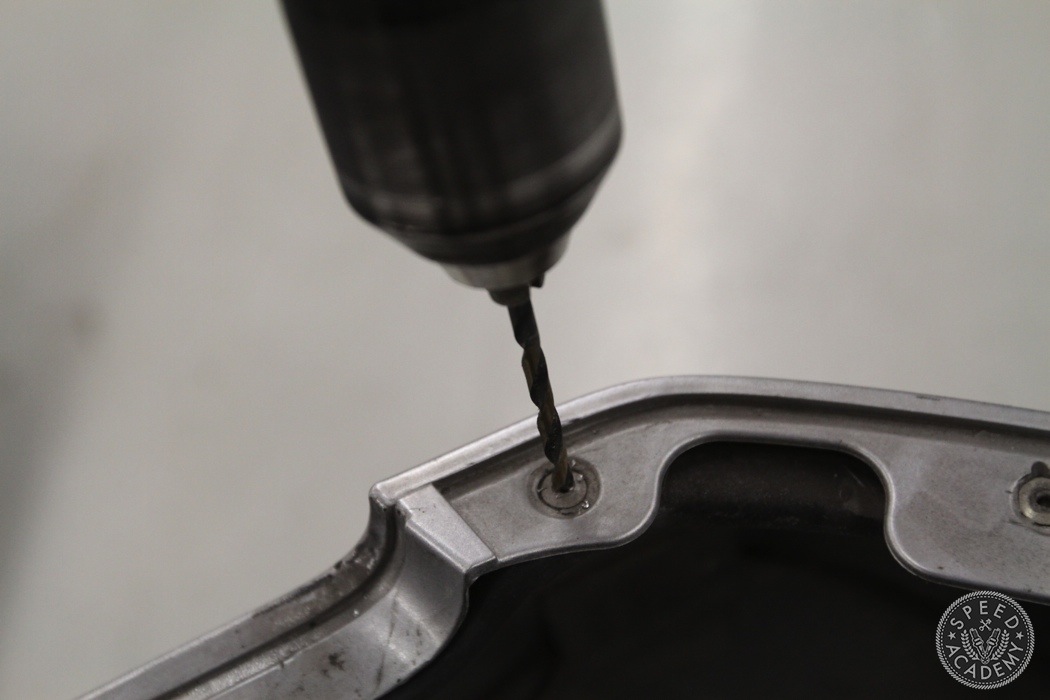
Now comes the tedious part, drilling out all the rivets that hold the metal retainer to the plastic bumper. By the looks of my rivets, they were aftermarket but I can only assume the factory ones will be much the same and the process won’t change.
There’s a lot of them to do but eventually the metal retaining bracket will be free of the bumper.

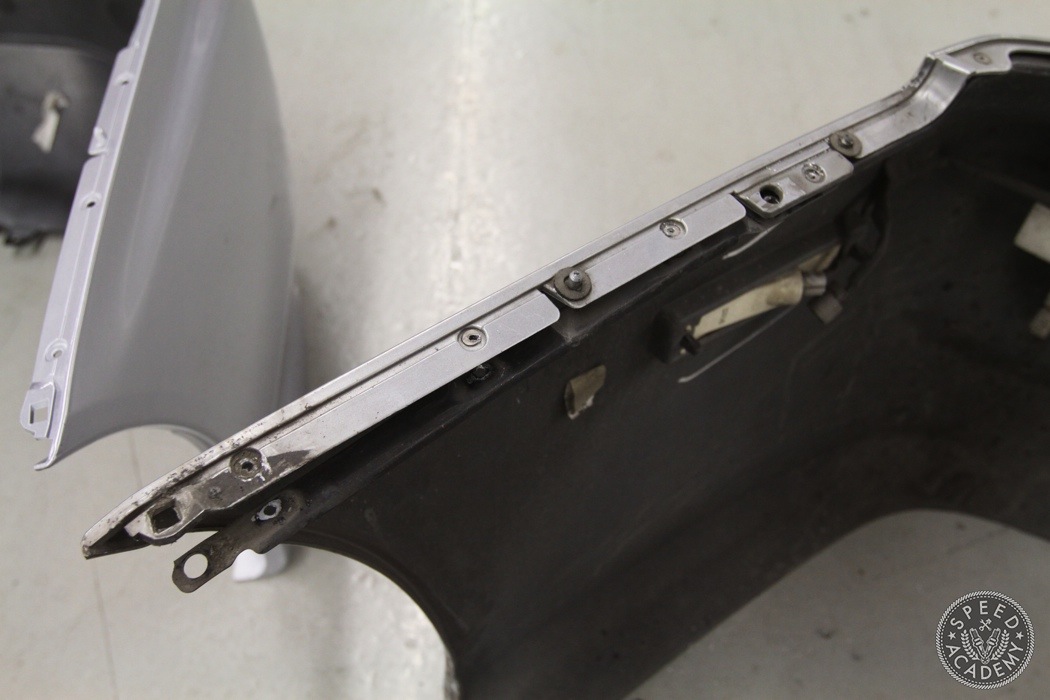
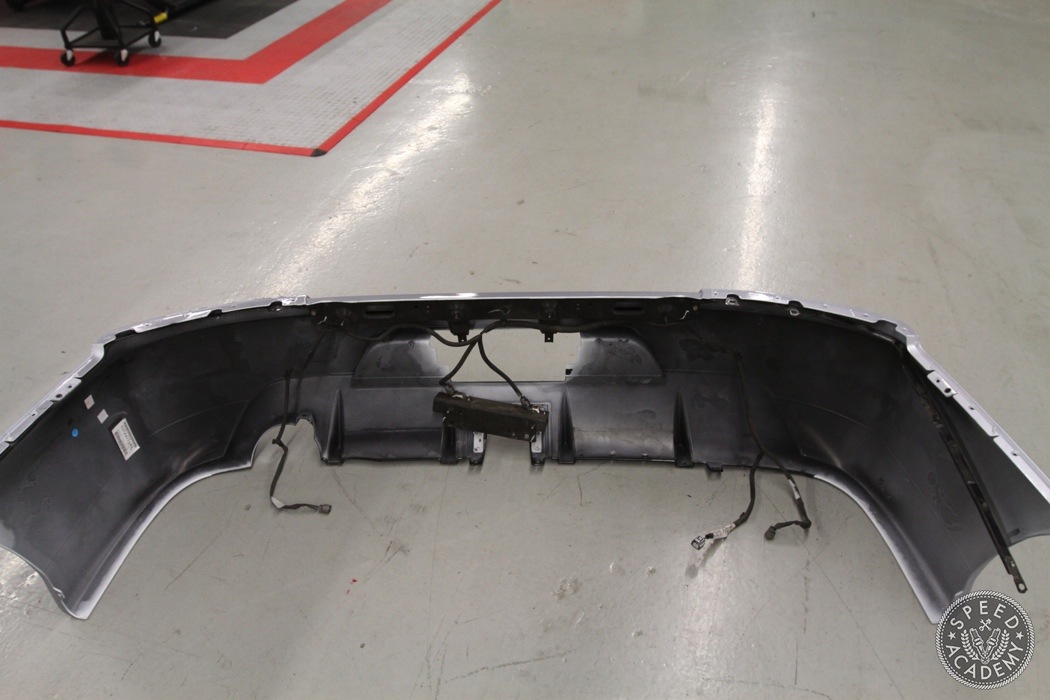
With all the rivets removed the entire center section and side brackets should slide right off.
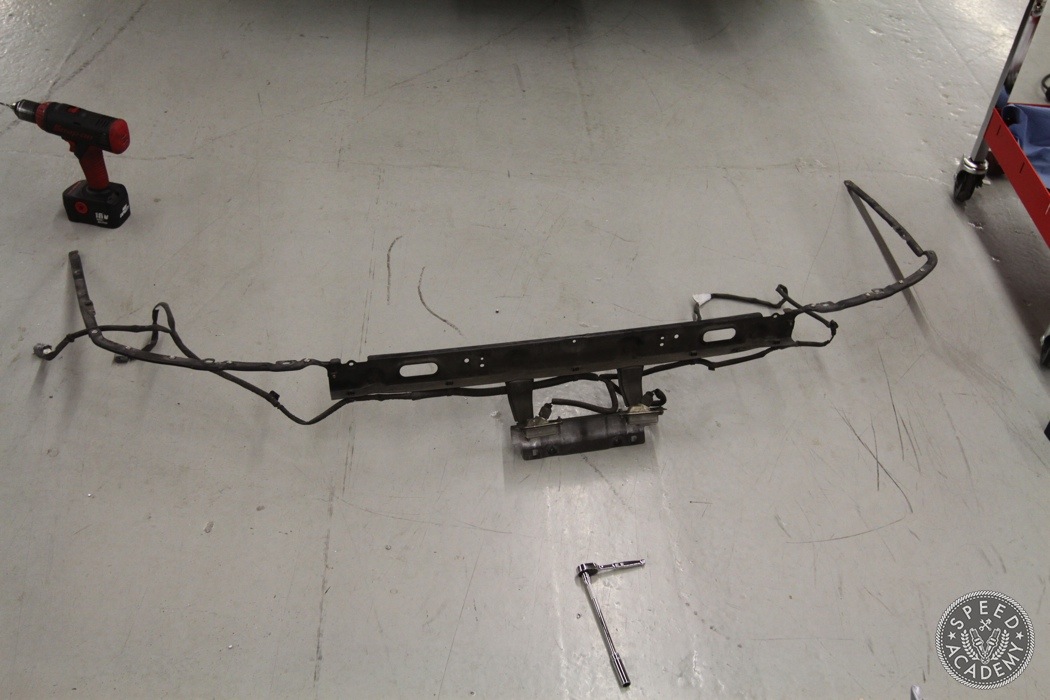
This is what it all looks like. You can actually buy all this new from Mitsu but why waste the hard earned dollars when it can be re-used.
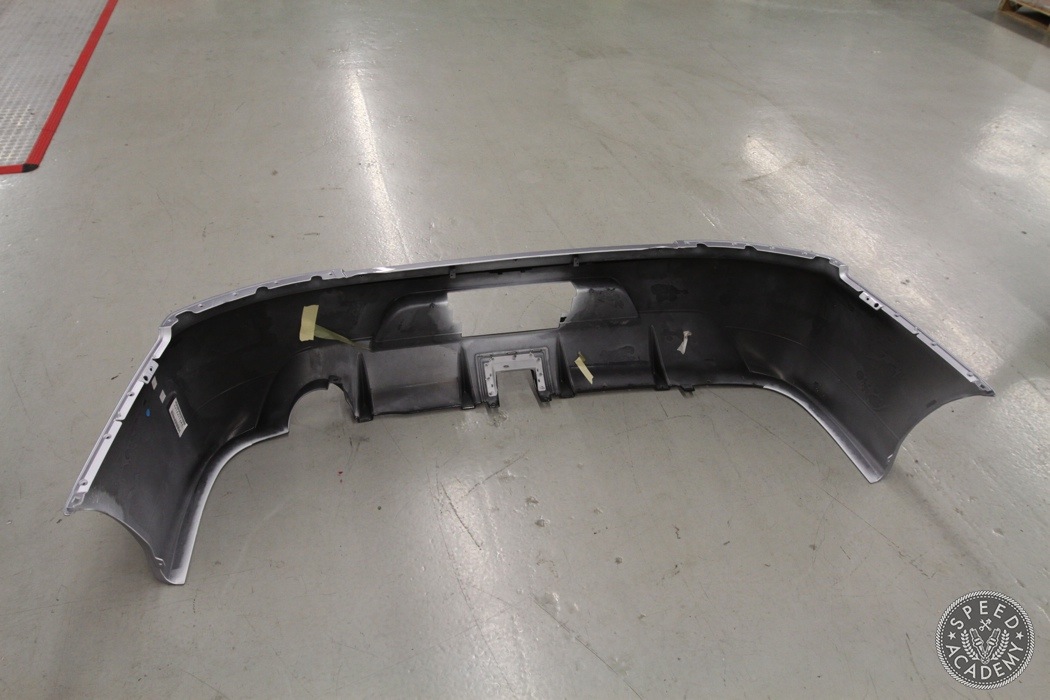
We’ll need the JDM bumper from here on out.
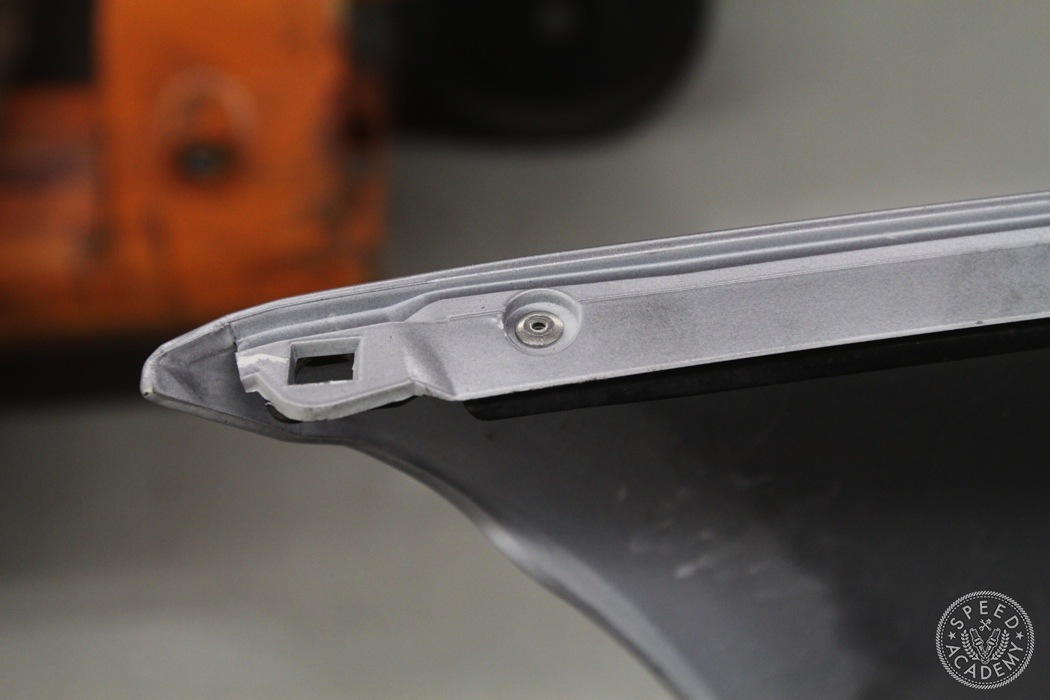
Take the metal bracketry and line it up inside the bumper. You’ll notice I took apart the license plate holder and that’s because it doesn’t fit the JDM bumper properly but more on that in a bit.
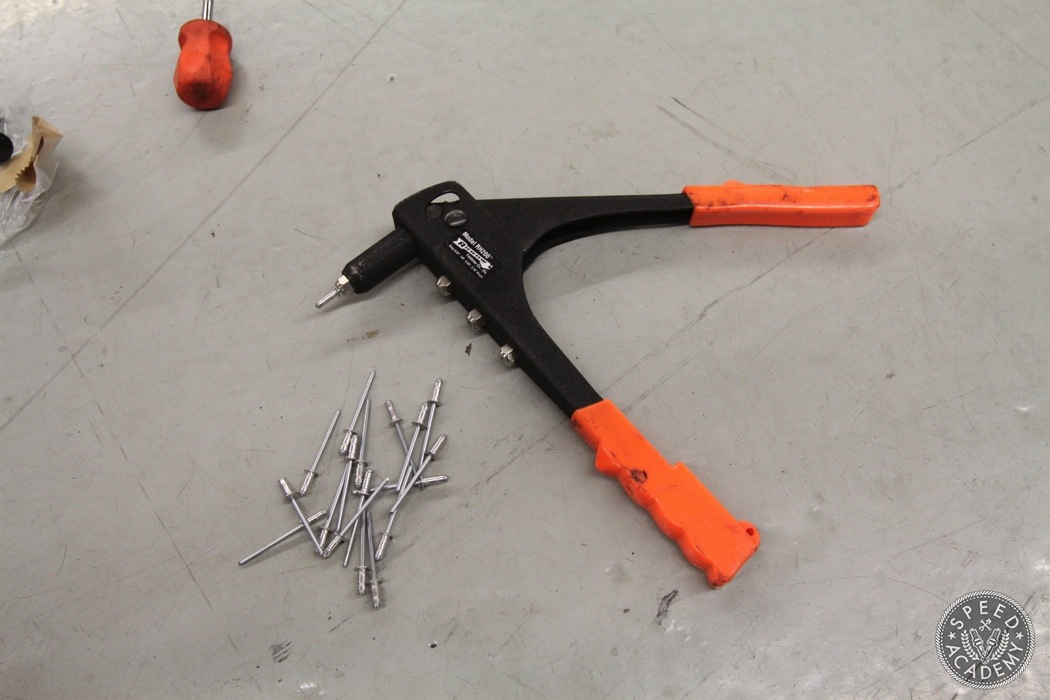
Grab the rivet gun and rivets. If you don’t already own one, these are fairly inexpensive and come in quite handy.
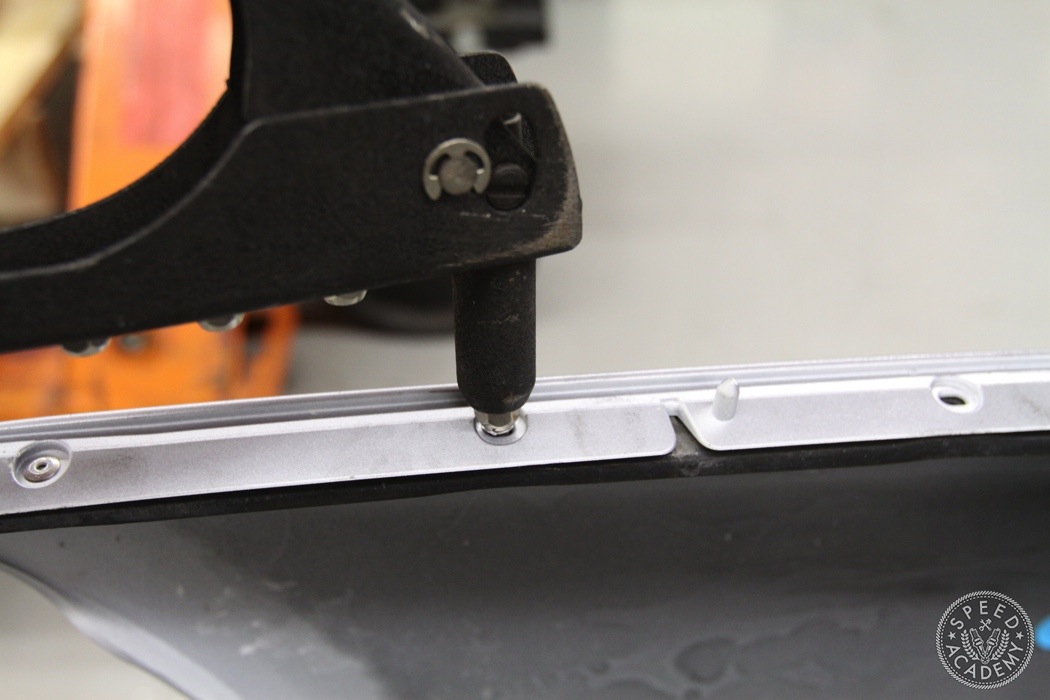
This should be as straight forward as it gets, rivet the brackets onto the bumper.
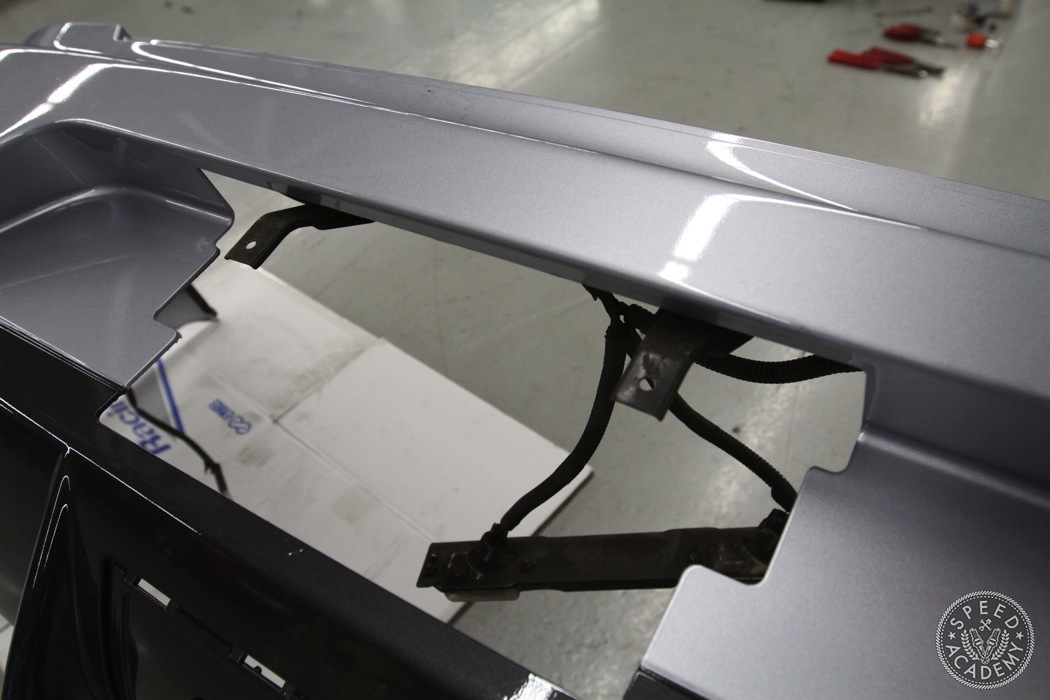
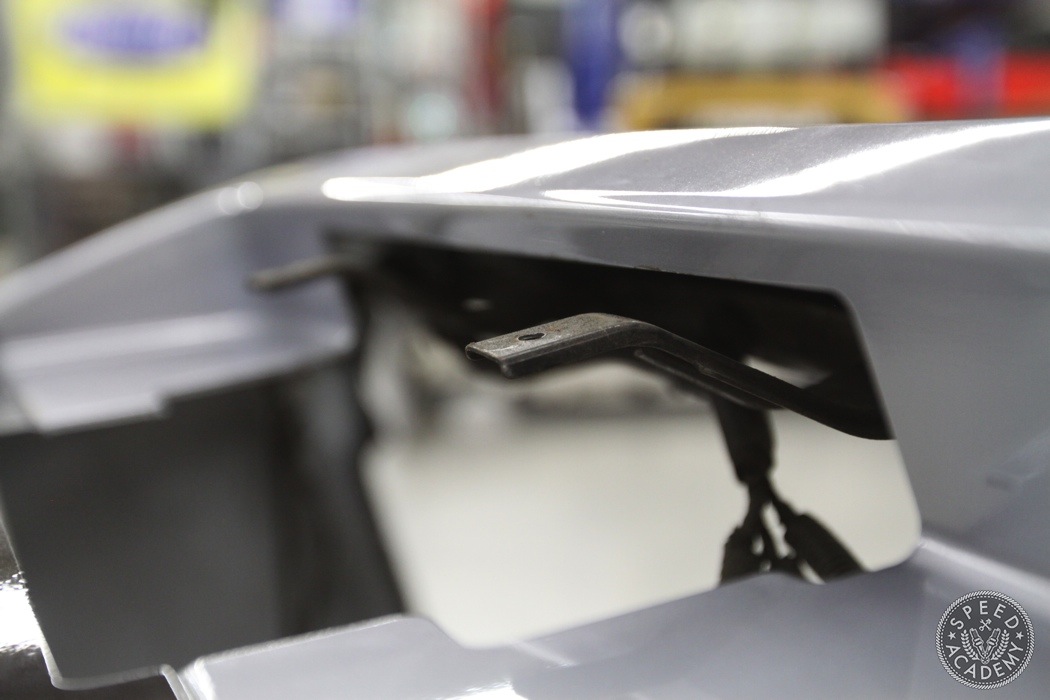
So here’s the issue with the plate holder. The US bumper is longer and that means the brackets stick out too far on the JDM one.
Heck yeah. Very good info. Pictures are great too.