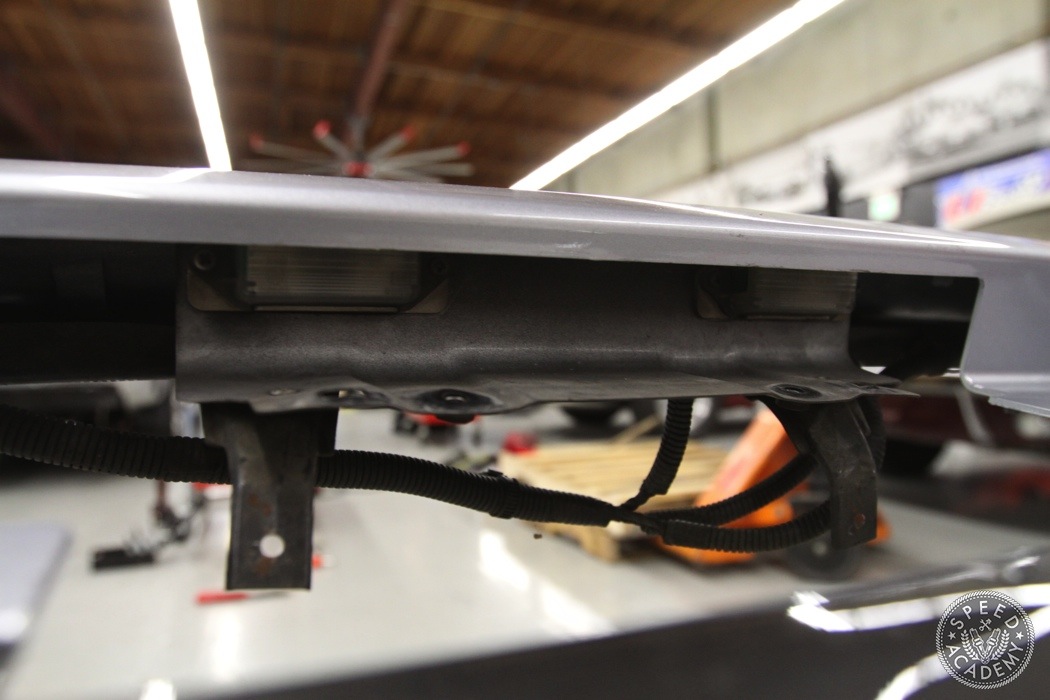
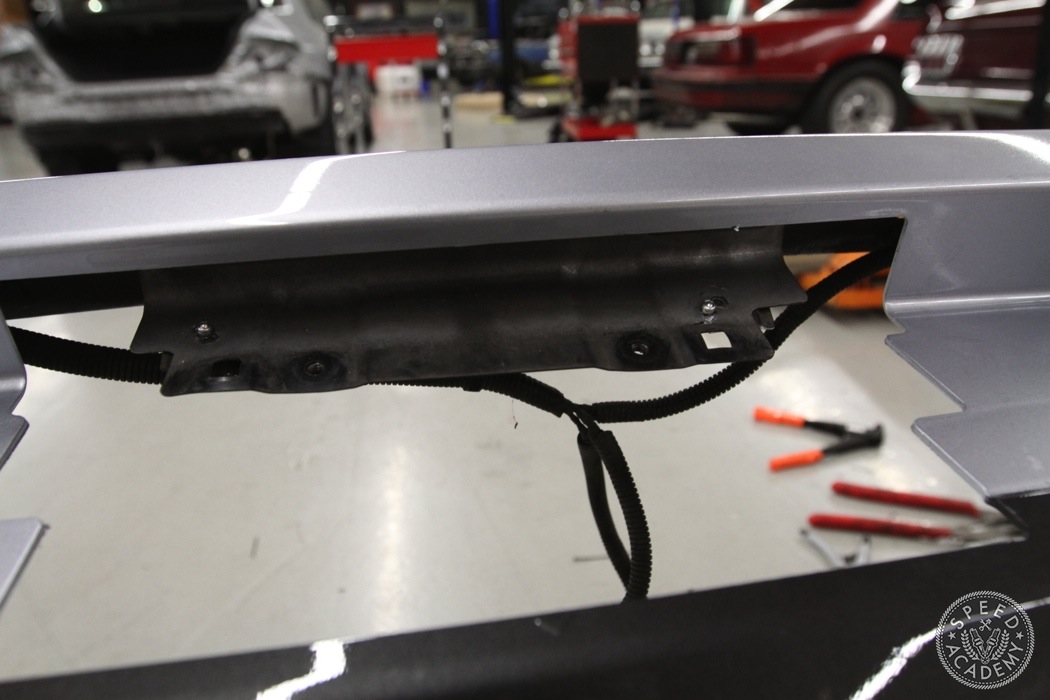
What I did was I bent them back until I could slide the plate tray with lighting under the bumper skin.
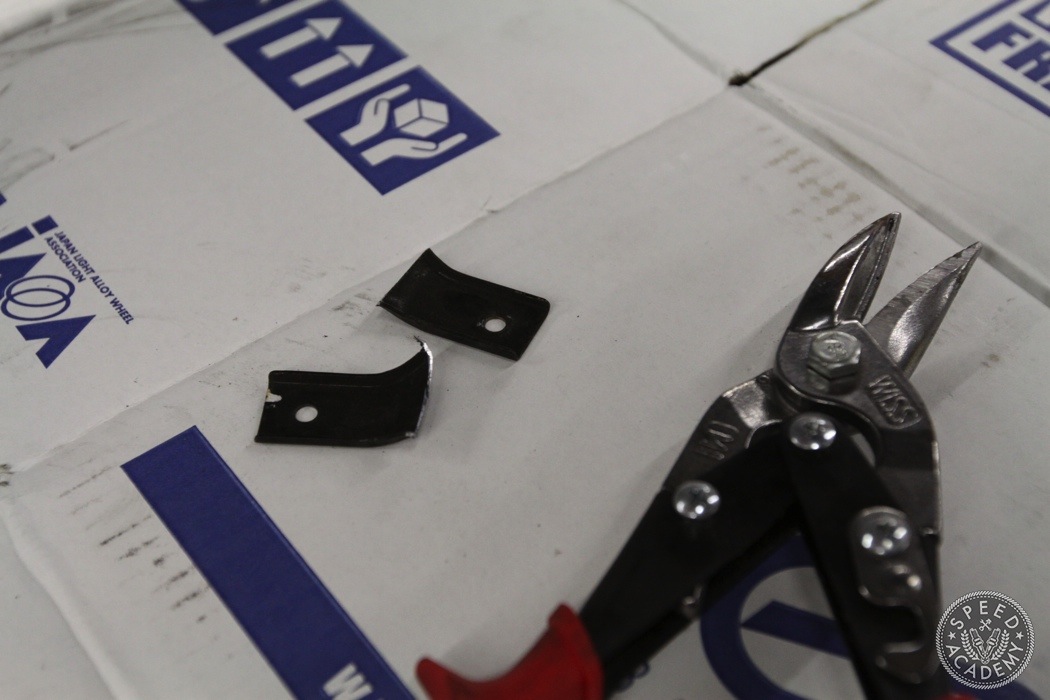
I then cut the tabs that were sticking out.
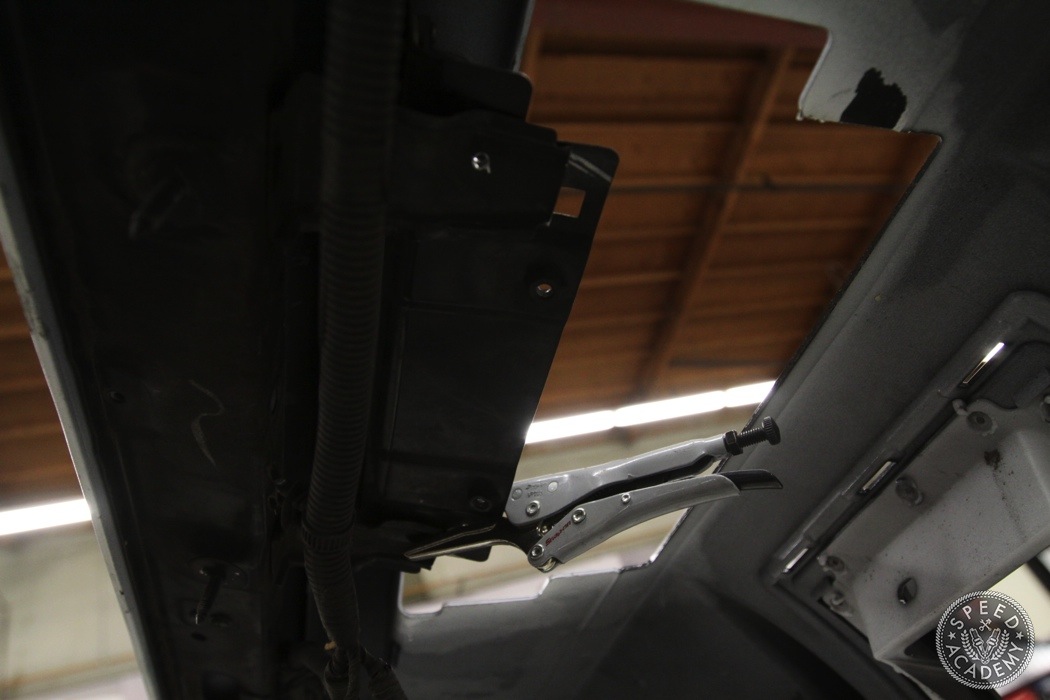
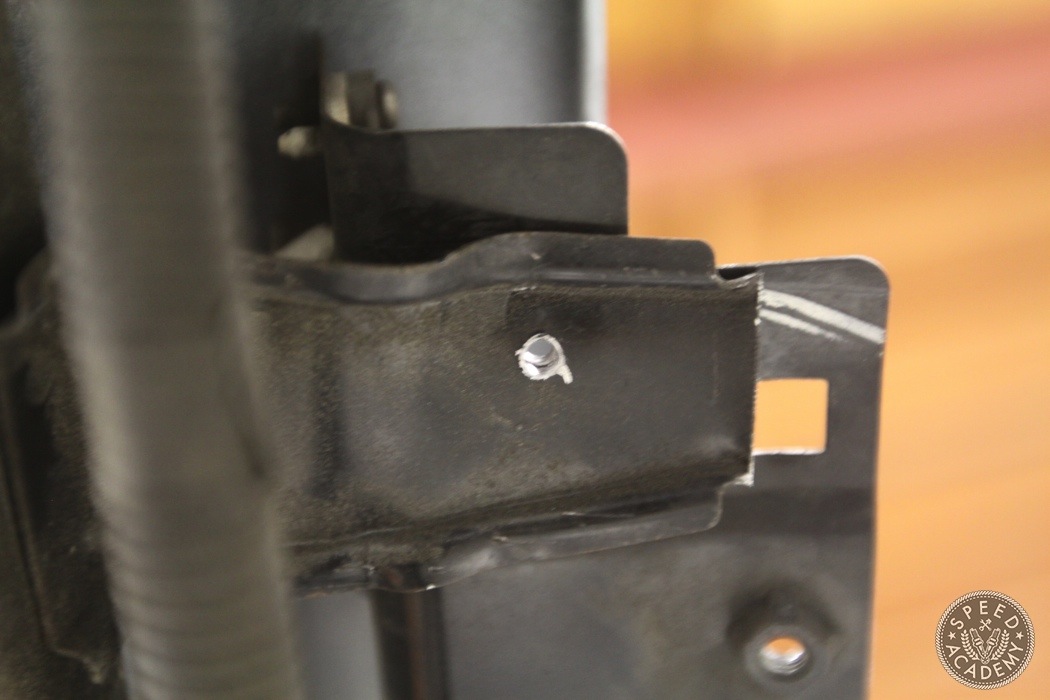
And drilled a hole into each side, one just the right size to fit a rivet. I told you it would come in handy again!
I riveted both sides in place and problem solved. I should mention that I actually had the JDM plate holder which would bolt-on to the US brackets but ditched it in favor of this solution since the holes to mount Japanese plates are wider apart then US plates so I would’ve had to mod that one and felt like this was the better option.
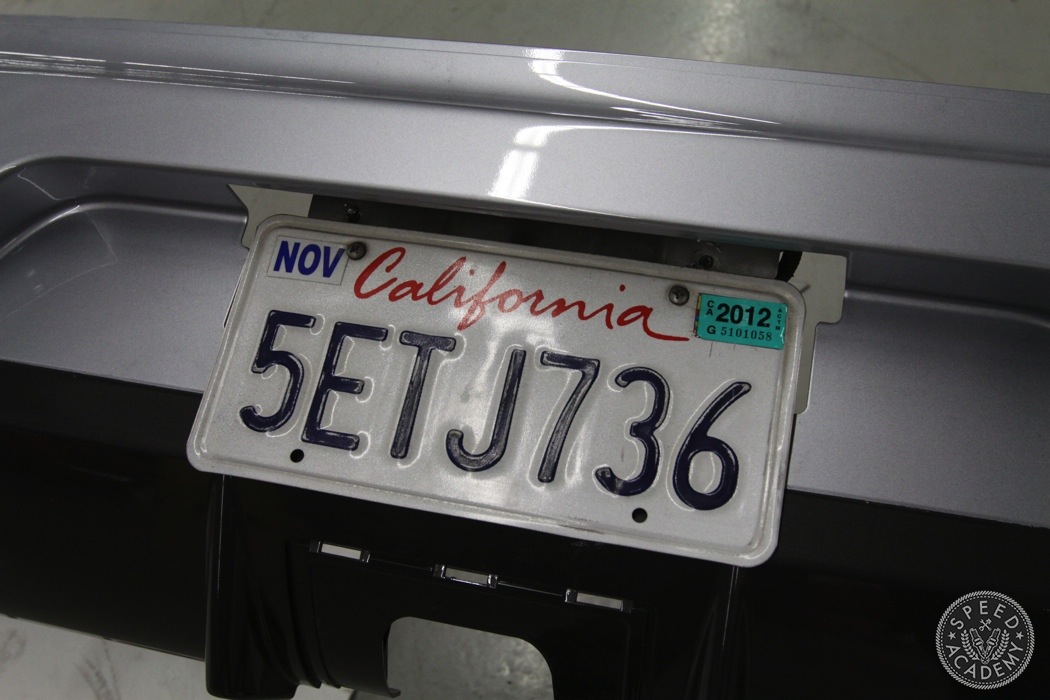
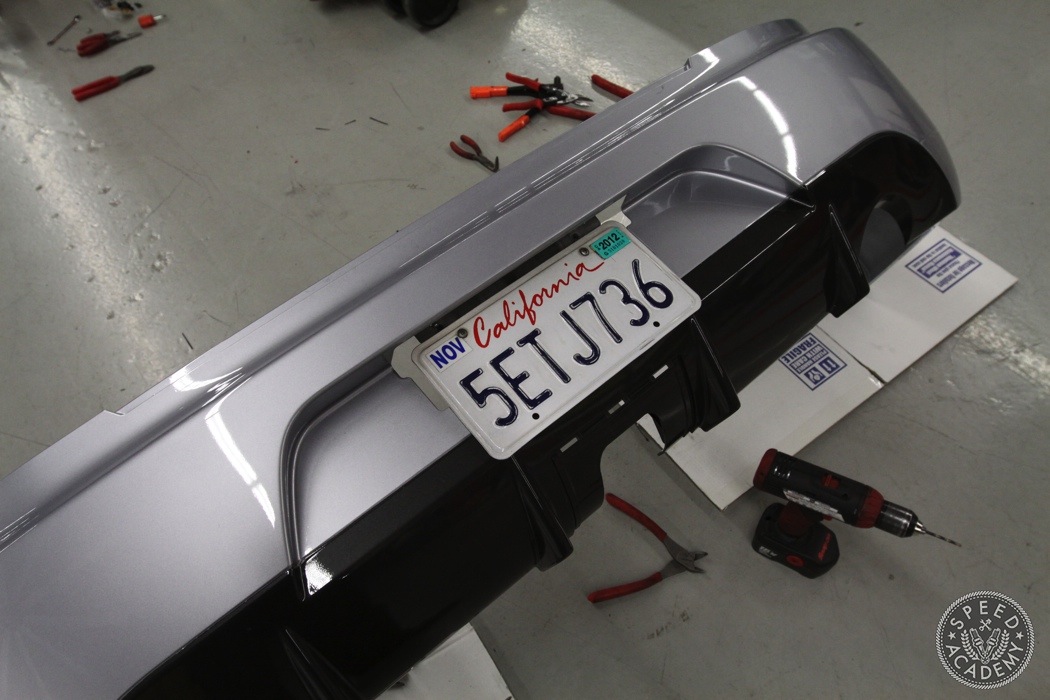
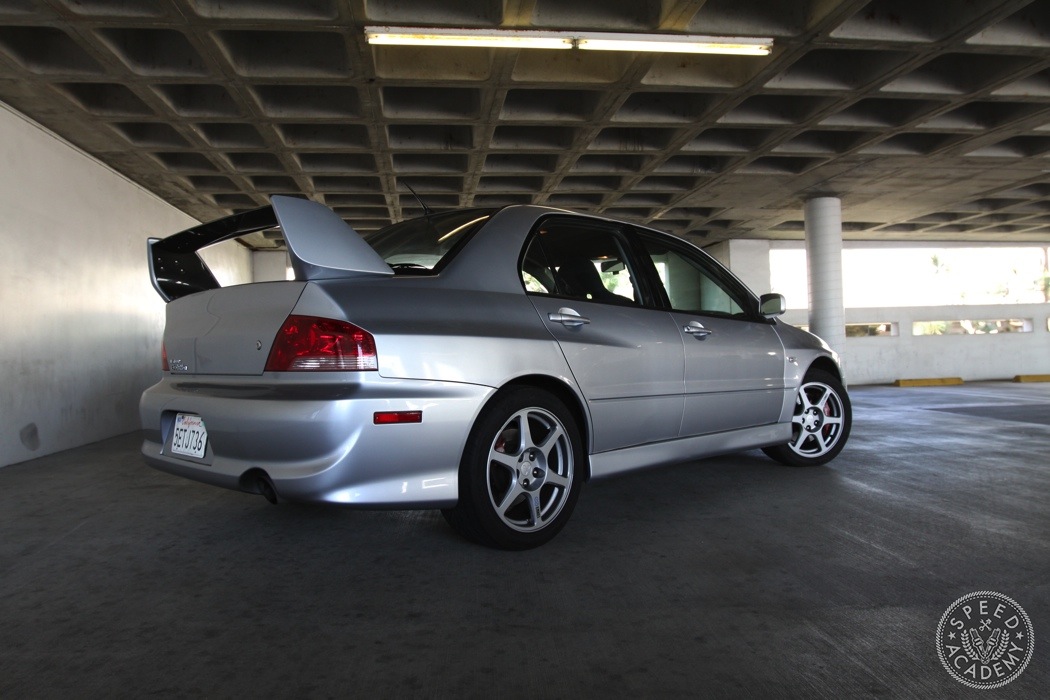
I attached the plate to ensure everything was good and moved onto installing the bumper on the car.
You simply follow the same steps as removing the bumper to install it.

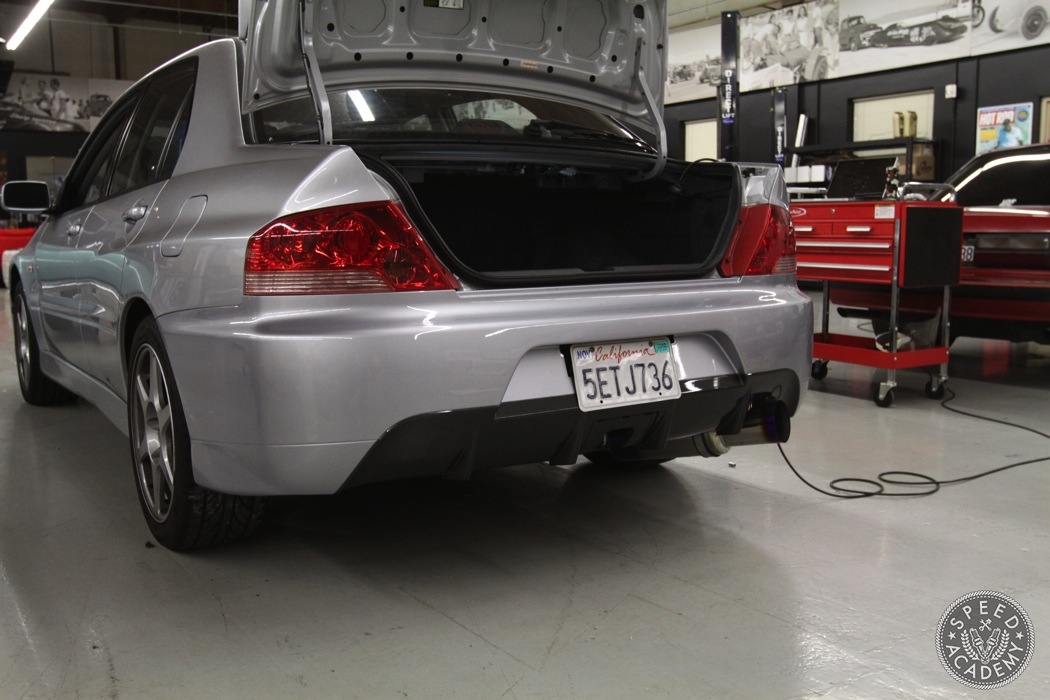
To finish the job off, install the tow hook cover that came with the bumper and you’re finished!
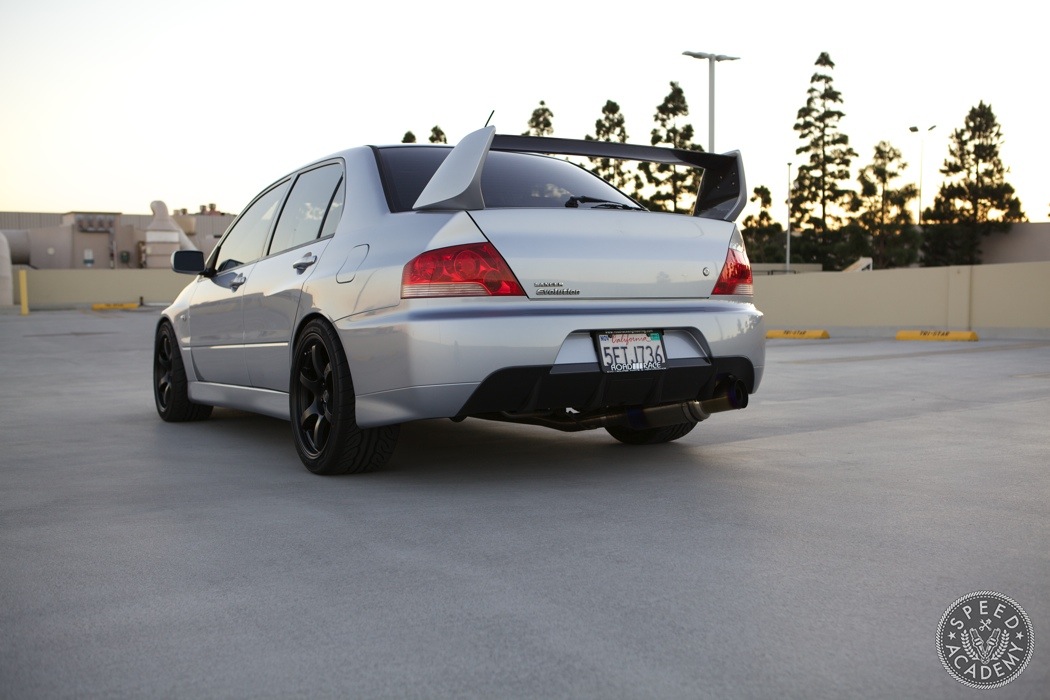
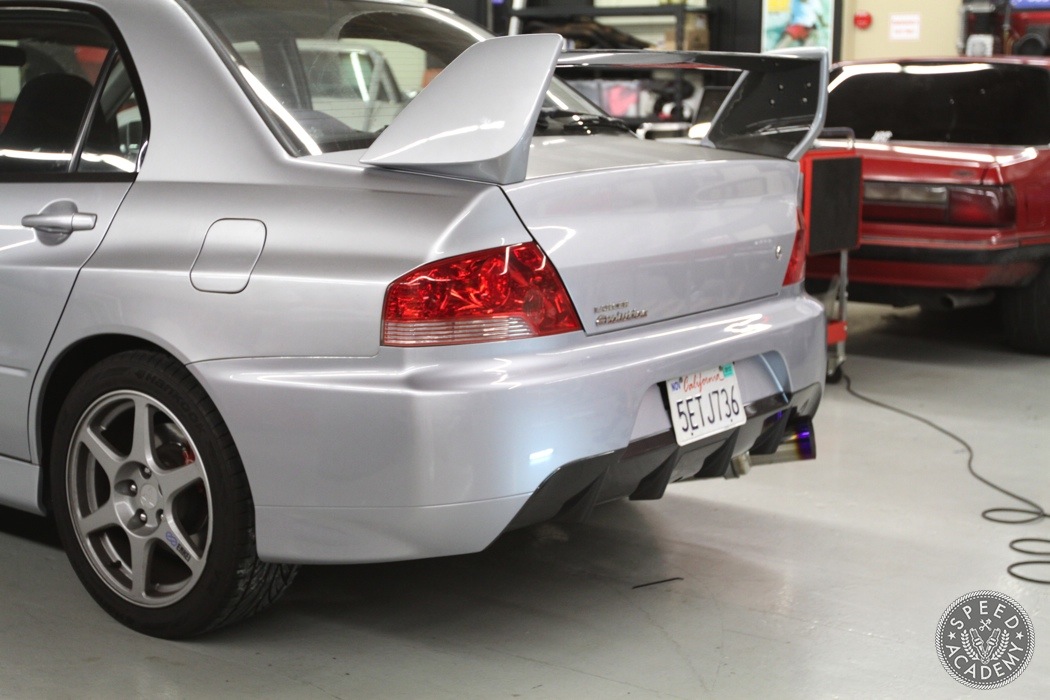
If you compare the stock US bumper to the JDM one, you’ll quickly notice how much more aggressive it is especially in the center section area. This is a great upgrade that can really set your Evo apart from others and won’t kill the wallet if you do the work yourself.
Click here for the Evo VIII to IX front bumper conversion how-to story.
Heck yeah. Very good info. Pictures are great too.