

From The Academy
Stories + Updates + Videos + Speed

Toyota 4Runner Limited to TRD SR5 Conversion
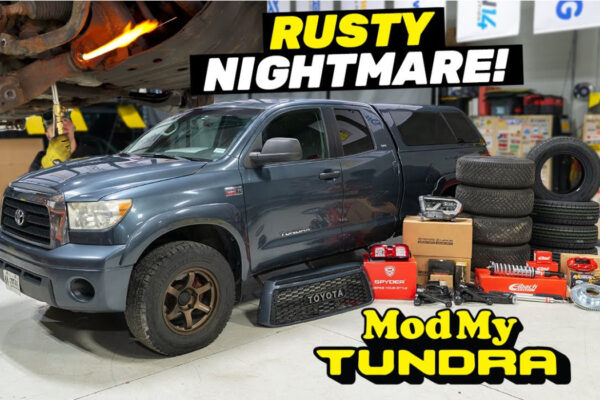
Toyota Tundra Shop Truck Overhaul: Part 1 (Rust Wars Begin)
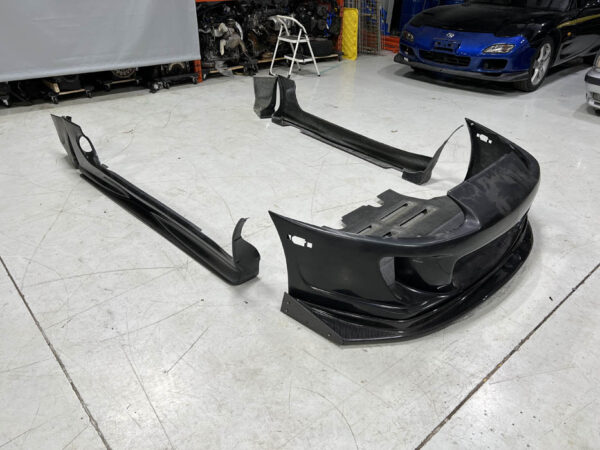
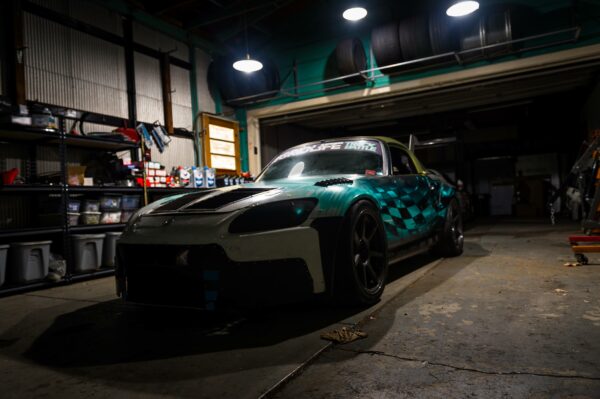
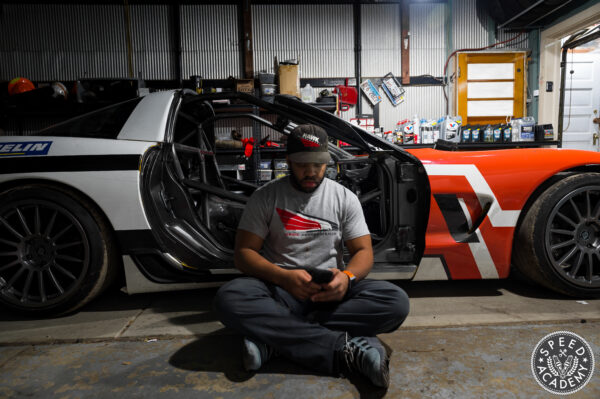
S2K to S2J? The End Of The Road
Part 2: Cavalier at Autobahn
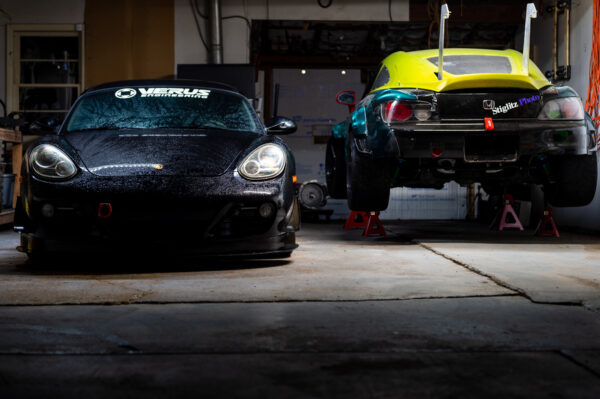
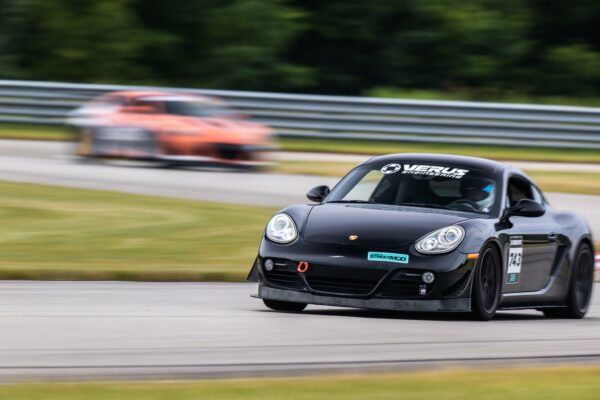
Hello Cavalier! Cayman Part 1
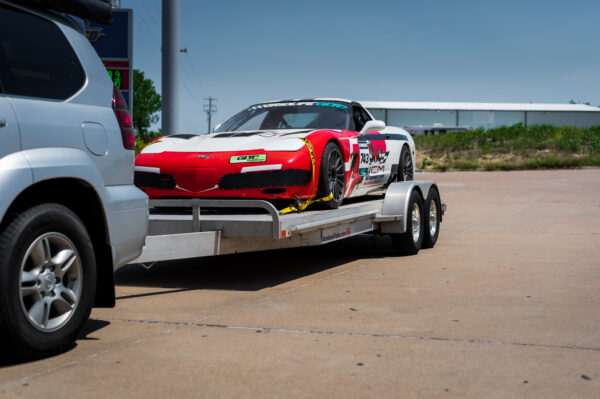
Part 5: Goodbye Bonnie, The C5’s Closing Chapter
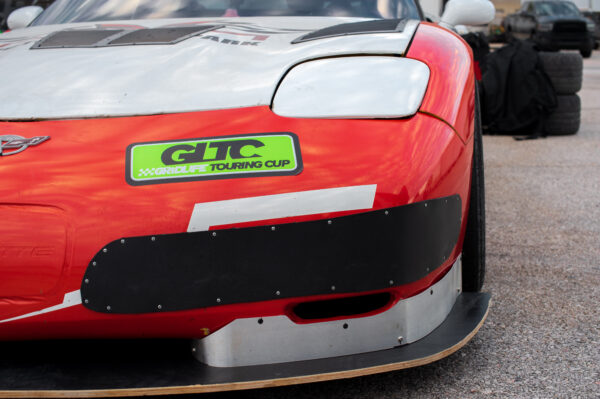
Part 4: When Being Prepared Isn’t Prepared Enough: C5 Corvette at Circuit of the Americas
GARAGE SALE!
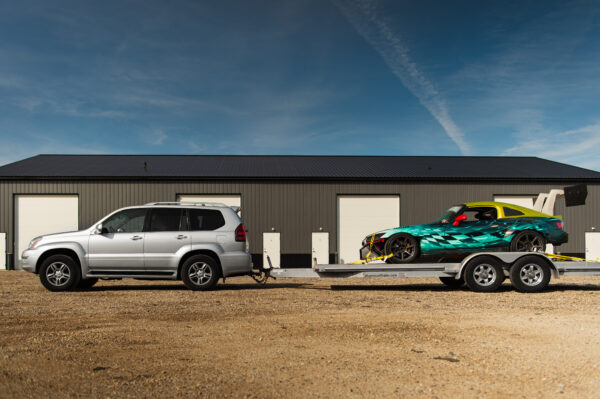
Lexus GX470: Revamping My Towing & Overlanding Vehicle
Part 3: C5 Preparation for Circuit of the Americas with Gridlife Touring Cup
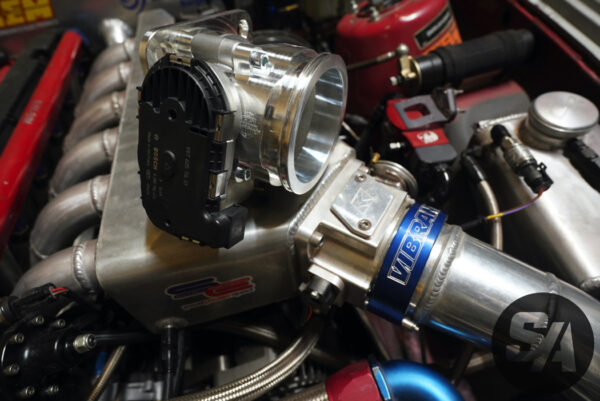
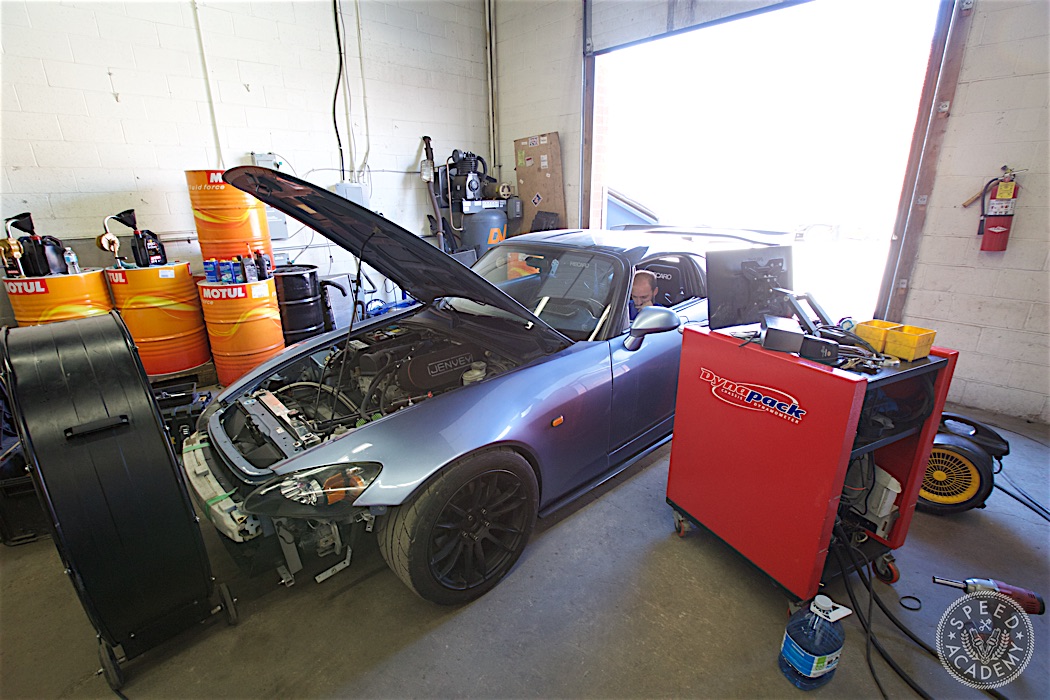
Drive-By-Wire Throttle Body Conversion Done Right!
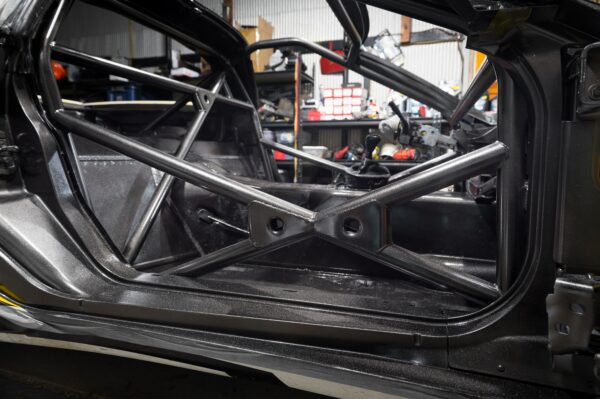
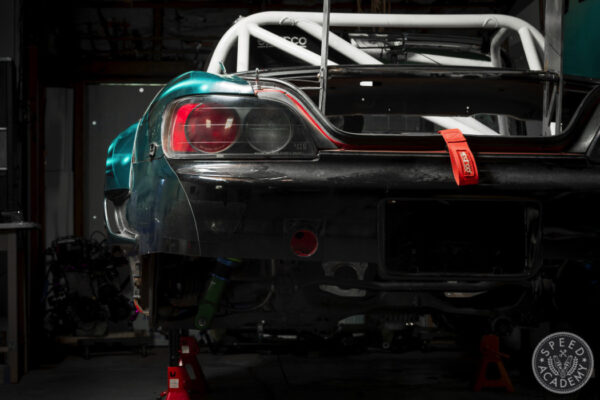
Part 14: Inside Sheri Version 7 – Turbo K24 Honda S2000 Cooling System
A Minority Within A Minority – A Mental Health Discussion
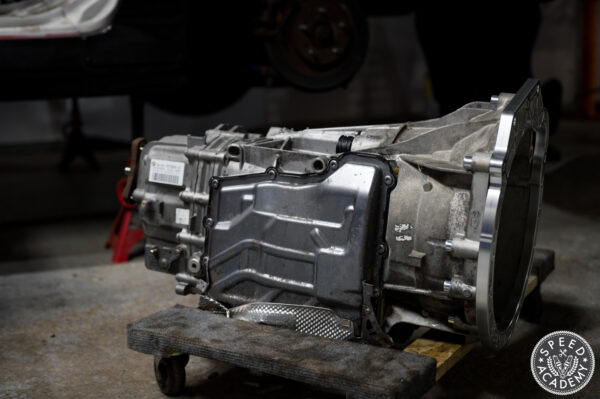
BMW DCT transmission Conversions Explained (Pros VS Cons)
Part 2: Inching Closer
Part 1: Bondurant to Gridlife C5 Corvette
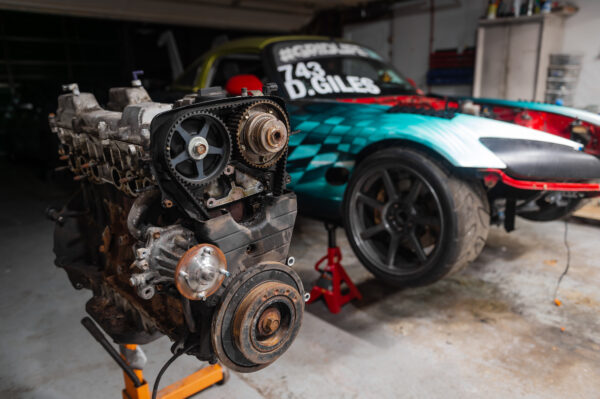
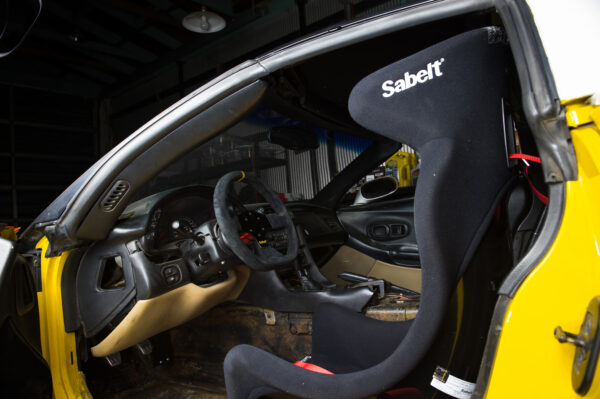
Part 13: A Covid Restart: Refreshing Devin’s Honda S2000 Time Attack Beast
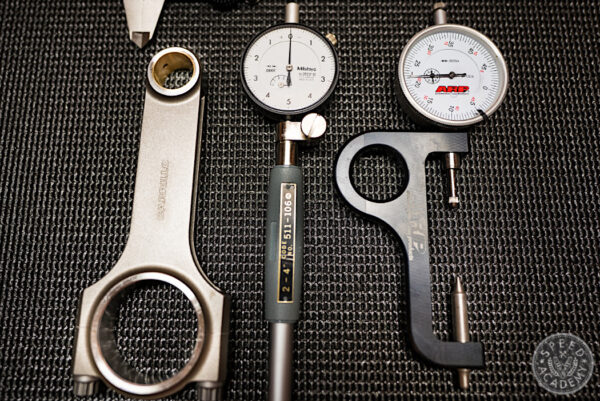
Engine Building 101: Part 1
If You Build It, It Will Run
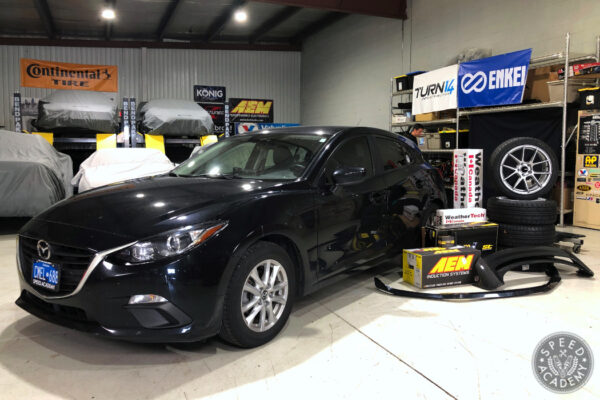
Quick and Easy 2016 Mazda 3 Build
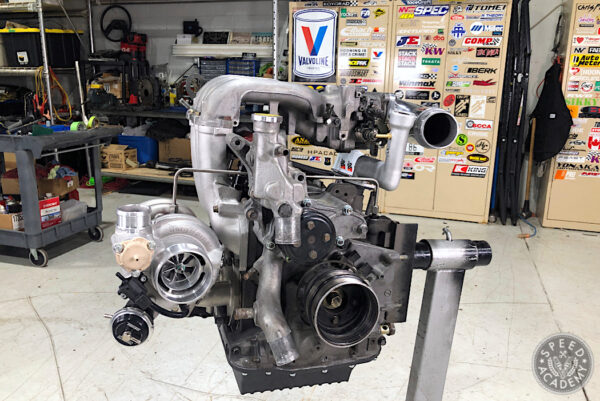
Mazda RX-7 13B-REW Rotary Engine Build: Part 4
Completing The Longblock
Support the companies that support us